Sketches

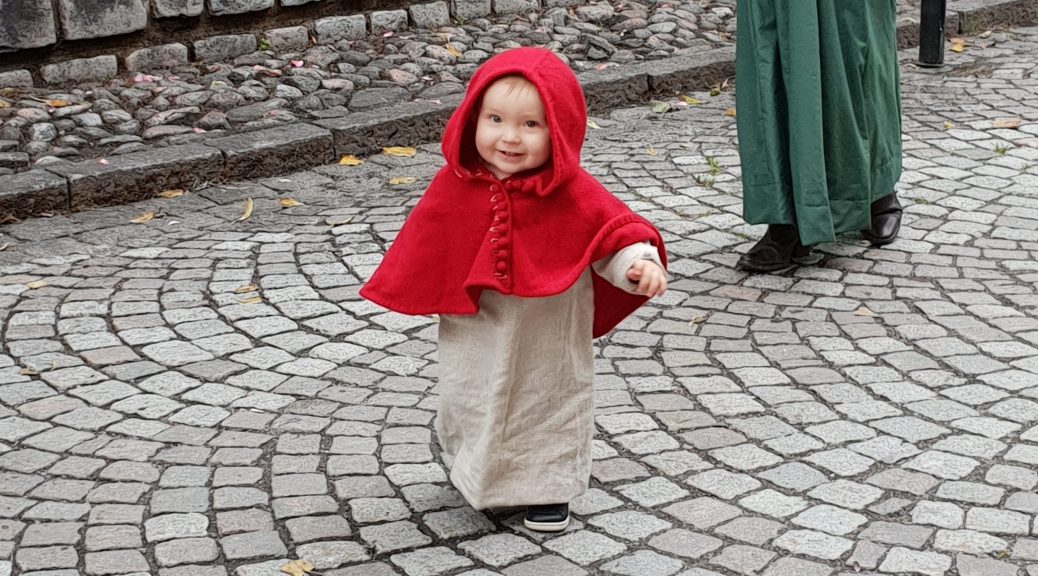
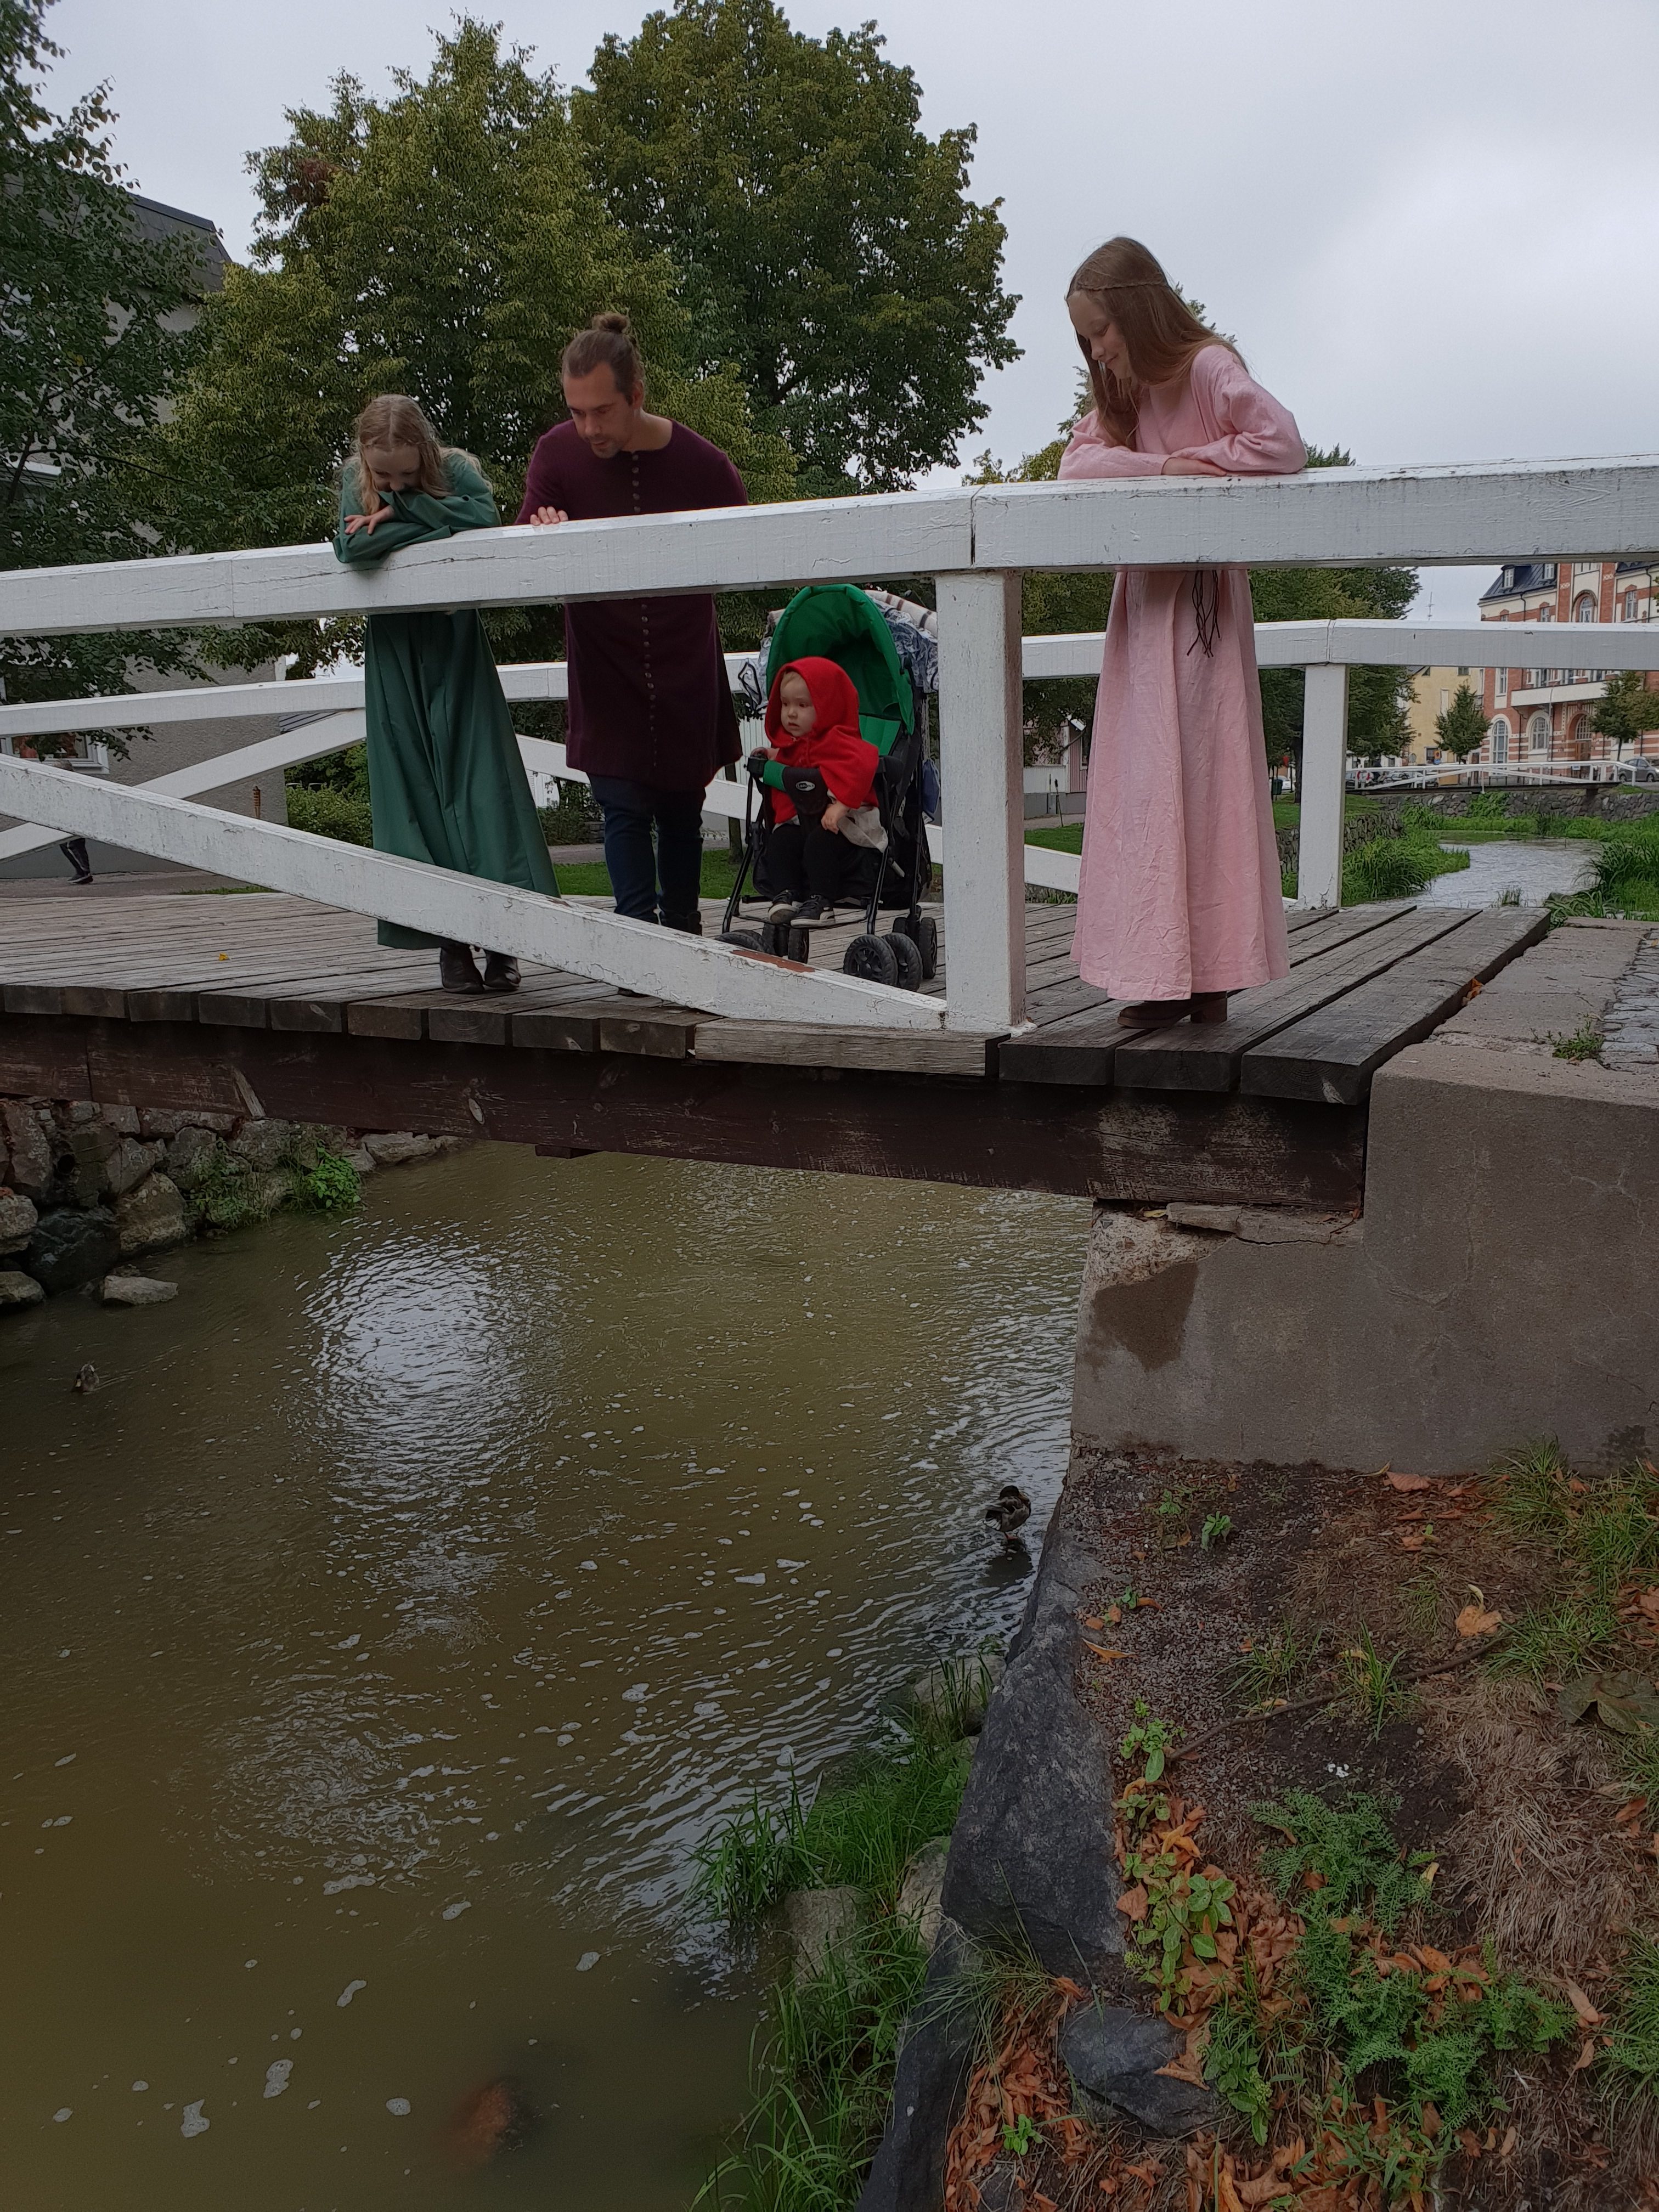
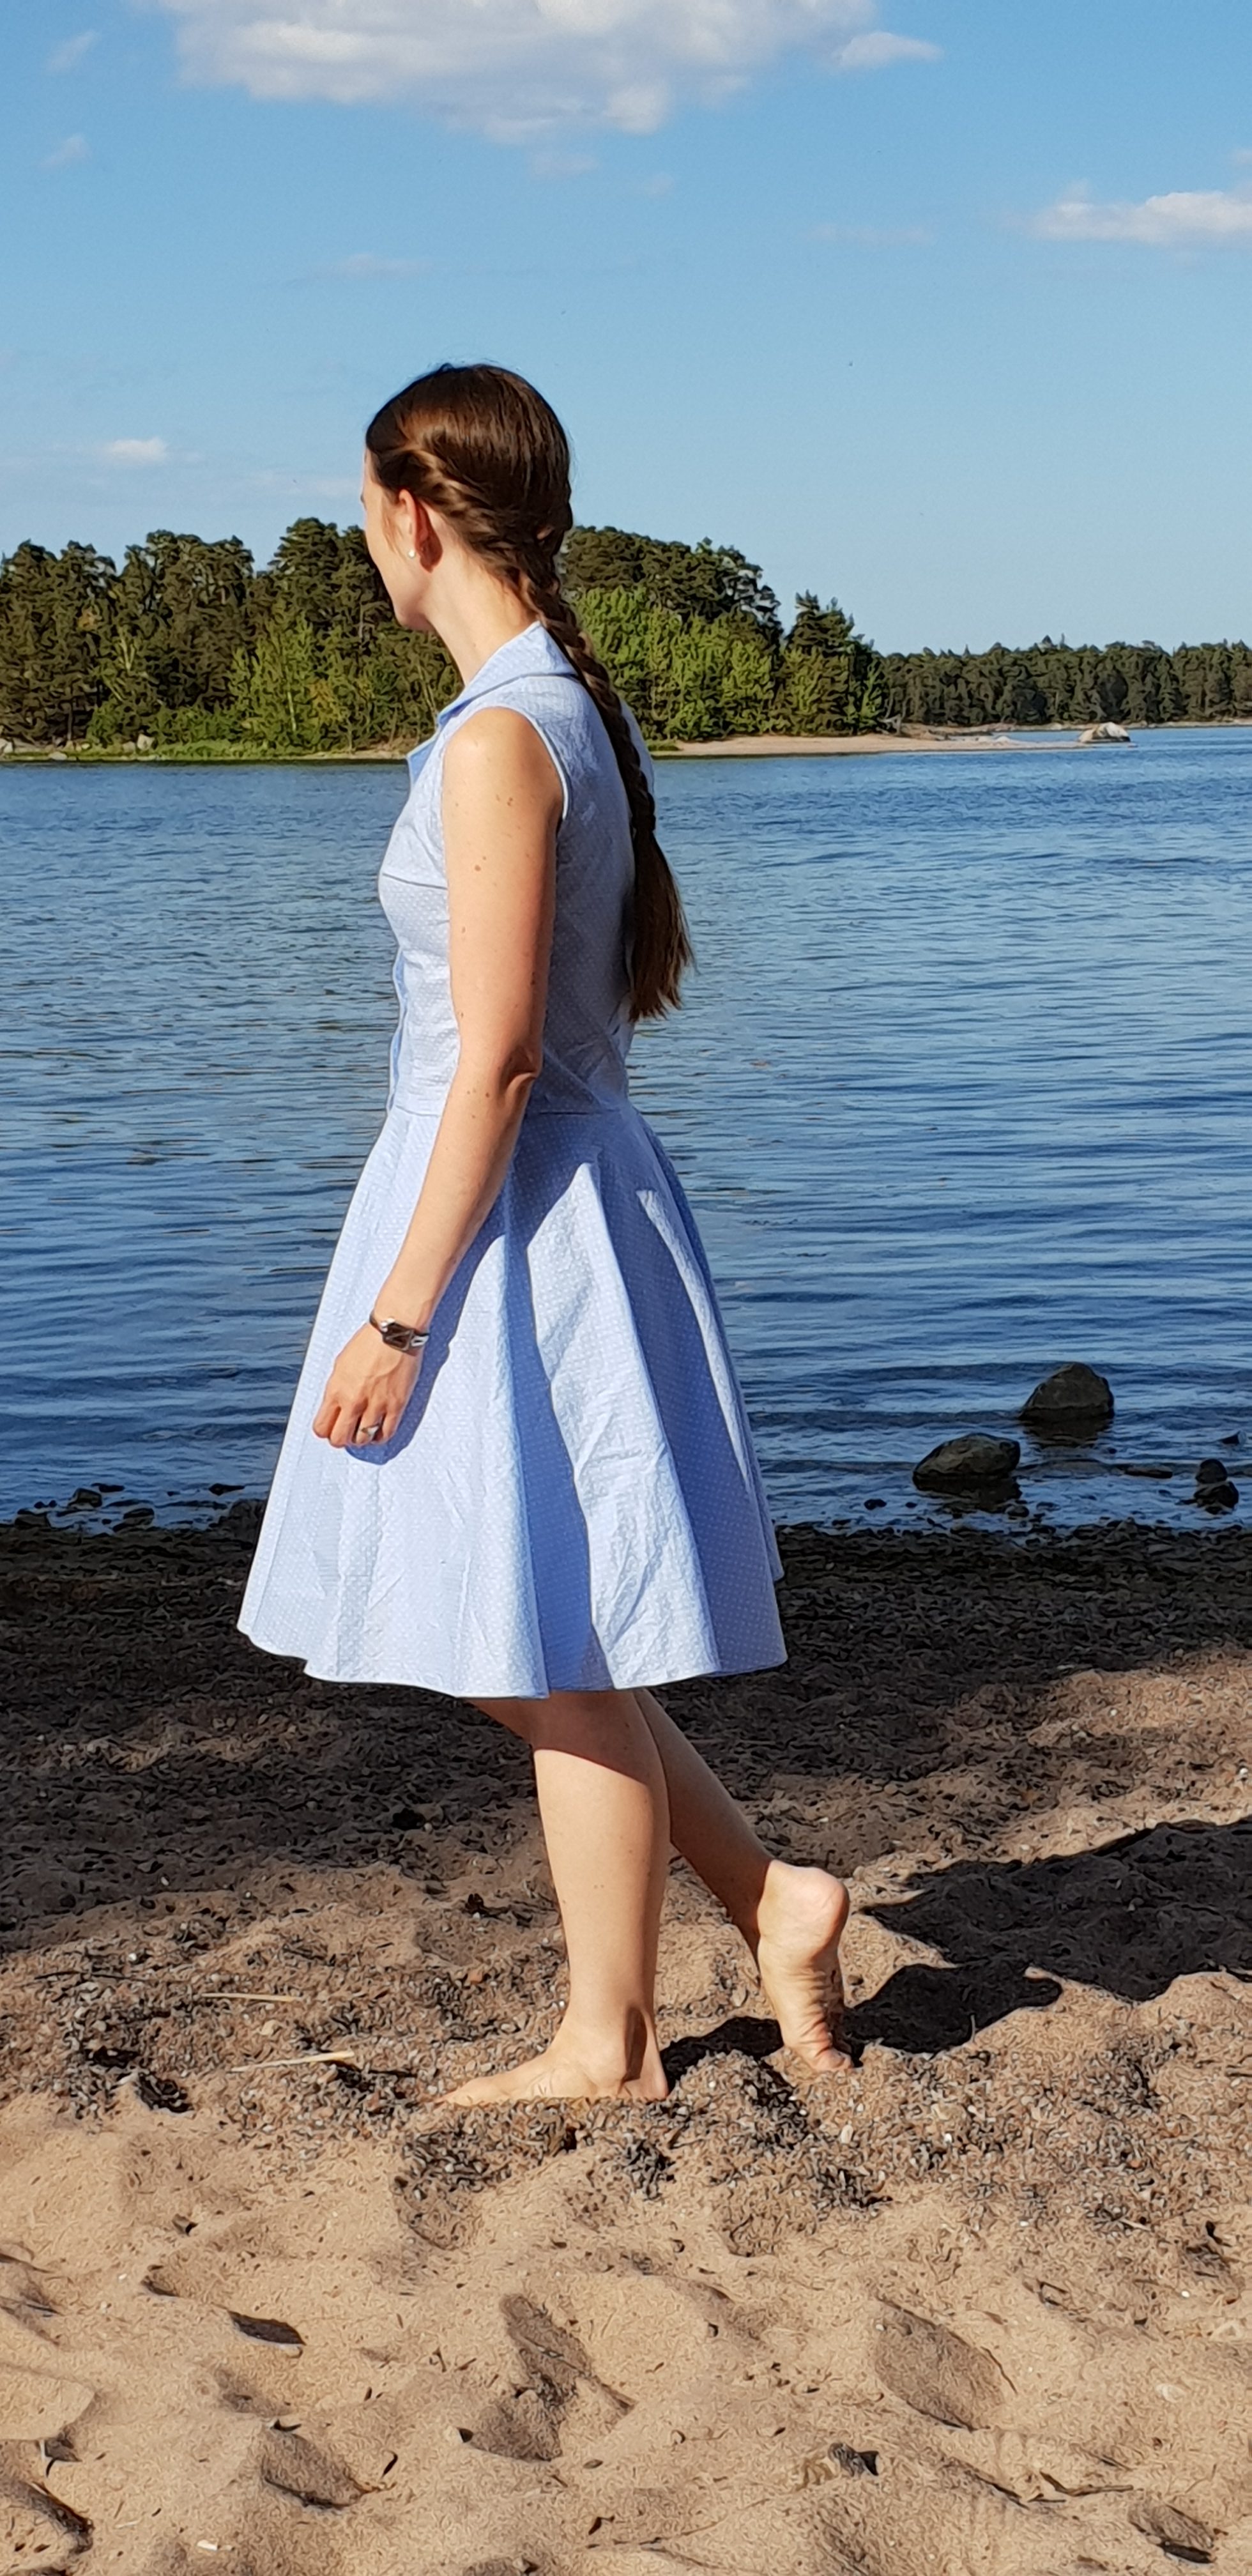
The day before Christmas Eve, I had the pleasure to sing two songs at the sermon of my home church.

Fjärde advent hade jag nöjet att sjunga i min hemförsamling, kompad av pappa på piano.

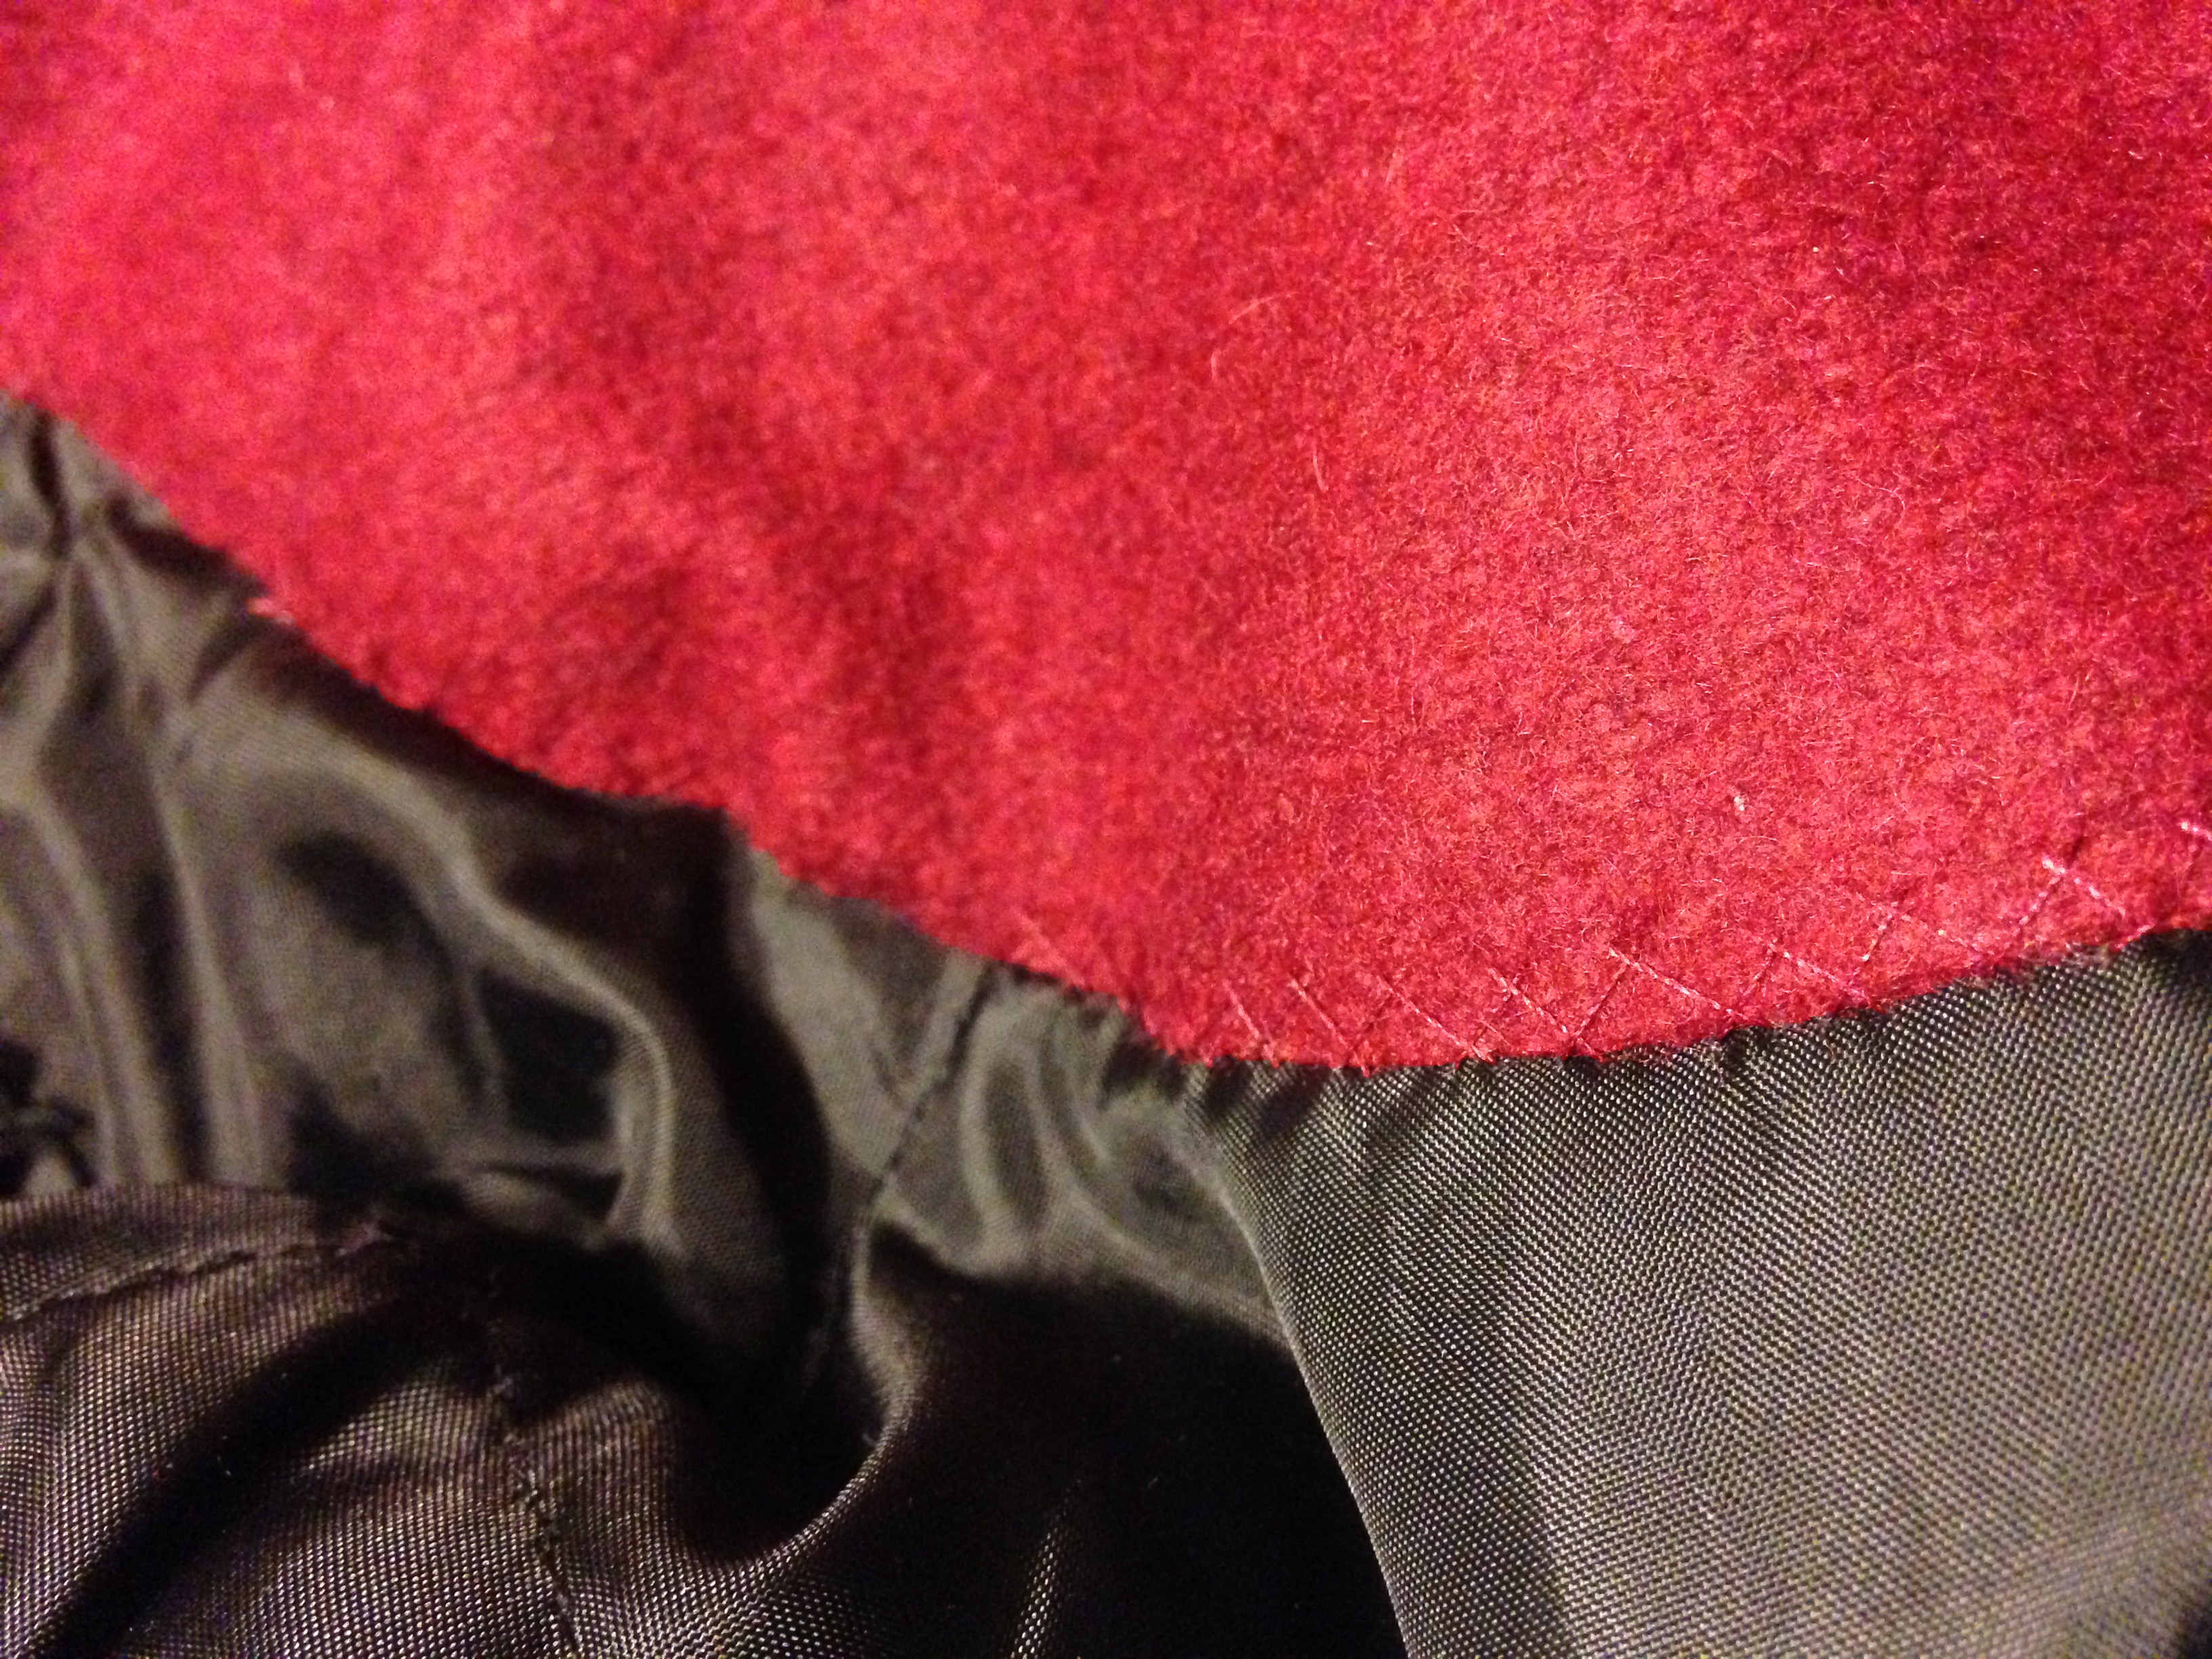
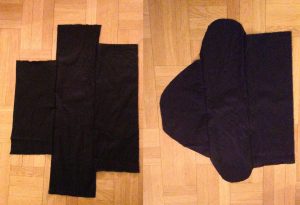
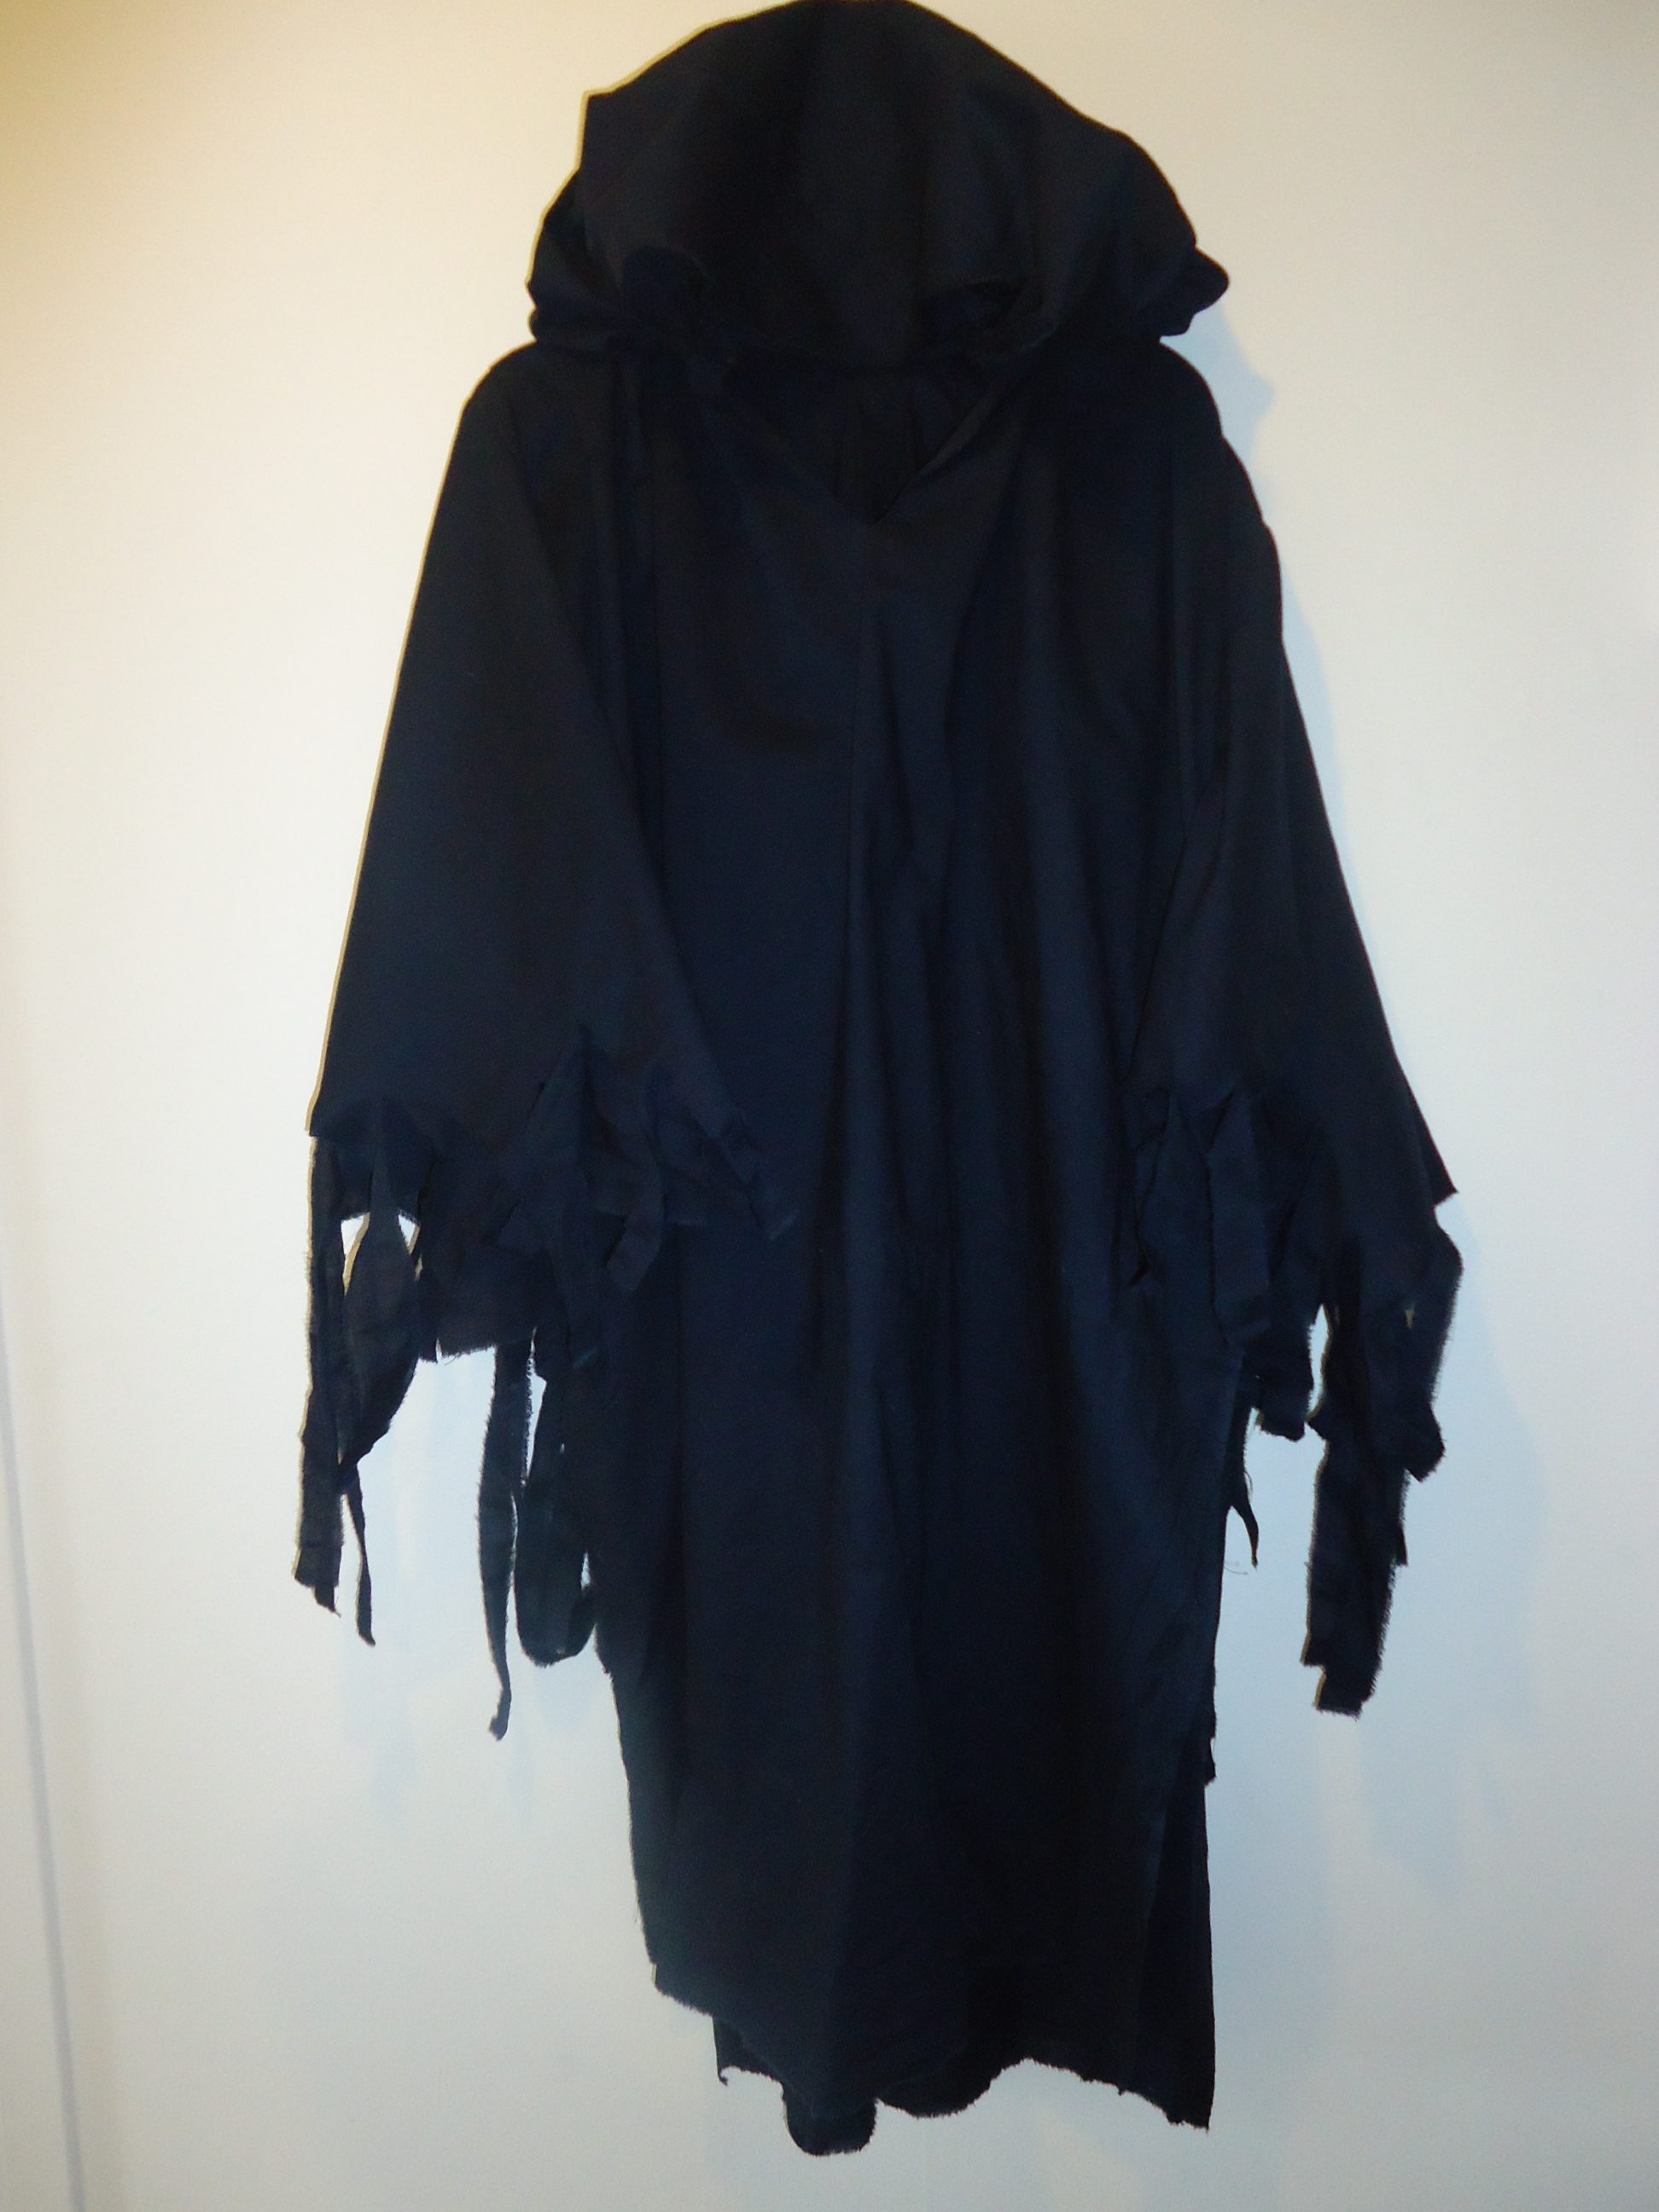
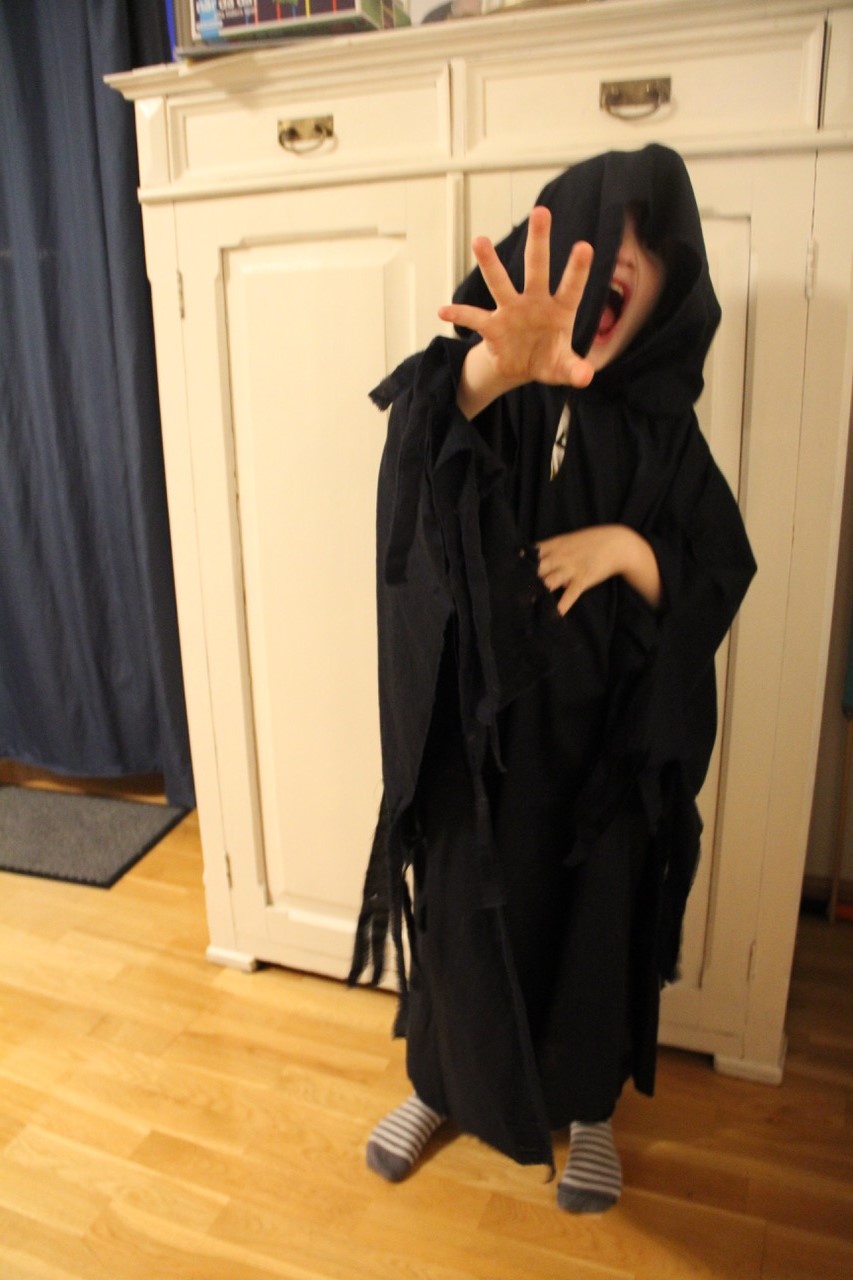
After a lovely Christmas Eve, the holidays turned out not to be as festive. We had planned to stay at my parents abandoned house after Christmas, so that we could hang out with our friends and famili in Vimmerby, but our families went down with the flu, my husband and son included. I got a sketchbook and a nice “kneadable art eraser” as a Christmas gift from my thoughtful sister and brother in law. These came very handy, as I could not go outside for days and my sick family members slept a great deal of the time.

Efter en härlig julafton visade sig jullovet inte bli lika festligt. Vi hade tänkt stanna kvar i mitt föräldrahem när de drog vidare på äventyr efter jul, så att vi skulle kunna umgås med vänner i Vimmerby, men många drabbades av influensan, så även min man och vår son. Jag fick en skissbok och ett proffsigt suddgummi i julklapp av min omtänksamma syster och svåger. Detta kom väl till pass nu, eftersom jag inte kunde gå ut på flera dagar och sjuklingarna sov stora delar av dagen.

Snail princess / Snigelprinsessa

The first sketch was inspired by Art Deco, with flowers surrounding a princess on horseback. No, wait a minute, she is riding a snail. I would have prefered to use water colour, but in the arts-and-crafts-stash that my parents keep for their grand children, I found sharpies, oil crayons and a painting kit from IKEA, containing watercolours without any brush, crayons and enormous colour pencils. I used the colour pencils.

Första bilden var lite inspirerad av Jugent, med stiliserade blommor som omger en prinsessa till häst. Nej, förresten, hon rider visst på en snäcka. Jag skulle ha föredragit att färglägga bilden med akvarellfärg, men i pysselhörnan i mina föräldrars hus hittade jag bara oljekritor, tuschpennor, IKEAs målarkit med vattenfärg utan pensel, kritor och gigantiska färgpennor. Jag använde jumbopennorna.

Rabbidile / Krokonin

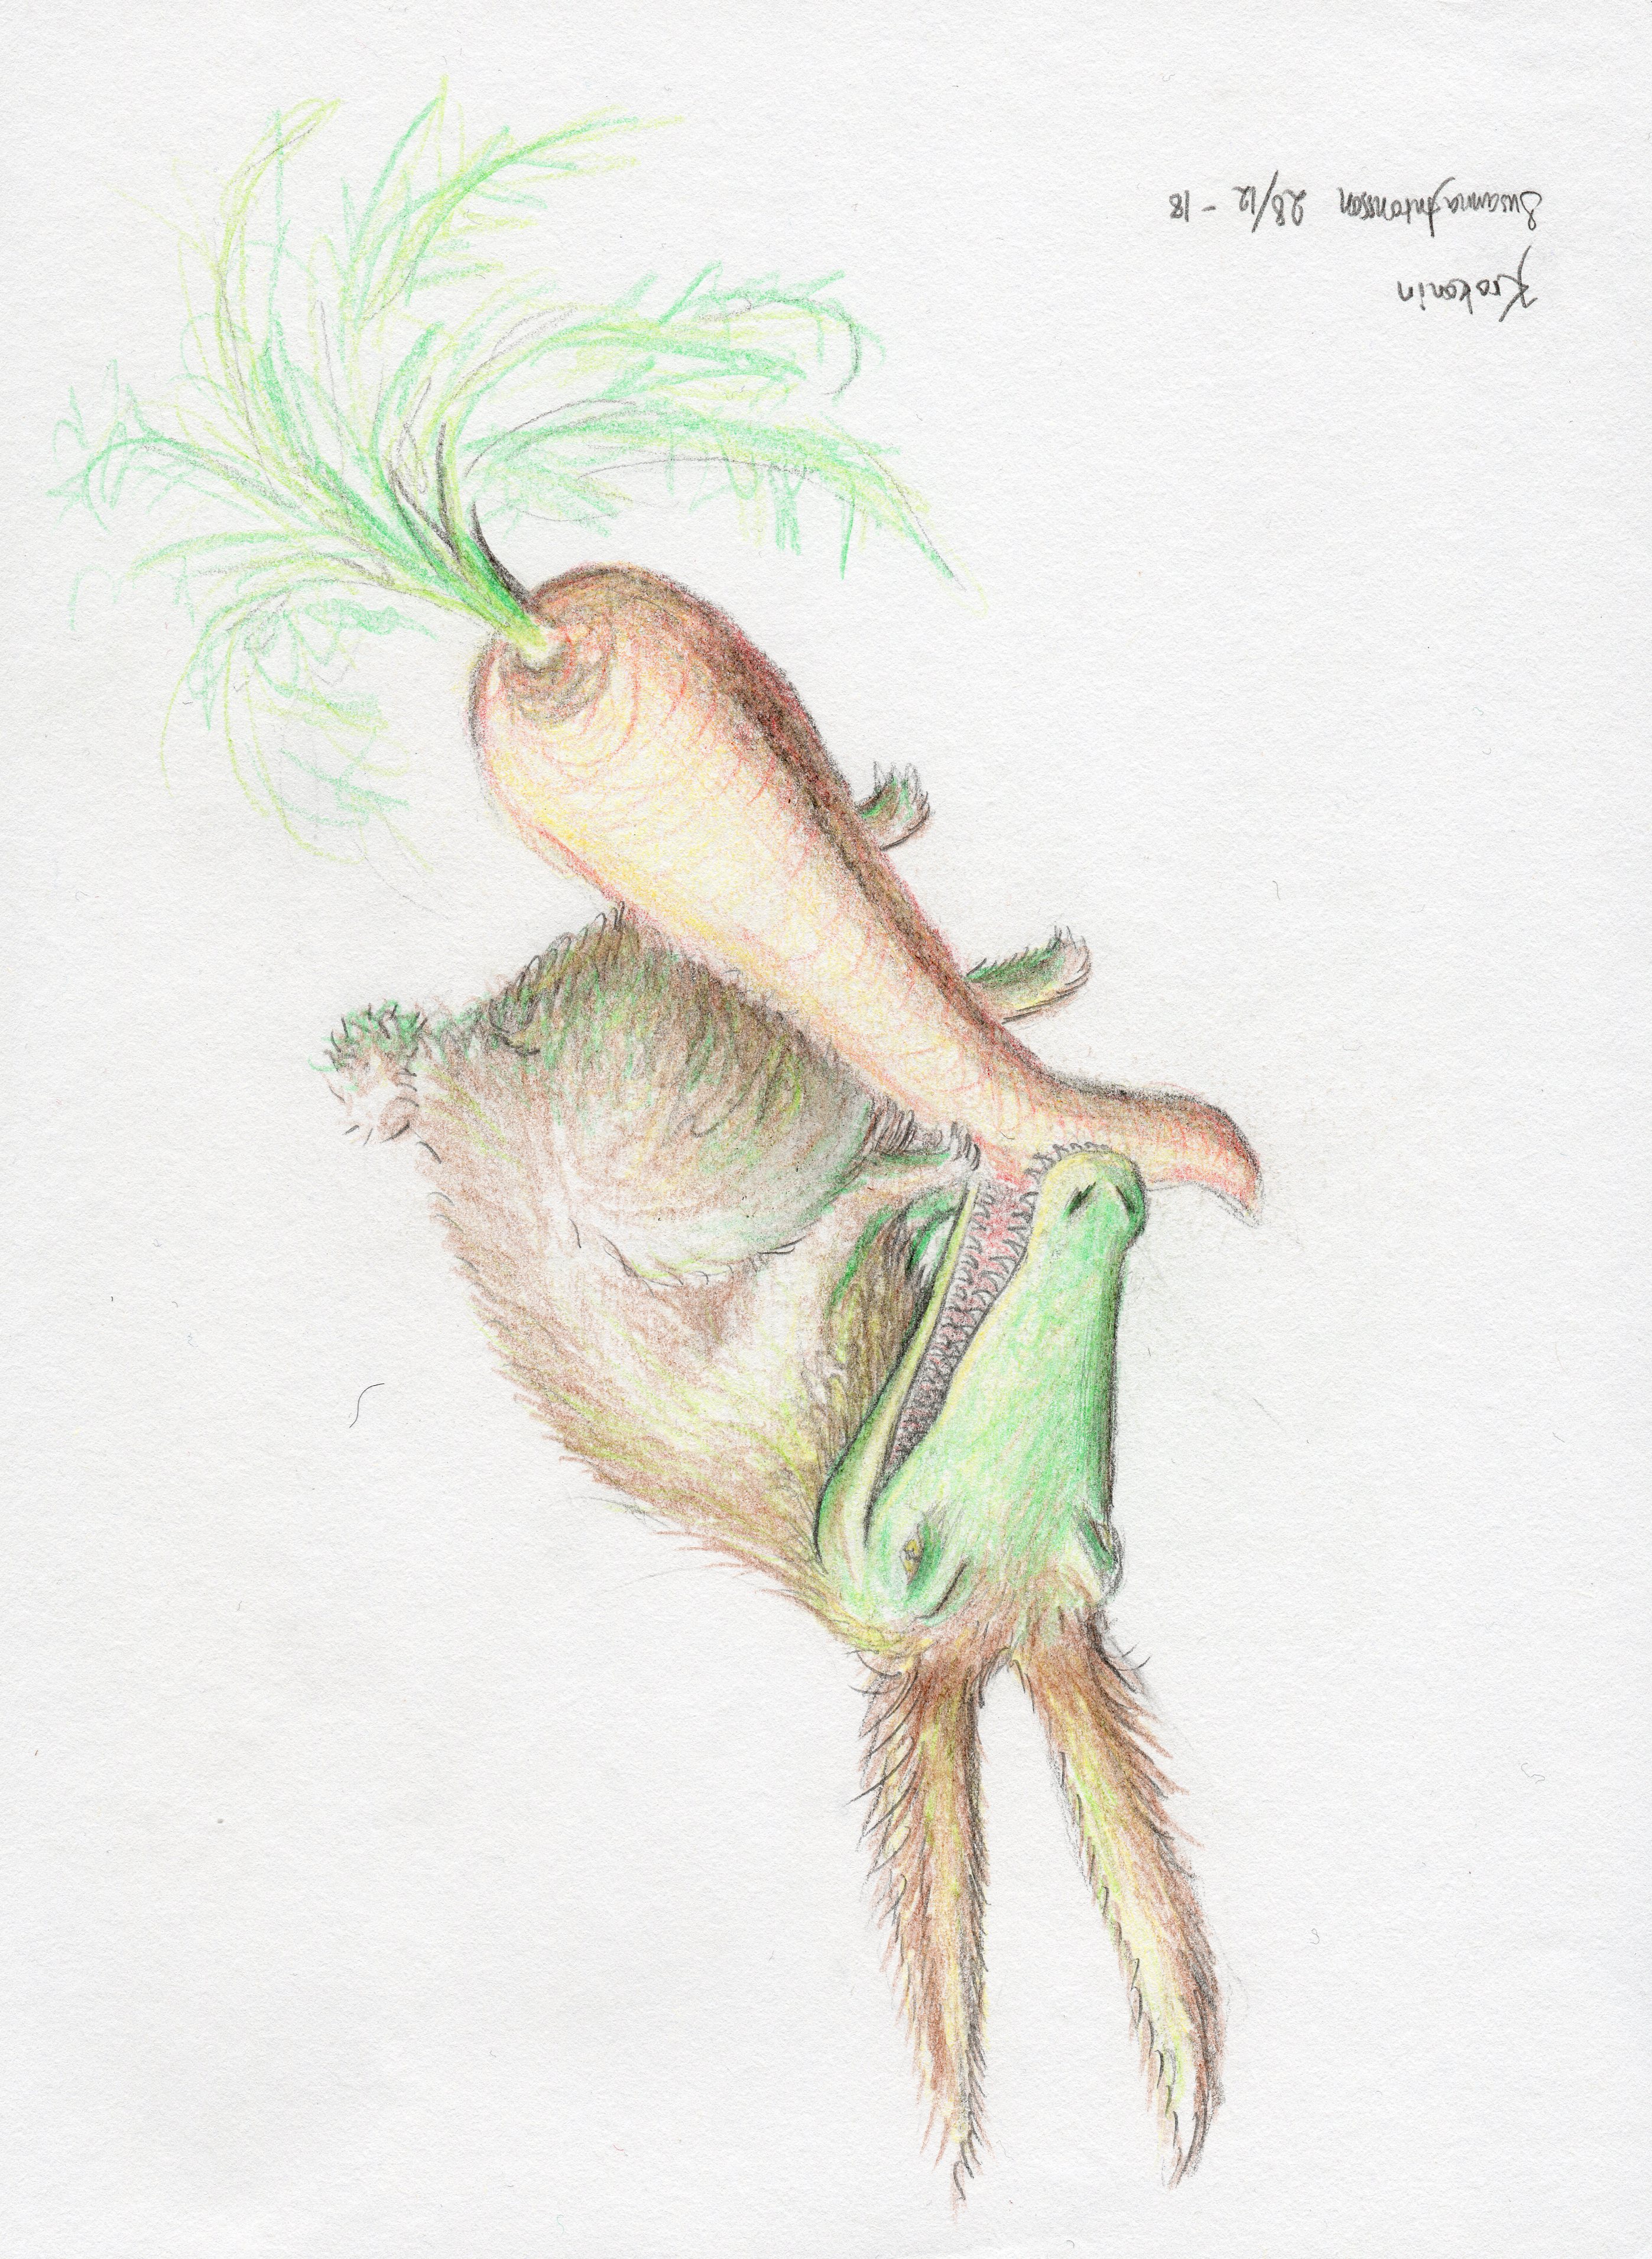
The next picture shows the unholy alliance between a crocodile and a rabbit. Isn’t it sweet?

Nästa bild visar den oheliga alliansen mellan en krokodil och en kanin. Är den inte söt?

Hippopollion

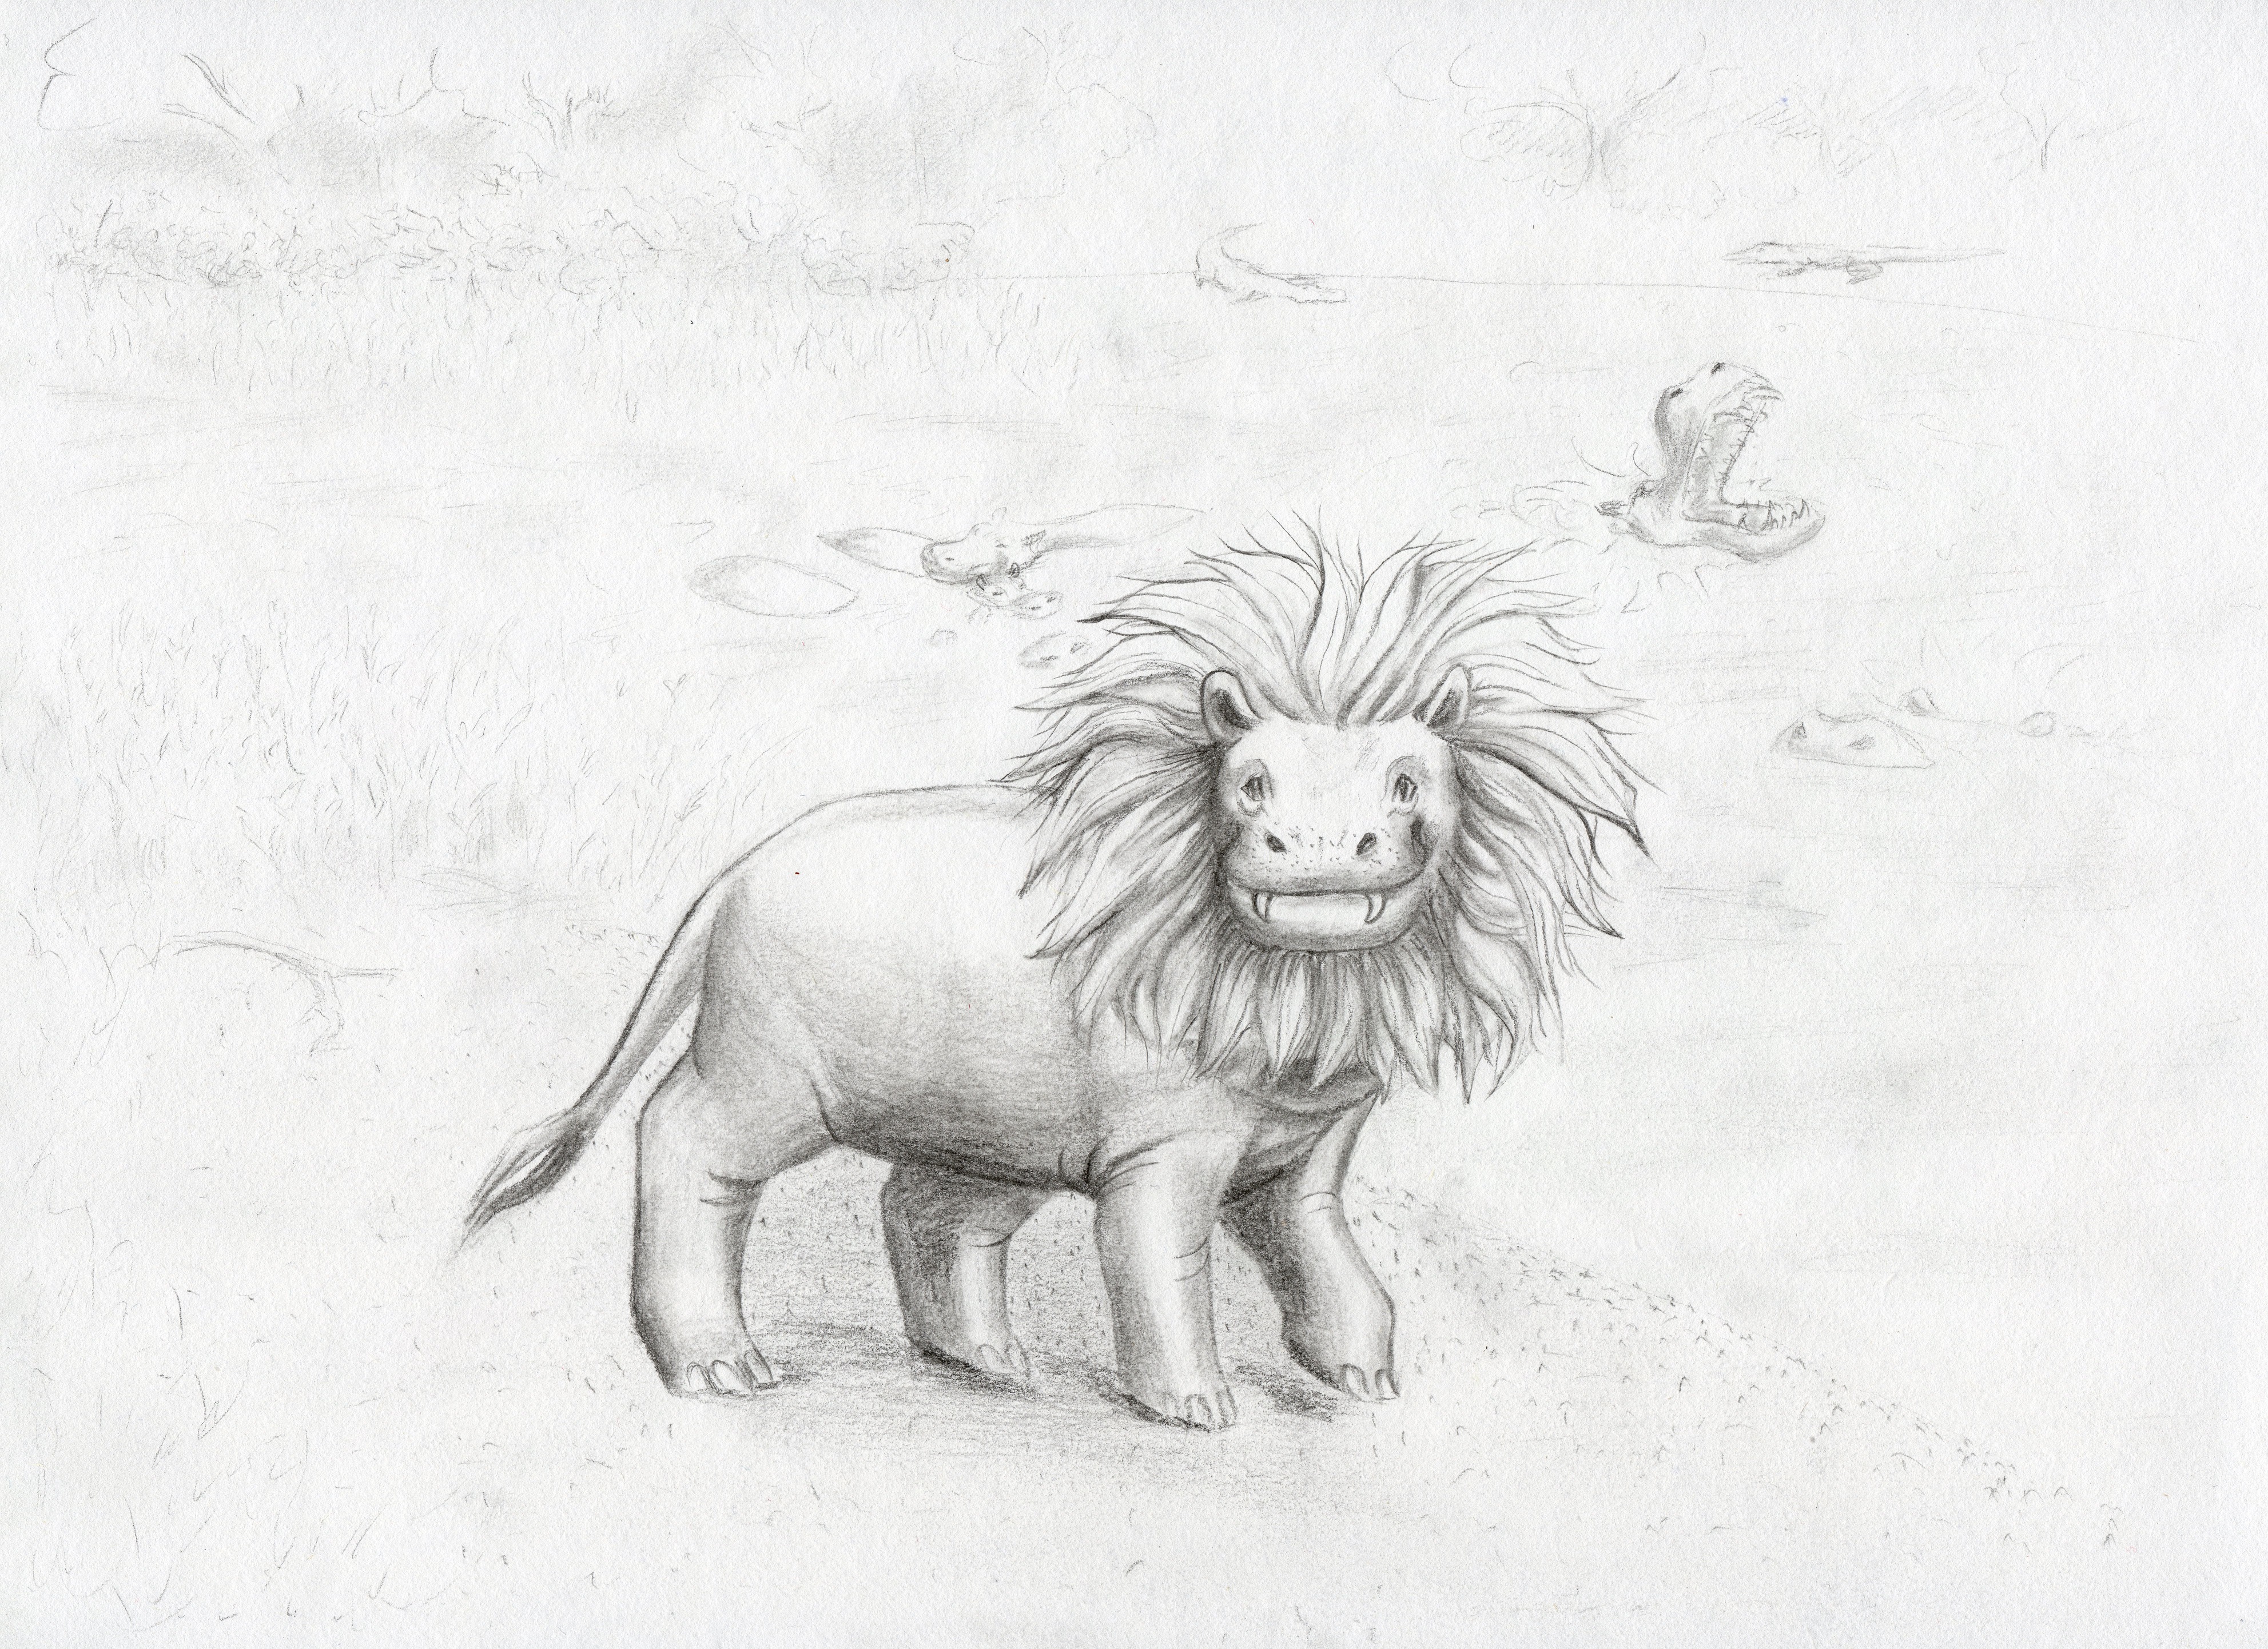
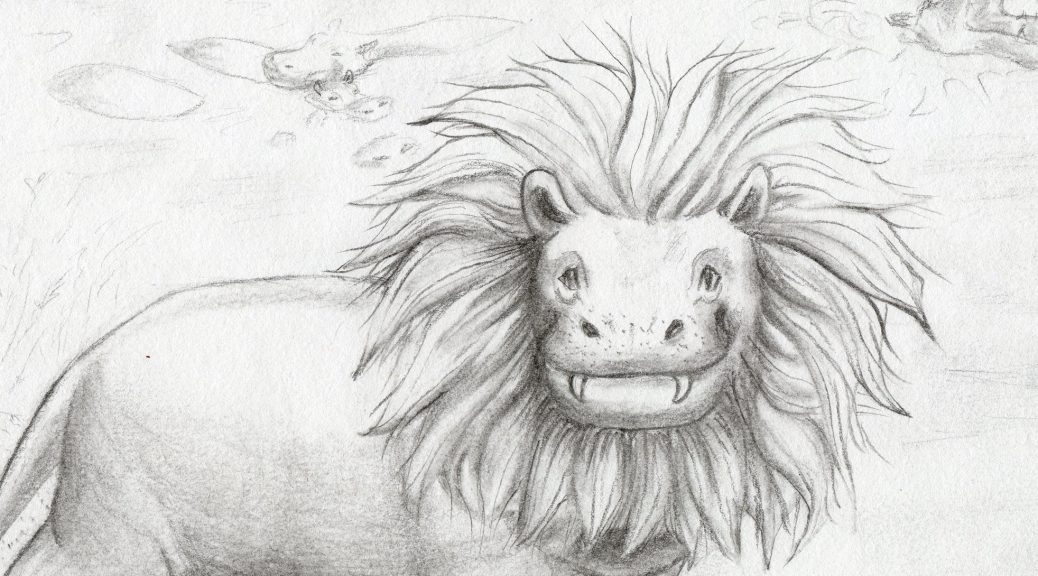
The last picture shows the great hippopollion, the king of the river. He wishes you a

Happy New Year!

Sista bilden visar flodhäjonet, flodens konung. Han önskar er ett

Gott nytt år!


Share

Blouse out of a Shirt

My father does not care about clothes. This high quality shirt,  made of fine Egyptian cotton, was damaged while  carrying wood. It felt wrong to just throw it away. I thought about just using the unstained parts, but then only the back and the collar remained, so the shirt has been lying in my stash for one year now, awaiting the serendipity.

Pappa bryr sig inte om kläder. Denna fina skjorta, i fin egyptisk bomull, blev sönderriven och nerfläckad när han bar ved. Det kändes fel att slänga så fint tyg. Jag hade tänkt behålla de oskadda delarna, men vid närmare granskning visade sig endast ryggen och kragen ha klarat sig. Därför har skjortan legat undangömd i väntan på en uppenbarelse.

I often wore my historical clothing at home before becoming a mother. Now I have hardly worn anything historical for two years for fear of having it stained or torn and because of the impracticality (it is quite hard to crawl around on the floor and under furniture, wearing floor length skirts). One week ago the need for wearing something historical grew too great and I decided to wear Edwardian clothing for the Christmas dinner at work. Since I ended up sharing table with people who did not know about my interests, nobody understood that my strange hair and clothing was historical and I just felt awkward. I decided that it was time to make something historical that I could wear at home – practical for the sake of my son and nice looking for my sake. This was the perfect purpose for the damaged shirt!

Innan jag blev mamma hade jag ofta historiska kläder till vardags. Nu har jag nästan inte använt något historiskt på två år, dels i fruktan att kläderna ska förstöras och dels för att det är så opraktiskt (det är ganska krångligt att krypa runt på golvet i hellång kjol). Förra veckan blev abstinensen efter att ha historiska kläder för svår, så jag bestämde mig för att ha min edwardianska dräkt till julbordet på jobbet. Jag hamnade vid ett bord med folk som inte känner till detta udda intresse, så ingen fattade att kläderna och frisyren var historiska och jag kände mig bara dum och missanpassad. Jag bestämde mig för att sy något slitstarkt historiskt plagg som jag skulle kunna ha hemma istället. Detta var ju det perfekta användningsområdet för den redan förstörda skjortan!

I decided to refurnish it – I took everything apart and switched sides for the front parts, so that the worst parts were placed at the sides, about the hight of the waistline. The front parts were sewn together and then the armholes made a deep neckline, that I needed to hide.

Jag sprättade isär alla delar och bytte plats på framstyckena, så att de värsta fläckarna hamnade i sidorna, nära midjan. Framstyckena syddes samman framtill. Ärmhålen bildade en djup urringning som behövde fyllas.

I used the pieces from the top of the back, to fill the neckline.

Jag använde delar från ryggens ovandel för att fylla igen urringningen.

Since this blouse should not fit closely,  I made straight seams in the sides and cut armholes. Then i started decorating the neckline with the help of my sewing machine.  Because of the different layering along the neckline, the seams ended up very uneven, and I found myself masking my mistakes by adding more and more decorating seams.

Eftersom blusen inte ska smita åt runt kroppen, sydde jag bara raka sömmar i sidorna och klippte ärmhål. Sedan började jag dekorera runt urringningen med maskinsöm. På grund av alla olika lager blev sömmarna ojämna och jag la till fler och fler sömmar för att maskera tidigare fel. 

Then I gathered the top and bottom of the arms, so that the became poofy. I reinserted the the original cuffs, but shortened them and  used the wrong side out, as this was less stained.

Sedan rynkade jag upptill och nedtil på ärmarna, så att de blev puffiga. Jag satte tillbaka de ursprungliga manchetterna, men förkortade dem och vände ut avigan, eftersom den var mindre fläckig.

The stains remain, but you just see them when looking for them. As I made this blouse in a hurry, there is a vast amount of mistakes, but as I am to wear it at home, I am quite happy with the outcome.

Fläckarna är fortfarande kvar, men man ser dem bara när man letar efter dem. Eftersom jag sydde blusen snabbt och slarvigt är det galet många misstag här och där, men jag ska ju bara använde blusen hemma och jag är nöjd med slutresultatet.

Share

Red Winter Coat

The Indian summer gave me time to finish my new coat. I bought the recycled wool from Korps market stall at Söderköpings gästabud. The interfacing comes from my sister’s old winter coat. I have also used shoulder pads and black lining material from my husband’s regency tailcoat.

I tried to design a pattern that would work for mild winter weather, with the possibility for wearing thick clothing underneath. It ended up being without buttons, only closed with a belt. In order to give the skirt a nice fall and to reduce bulk, I could not make a double fold at the hem, but handstitched the lining to the coat fabric all the way around.

Later, I am planning to make a removable high collar too. I have already made buttonholes on the inside for securing the collar.

Share

Medievalish

Two years ago, we planned on going to the Medieval Week at Visby together with my brother and my sisters family.  At the eleventh hour, I noticed that we had booked the ferry ticket and hotel nights for the wrong week.  Oh, the horror.  We comforted ourselves by going to the beautiful castle of Tjolöholm instead, where there was a Jane Austen display. My nieces have been very keen on experiencing the Medieval week though. I had no vacation this summer, so Visby was out of the question, but I had time for a day at the medieval fair at Söderköpings gästabud.

With a tiny bit of help from me, my nieces made their own gowns – all from cutting to sewing. I am so proud of them! We used fabric from my stash. The green cotton was initially blue, but became green when I was trying to dye it black for the Scary Robe. The pink linen was a huge table cloth. The dresses are made from rectangles and triangles. As the fabric is so unmedieval, the girls went all in by using Tanzanian wooden belts fort decoration. I think that they look like fantasy princesses!

Linen kirtle and liripipe hood out of soft wool

They asked me several times what our boy would wear. Eventually I could not resist making a little kirtle for him, out of an old linen skirt.

Earlier, we worn the cheapest underwear, made out of old cotton bed sheets. At our last stay at the Medieval week though, I bought linnen. During my internships far away from home, I spent the lonely evenings hand stitching a new shirt and a pair of breeches for my husband. I made a new chemise for myself the last night, on machine. I am quite proud of that I succeeded in making alterations for my husbands cotehardie. I made it for him ten years ago, when he was quite slender. Since he began bodybuilding, he has not been able to get into these clothes again. Astonishingly, I seem to have been wise enough to save broad seam allowances, so that I could make both the torso and sleeves wider. After adding sleeve gussets at the shoulders, he was even able to move!

New underwear: linen chemise, shirt, breeches and a little kirtle for the boy

The day at Söderköping was cosy. Off course, it could not compare with Visby, but our boy was happy in the clothes (he had my liripipe hood because of the cold weather) and my nieces were happy to play with him for a whole day.  The city is beautiful; the main part consists of pretty wooden houses from the 19th and early 20th century. The market was nice and I found a nice fabric for a new modern coat. All together, it was a nice day, in great company. Thank you, dear nieces!

Share

Halterneck

My latest creation is a very much needed summer dress – maybe you have heard of this years brutal Swedish summer with week after week with unusual heat and fires spreading all over the country. Since I have shrunk since before the pregnancy, only one of my old dresses fit well now. This new dress is made by fabric from Tanzania, an old zipper and thread from an old project – things that have been in my stash for years. Unfortunately, the zipper is too short and ends at the waist, so that I have to snake my way into the dress without bra.

Senaste skapelsen – tyg från Tanzania, brun tråd från ett gammalt projkt och en gammal dragkedja – allt sådant som redan låg i mina gömmor. Tyvärr går dragkedjan bara ned till midjan, så jag kan bara åla mig in i klänningen utan BH. Jag ska byta ut dragkedjan så snart jag kan.

Share

Edwardian Blouse out of Reused Materials

The Edwardian Lady Outfit.

I have a dear friend, who loves historic fashions and has swooned over my Edwardian lady outfit. She has had a really rough time, so I wanted to do something for her, and promised her that she would have the outfit. Then I decided to make a new blouse for her, that would have long arms to protect her sensitive skin and that she would be able to close by herself. I dug deep into my stashes and found some lace left from the tank top that I used for the regency chemissette, and a matching off white cotton from other recycled materials.

I layed out the pieces of lace on the mannequin in order to find the best design. Then I added the cotton fabric to fill the great voids. I used the same techniques as in the last high collar blouse:

  1. I started with two rectangles of fabric – the back as wide as half of the bust measurement and the front 10 cm wider than the back
  2. I stitched 5 mm wide pin tucks in the front, starting in the middle and working my way to the sides with 1 cm spaces between the tucks.
  3. I stitched  the lace to the fabric, then I cut the fabric away on the wrong side and hemmed from the wrong side.
  4. Then I added three pin tucks more on each side.
First I stitched the piece of lace to the right side of the fabric, then I cut the fabric away from underneath the lace and last I hemmed the edges.

When this was finished, I stitched the front to the back on the shoulders and sides. Then I attached the great piece of lace and high collar to the bodice in the same way as the other pieces of lace.

Next, I made the very simple arms: I measured the circumference of the armholes, cut to pieces of fabric with this width plus 5 cm, made a rounded top and added lace at the gathered end of the arm.

After attaching the arms to the bodice, I put push buttons and hooks and eyes for closing at the side of the neck. Then the blouse was finished. I can’t wait to see my friend in this outfit.


Share

Polka Dot

Since I got back to work, I have been struggling to reach my former level. Therefor I have dedicated the free moments during my baby’s naps to reading medical literature again. This last week, I decided to give myself a treat instead, by making a well needed dress; my body has changed a lot during the past year.

På sistone har jag ägnat alla min bebis tupplurar åt att läsa gammal studielitteratur, för att komma tillbaka till samma nivå som jag hade innan jag gick på mammaledighet.  Senaste veckan bestämde jag mig dock för att sy en ny klänning till mig själv i stället, eftersom min kropp har ändrats så mycket under året så att mina kläder generellt inte sitter särskilt bra längre.

Alas, I live in a town without any fabric store. I bought this fabric last year in Söderköping, some days before the expected child birth. I did not have any matching buttons, so I asked for it on Facebook. A friend of mine had a box full of buttons, inherited from her grand mother, and she kindly gave these to me. After painting them with nail polish, they came out well, I think.This is the first time I have made this kind of collar and I am quite pleased with how it came out. I am less pleased with finding out that my bust has sunken down below the placement on my mannequin, so that the darts are subsequently placed too high on the dress. This I found out during the photo shoot. Then I also found out that the fabric gets wrinkled by anything; the wrinkles that you see on the pictures  formed during the five minute travel by car. Super annoying.

Märkligt nog bor jag i en stad utan tygaffär. Det här tyget köpte jag förra året i Söderköping, några dagar innan beräknat förlossningsdatum. Jag hade inga matchande knappar, så jag frågade på Facebook. En av mina vänner har ärvt en hel knapplåda av sin farmor, och gav dessa knappar till mig.  Det är första gången som jag gör denna slags krage, men jag tycker att det blev helt ok. Jag är mindre nöjd med att inse att min stackars byst har sjunkit ned under brovdockans nivå, så att inprovningarna i sidan sitter för högt. Detta insåg jag när jag såg bilderna. Dessutom blir tyget skrynkligt bara man tittar på det. Überirriterande.

Very well. Except for these nuisances, I am quite pleased with the pattern and the dress as a whole. It feels so good to wear a dress that fits well and that does not become totally indecent as I lean forward to help my offspring challange forward through the vegetation.

Ja, ja. Förutom alla dessa irritationsmoment är jag nöjd med mönstret och klänningen över lag. Det är grymt skönt att ha en klänning som både sitter ok och inte blir totalt oanständig när man böjer sig fram för att hjälpa sin avkomma att ta sig fram genom vegetationen.

Share

Scary Robe for Child

Some weeks ago, I heard something that made my heart melt. A seven year old boy said that I am the best seamstress in the world. I tried to explain that this was not the case, but he insisted. Because

“You are even better at sewing than my own mother!”

This dear boy asked me if I could help him sew a robe that he could wear together with his Scream mask, or perhaps help him making his own gym bag? Because of my baby, I do not know how much time there will be for teaching him how to sew, so I decided to make the robe as a birthday gift.

För några veckor sedan fick jag höra något som fick mitt hjärta att smälta. En sjuåring sa att jag var bäst på att sy i hela världen. Jag försökte förklara att det nog inte var riktigt sant, men han höll fast vid sitt påstående, för

“Du är till och med bättre än min mamma på att sy!”

Denne fine pojke undrade om jag inte kunde hjälpa honom att sy en jättehäftig dräkt, som han kunde ha tillsammans med sin Scream-mask, eller om jag kanske en gympapåse? På grund av min bebis visste jag inte hur mycket tid det skulle bli över för att lära ut sömnad, så jag bestämde mig för att sy dräkten till hans födelsedag.

This is what I envisioned – a dramatic robe with a lot of fabric that would fly behind the boy as he ran around scaring everybody. I did not have any black fabric, but I had recently been given some colored cotton fabrics, that I thought were exactly the same kind, except for the green and blue color. I dyed the fabrics black, but discovered that only the blue fabric became fully black. The green took a darker shade, but was still very green. I could not use that piece, so I had to make do with much less fabric than I had intended to use.

Så här såg min vision ut – en dramatisk rock med massor av tyg, som skulle flyga bakom pojken när han sprang runt och skrämde folk. Jag hade inget svart tyg hemma, men hade nyligen fått färgade bomullstyger, som jag trodde var av samma sort. Jag färgade det blå och gröna tyget med svart textilfärg, men upptäckte att bara det blå tyget blev helt svart. Det gröna hade antagit en mörkare nyans, men var fortfarande väldigt grönt. Jag kunde inte använda det tyget, så jag fick försöka klara mig med mindre tyg än jag hade planerat för.This is the very simple construction of the scary robe. I used the following measurements:

  • height
  • length from shoulders to floor
  • arm length
  • neck circumference
  • length from base of the neck over the head to the other side
  • length from forehead to backside of the base of the neck

All this with some extra cm, especially for the hood.

Detta är den extremt enkla konstruktionen av den läskiga rocken. Jag använde följande mått:

  • längd
  • längd från axlar till golv
  • armlängd
  • nackens omkrets
  • längd från nackens bas över huvudet och ned på andra sidan
  • längd från pannan till baksidan av nackens bas

Alla dessa mått med några centimeter extra, särskilt för luvan.

I gathered the double shoulder measurement in pleats and cut a hole for the neck and made a vent at the front. The vent kloses with a hook and eye.

Jag samlade det dubbla skuldermåttet i veck över axlarna och klippte ett hål för huvudet och ett sprund mitt fram. Sprundet stängs med en hyska och hake.

This is how it looked after making the hems. The pleats were secured with 5 centimeter machine stitches.

Så här såg det ut efter att jag fållat halslinningen. Vecken sydde jag fast med 5 cm långa maskinsömmar.

As I did not have enough fabric for following my own pattern, I used the fabric as is seen on the picture to the right. I had to join three pieces for the hood. I tore away threads lenghtwise, in order to give a rugged edge to the hood and arms. At the bottom of the arms, I also shreded the fabric at the bottom by hand. I stitched the front and back together with some few stitches just beneath the armpits.

Eftersom jag inte hade tillräckligt mycket tyg för att följa mitt eget mönster, använde jag tyget som ses på skissen här till höger. Jag skarvade ihop tre bitar till luvan. Jag rev bort trådar för att få kanterna på luvan och ärmarna att se slitna ut. Längst ned på ärmarna rev jag sönder tyget för hand. Jag sydde ihop fram- och bakstycket med några få stygn precis under armålorna.

This is how it came out.

Så här såg det ut till slut.

The boy was very pleased with his gift and I believe that I am still his seamstress idol.

Pojken var mycket nöjd med sin present och jag tror att jag fortfarande är hans sömmerske-idol.

Share

Small Clothes

During my pregnancy we bought fabrics for the baby nest and childrens clothes. From these, I have sewn a pajama, a bodysuit that is already too tiny for my big boy and a nightgown for a threeyearold girl. All three were quickly cut out – for the baby clothes I used well fitting clothes as template and for the nightgown, I cut rectangles with standard measurements according to the girls age, with slanting shoulders and a tad more width at the bottom at the skirt than at the waistline.  I used the wrong side of the fabric as tape for arms and legs. The push buttons were a bit tricky to attach at sites with many layers of fabric, so I had to sew the bottom of the pajama legs together.

Under graviditeten köpte jag två tyger till nästet och barnkläder. Av dessa  tyger har jag nu även sytt en pyjamas, en body, vilken redan är för trång för min stora pojke och ett nattlinne till en treåring. Alla tre plagg klipptes snabbt till – till nattlinnet använde jag mig av rektanglar med standardmått för flickans ålder, med lätt utsvängning av kjoldelen och sluttande axlar, och till min bebis använde välsittande kläder som mall. För att få matchande kantband använde jag mig av avigan på tygerna. Tryckknapparna var lite knepiga att fästa där det var många tyglager att tränga igenom, så jag var tvungen att istället sy ihop nedre delen av pyjamasbenen.

Over all, I am happy with the result. My boy has slept well in the pajama and the girl seems to be happy for the nightgown. Off course, I would rather have made the bodysuit big enough for him to use more than once, but now I have learnt always to add a lot of fabric in order to fit this little giant.

Jag är i stort sett nöjd med resultatet. Min bebis har sovit gott i sin pyjamas och flickan verkar vara glad för sitt nattlinne. Det är så klart retligt bodyn blev för liten, men nu har jag lärt mig att jag alltid ska plussa på rejält för att det ska passa detta lilla matvrak.

Share

Better Late Than Never?

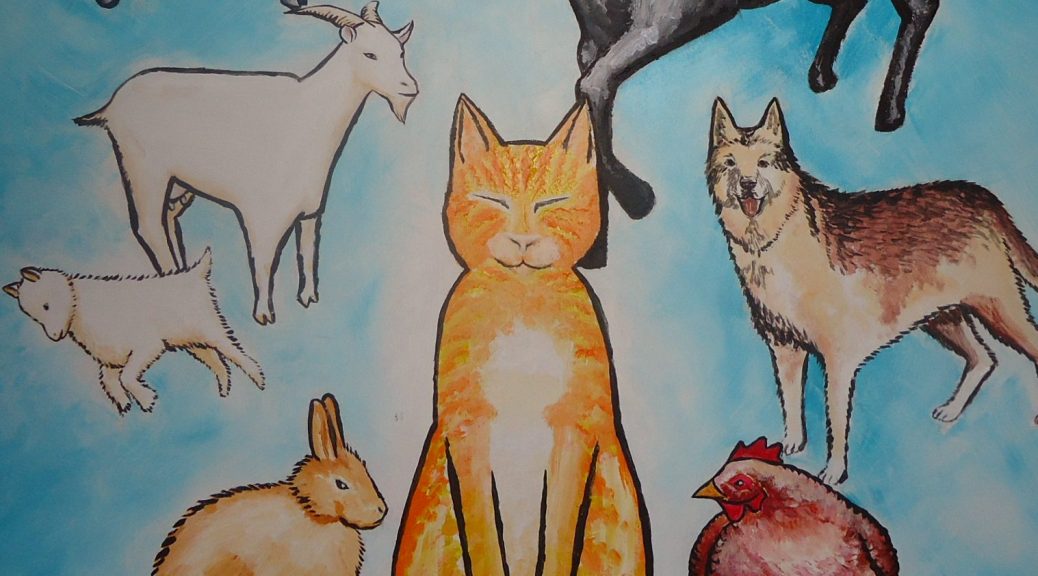
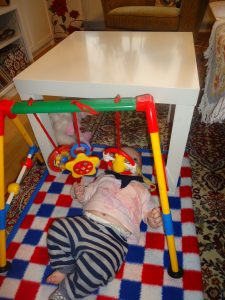
As we noticed that our baby was the happiest when laying on the changing table underneath the shelf that I painted for him, my husband suggested that I should paint something movable, so that we could hang out with our baby at other places than just in the bathroom. Said and done – we bought a small IKEA table in our local second hand shop. It was not painted underneath, so I had to put a white layer of paint first. I googled the cute animals that you see on the picture. Unfortunately, so many things came in between, that I could only paint one body part at a time and was not able to finish the table until this week. The baby likes it, but does not communicate with the animals as he did with the shelf animals when he was younger.


I början var vår bebis gladast när han fick ligga på skötbordet, under hyllan som jag målade åt honom. Därfr föreslog min man att jag skulle måla något motsvarande på en flyttbar möbel. Sagt och gjort – vi köpte ett litet IKEA-bord i second hand-affären. Undersidan  var obehandlad, så jag fick börja med att måla den vit. Jag googlade fram några söta djur, som du ser på bilden. Tyvärr kom så mycket i vägen för detta projekt att det blev färdigt frst denna vecka. Bebisen gillar djuren, men han pratar inte med dem, så som han gjorde med djuren på hyllan när han var yngre.

Share

– where you can see what I do – designing, sewing, singing, creating etc.