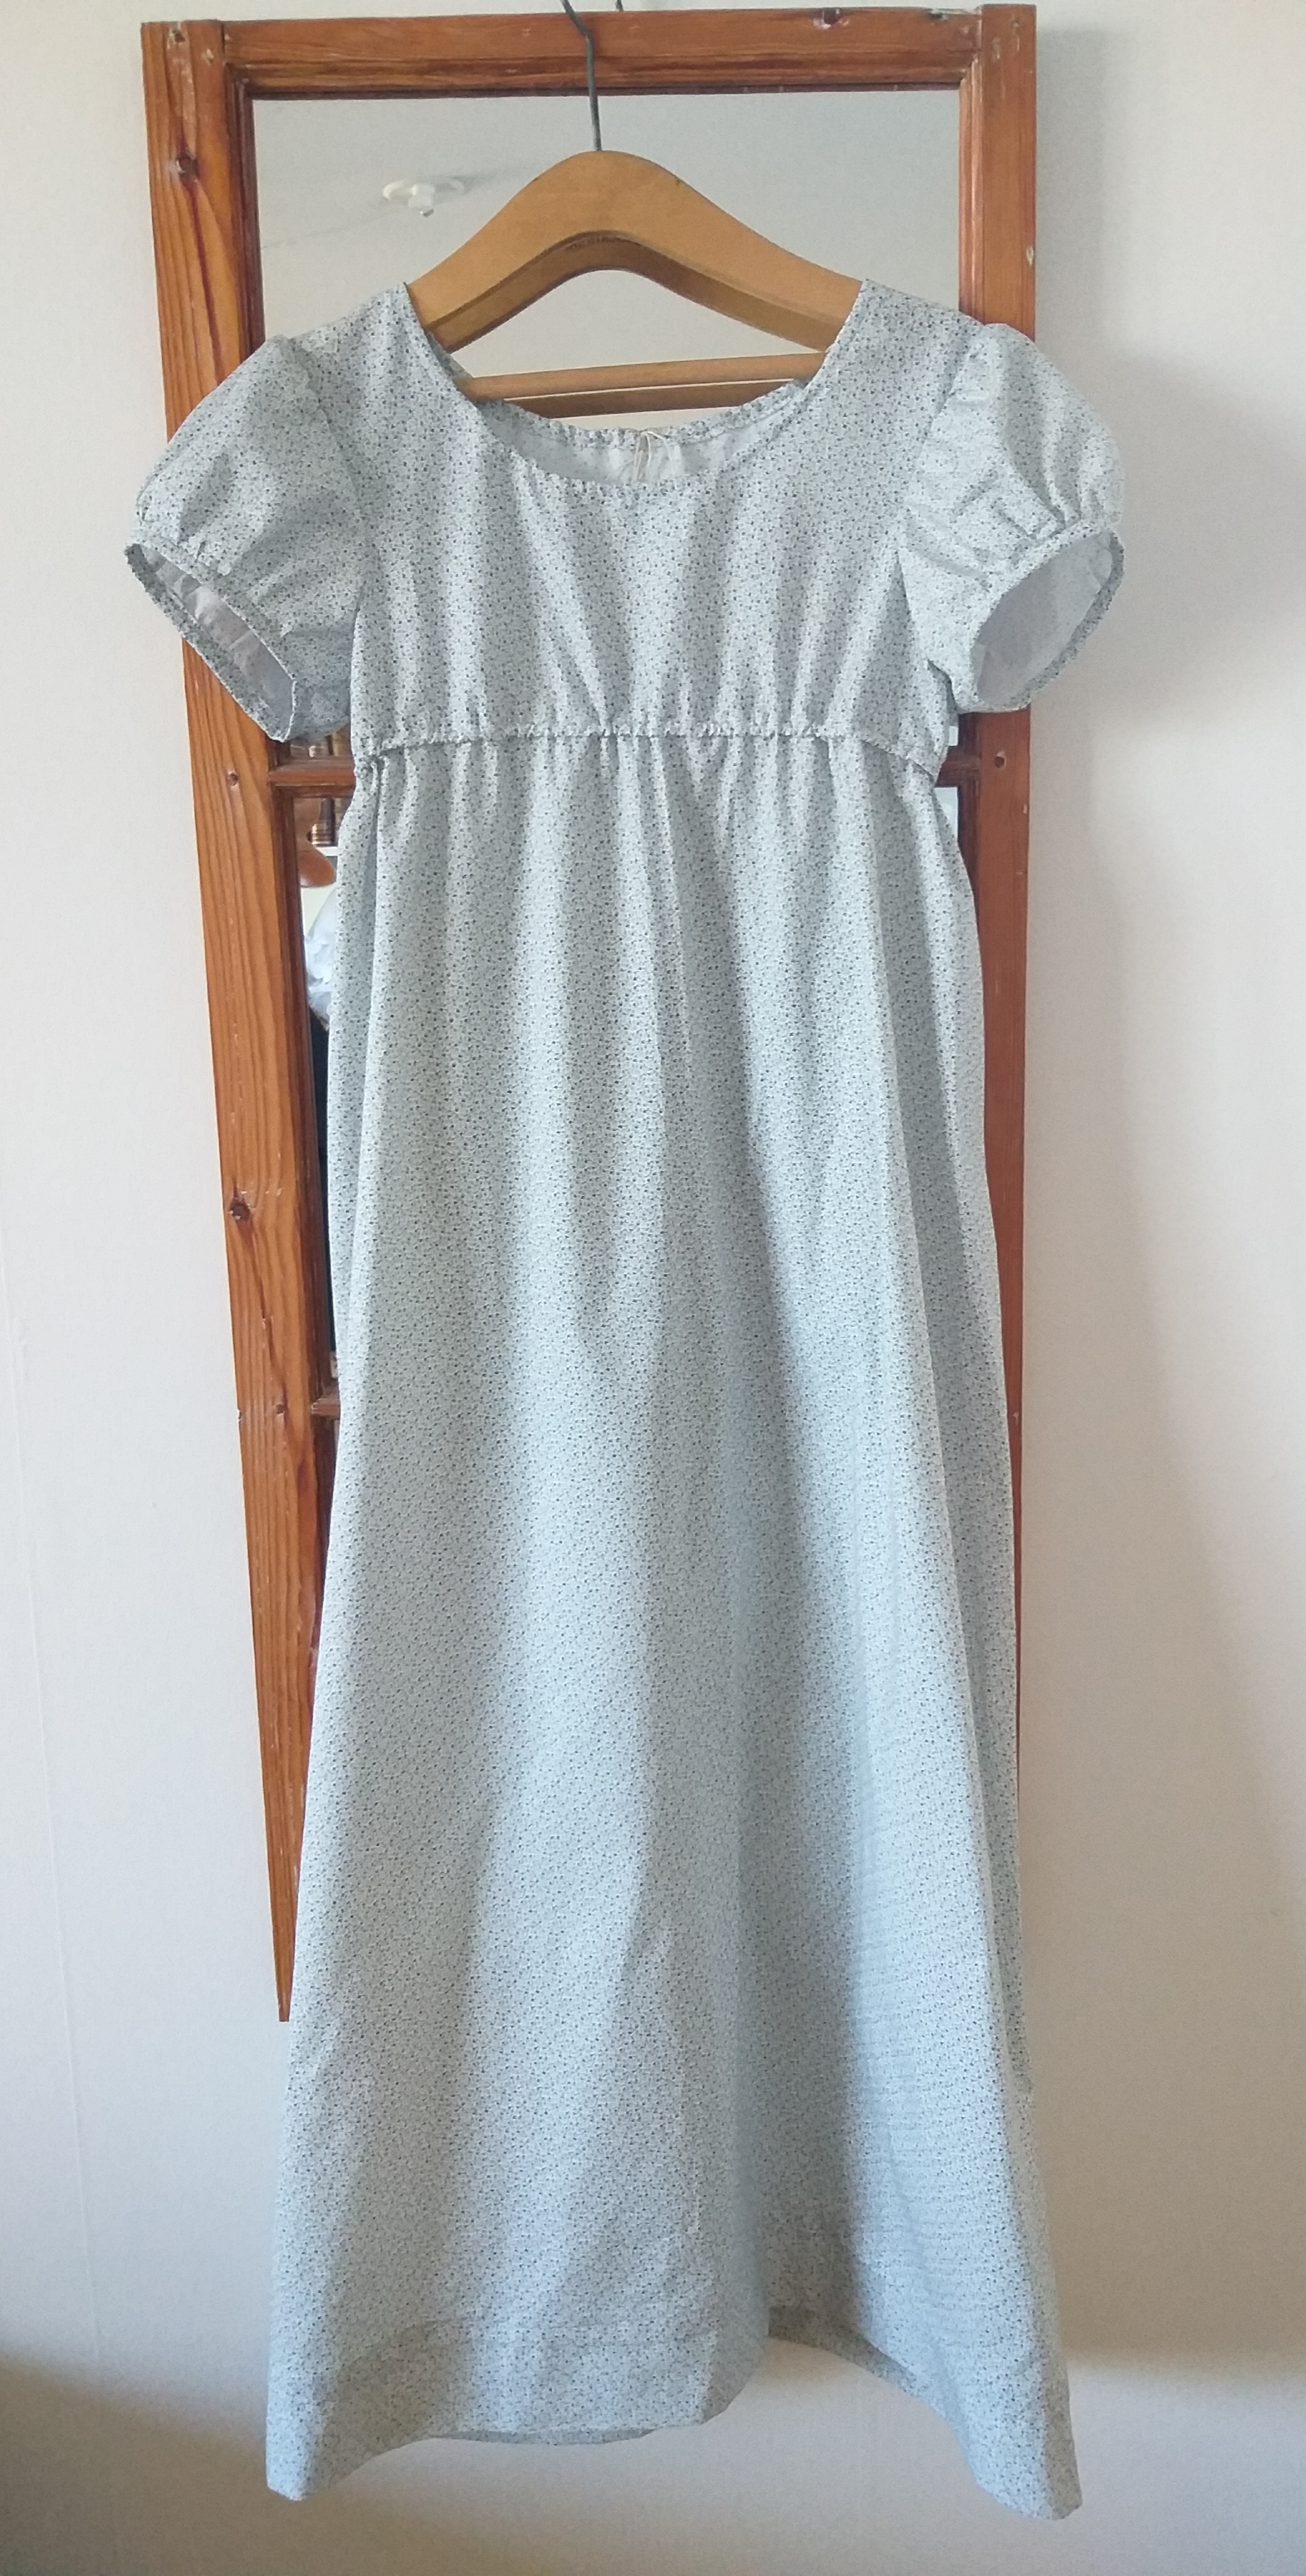
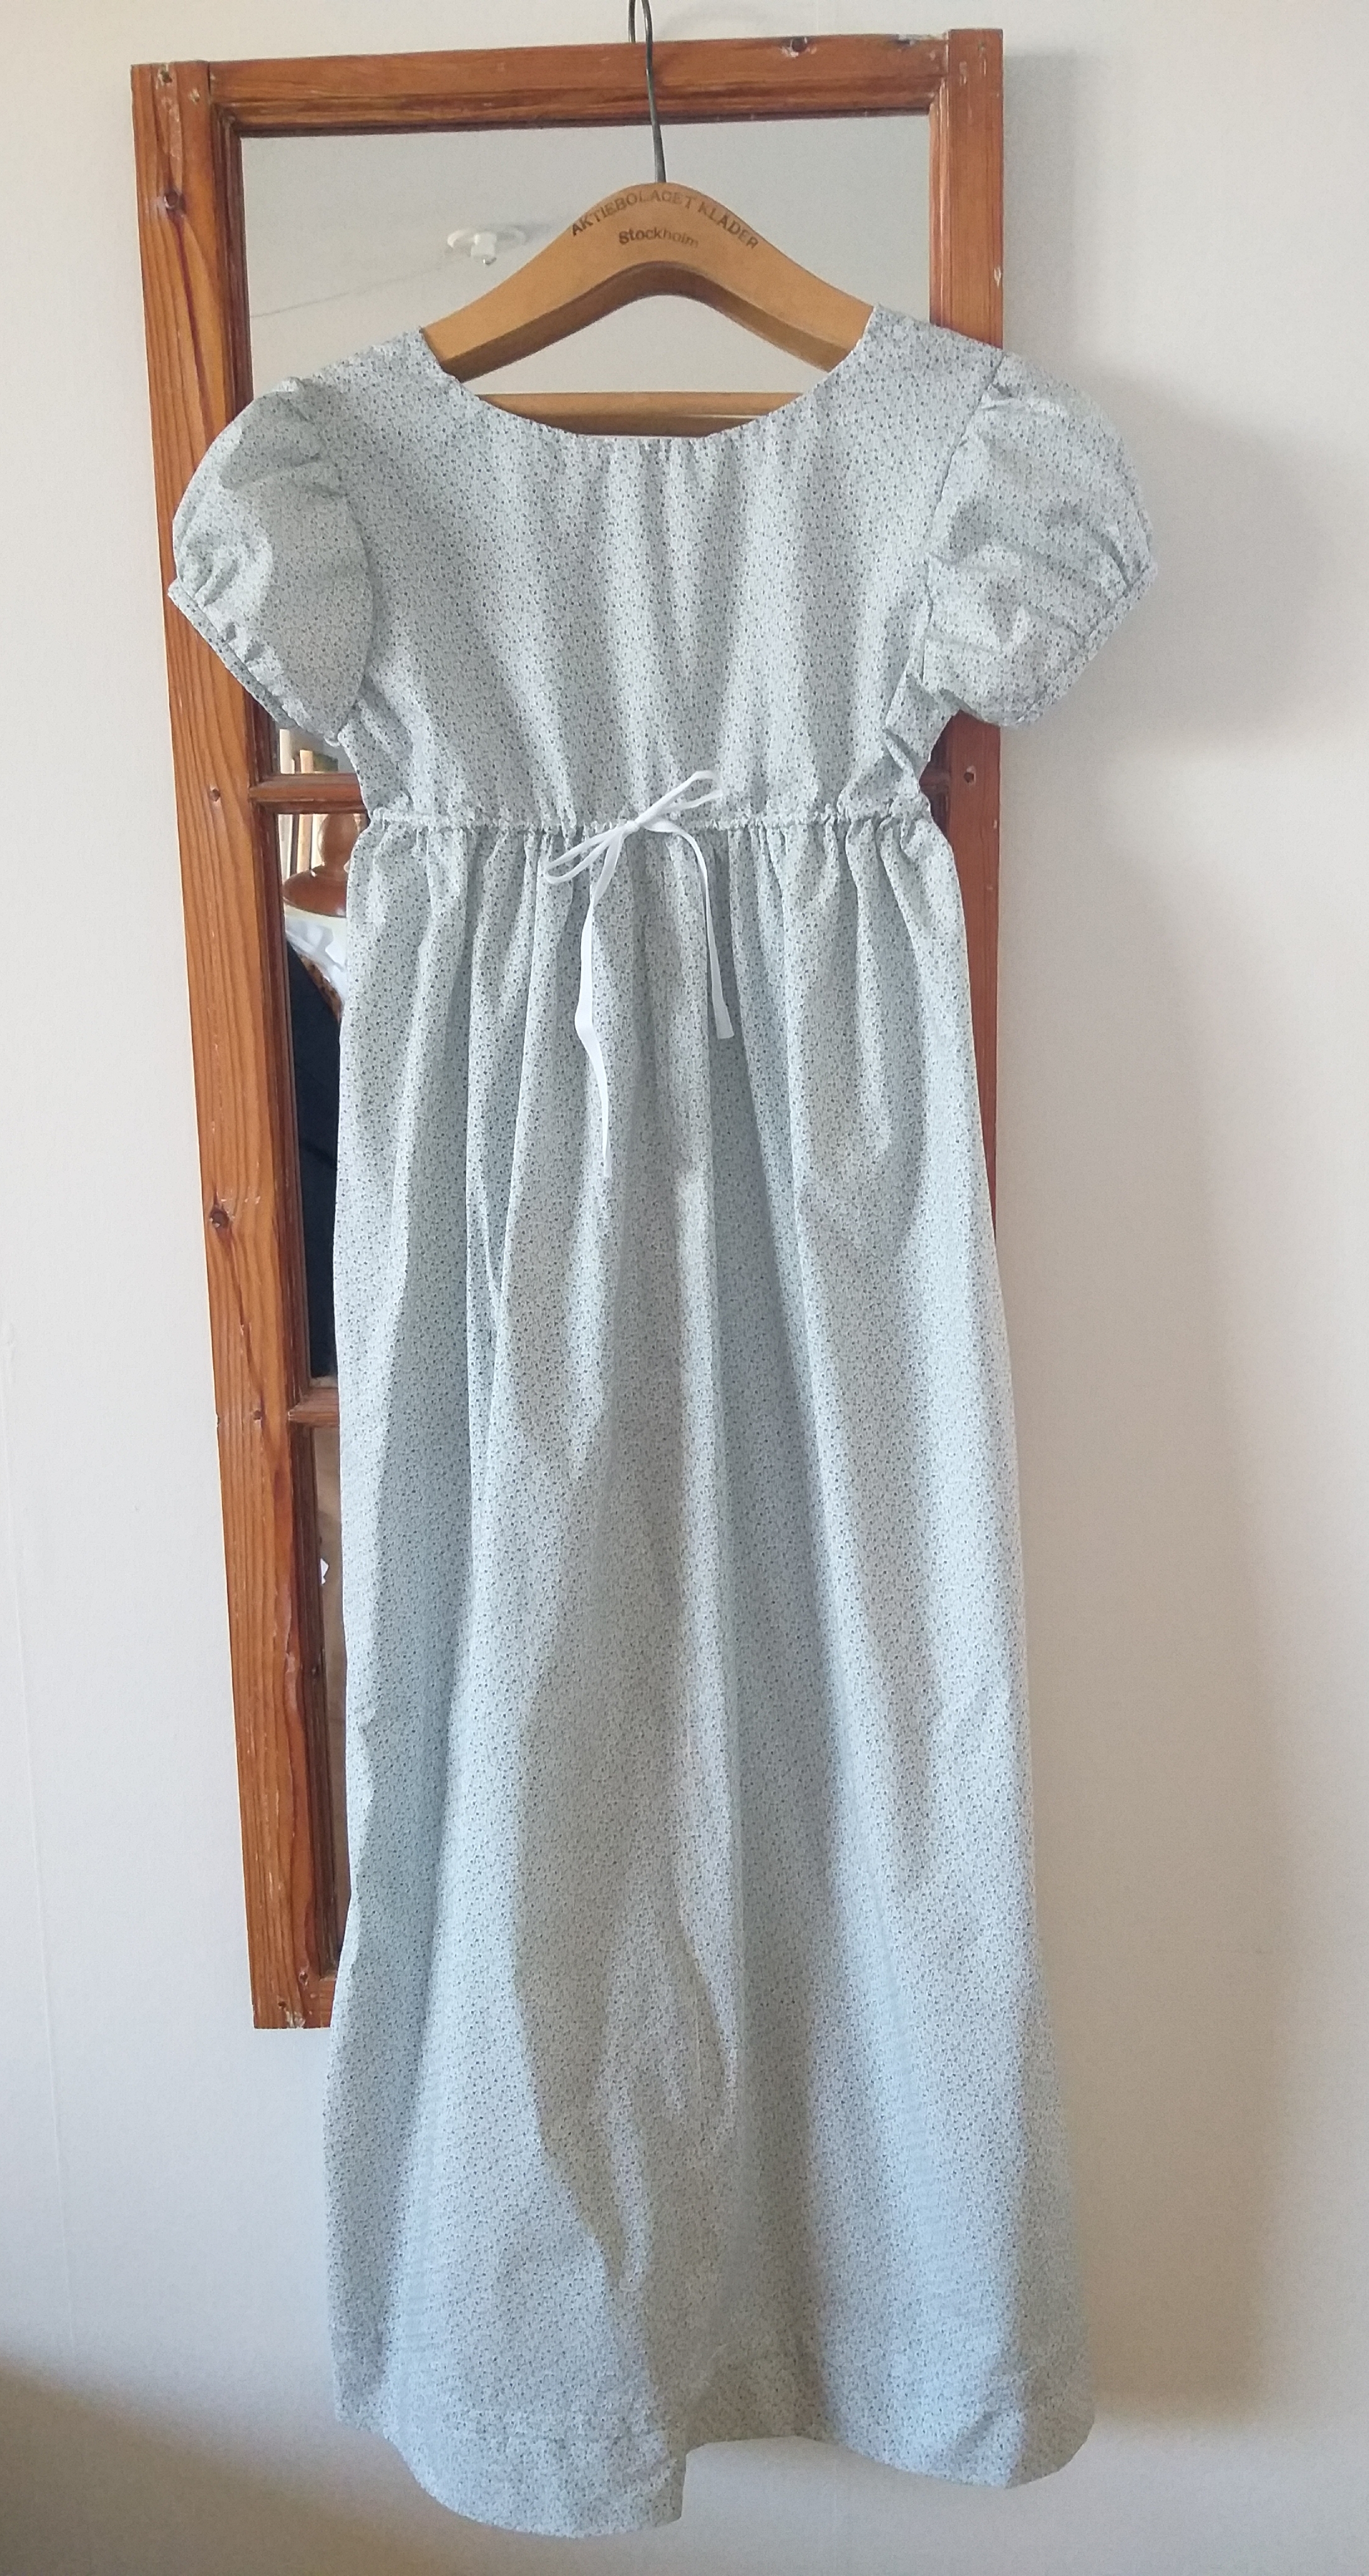
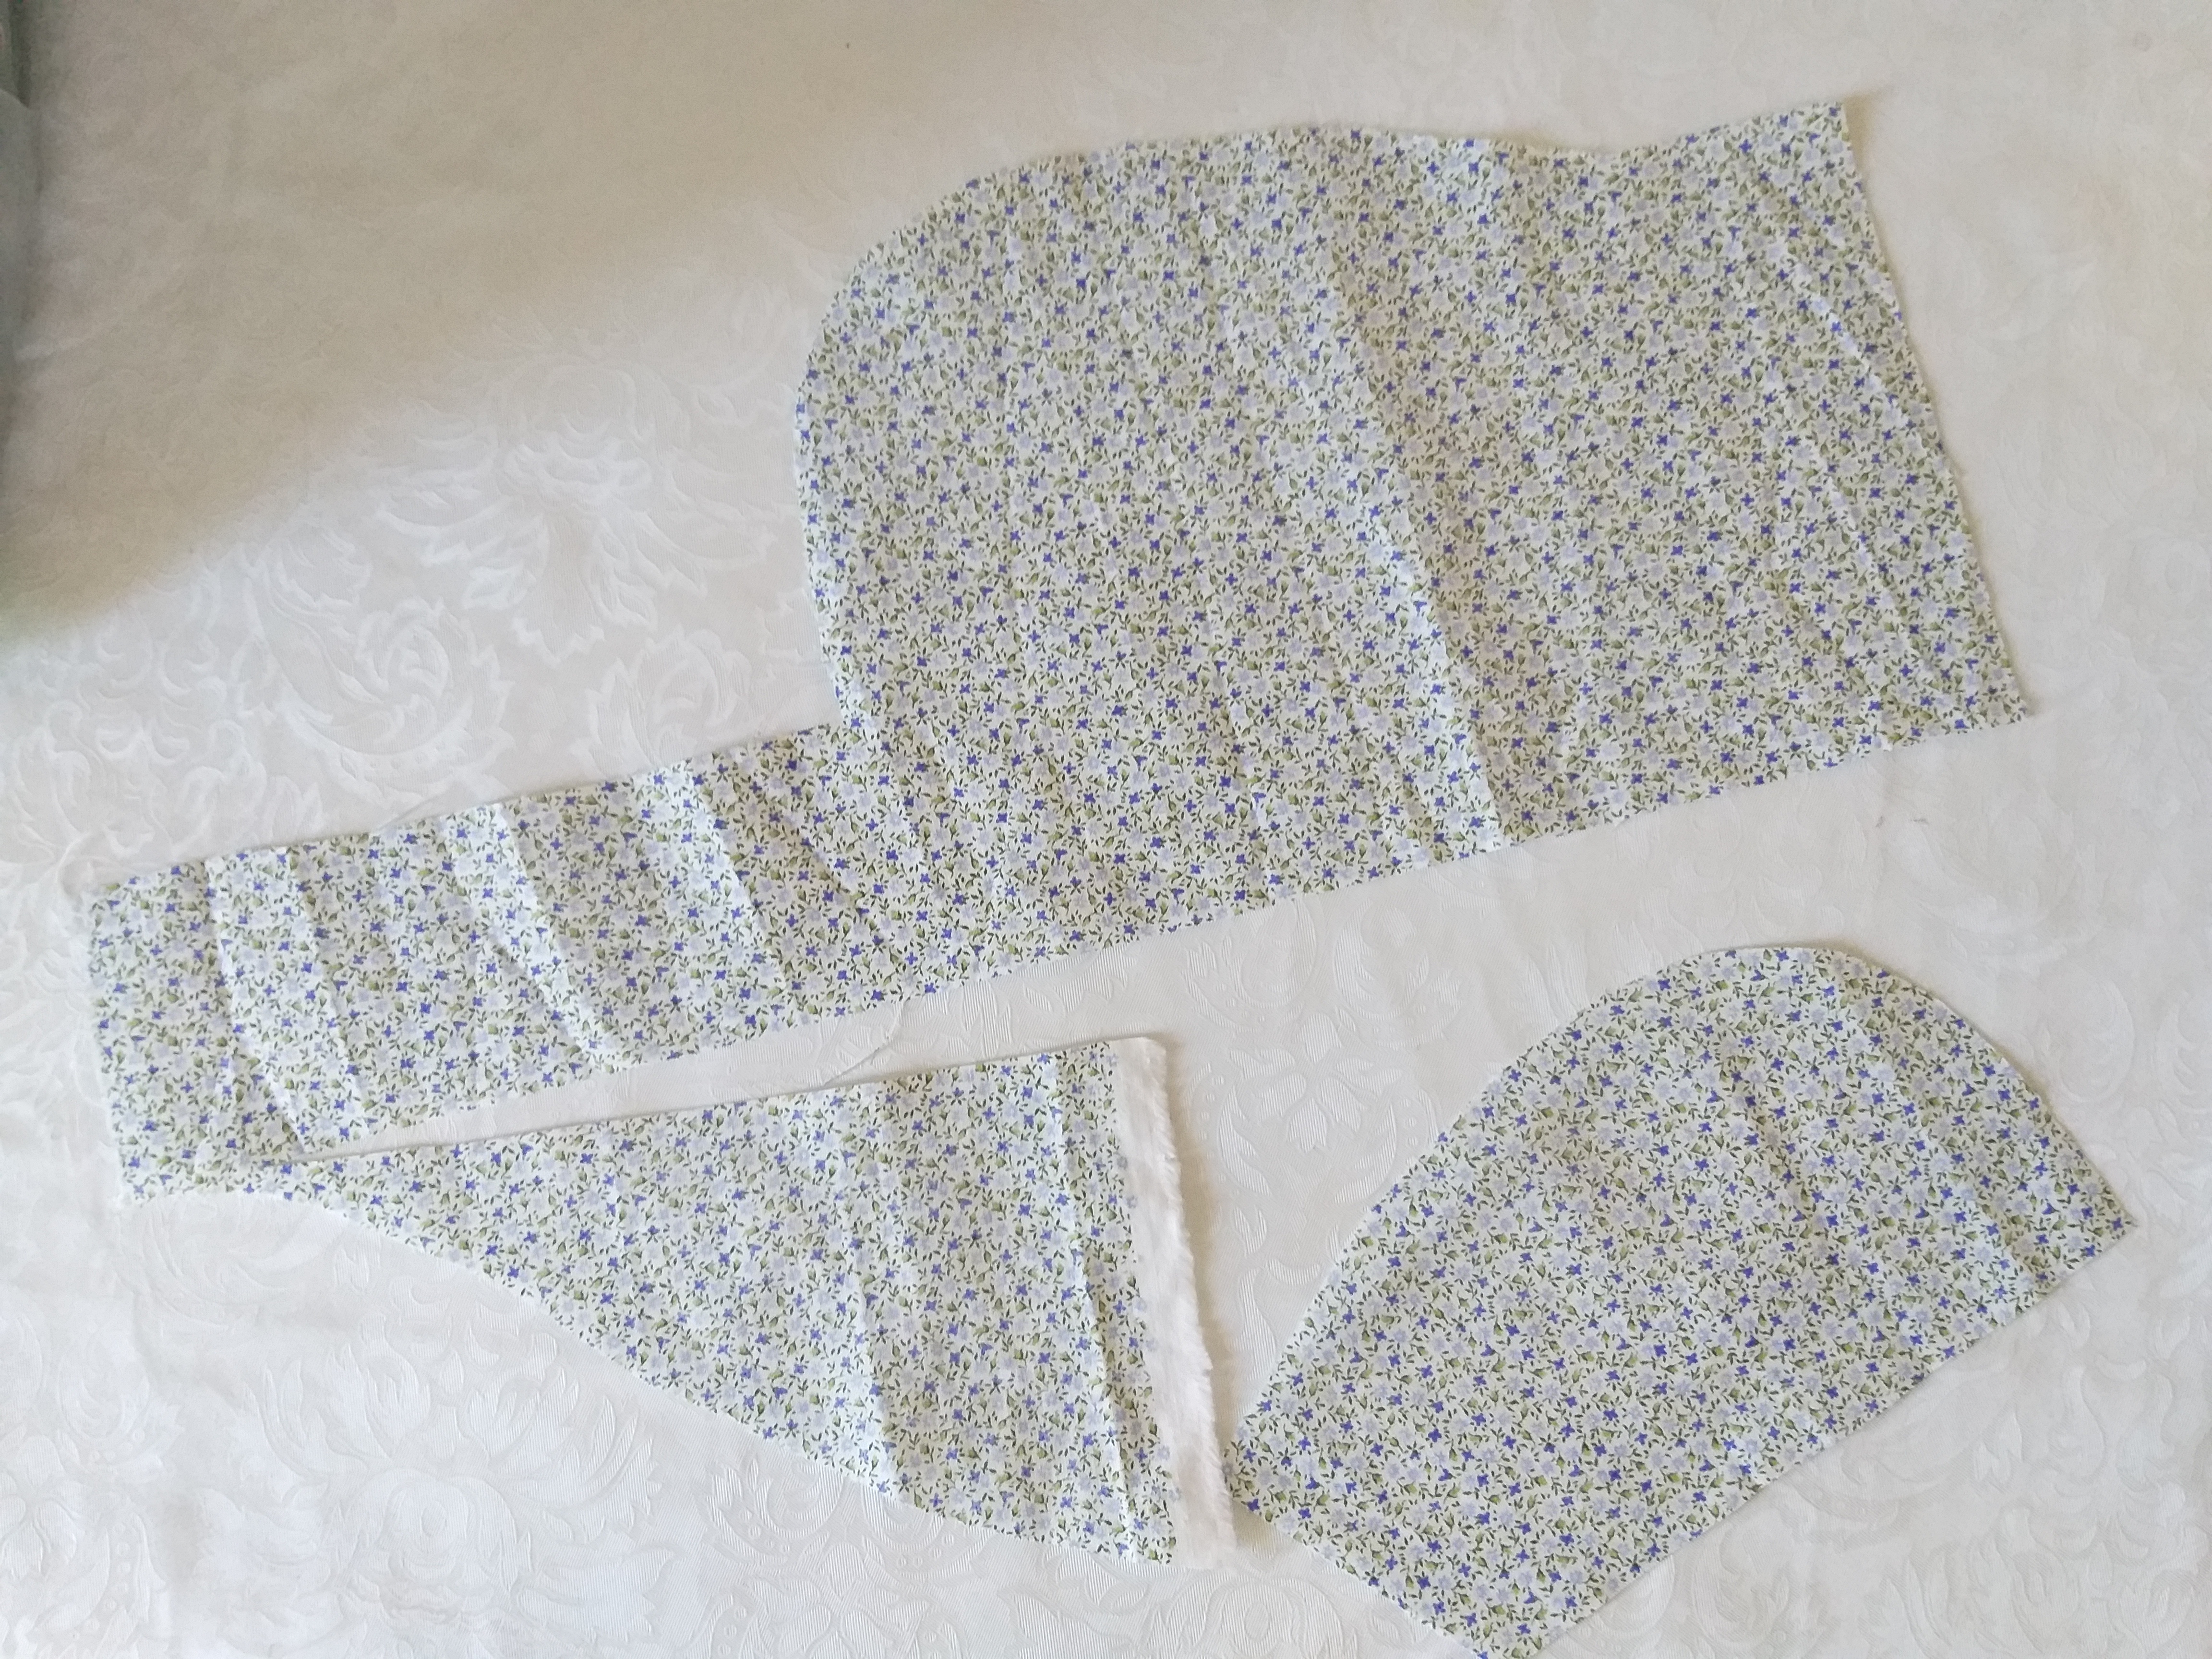
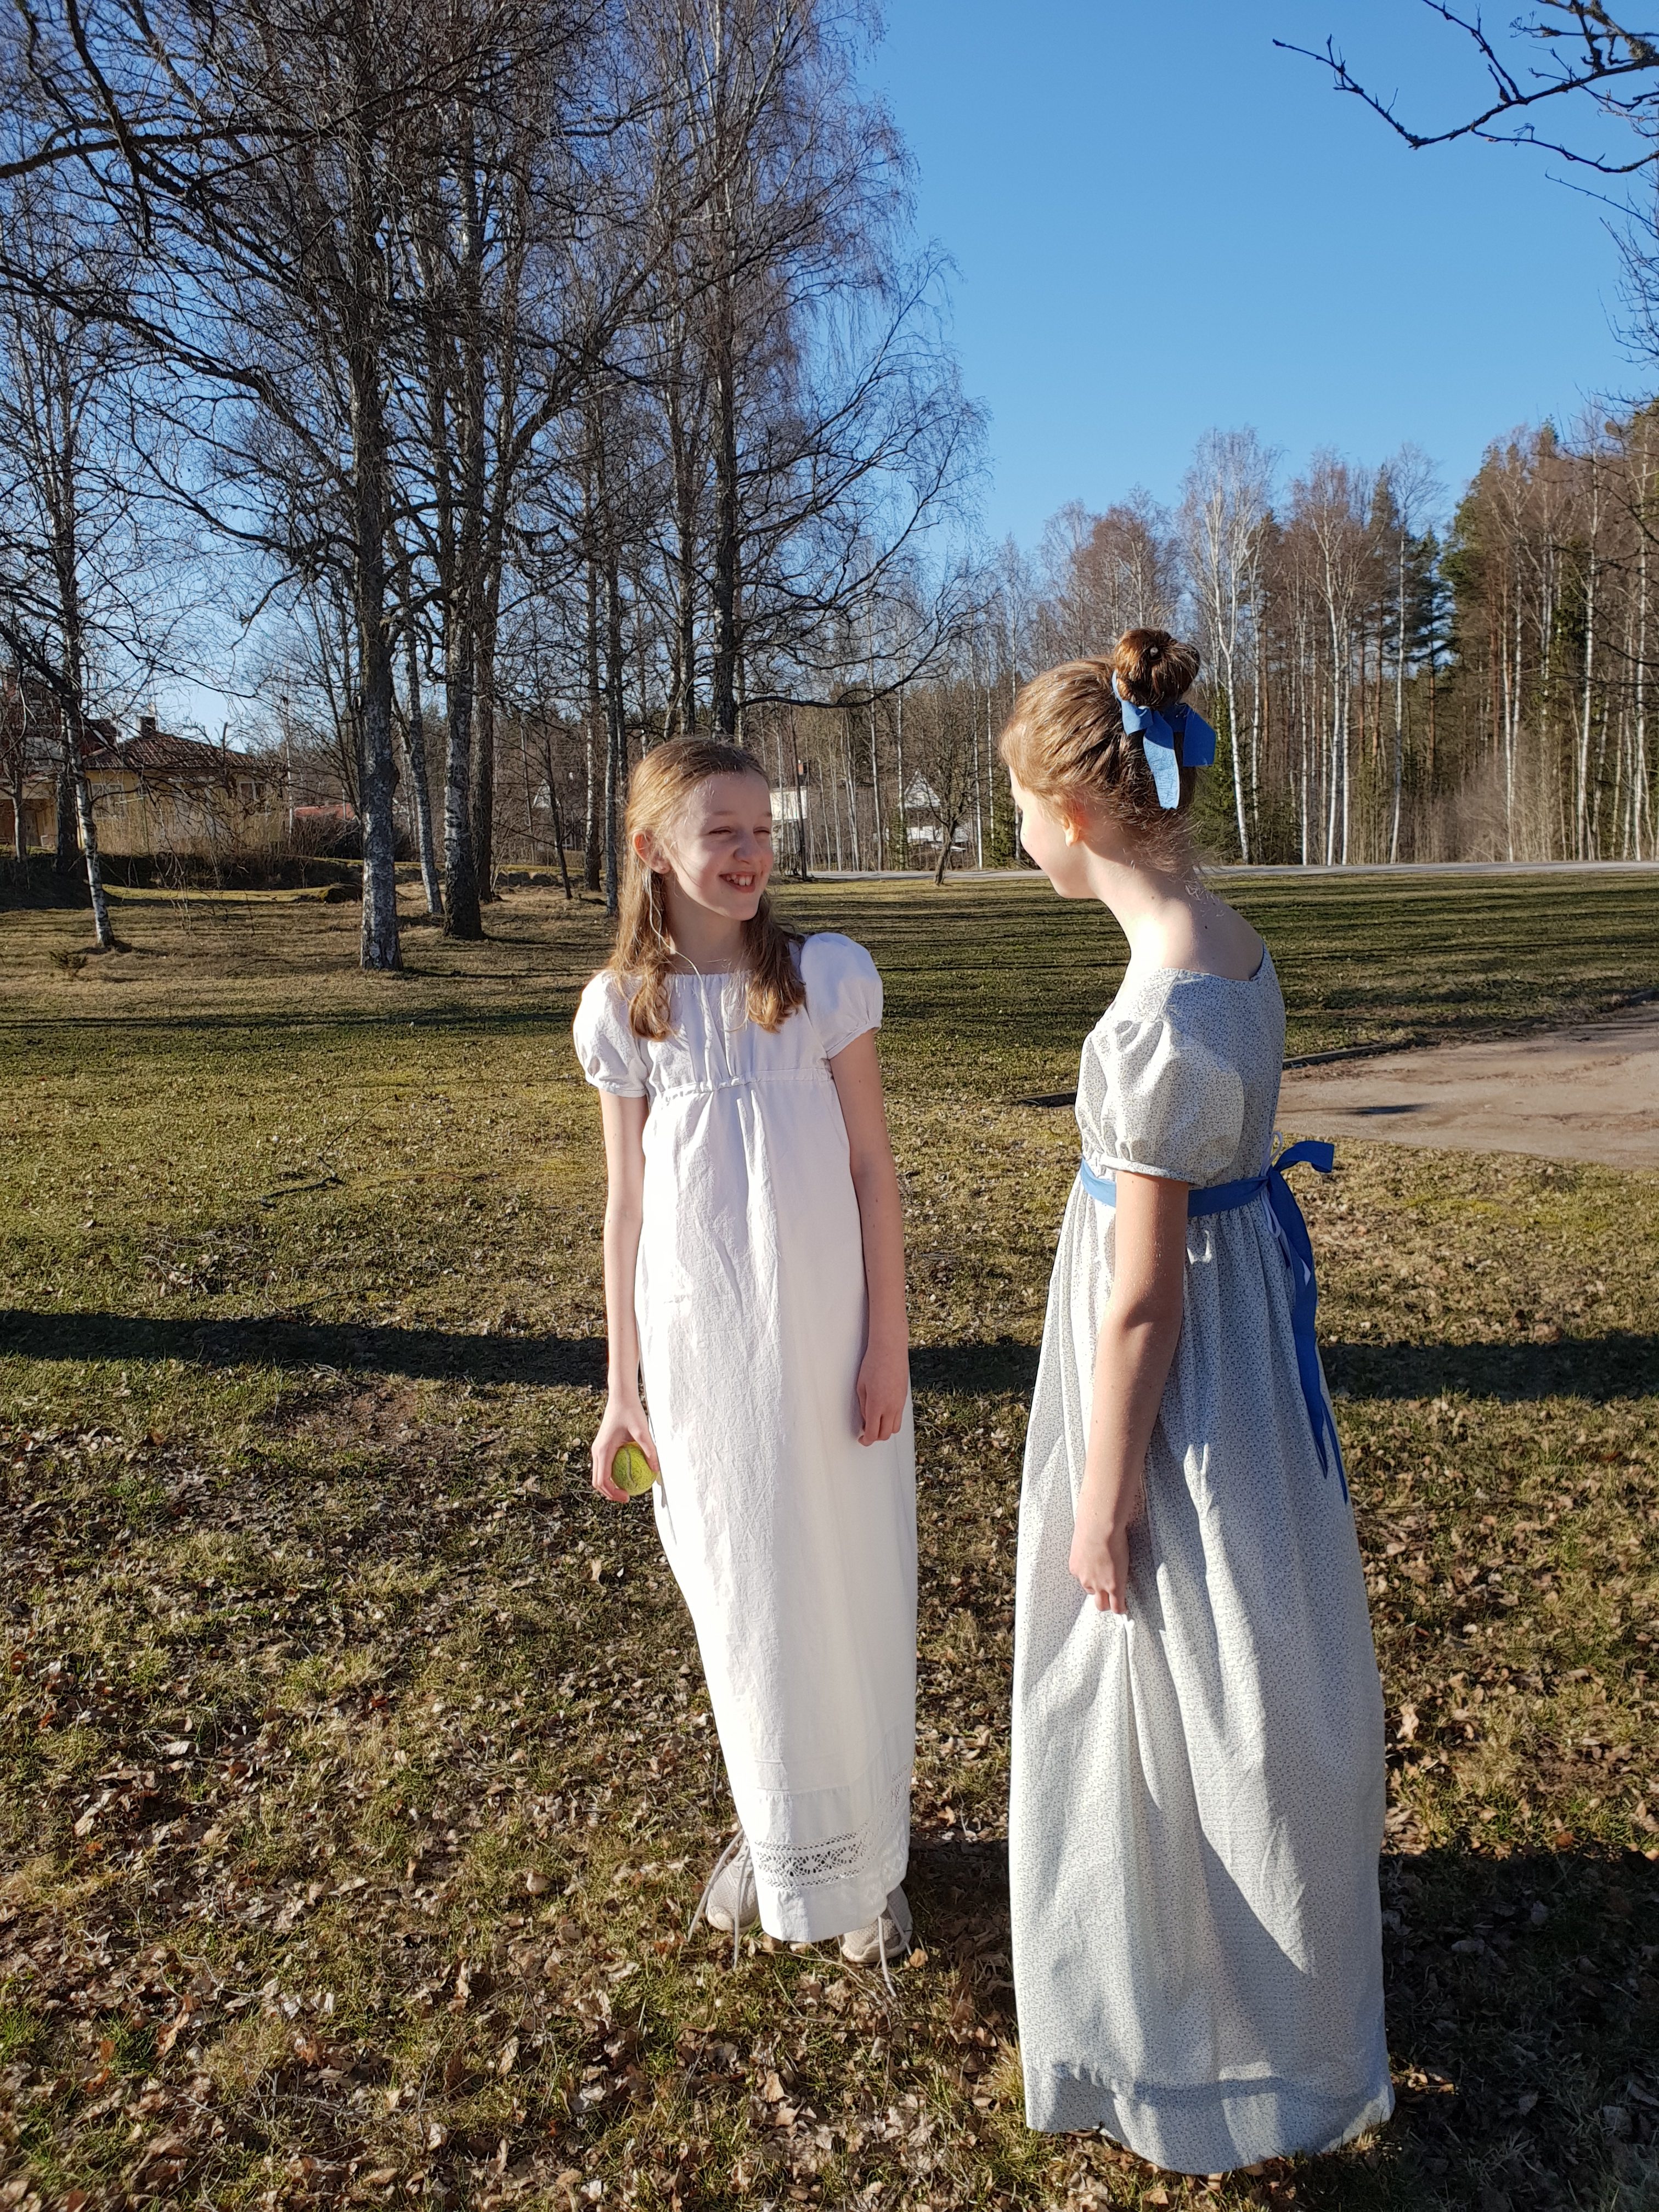
These last few months have been crazy. I’ve had my internship at the psychiatric ward, which have been both thrilling and exhausting, as I have been working nights a lot more than I tolerate. At the same time I have been preparing clothes for a recency ball. In a weak moment I decided to even participate in dancing sessions before the ball, in order to fully enjoy the historically authentic ball (for those of you who don’t know me, I am not the dancing type). My dear nieces will accompany us for the dancing lessons and thus, there is need for one more regency dress, for a slender thirteenyearold. The younger niece will wear this dress which will be long enough after having removed the pin tucks. I made the quickest dress ever, with the least amount of material ever, leaving approximately five square centimetres of scraps. This is the result.
This is what fabric was left after making the dress. I’m quite proud of myself.The new dress with floral print and the old white dress which has now been successfully lengthened by removing the pin tucks.
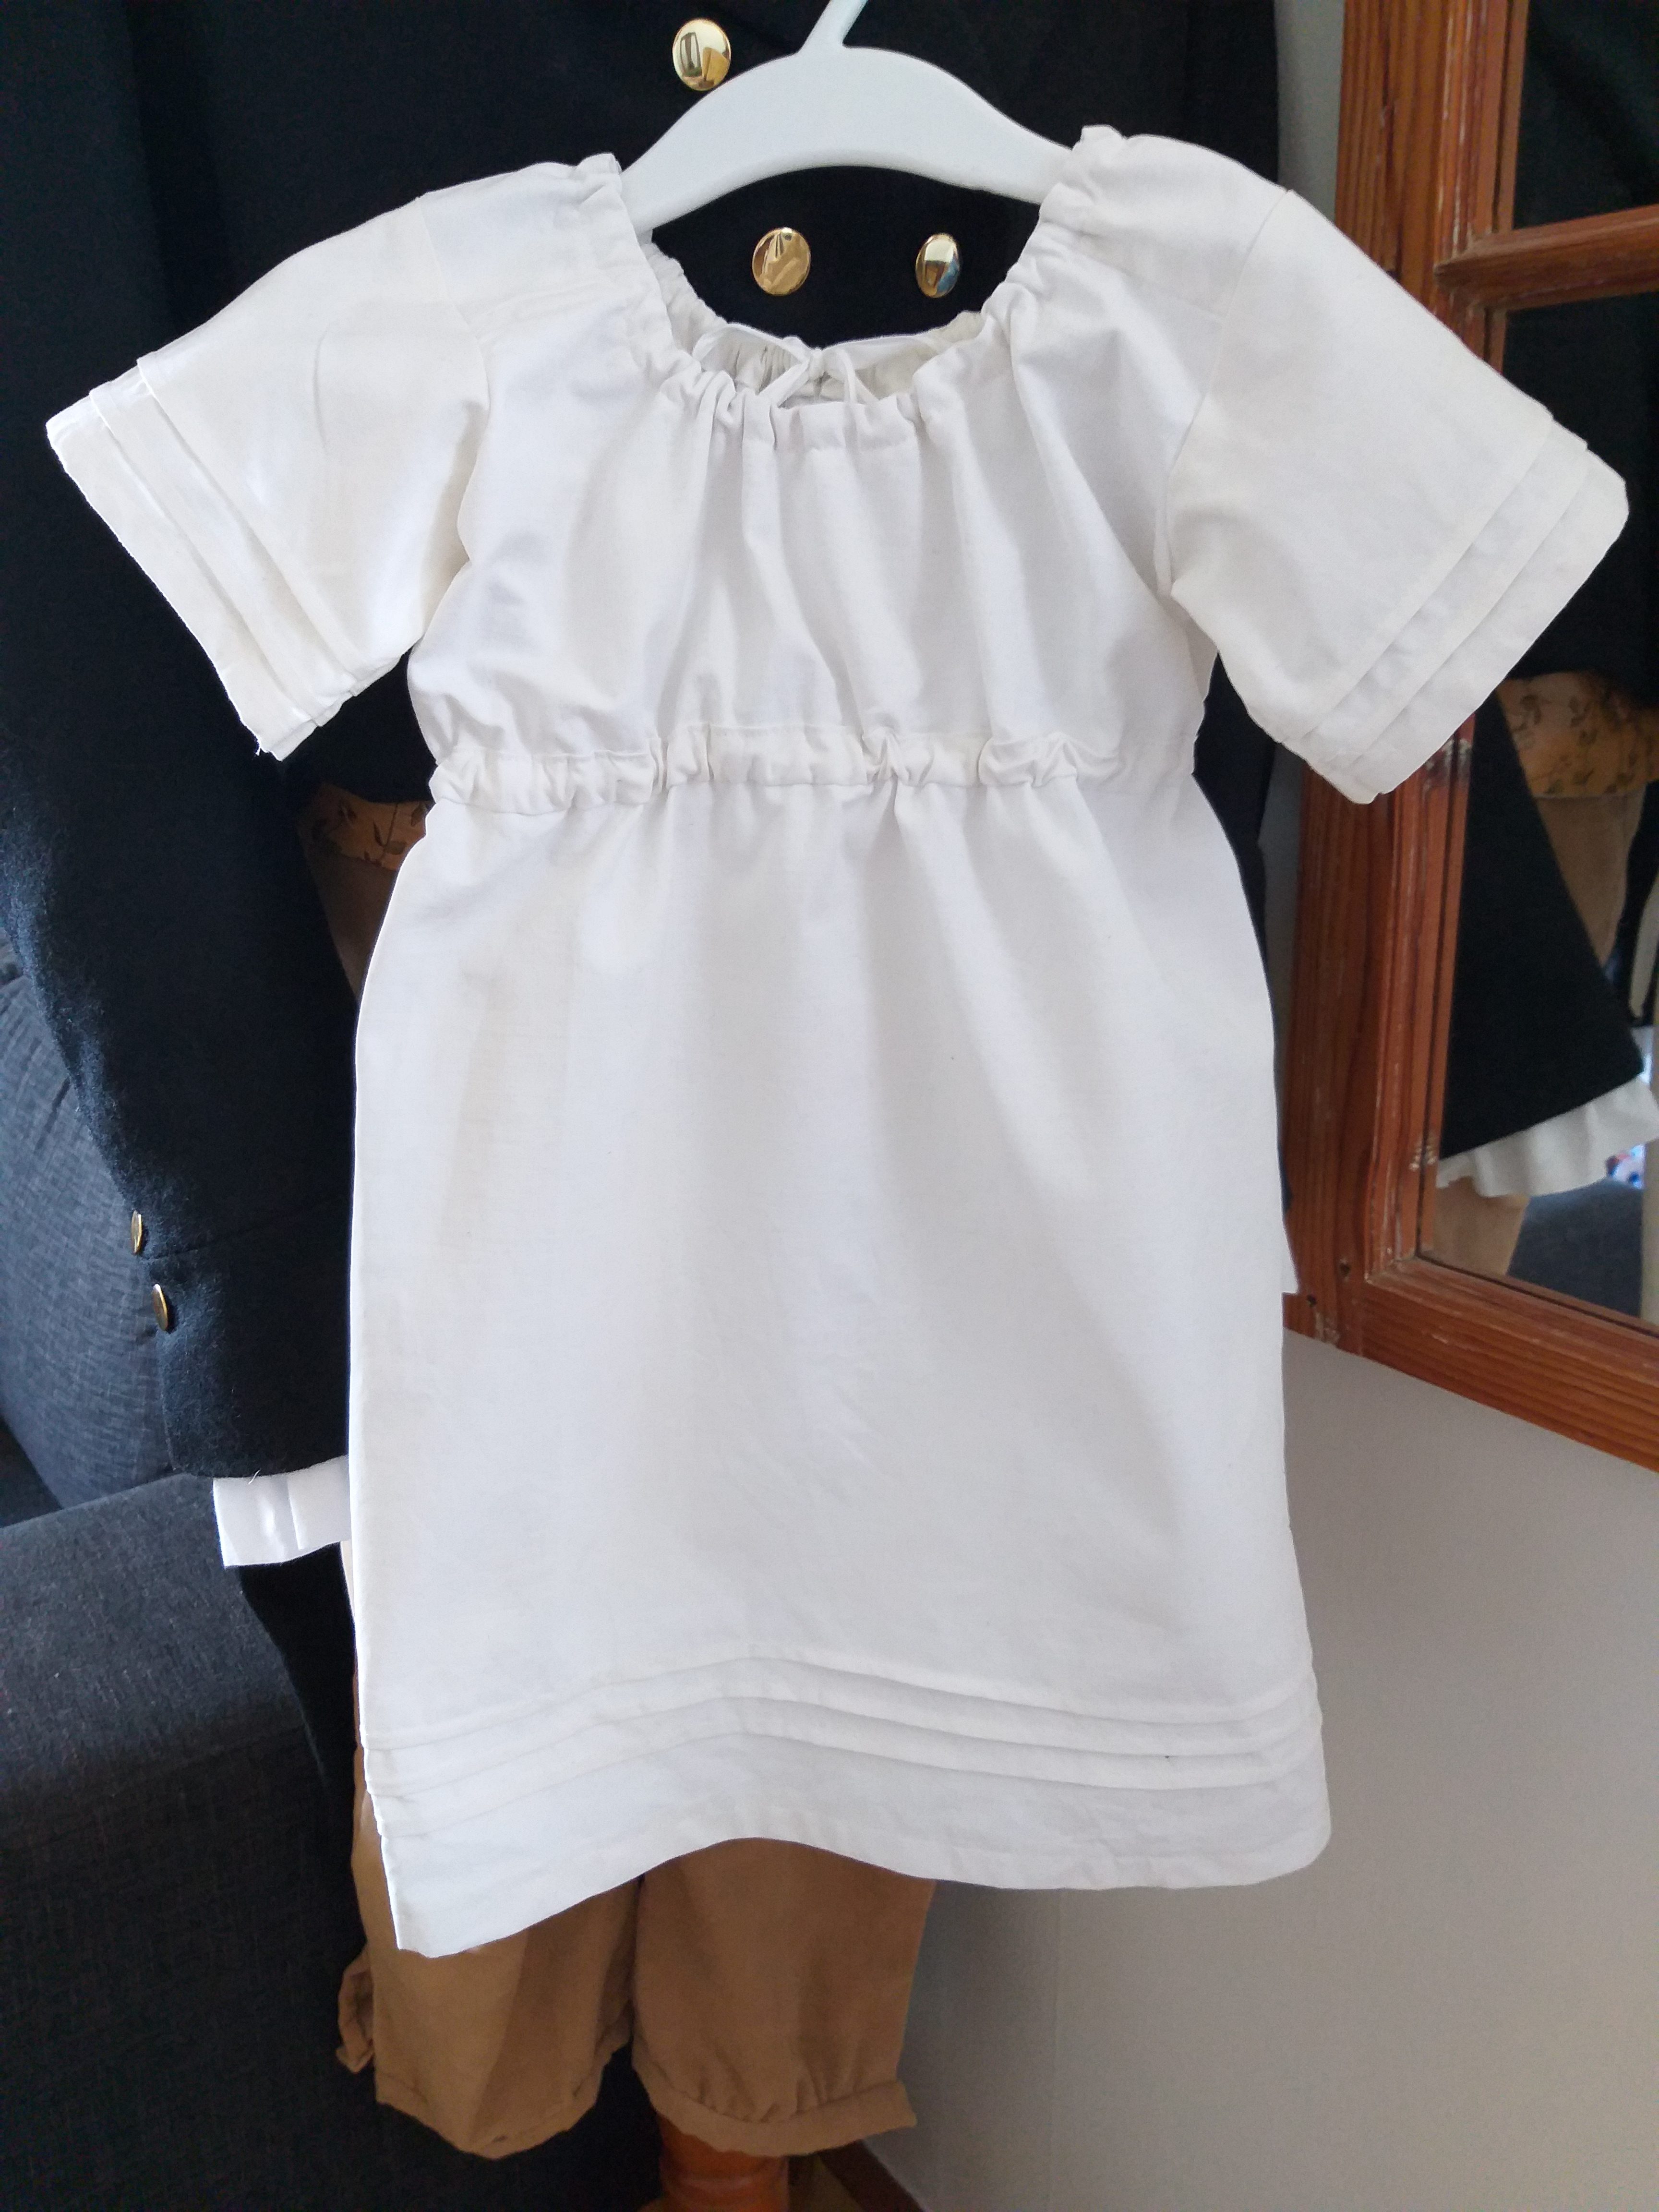
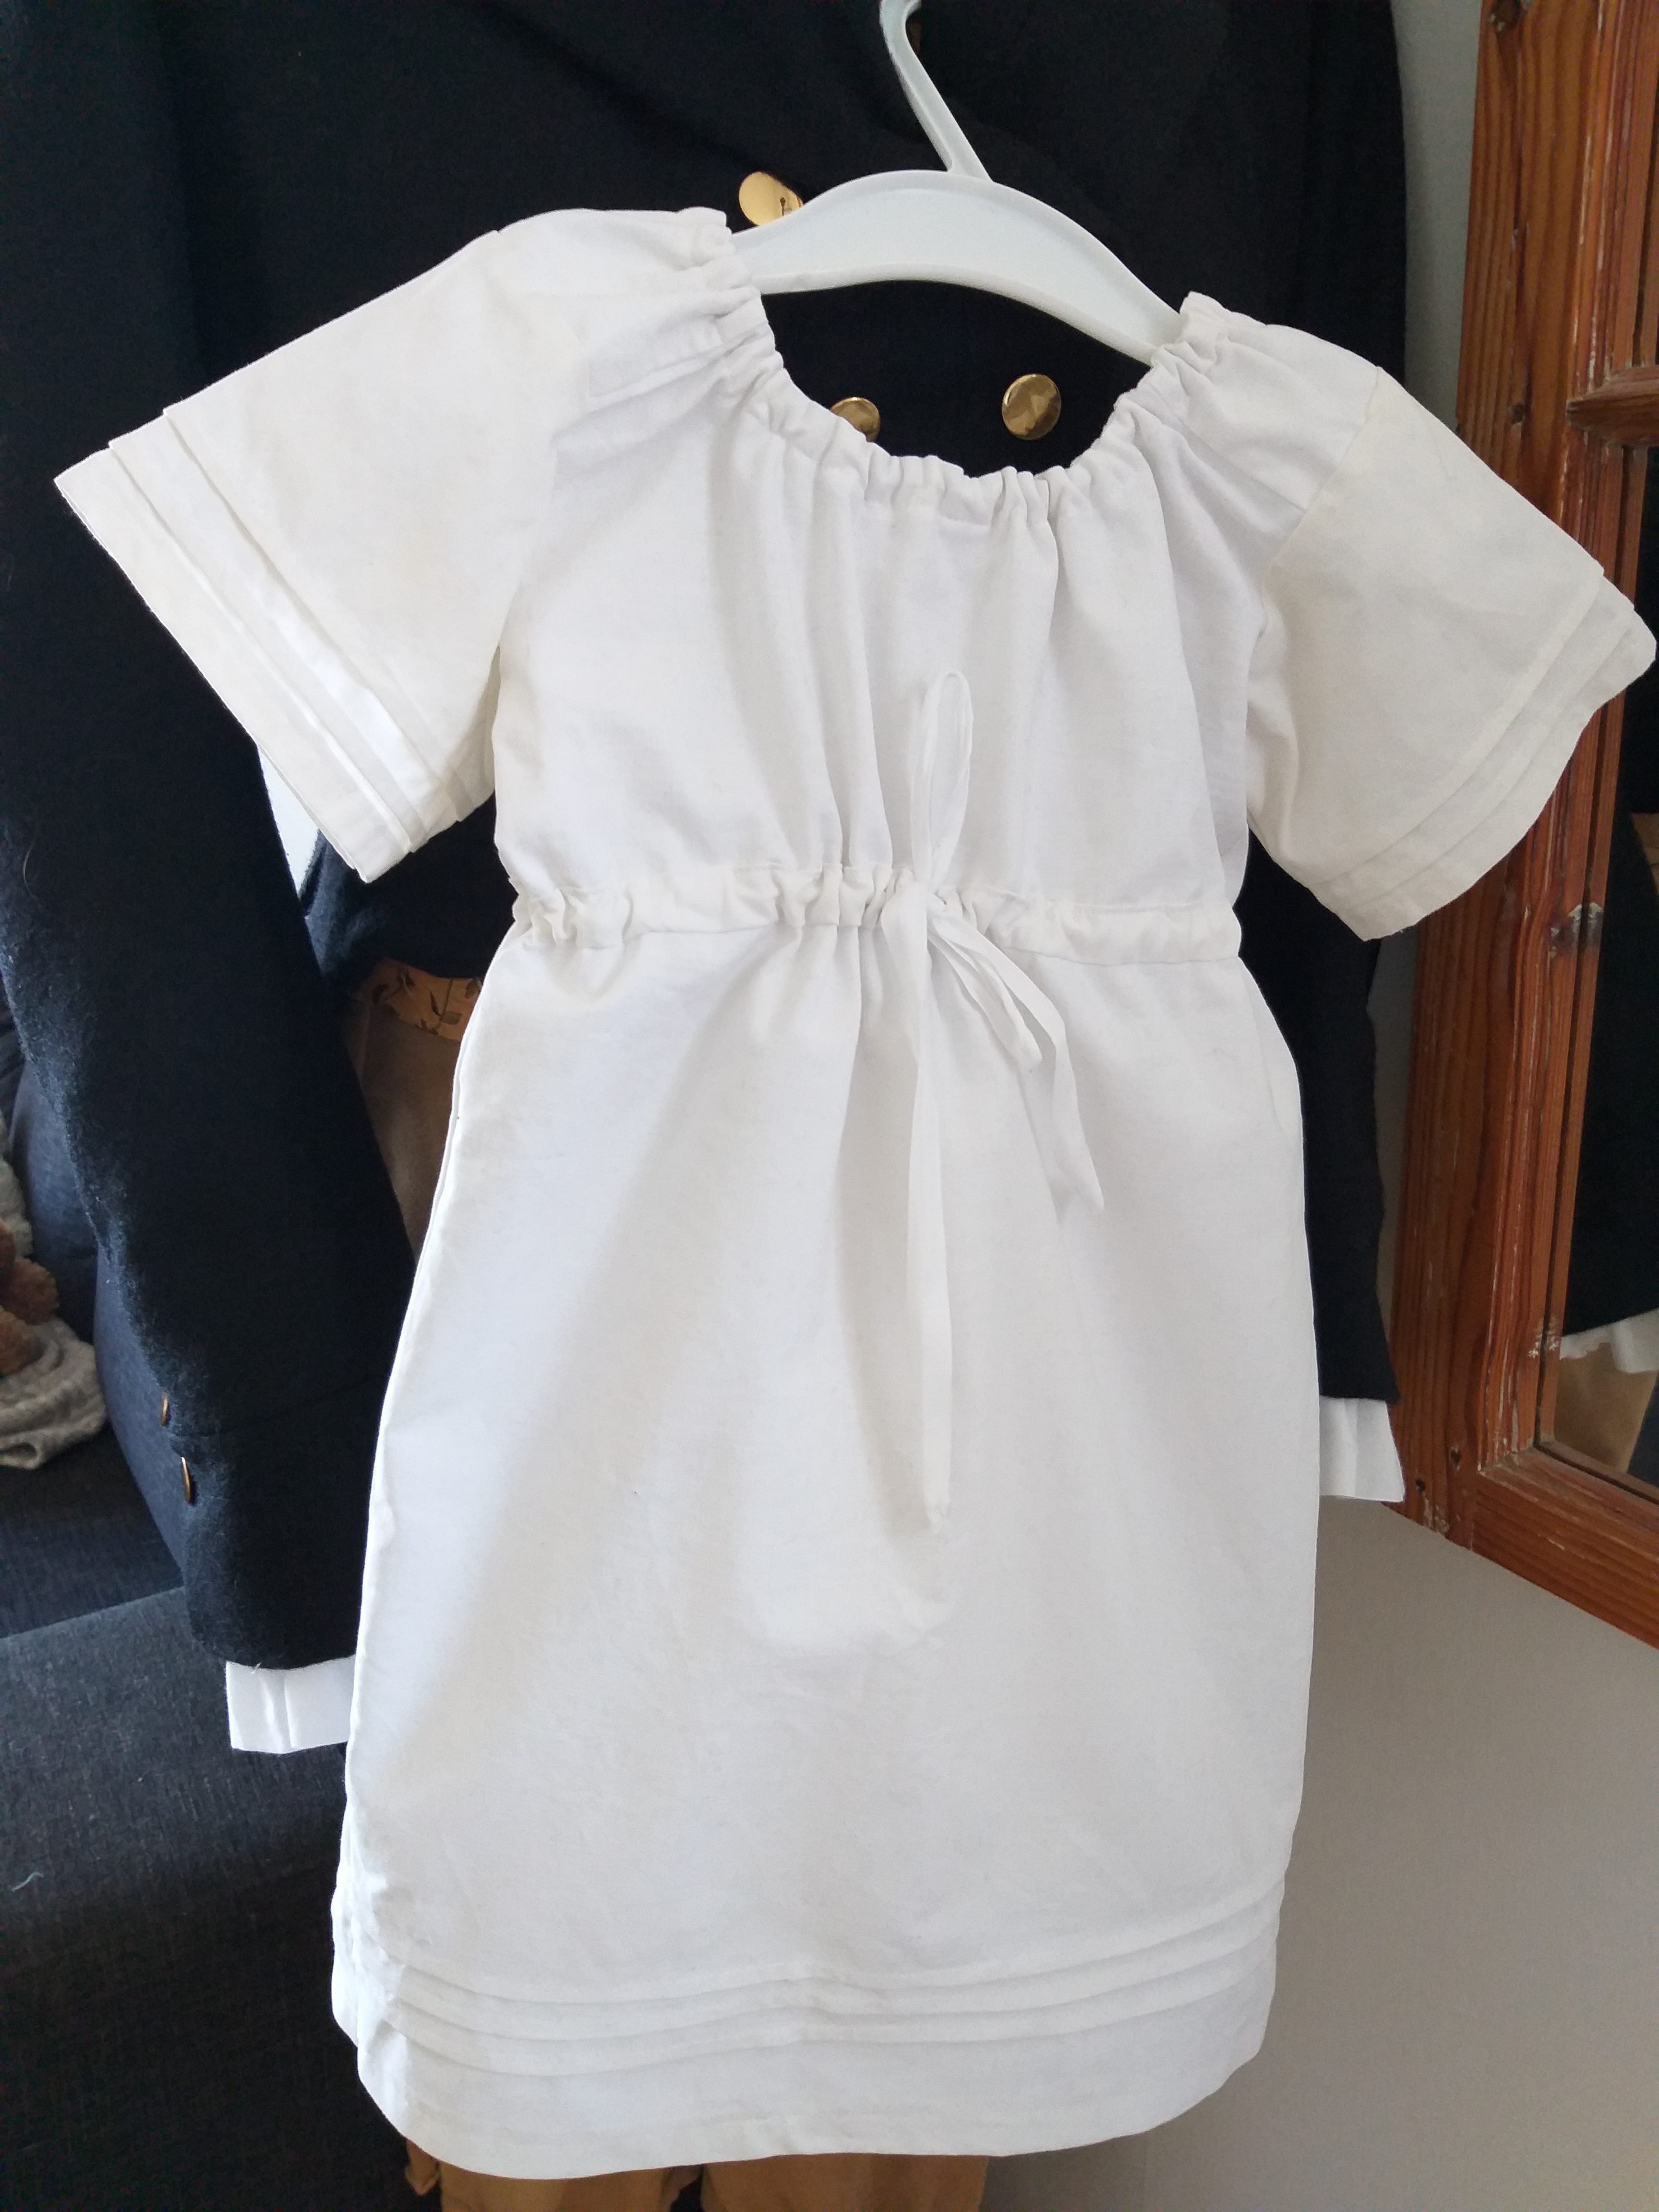
Toddler’s Dress
Our toddler will join the dancing sessions, off course. So he needs a kirtle. I made one in a few hours by machine. He should have a pair of trousers and a hat too, but there is no time and what does it matter, really? If you want some background about children’s clothing, see this lovely page.
Tired boy in the company of his best friends
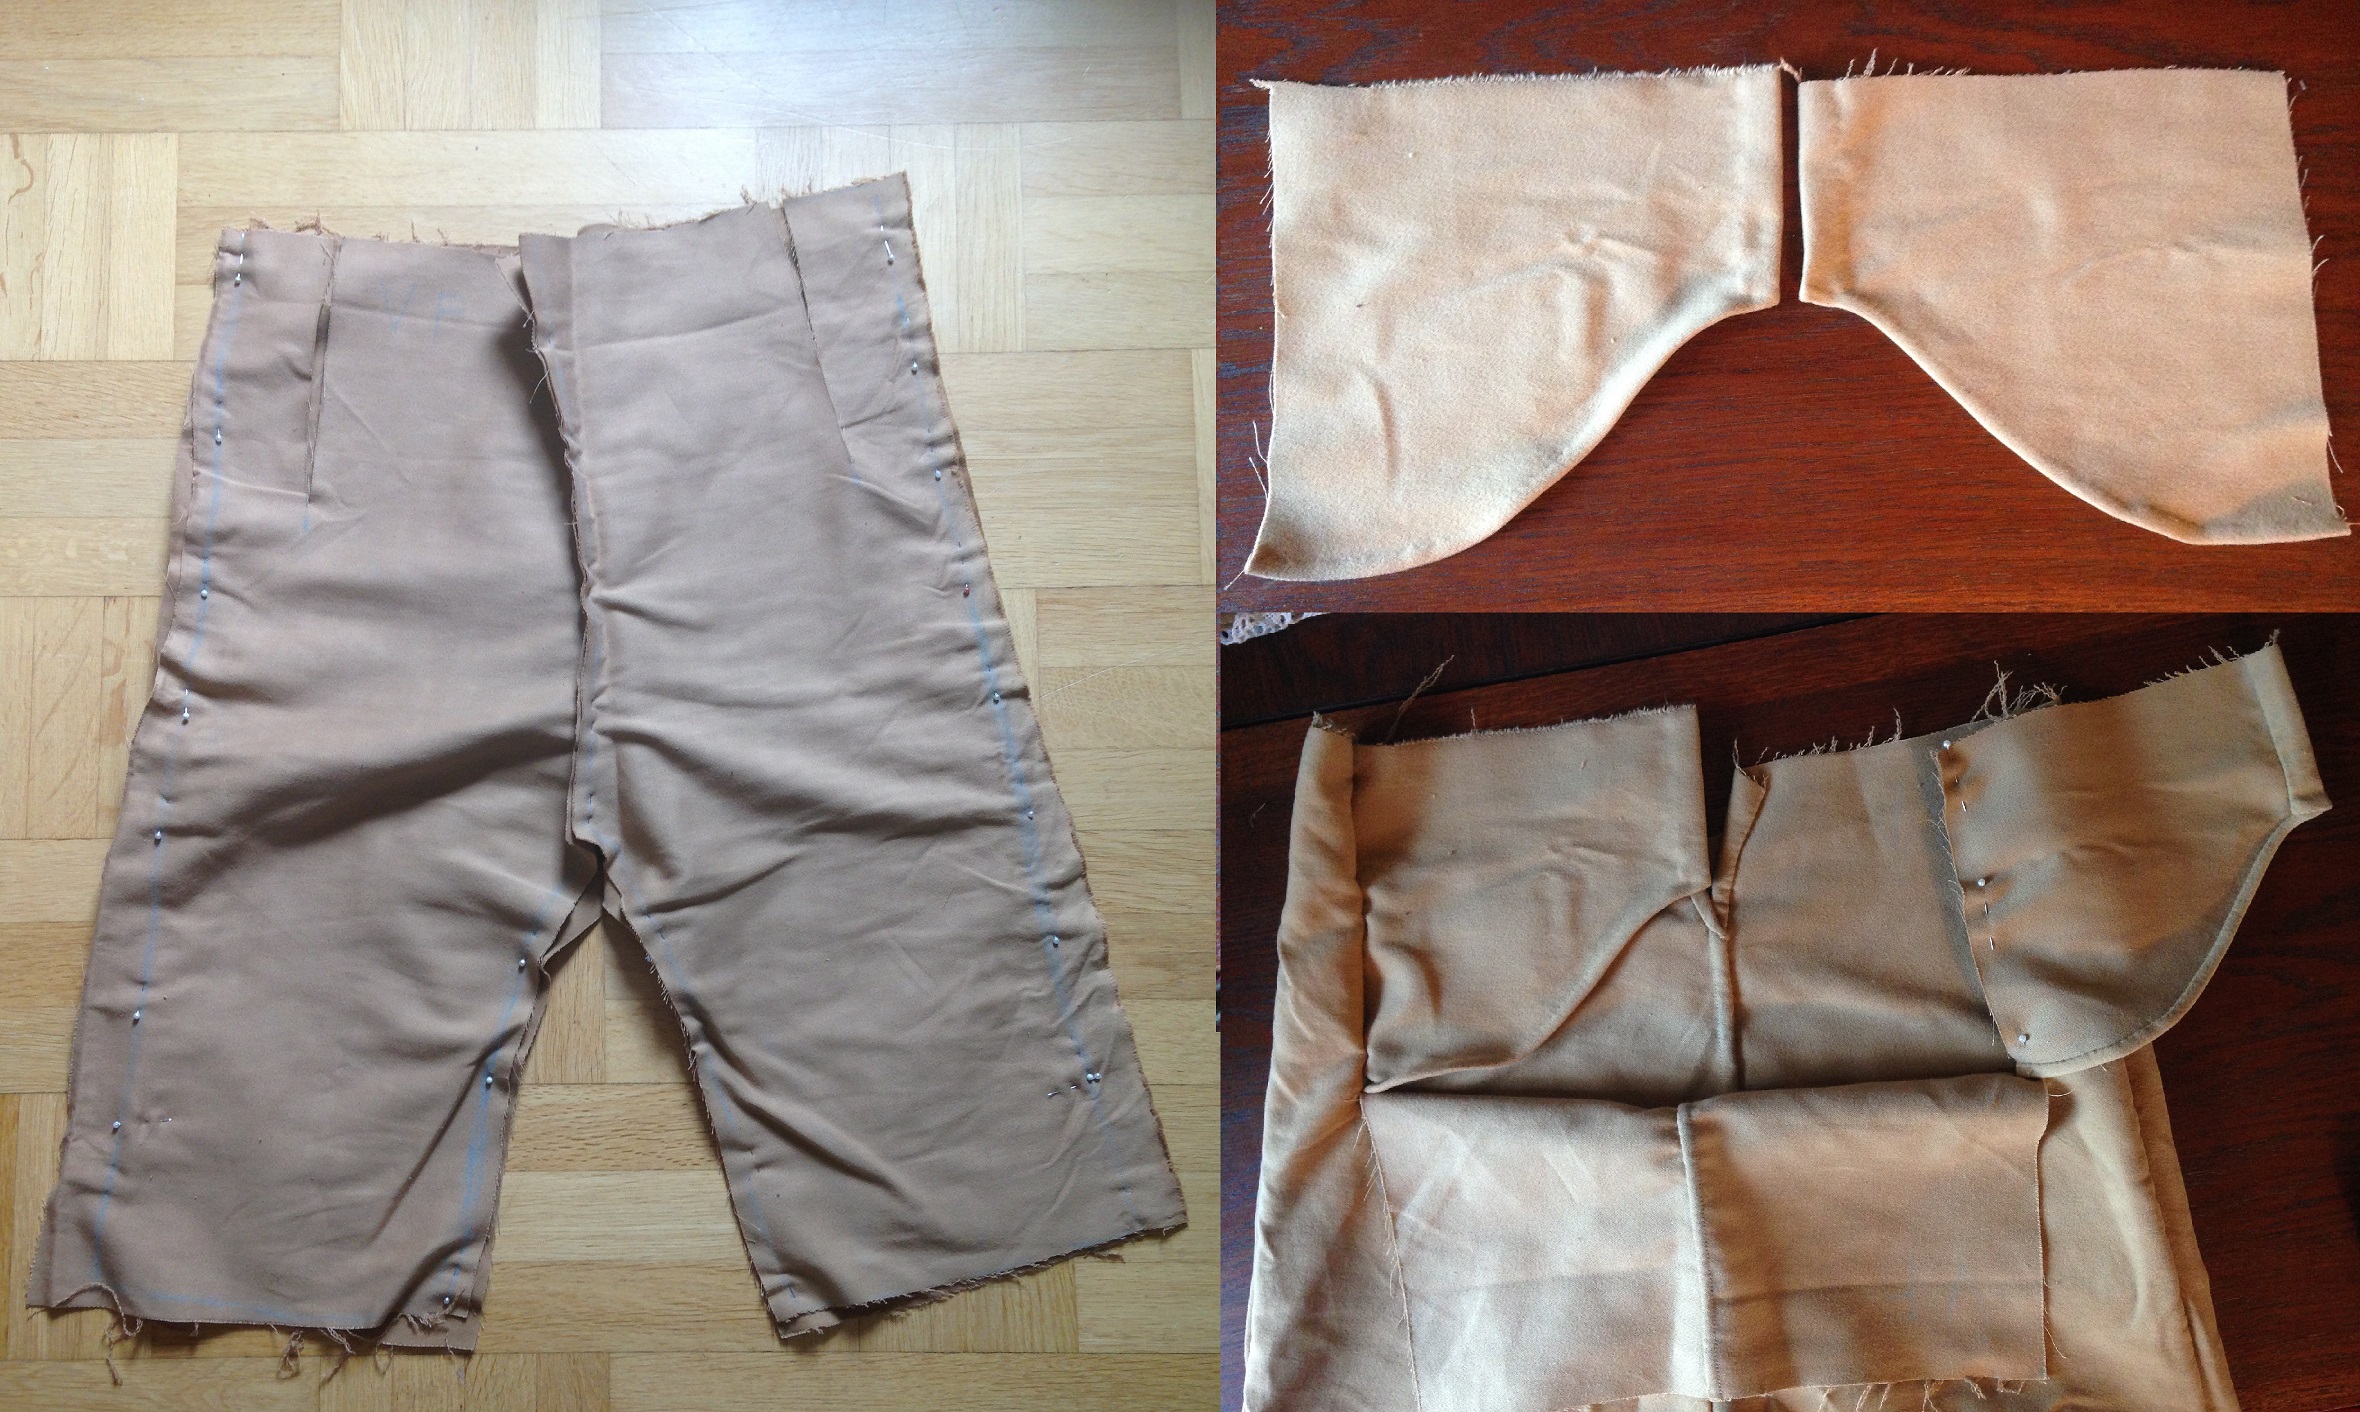
Fall Front Breeches
I have been working on a new pair of breeches for my husband for some years, moments at a time. Now only the buttons remain. I have tried to solve the mystery of the construction of the elusive fall front breeches and drafted the pattern myself. This is how I have interpreted what I have seen in pictures.
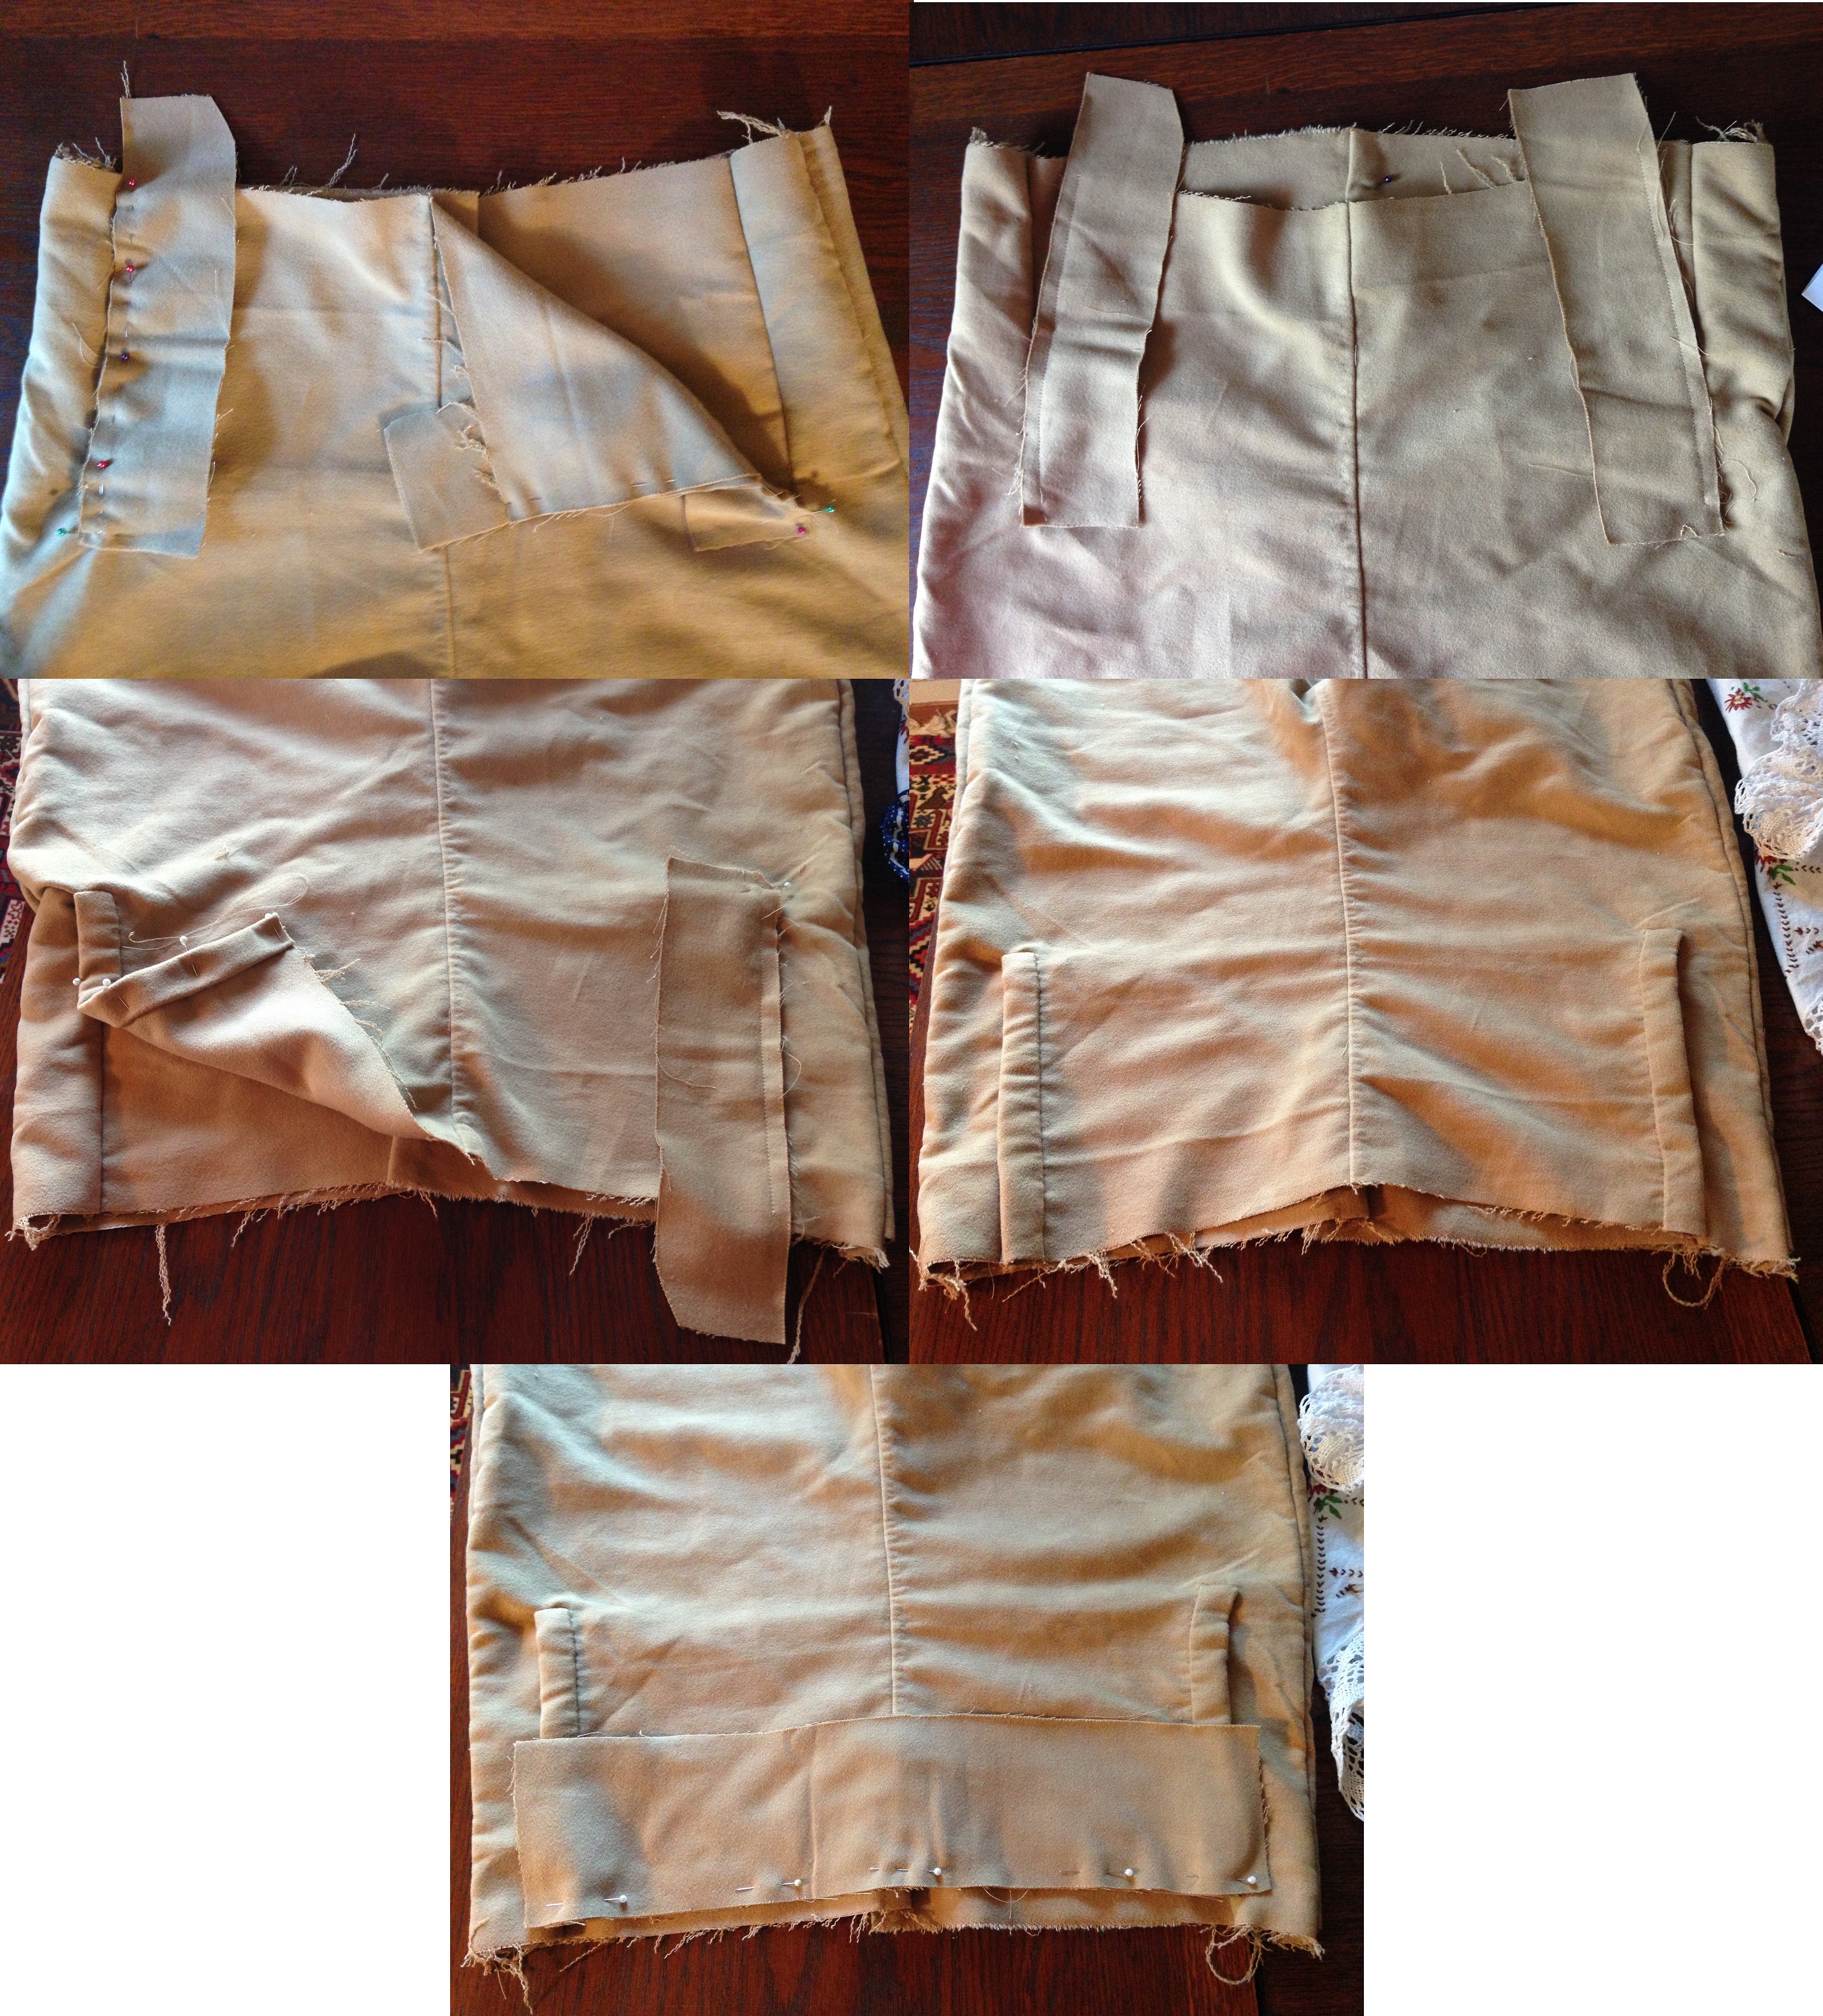
1) putting together front, back and both sides 2) cutting slits by the sides for narrow or broad fall front 3) adding the pieces behind the fall front5) adding fabric pieces to the fall front sides 6) folding the pieces around the sides in order to hide the raw edges 7) adding one piece more to the top of the fall front in the same way
After I stopped documenting this process – why, in heavens name? – I added a waistband to hide the raw edges at the rest of the top of the breeches. I hid the raw edges of the end of the legs in the same way. And at the very last I will add buttons and make button holes!
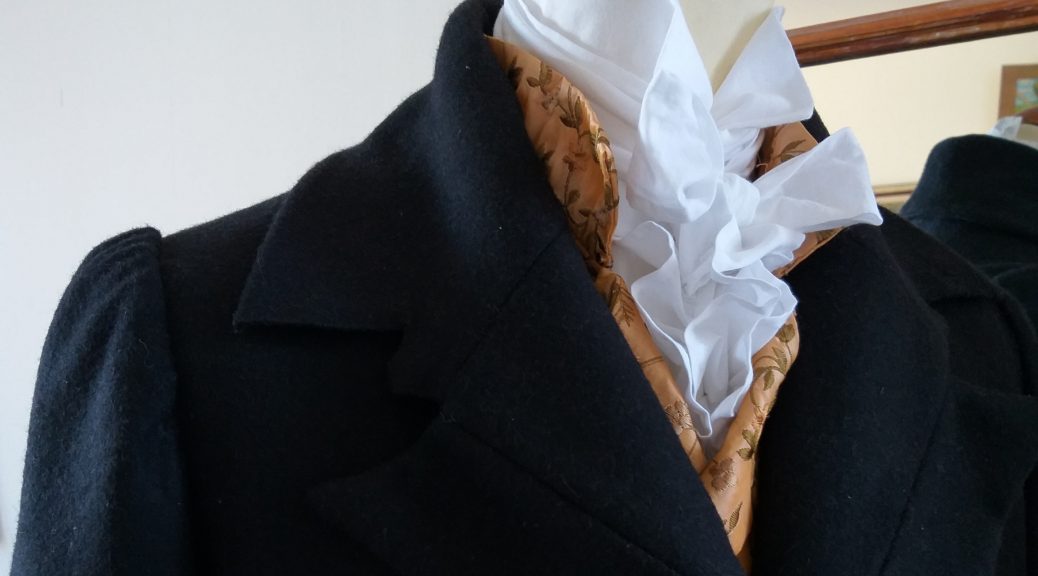
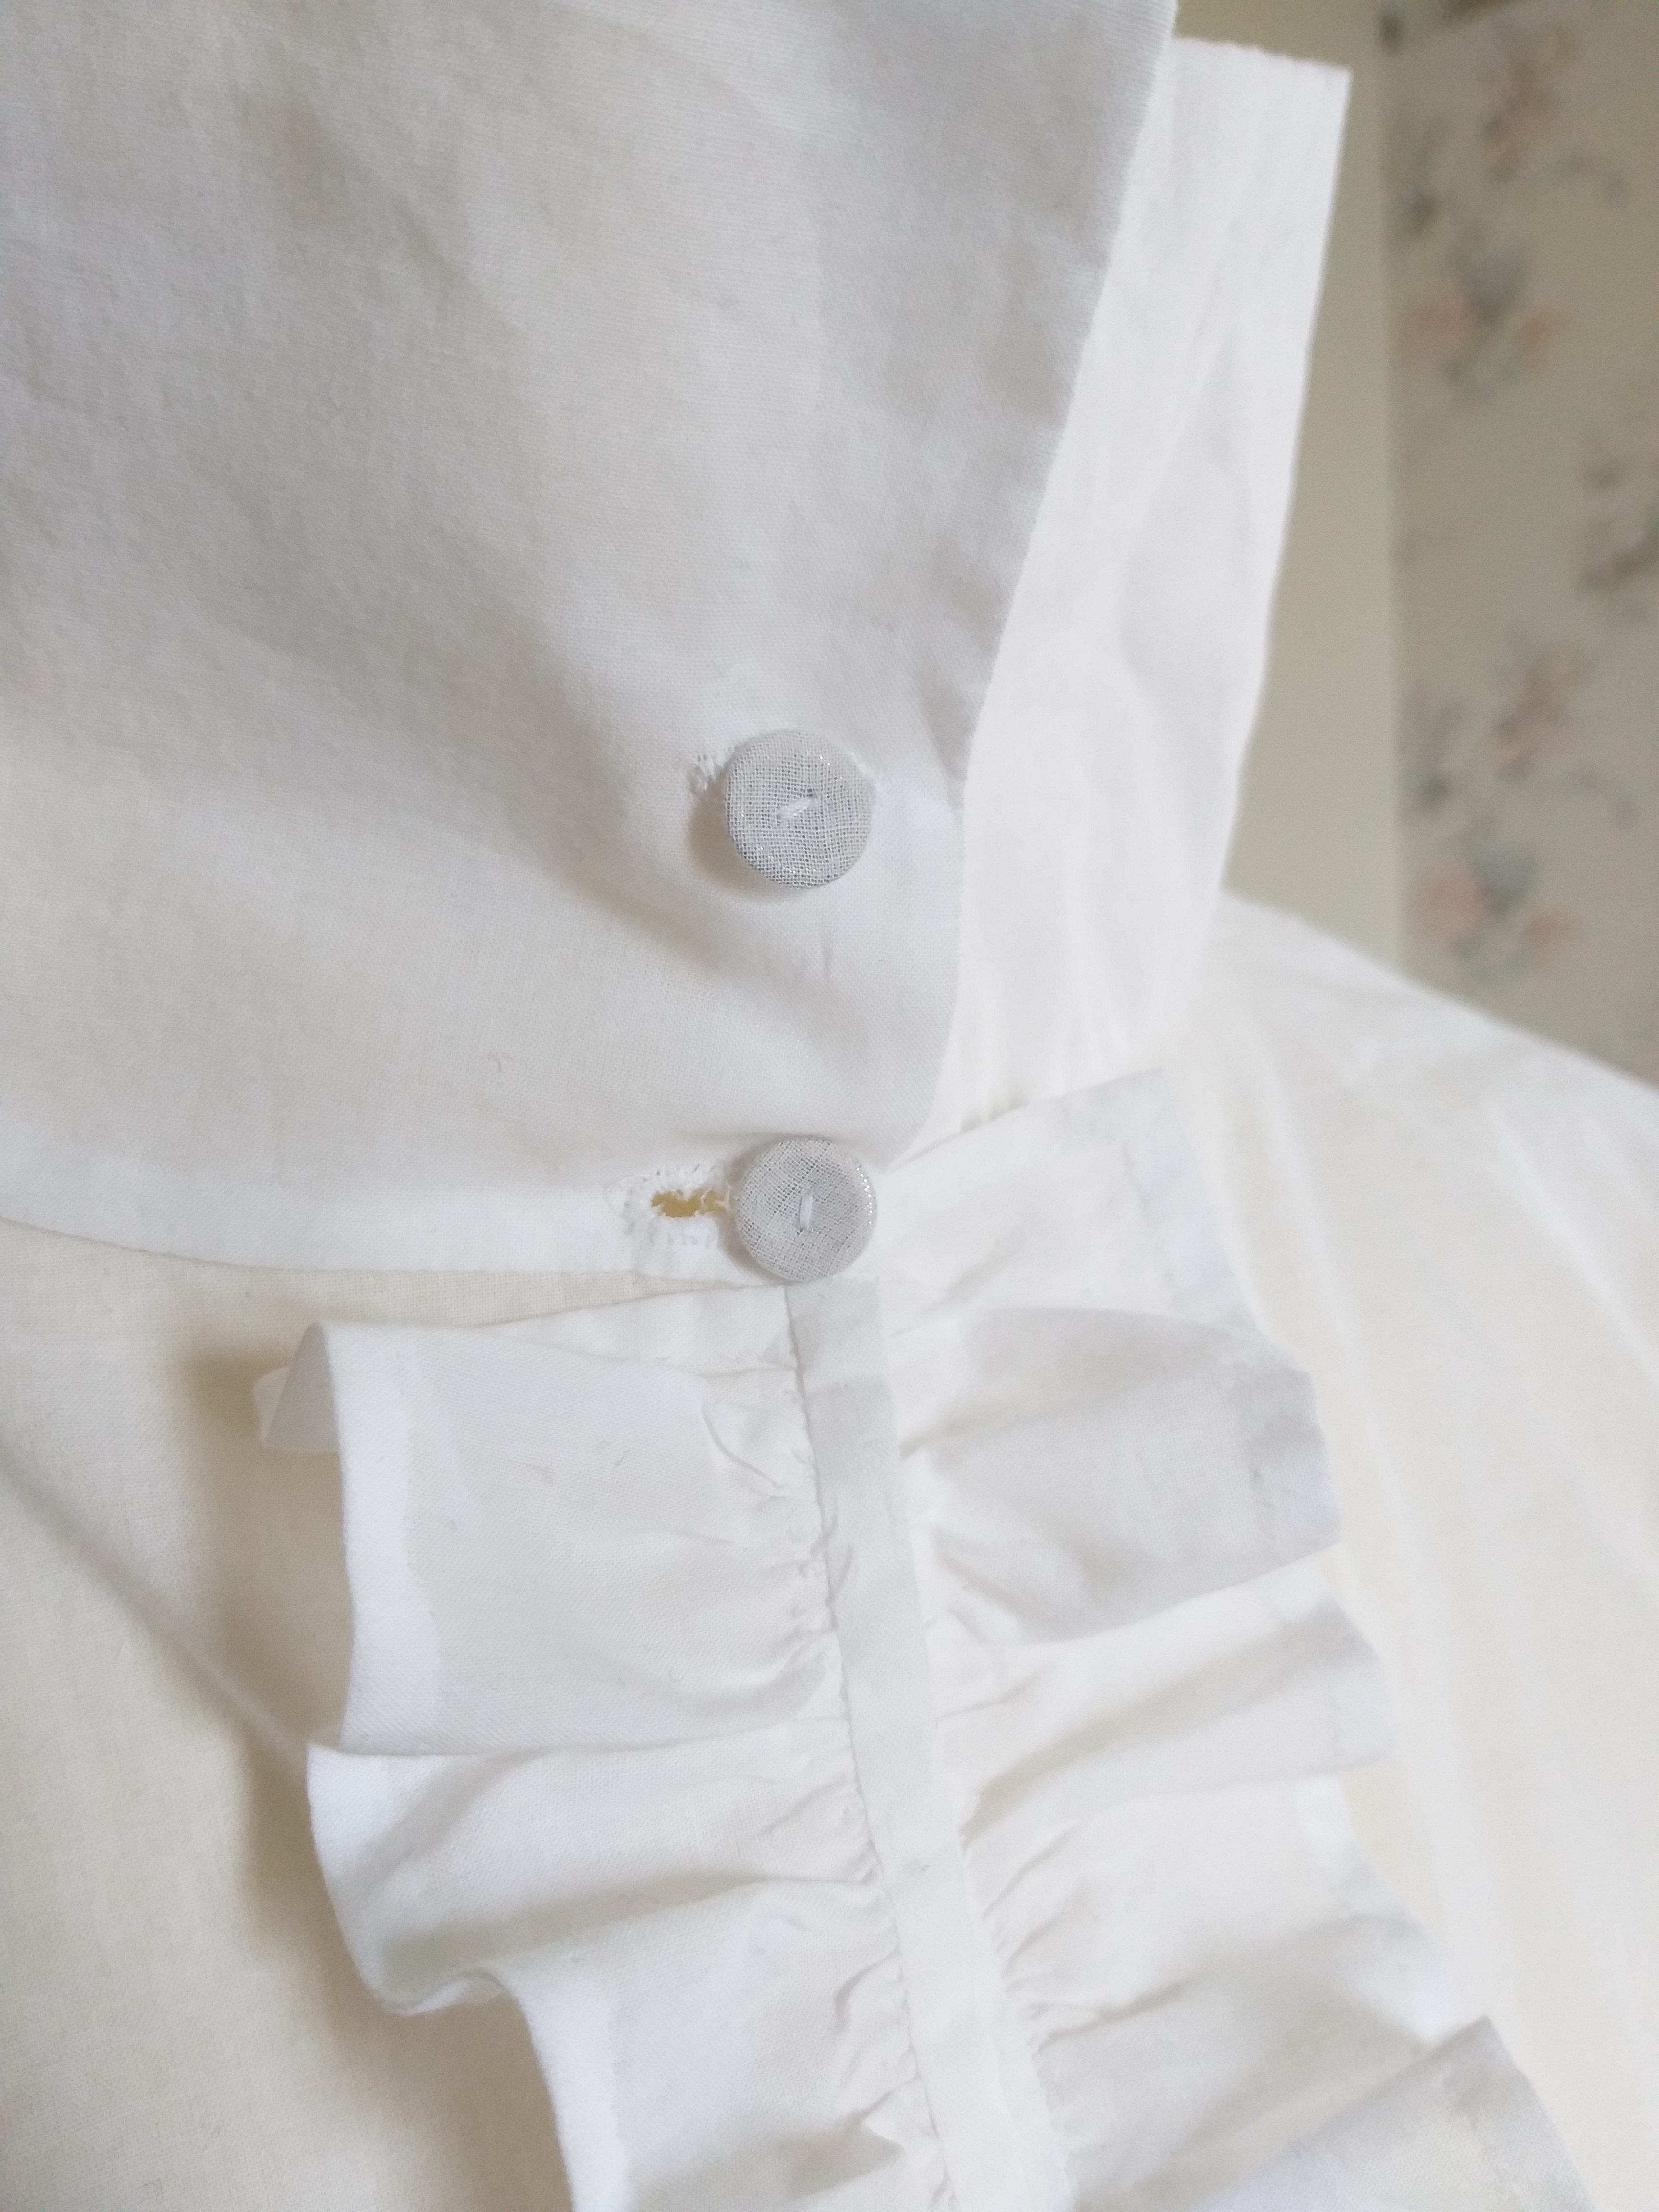
Shirt with Ruffles
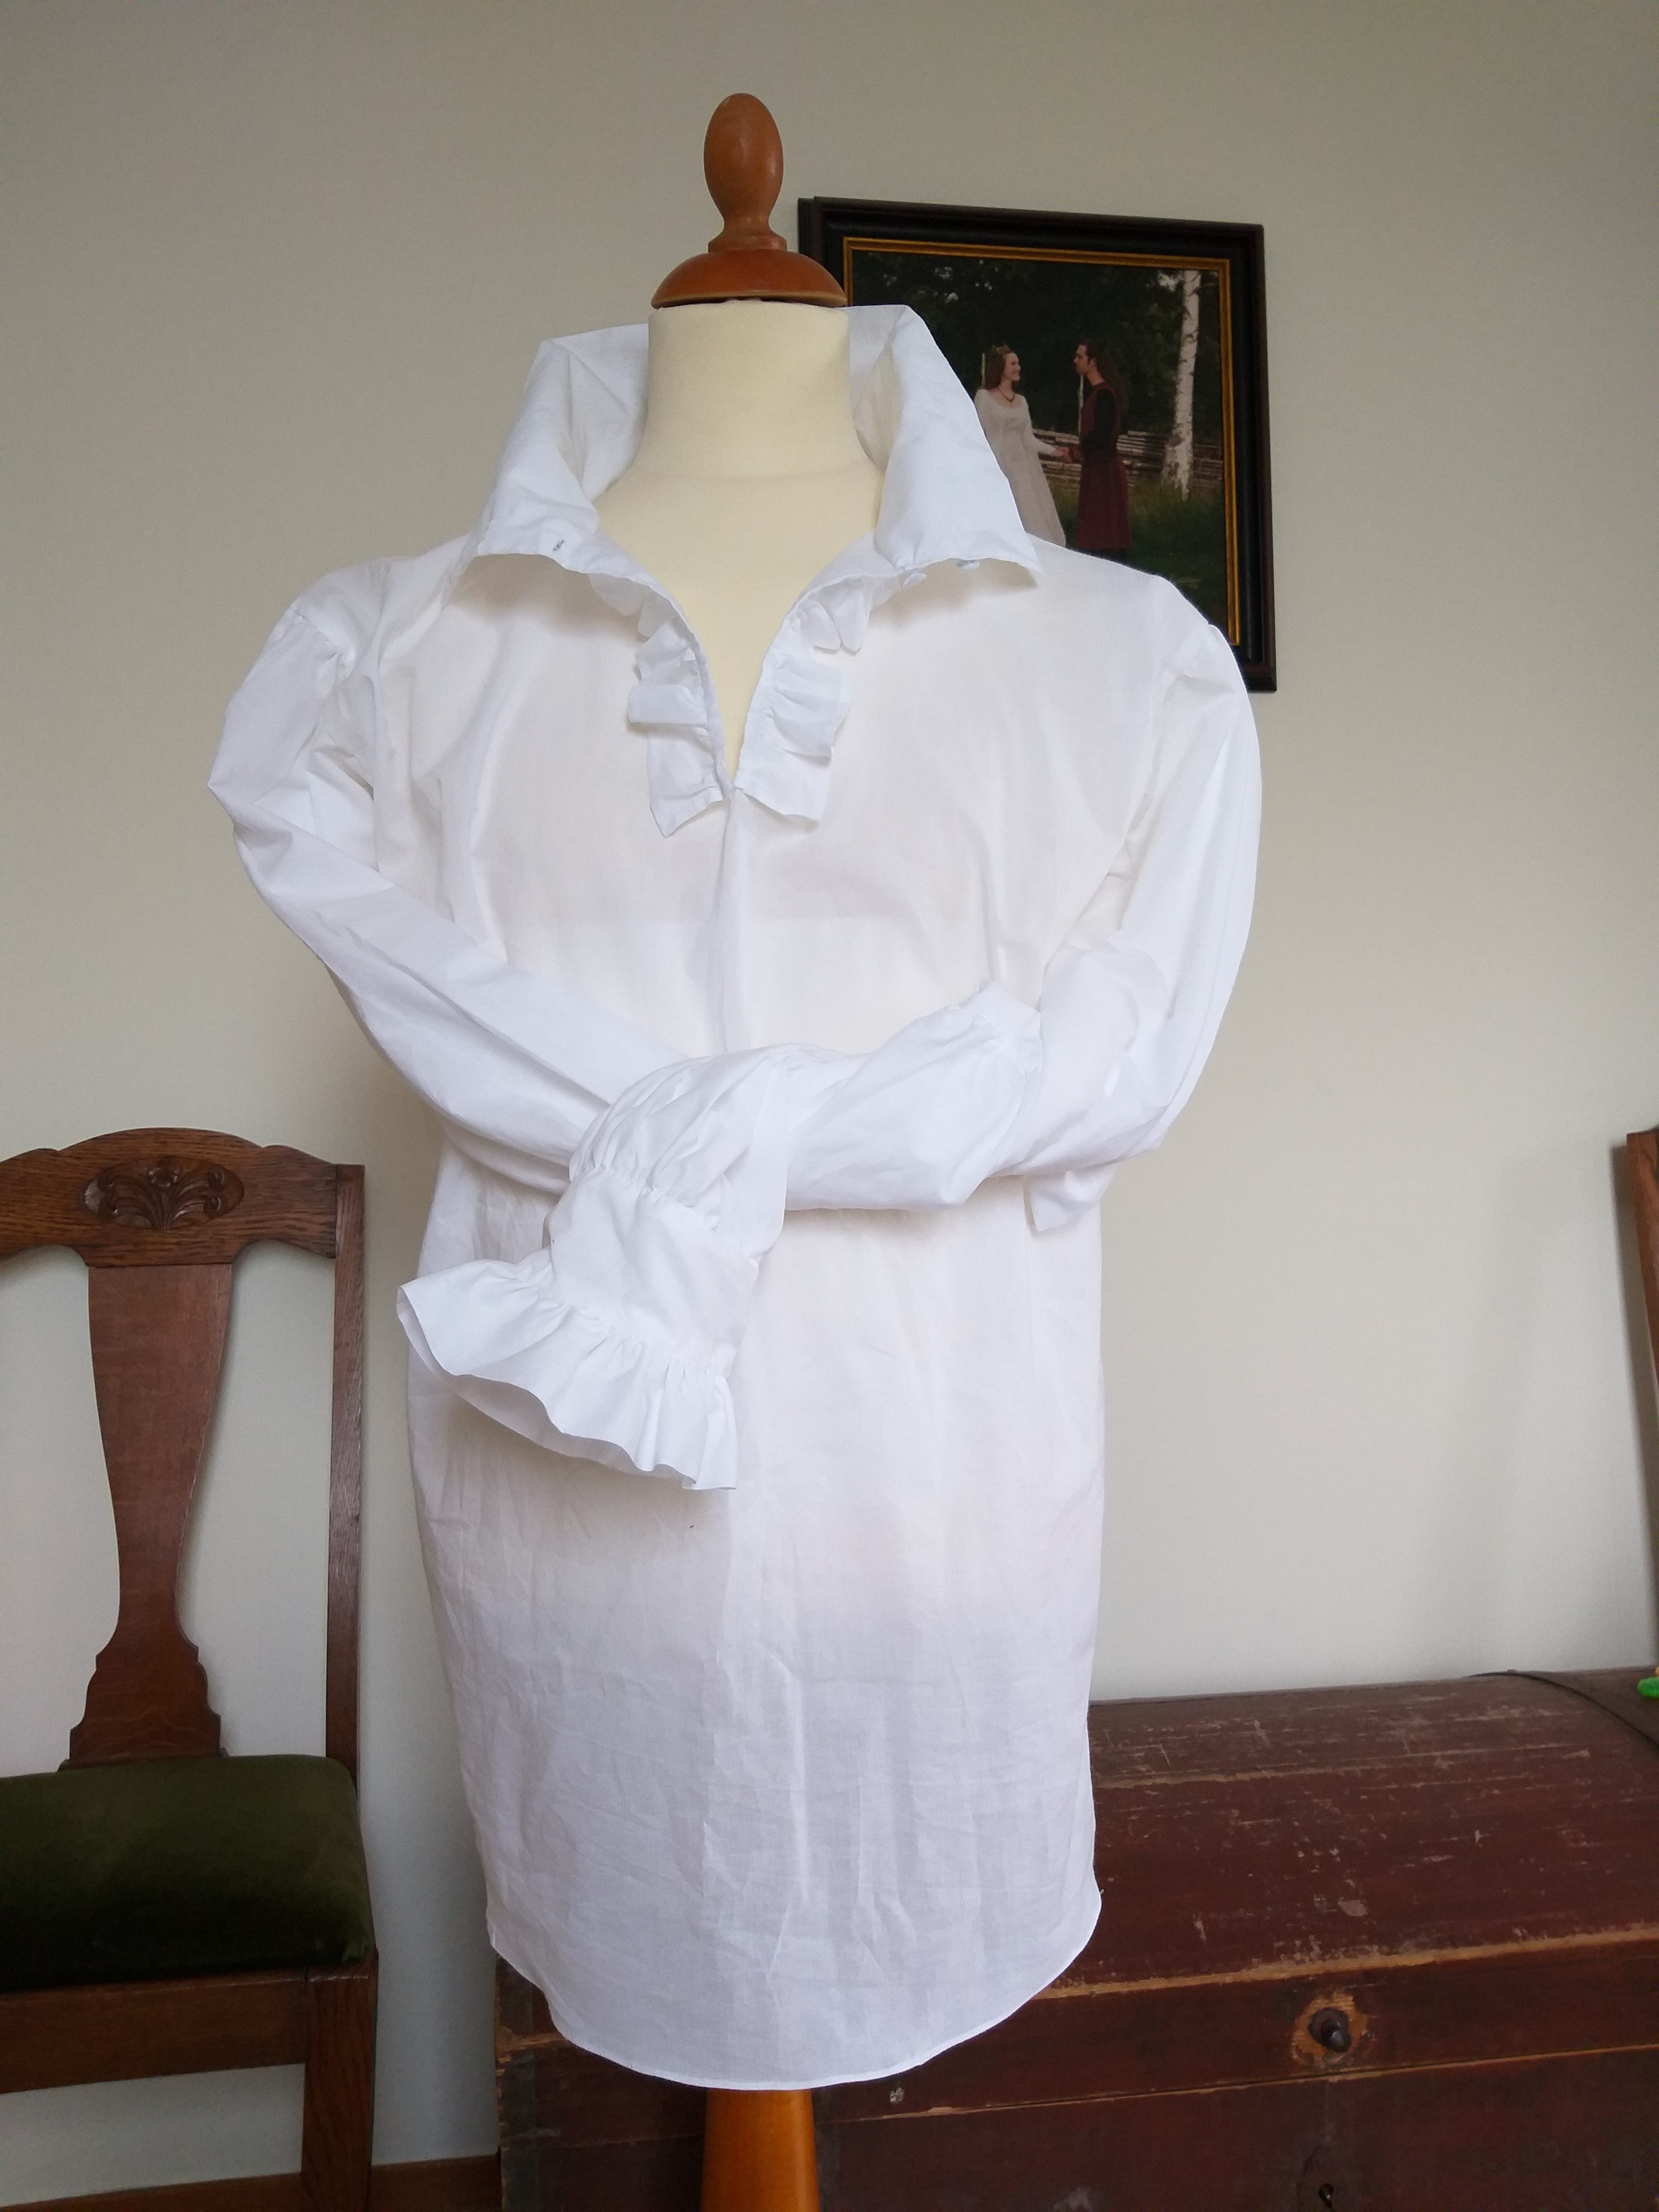
I thought that he also needed a nicer shirt and cravat than the first set of clothes, so I made a new shirt with ruffles in the neckline and by the cuffs. Afterwards, I have found excellent tutorials for period regency shirt construction, as in Fabric and Fiction and at Your Wardrobe Unlocked. This one is obviously wrong in many ways.
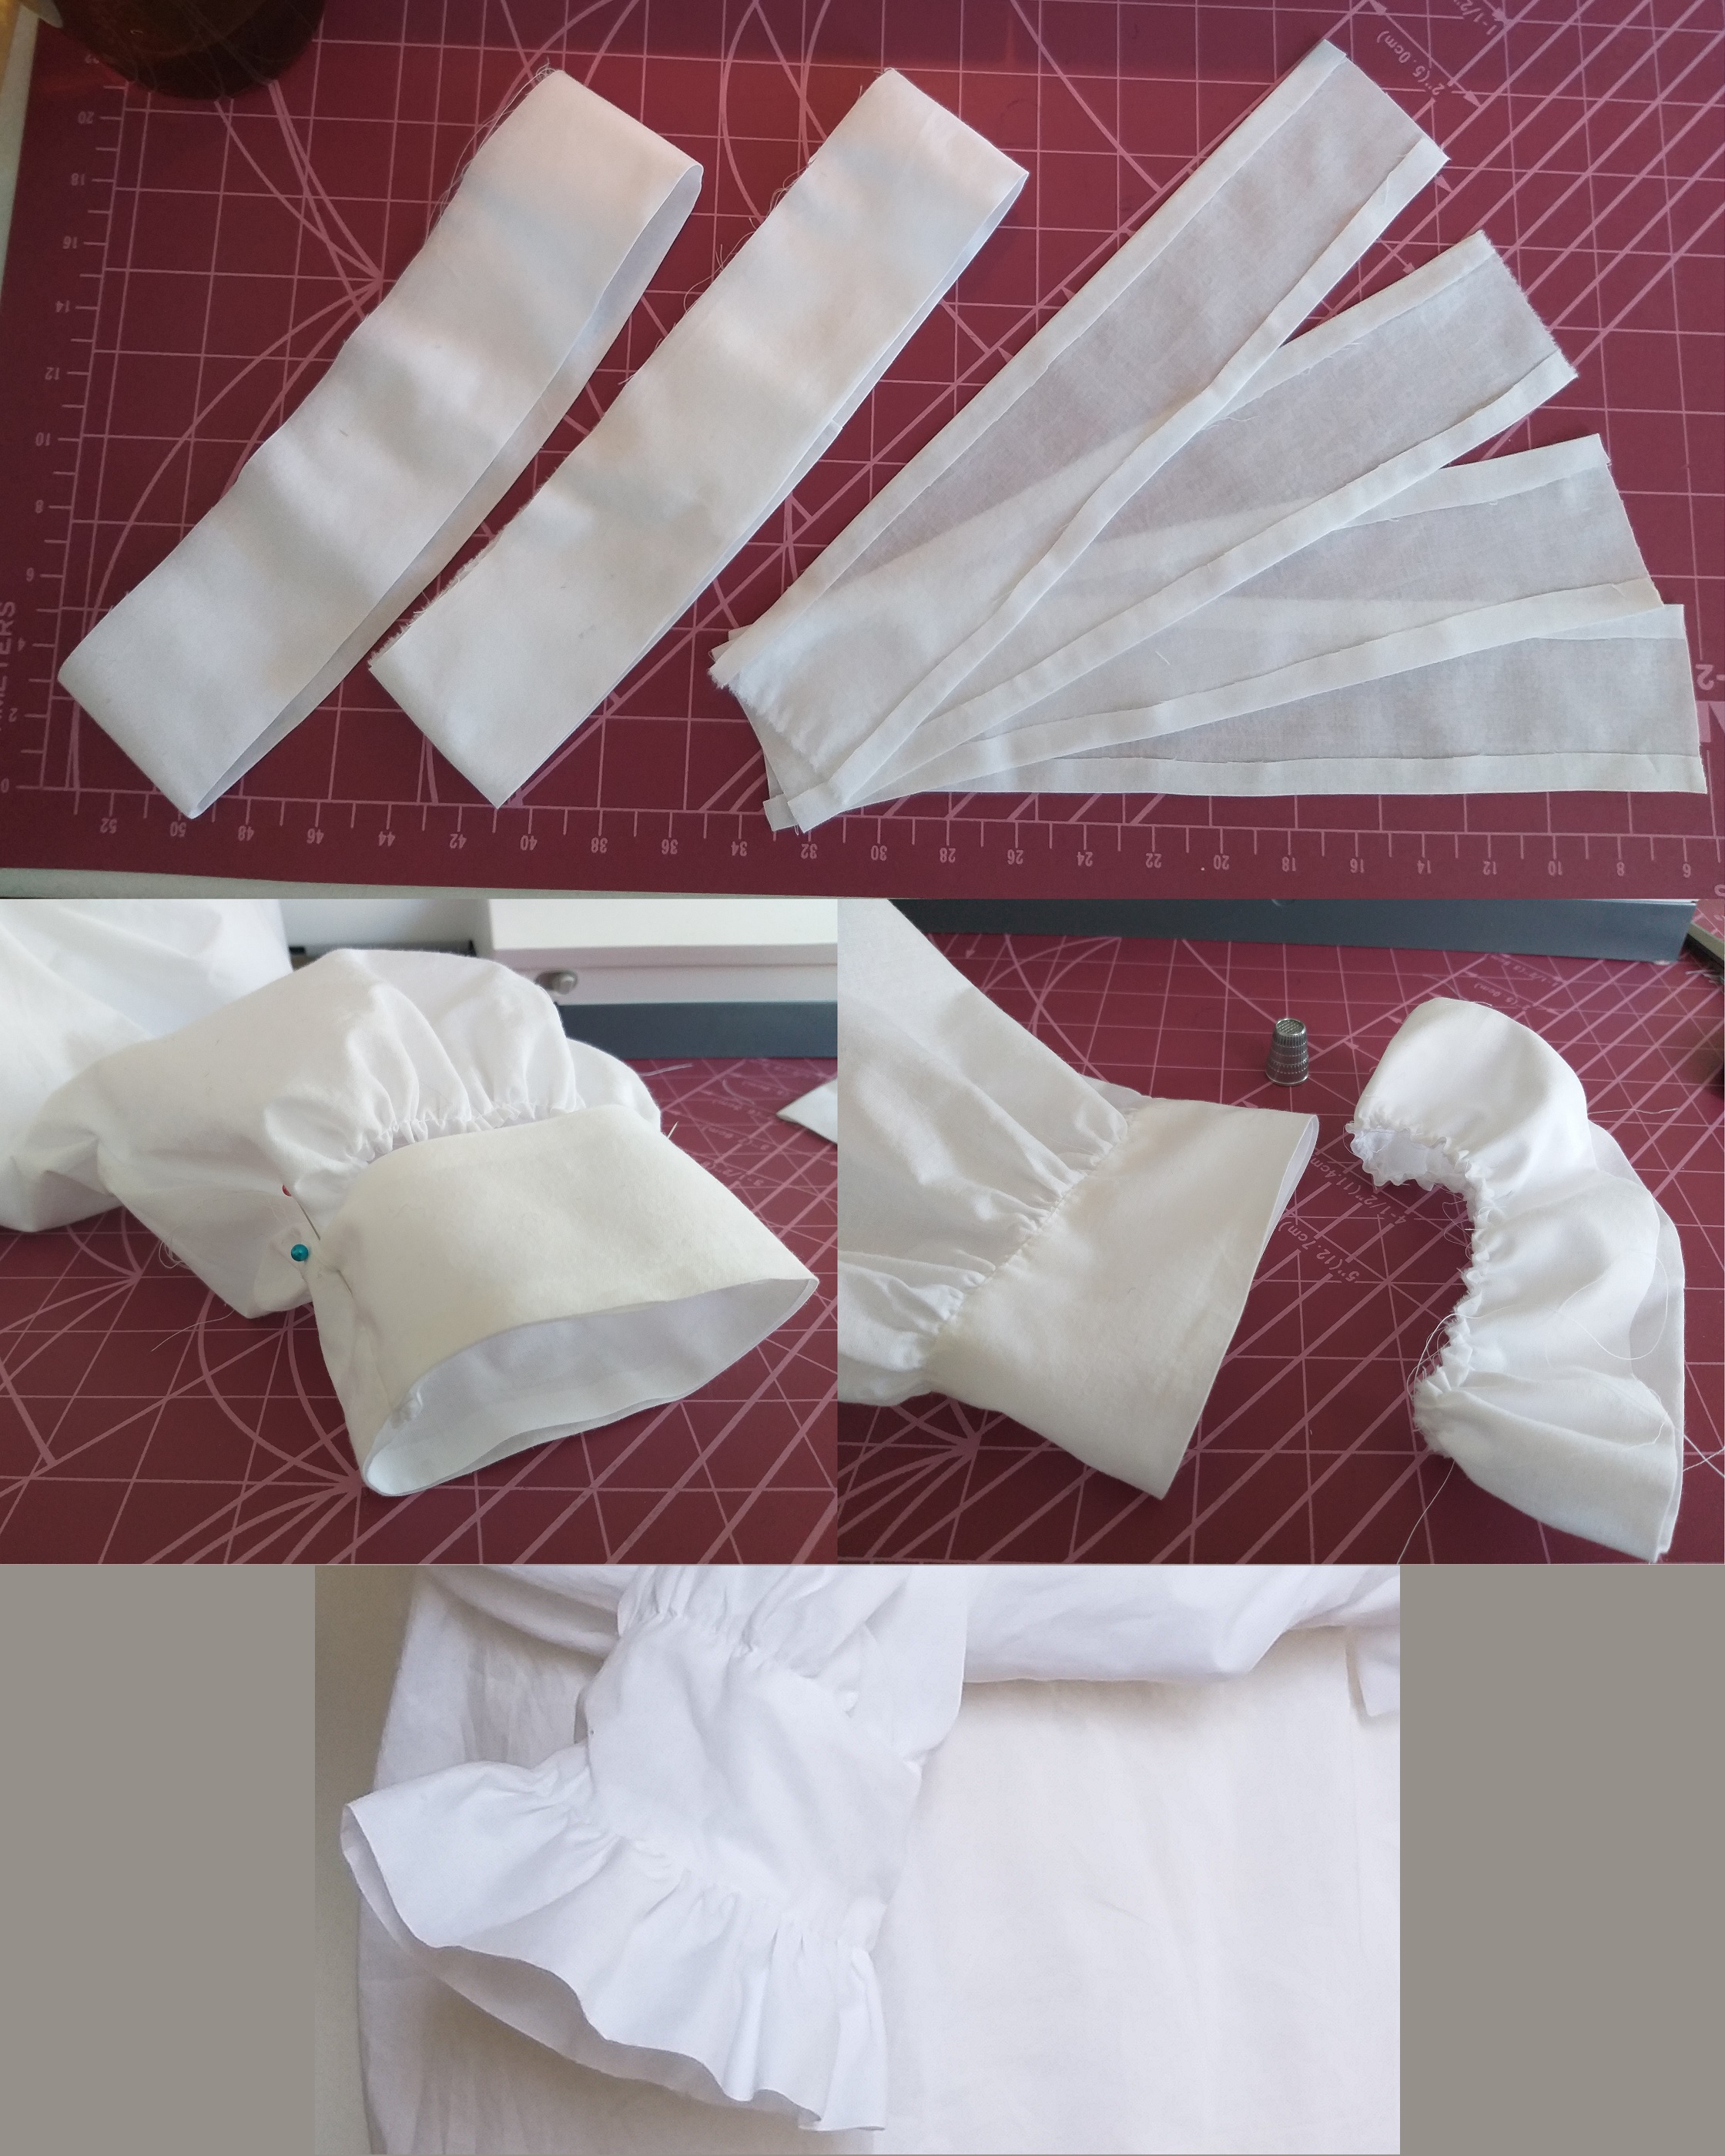
I started by cutting the double length wished for, folded and cut a whole for the head and a slit at the mid front. Then I added two square arms with square gussets at the arm pits, with gathering at the shoulder and at the end of the arms. I also added ruffles at the slit in the front, although I found out later that the slit should probably have been 3-4 dm long and the ruffles should have been in one continuing piece, instead of one on each side.
I have no idea how this should be done, but this was my way of making the ruffles at the end of the arms: I had two pieces of fabrics in which I hid the raw edge of the arm gathering. After having stitched this in place, I added a folded piece of fabric with gathering, which I tucked in between the two layers in the same way as the arm gathering.
I believe that the opening in the from should have been longer, but then there would not have been enough of fabric for ruffles.Ruffles sewn by hand and self covered buttons for the collar.
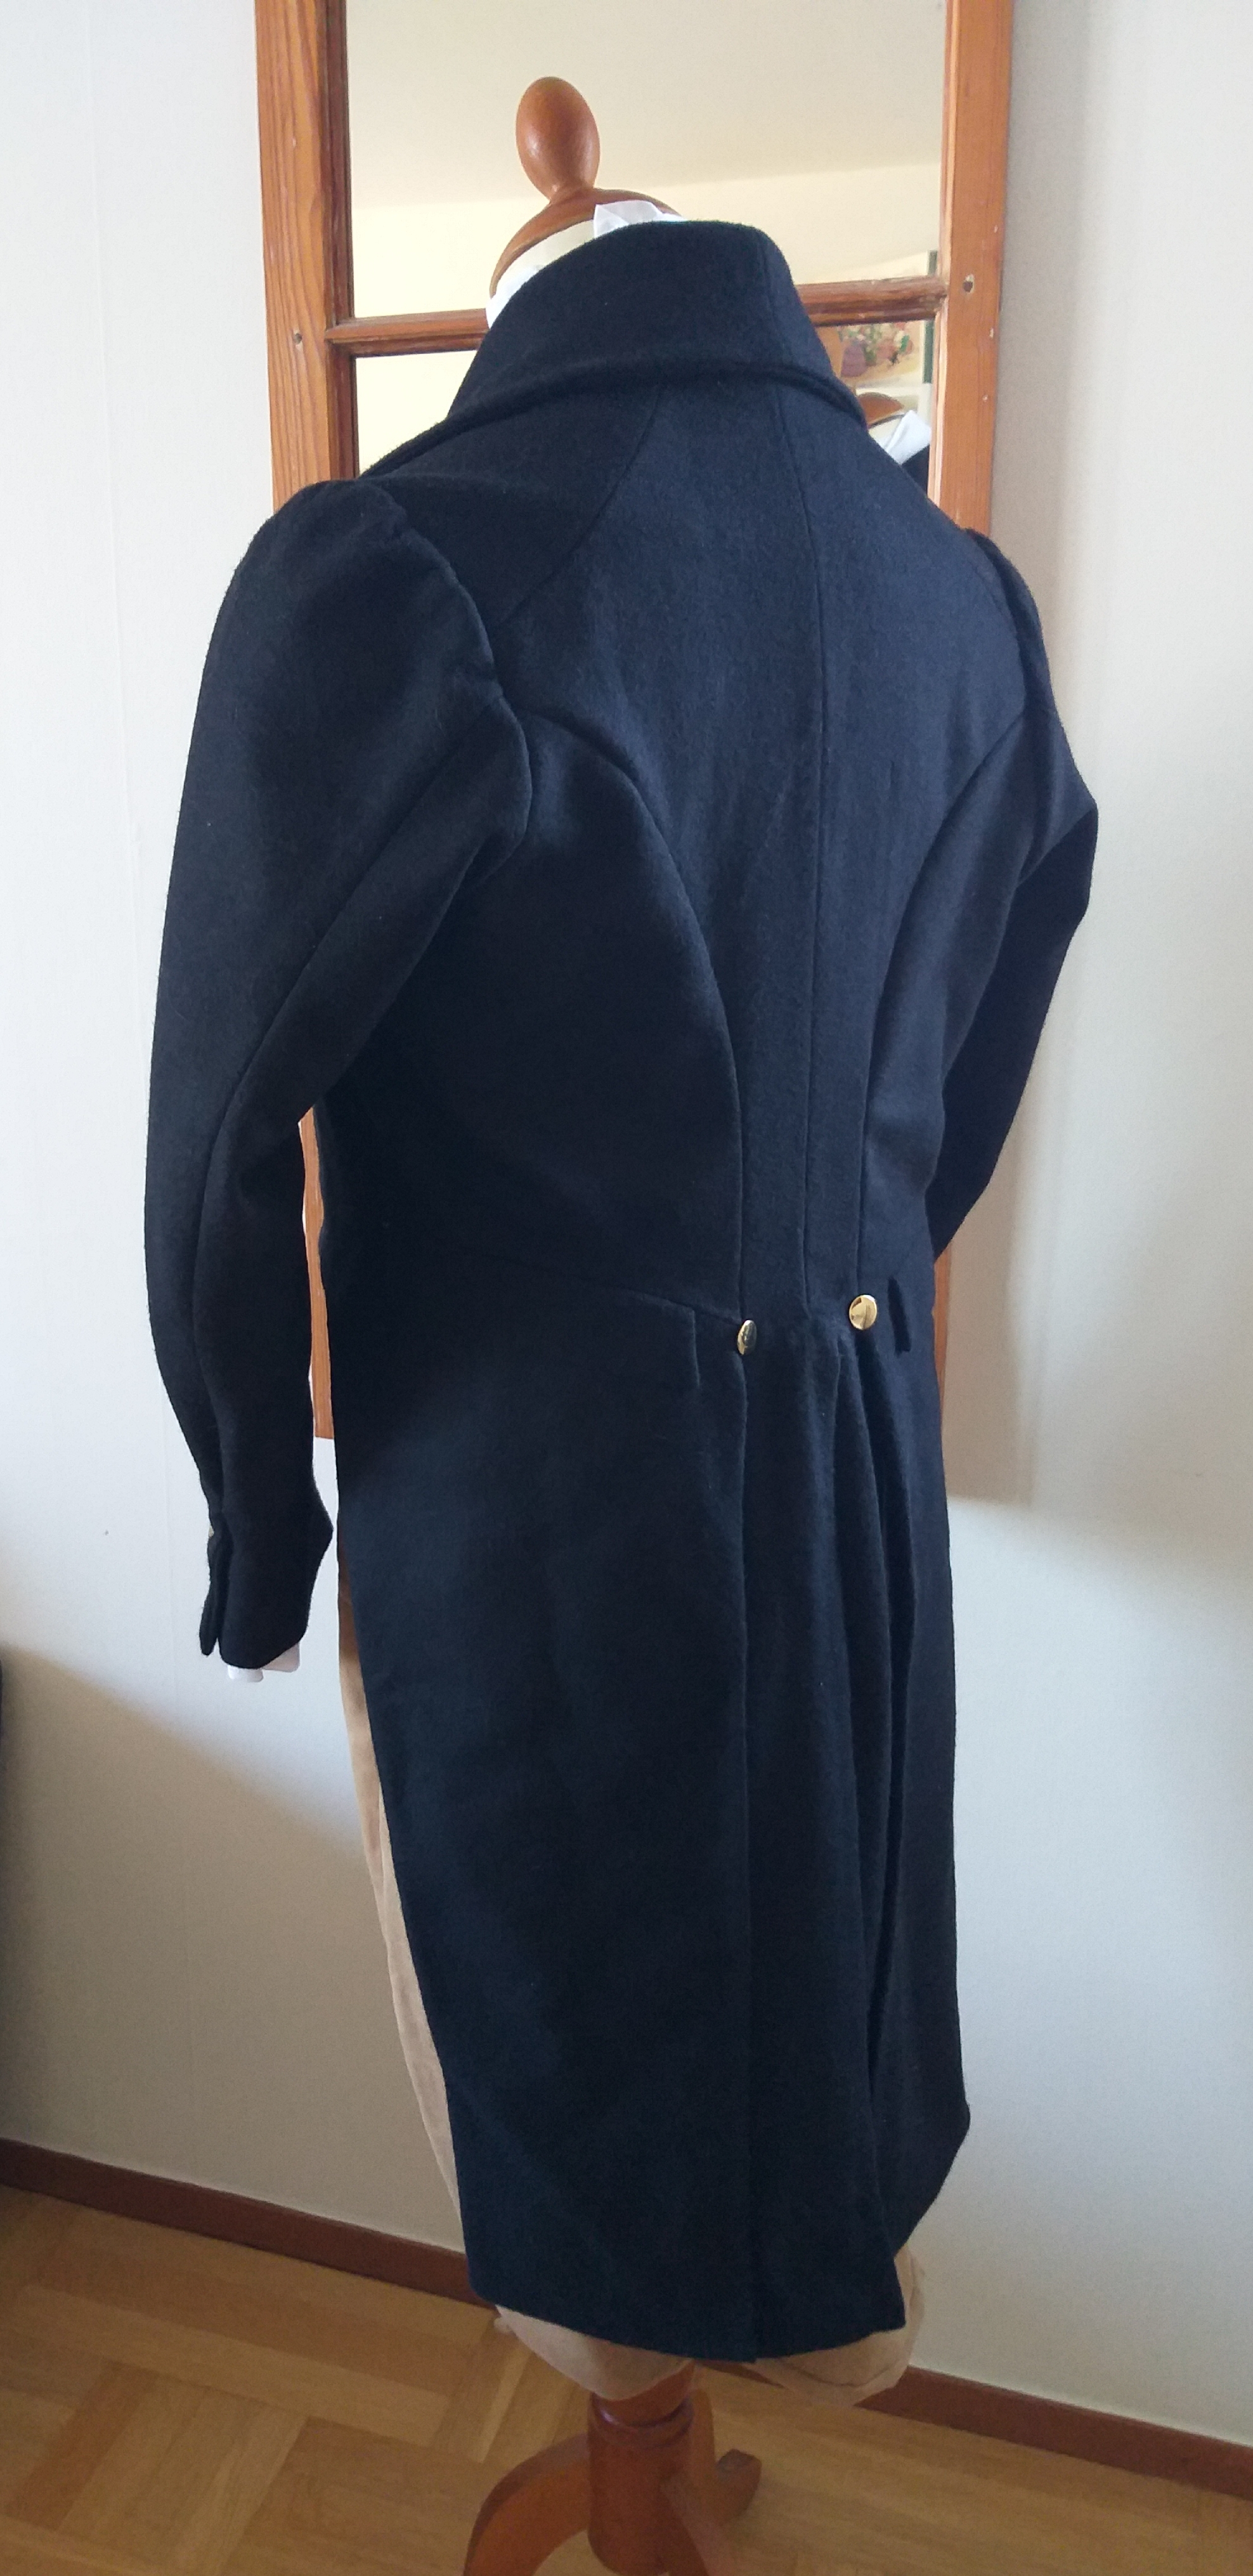
Tailcoat
My most time consuming sewing project ever must be his new tailcoat. I have used historical methods and made all of the interlining by hand – hundreds of stitches that no one will ever see… ? I used the fantastic pattern of Laughing Moon that I bought for the prize money for my win in the 2017 competition of Your Wardrobe Unlocked.
Now there is only a new waistcoat left to make the suit complete. And a pair of shoes, stockings, pocket watch, new hair etc… When starting to update the historical wardrobe, there is no end to it, especially as the family expands.
If I’m still alive by the end of the week, after two more nights at work, I look forward to see all of these clothes during the dancing session.
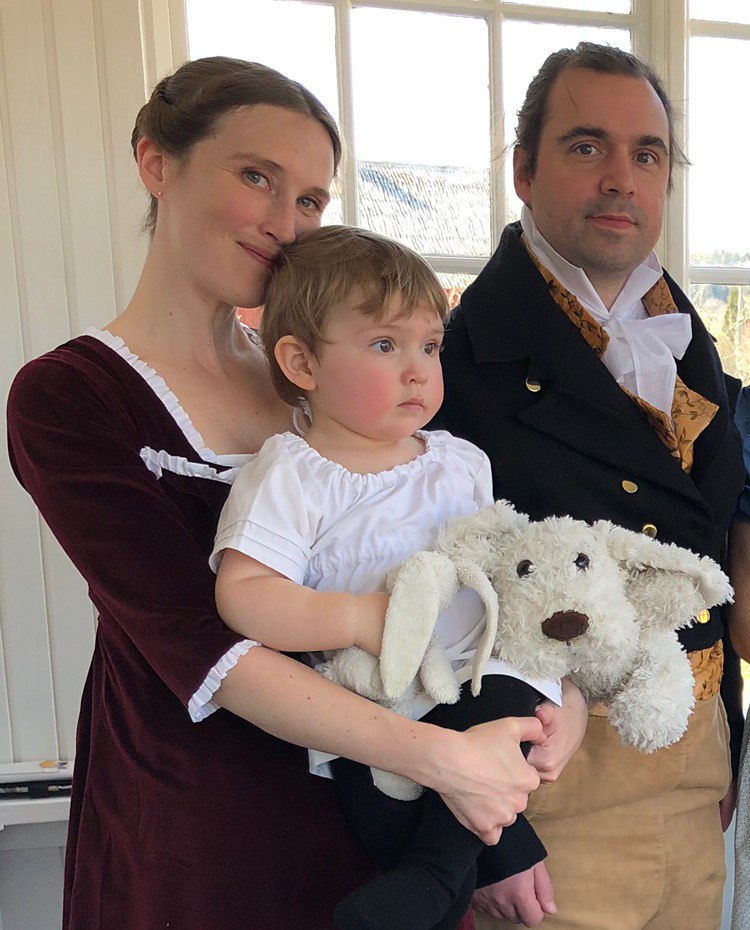
The dance training was featured in the local newspaper, with some nice pictures. This was what our family looked like. Alas, it was all too obvious that I had not made adjustments for the tail coat during the process, for it did not fit as well as I had hoped for.

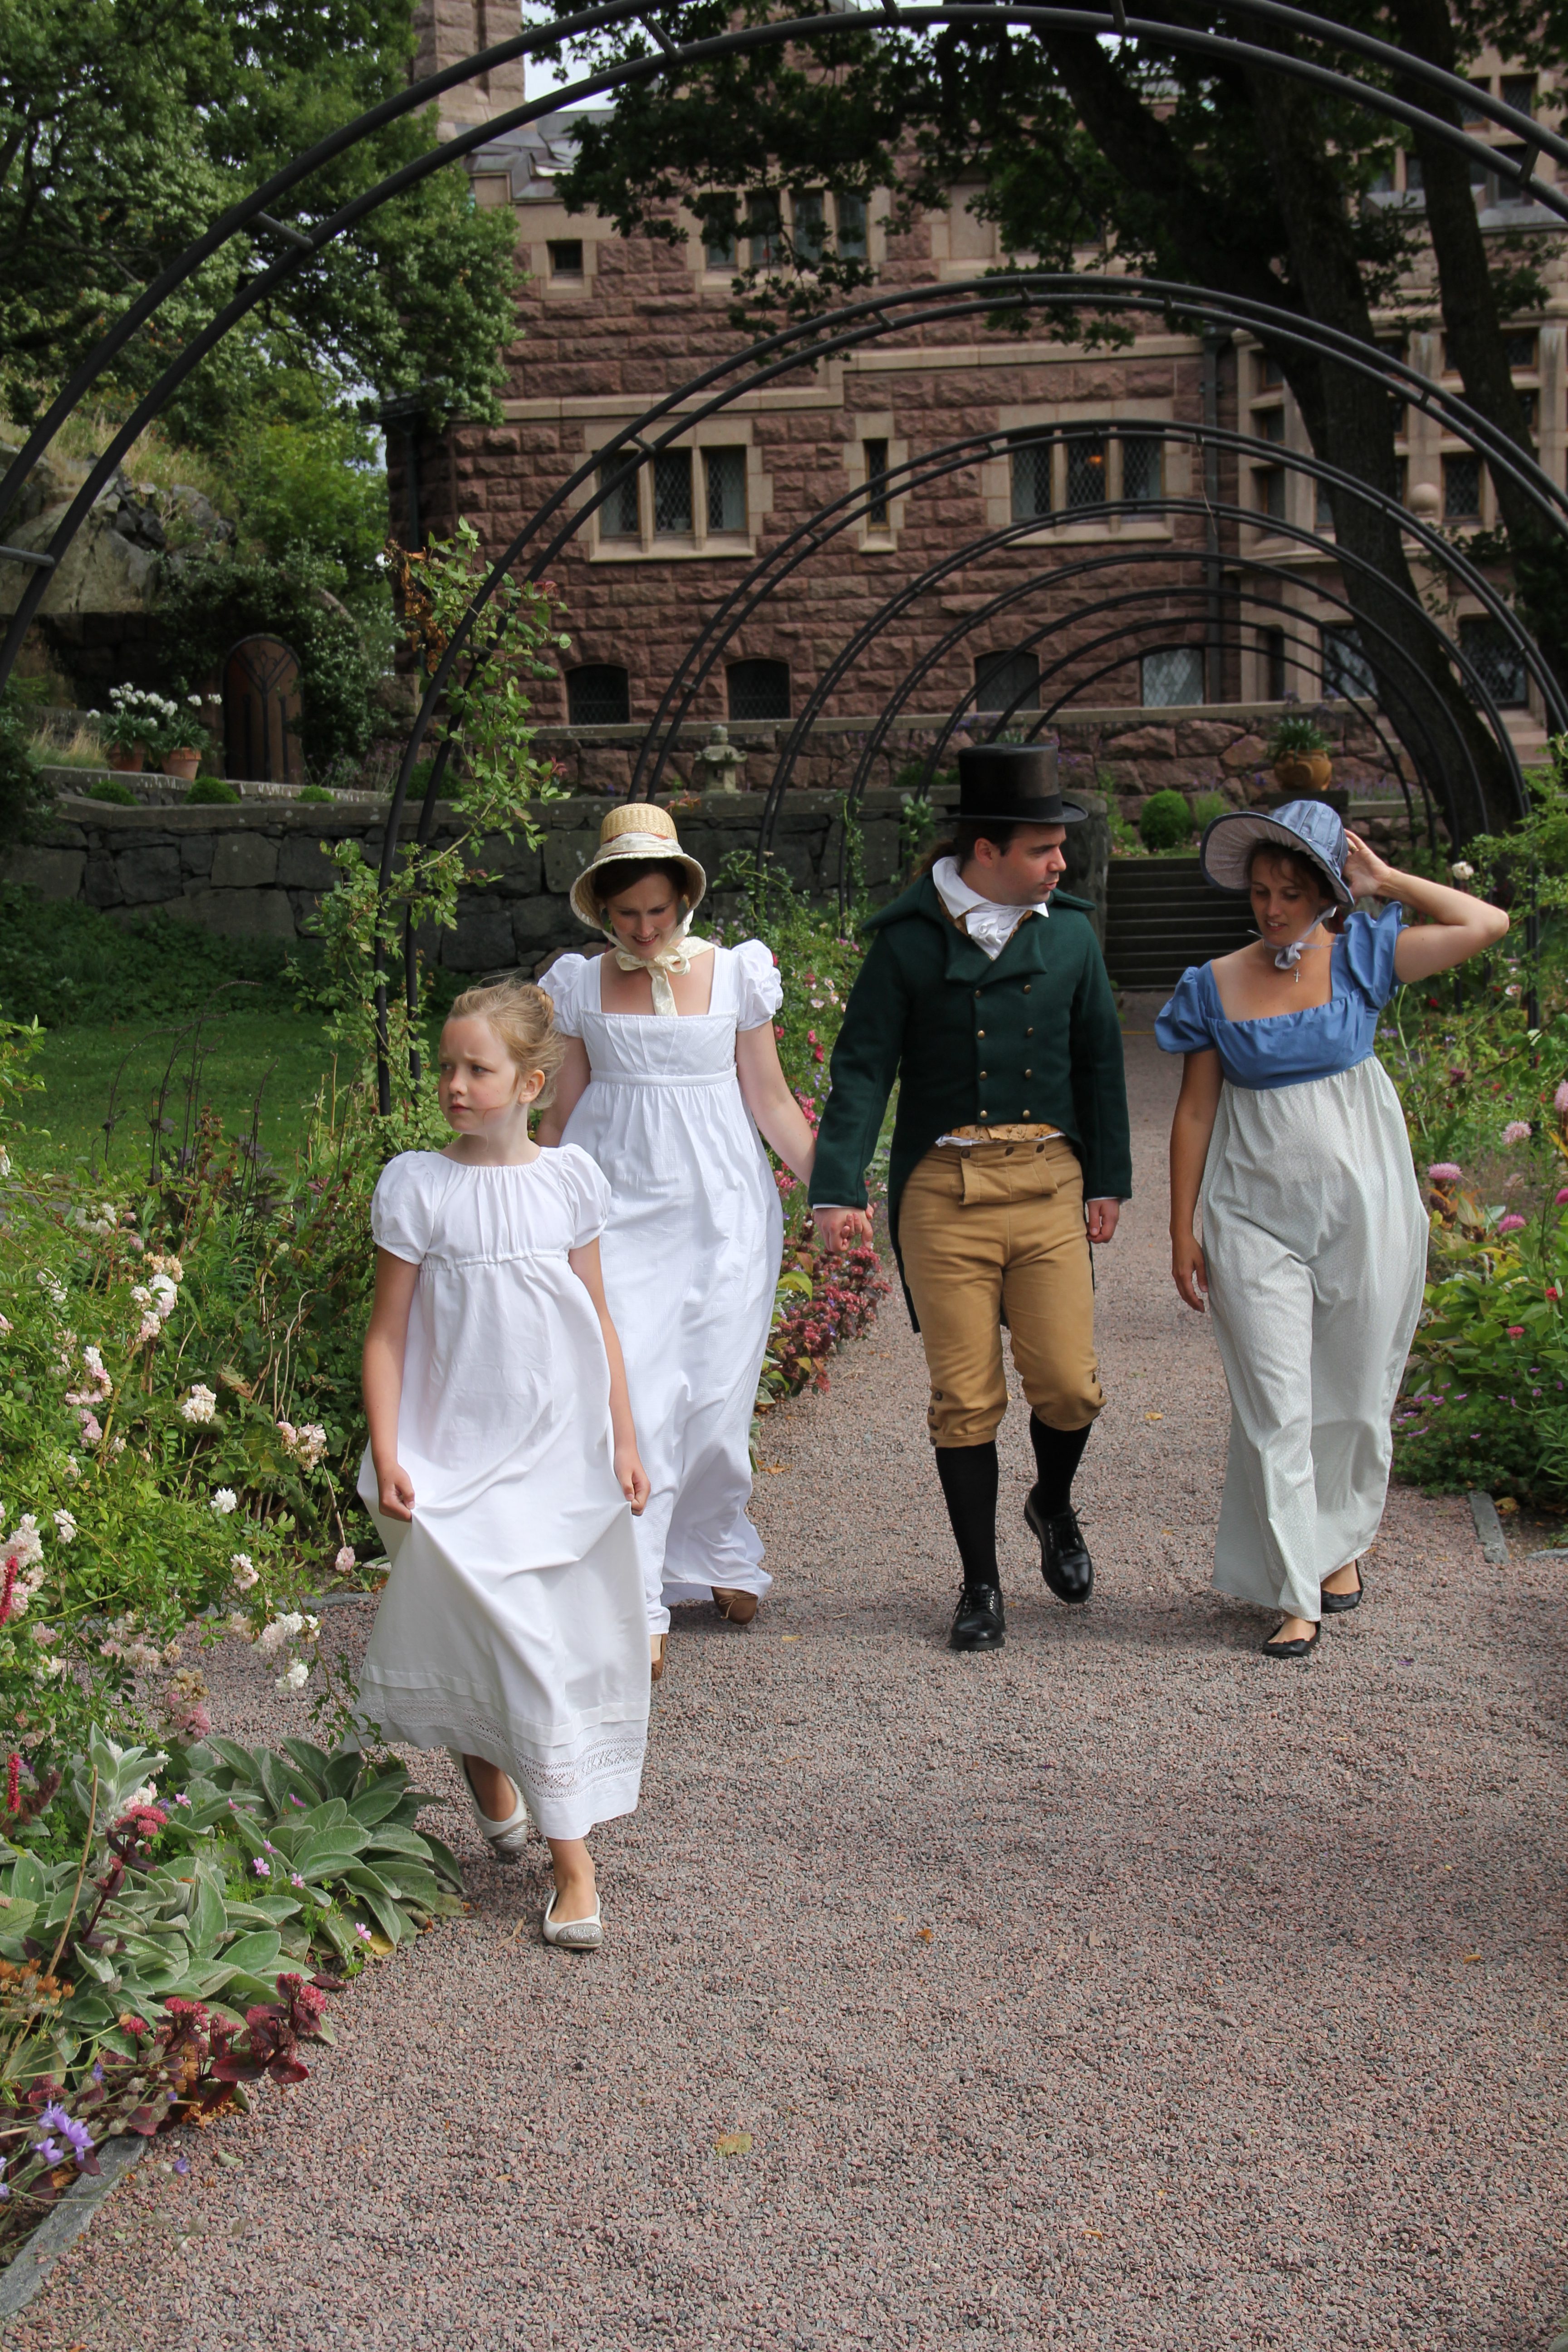


 The dance training was featured in the local newspaper, with some nice pictures. This was what our family looked like. Alas, it was all too obvious that I had not made adjustments for the tail coat during the process, for it did not fit as well as I had hoped for.