Hi there!
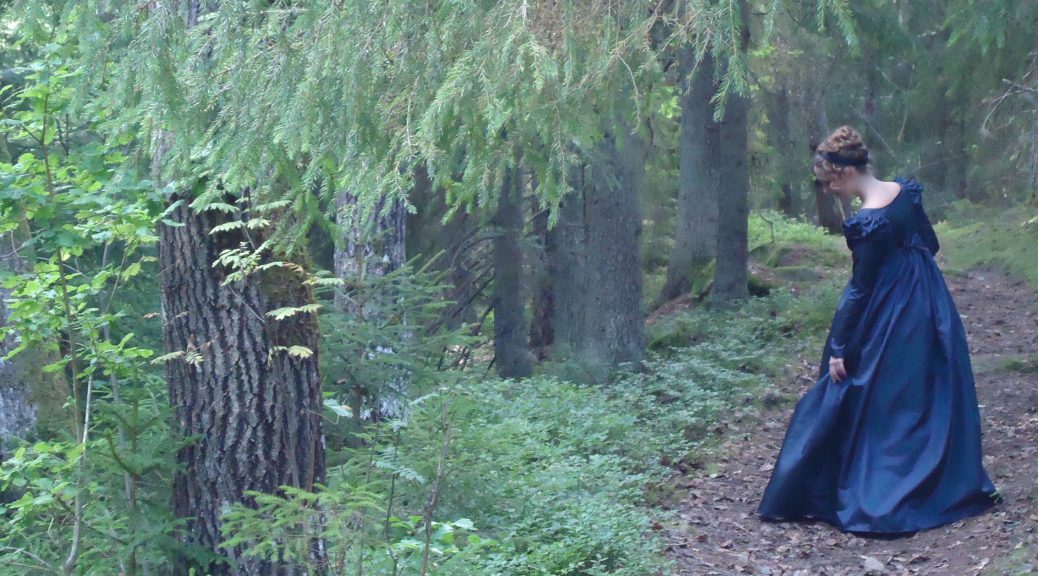
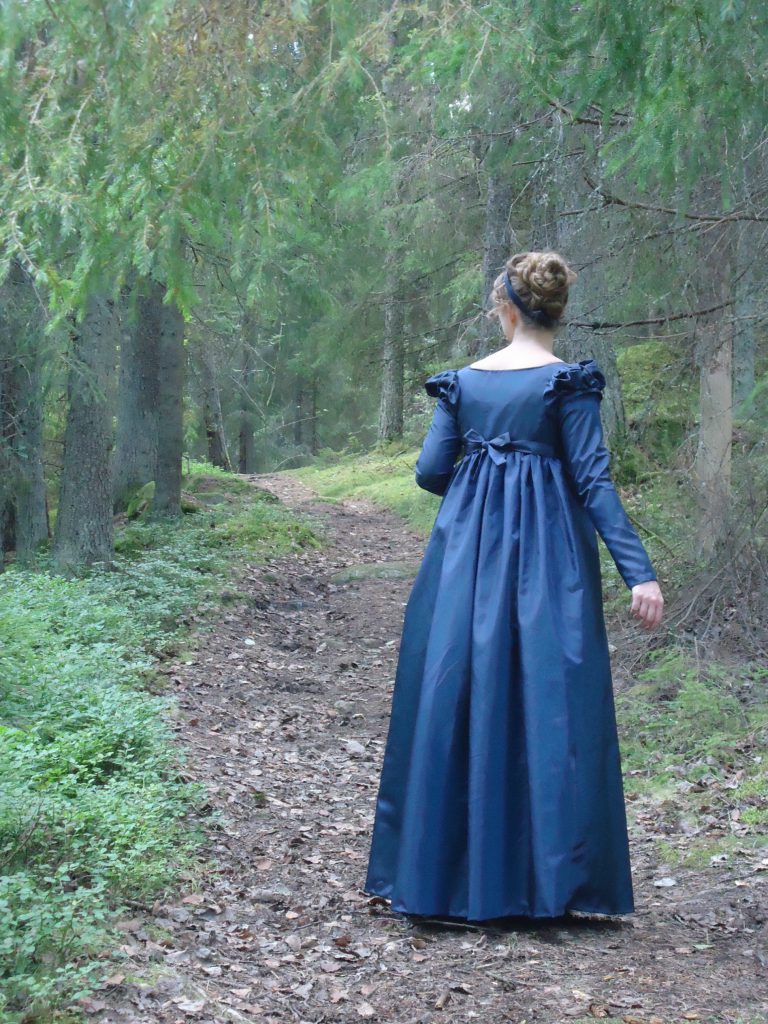
Today, I finished the blue regency gown, which I have thought about during the whole summer! I had planned for wearing it at the castle pick nick with my friends, but this was cancelled, so I had to find some other location for my photo session.
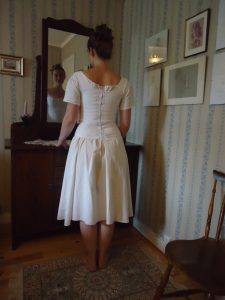
In this post I will first give you a quick look at the construction, then the new underpinnings put on in the right order, the gown put on and last, all of the romantic pictures of the gown.
Idag blev jag äntligen färdig med min nya empirklänning, som jag har tänkt på hela sommaren. Jag hade ju tänkt använda den på Tjolöholmsutflykten, tillsammans med mina vänner, men utflykten blev inställd, så jag var tvungen att hitta ett annat ställe att fota på.
I detta inlägg visar jag först lite av klänningskonstruktionen, sedan alla underklädeslager och sist själva klänningen.
Construction of the gown
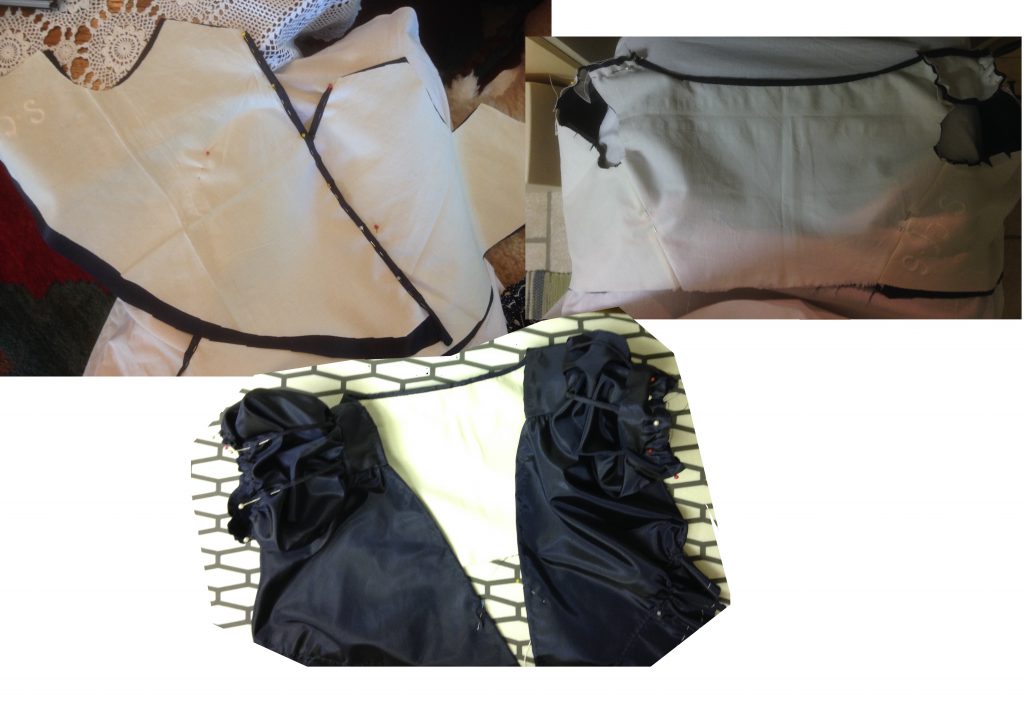
I made a mock-up for the bodice part, on my mannequin before I left it for Sweden. The mock-up was used as a pattern when I cut the fabric.
Jag gjorde en toille på min provdocka i Danmark och använde nu denna som mönster när jag klippte ut tyget.

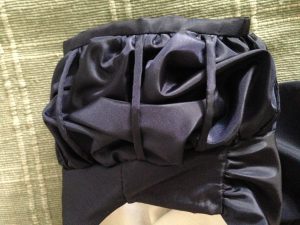
First I put the bodice together and hand stitched the hem in the neckline. Then I put on the arms and last, I made the skirt. I cut some corners by sewing long loose machine seams for gathering the fabric in the arms and skirt.
Först satte jag ihop livet och fållade sömmarna i halsringningen. Sedan fäste jag ärmarna och sist kjolen. Jag struntade i att göra vecksömmar för hand, genom att i stället sy långa lösa raksömmar på symaskinen för att rynka puffärmarna och kjolen.
The Underpinnings
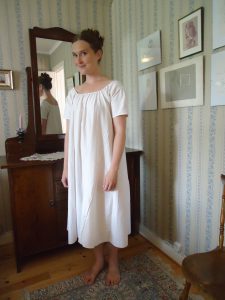
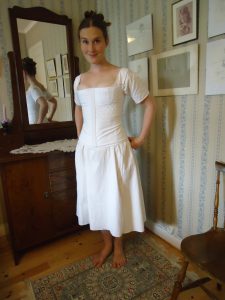
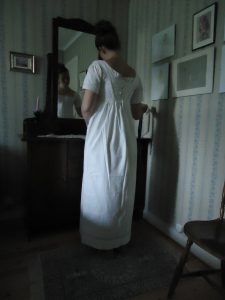
Here are all the layers of underpinnings (except for stockings and shoes), then the making of the hair and at last comes the wonderful gown:
Här får ni se hur alla underkläder tas på i rätt ordning (utom strumpor och skor), sedan hur frisyren görs i ordning och slutligen den nya klänningen ses i all sin glans:
The Regency Hair
Now it is time for making the hair! I have long, straight hair, that never hold the curls for more than five minutes. After some lovely articles at Your Wardrobe Unlocked and the wonderful blog Places in Time, I have finally gathered up enough courage to make my own hair pieces.
Nu är det dags för att fixa håret! Jag har långt, rakt hår, som aldrig låter lockarna stanna i mer än fem minuter. Efter några uppmuntrande artiklar på Your Wardrobe Unlocked och den underbara bloggen Places in Time, har jag äntligen samlat tillräckligt med mod för att fixa eget löshår!
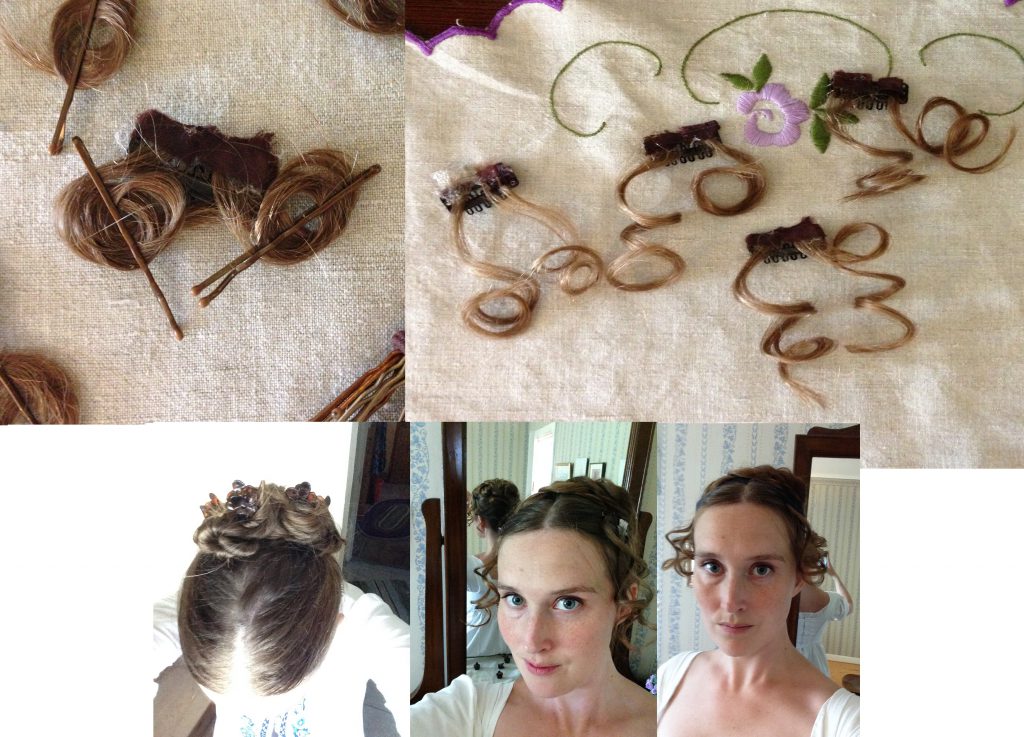
I am too greedy to buy synthetic wig hair, so… I know some of you will think that this is truly shocking… I harvested all the hair that got stuck in my brush for one month, taped it together and finally glued it to a small piece of fabric and to barrets. Then I wound the hair up around my finger and fastened the curl with hair pins. These new hair pieces were put away for about two weeks before I could use them (I tried them after just one week, but that wouldn’t do at all!).
Jag är för gniden för att köpa syntetiskt löshår, så… jag vet att några av er kommer rygga tillbaka i avsky, men… jag sparade allt hår som fastnade i hårborsten i en månad, tejpade samman det och limmade slutligen fast det på hårspännen, samman med en liten tygbit. Sedan rullade jag upp håret runt fingret och fäste lockarna i hårnålar och la undan allt i två veckor innan fotosessionen (jag testade löshåret efter bara en vecka, men då släppte lockarna på en minut).
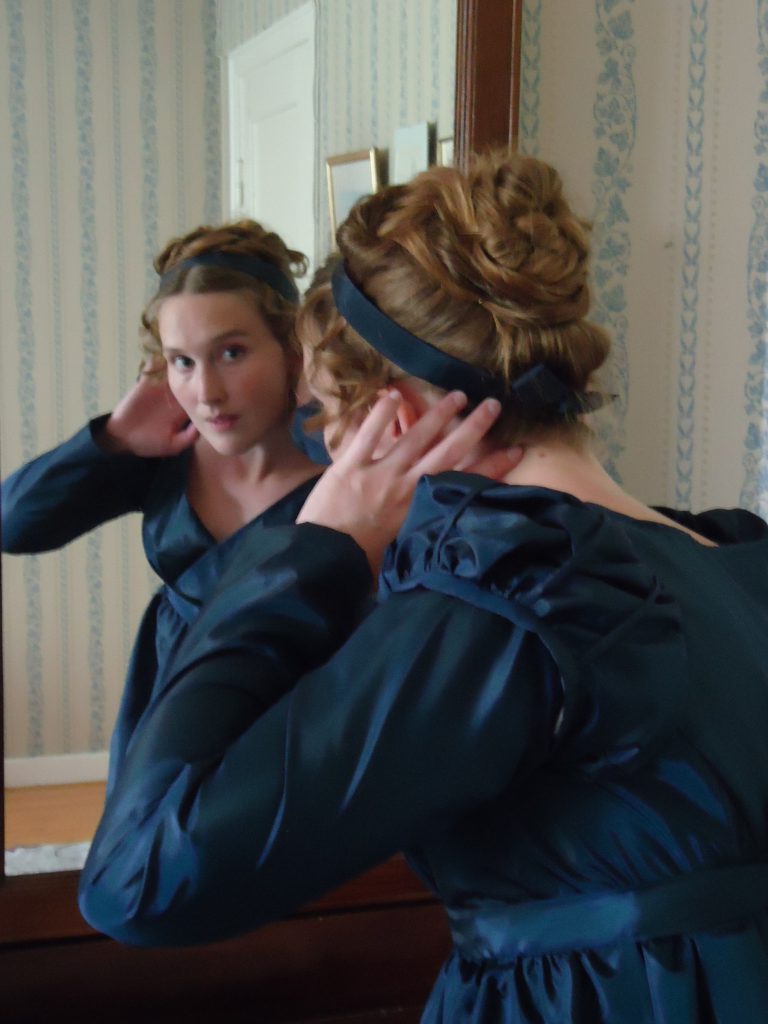
For those of you, who have shorter hair, I believe that Diary of a Mantua Maker may be helpful.
För er som har kortare hår, tror jag att Diary of a Mantua Maker kan fungera.
Putting the gown on!
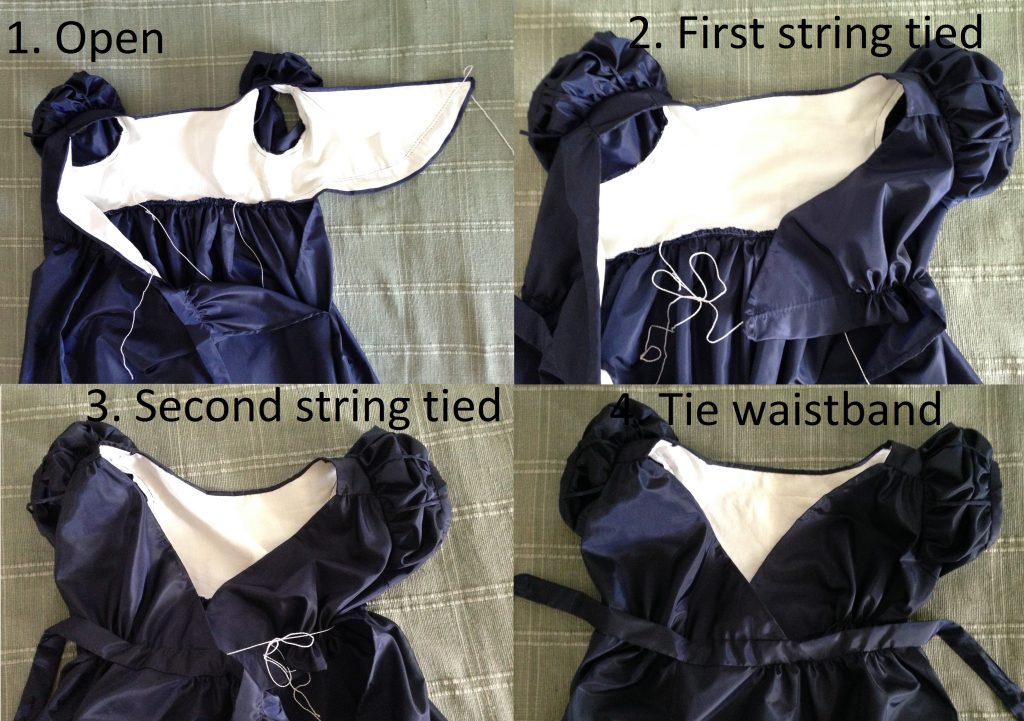
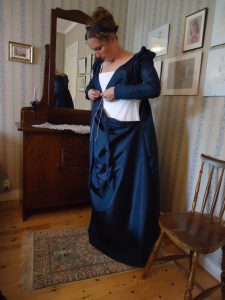
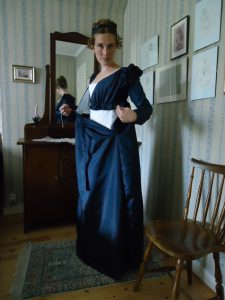
I had to read several blogs and examine many photos of vintage gowns, before I understood how the V-lined gowns are constructed (which is shown in this post), so I will kindly show you how it is put on.
Jag var tvungen att läsa igenom flera bloggar och kolla på många fotografier av vintageklänningar, innan jag förstod hur dessa V-ringade klänningar var konstruerade (vilket syns i detta inlägg). Eftersom kanske fler än jag är förvirrade över detta, visar jag hur man tar på sig den.
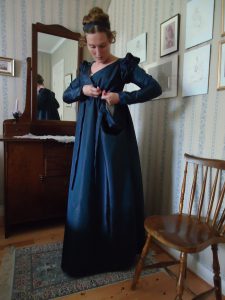
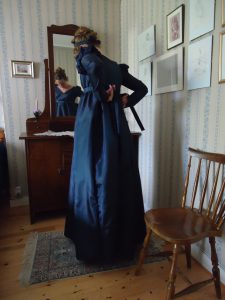
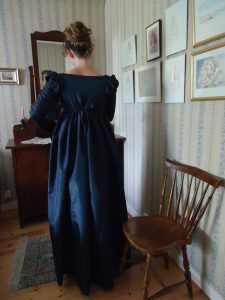
Finally, I am fully dressed!
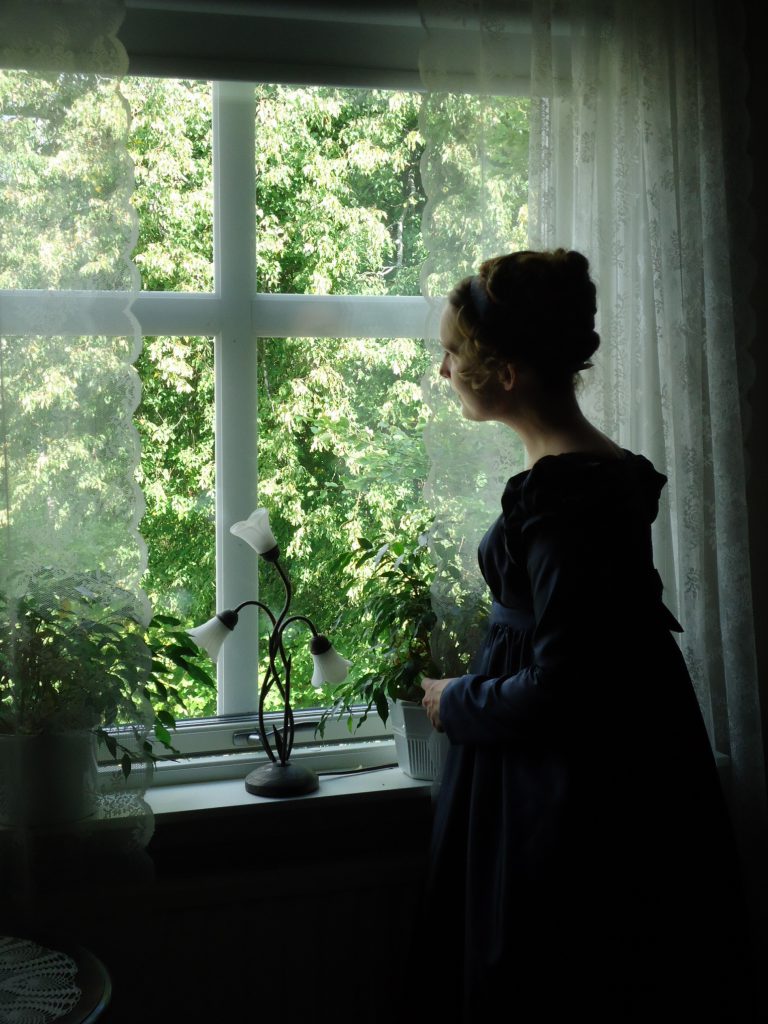
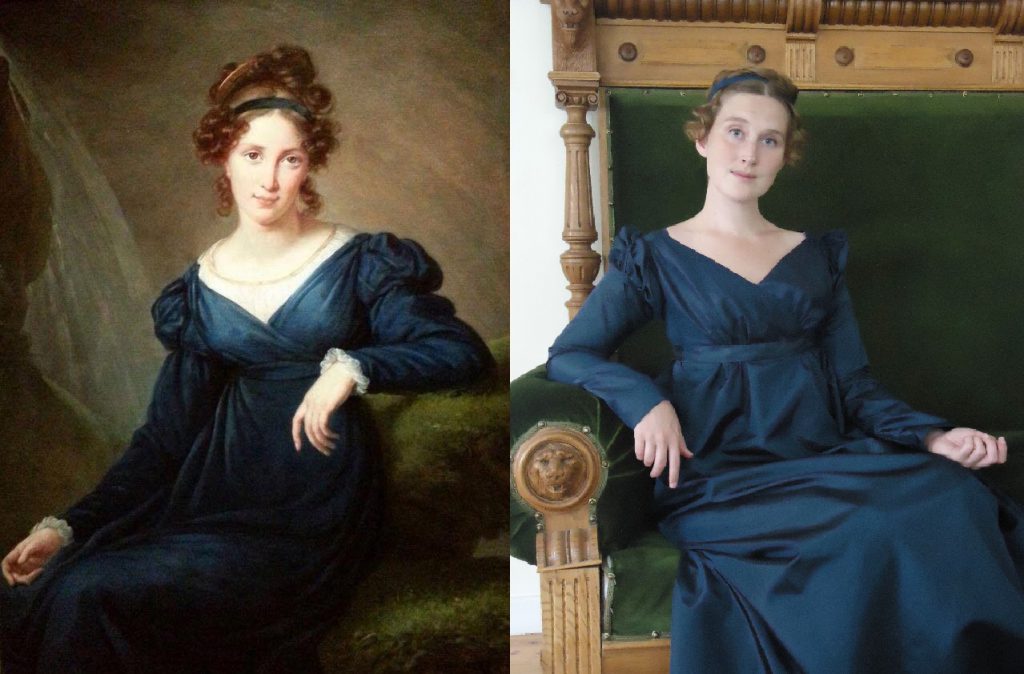
Clearly, we aren’t twins, the lady in the portrait and me, but I am very satisfied with the likeness of the dress. I hope to find a fabric for a similar chemisette with long arms too.
At first, I thought that the lady sat in a velvet sofa, but after a closer look, I think that she is seated in the moss, by a waterfall. Well, I won’t find that in my neighbourhood, so I will make do with the woods of Vimmerby.
Damen i porträttet och jag är kan inte misstas för att vara tvillingar, men jag är väldigt nöjd med hur lika klänningarna blev. Jag hoppas på att hitta ett tyg för en likadan chemisette, med långa ärmar.
Först trodde jag att hon satt i en sammetssoffa (som jag), men när jag tittade närmare på bilden, insåg jag att hon sitter i mossan, intill ett vattenfall. Det finns inte i grannskapet, så jag får nöja mig med mossiga bilder från Vimmerbys skogar.
Taking the gown for a walk
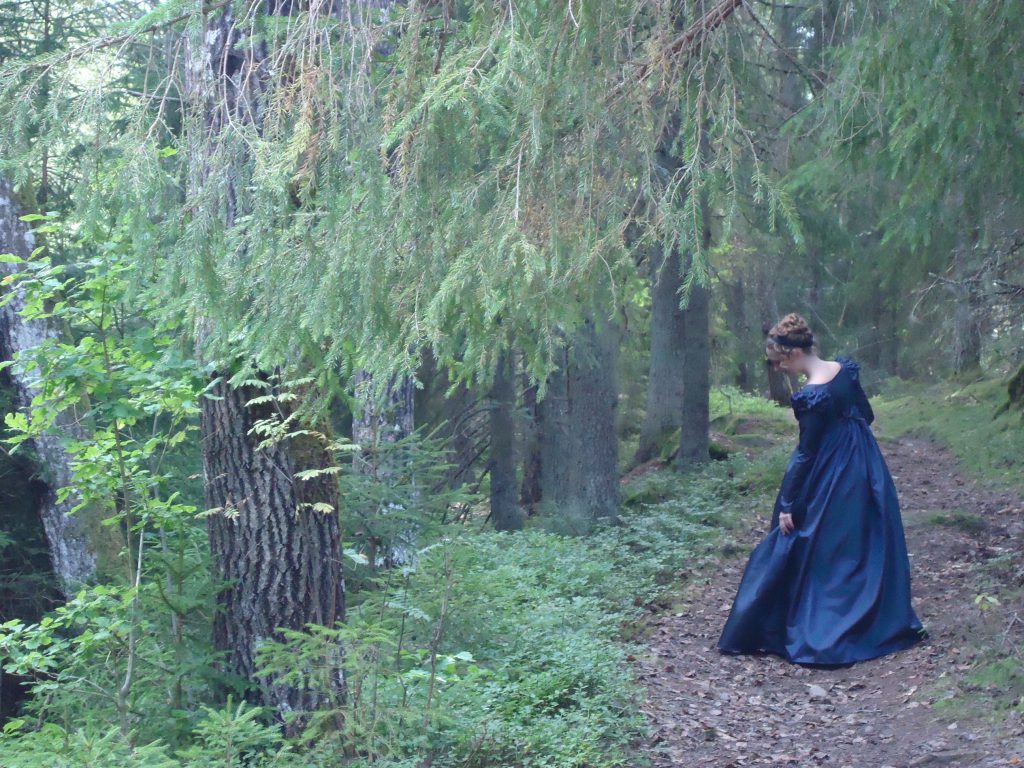
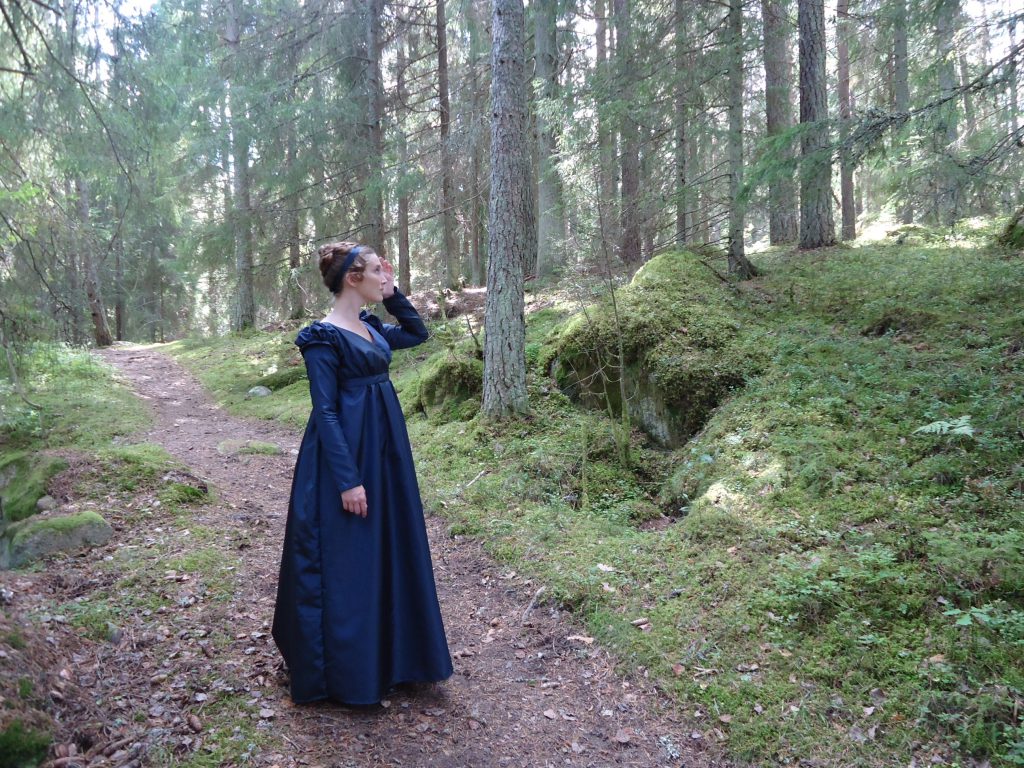
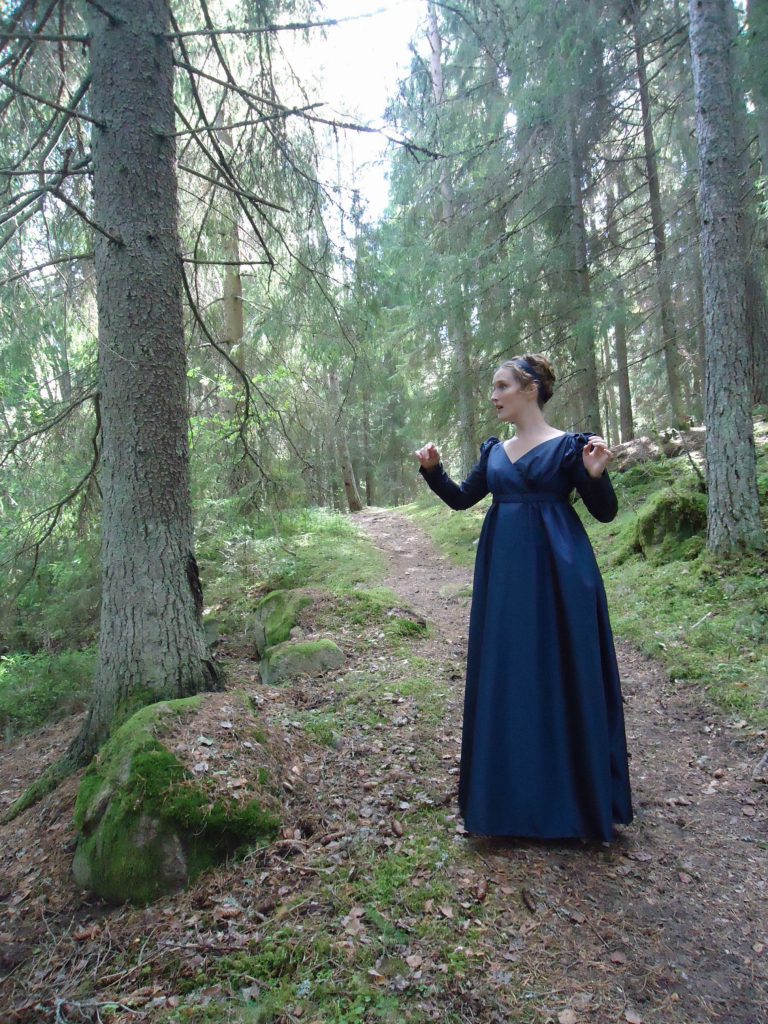
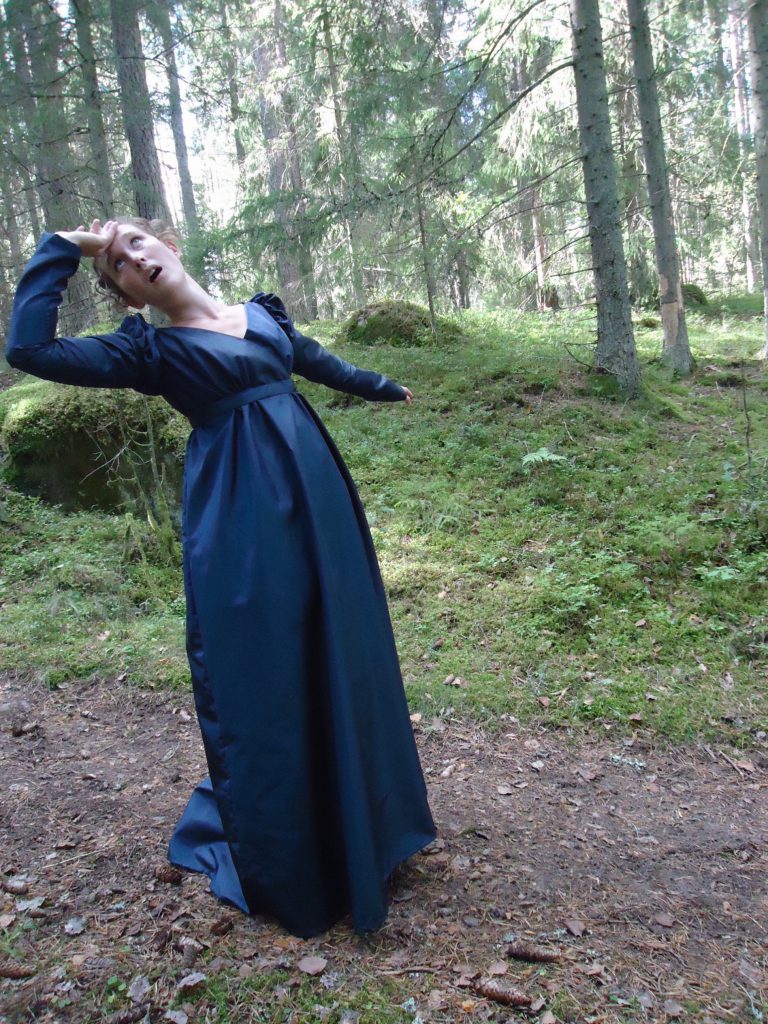
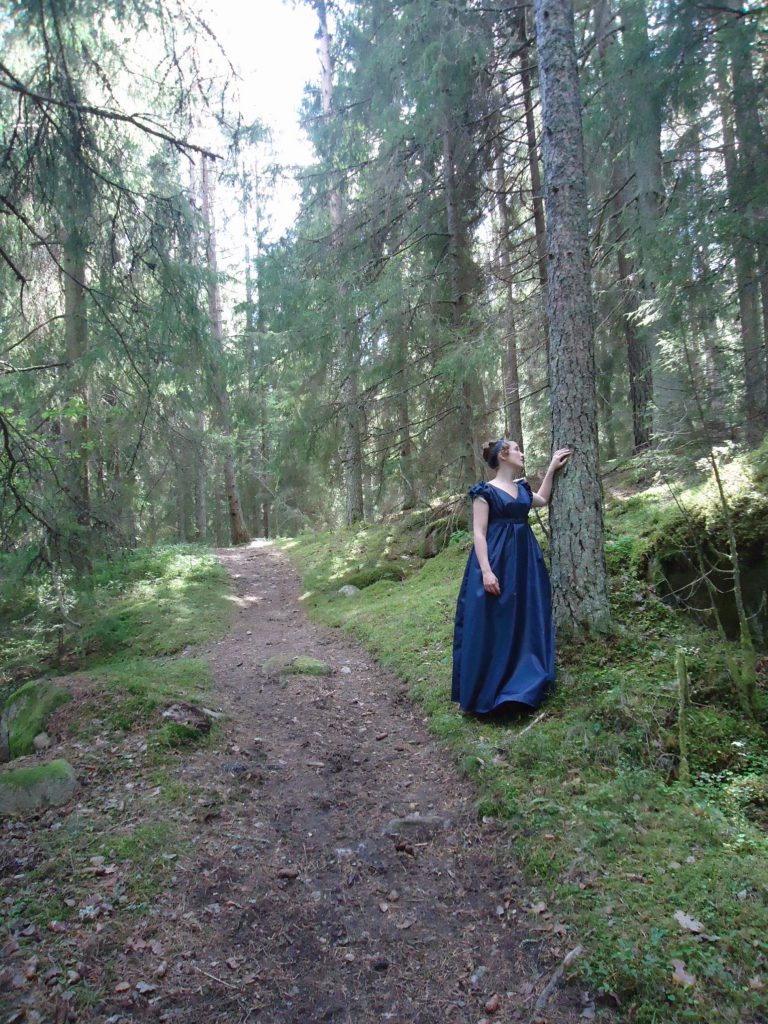
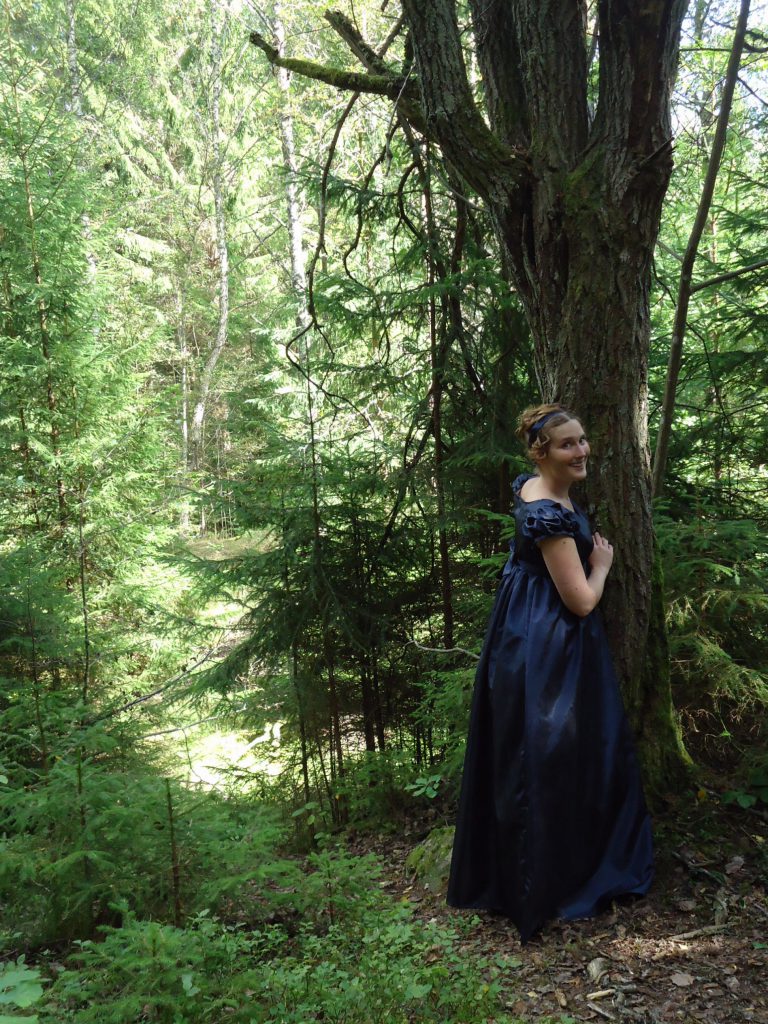
And thus, the lady wishes you all a good day, while she tries to find her way back home to Denmark.
Så önskar damen eder alla en fin dag, medan hon försöker hitta vägen tillbaka till Danmark.

