Tag Archives: fantasy

Serpent Witch Part 3 – finishing touches

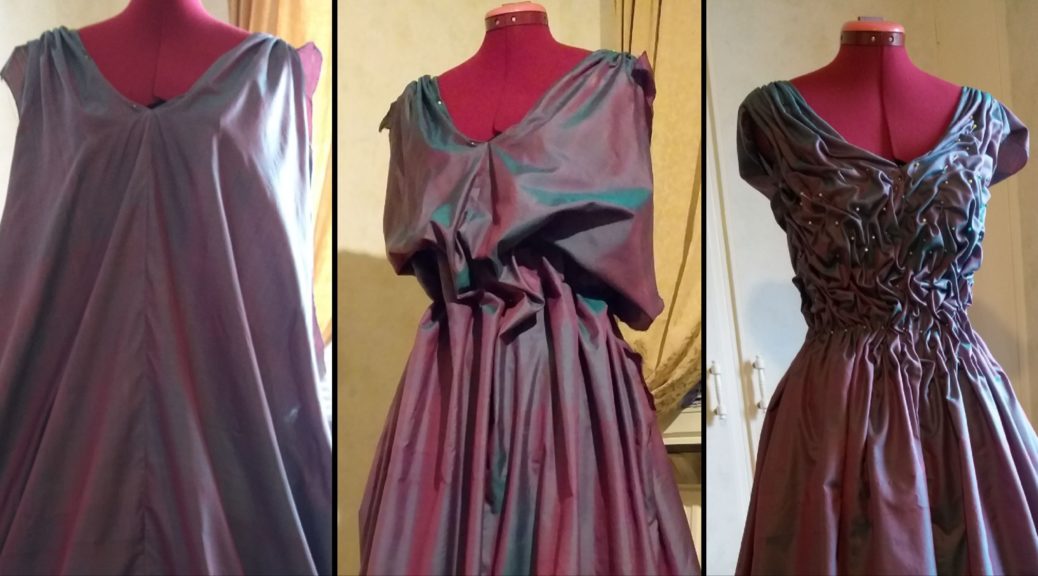
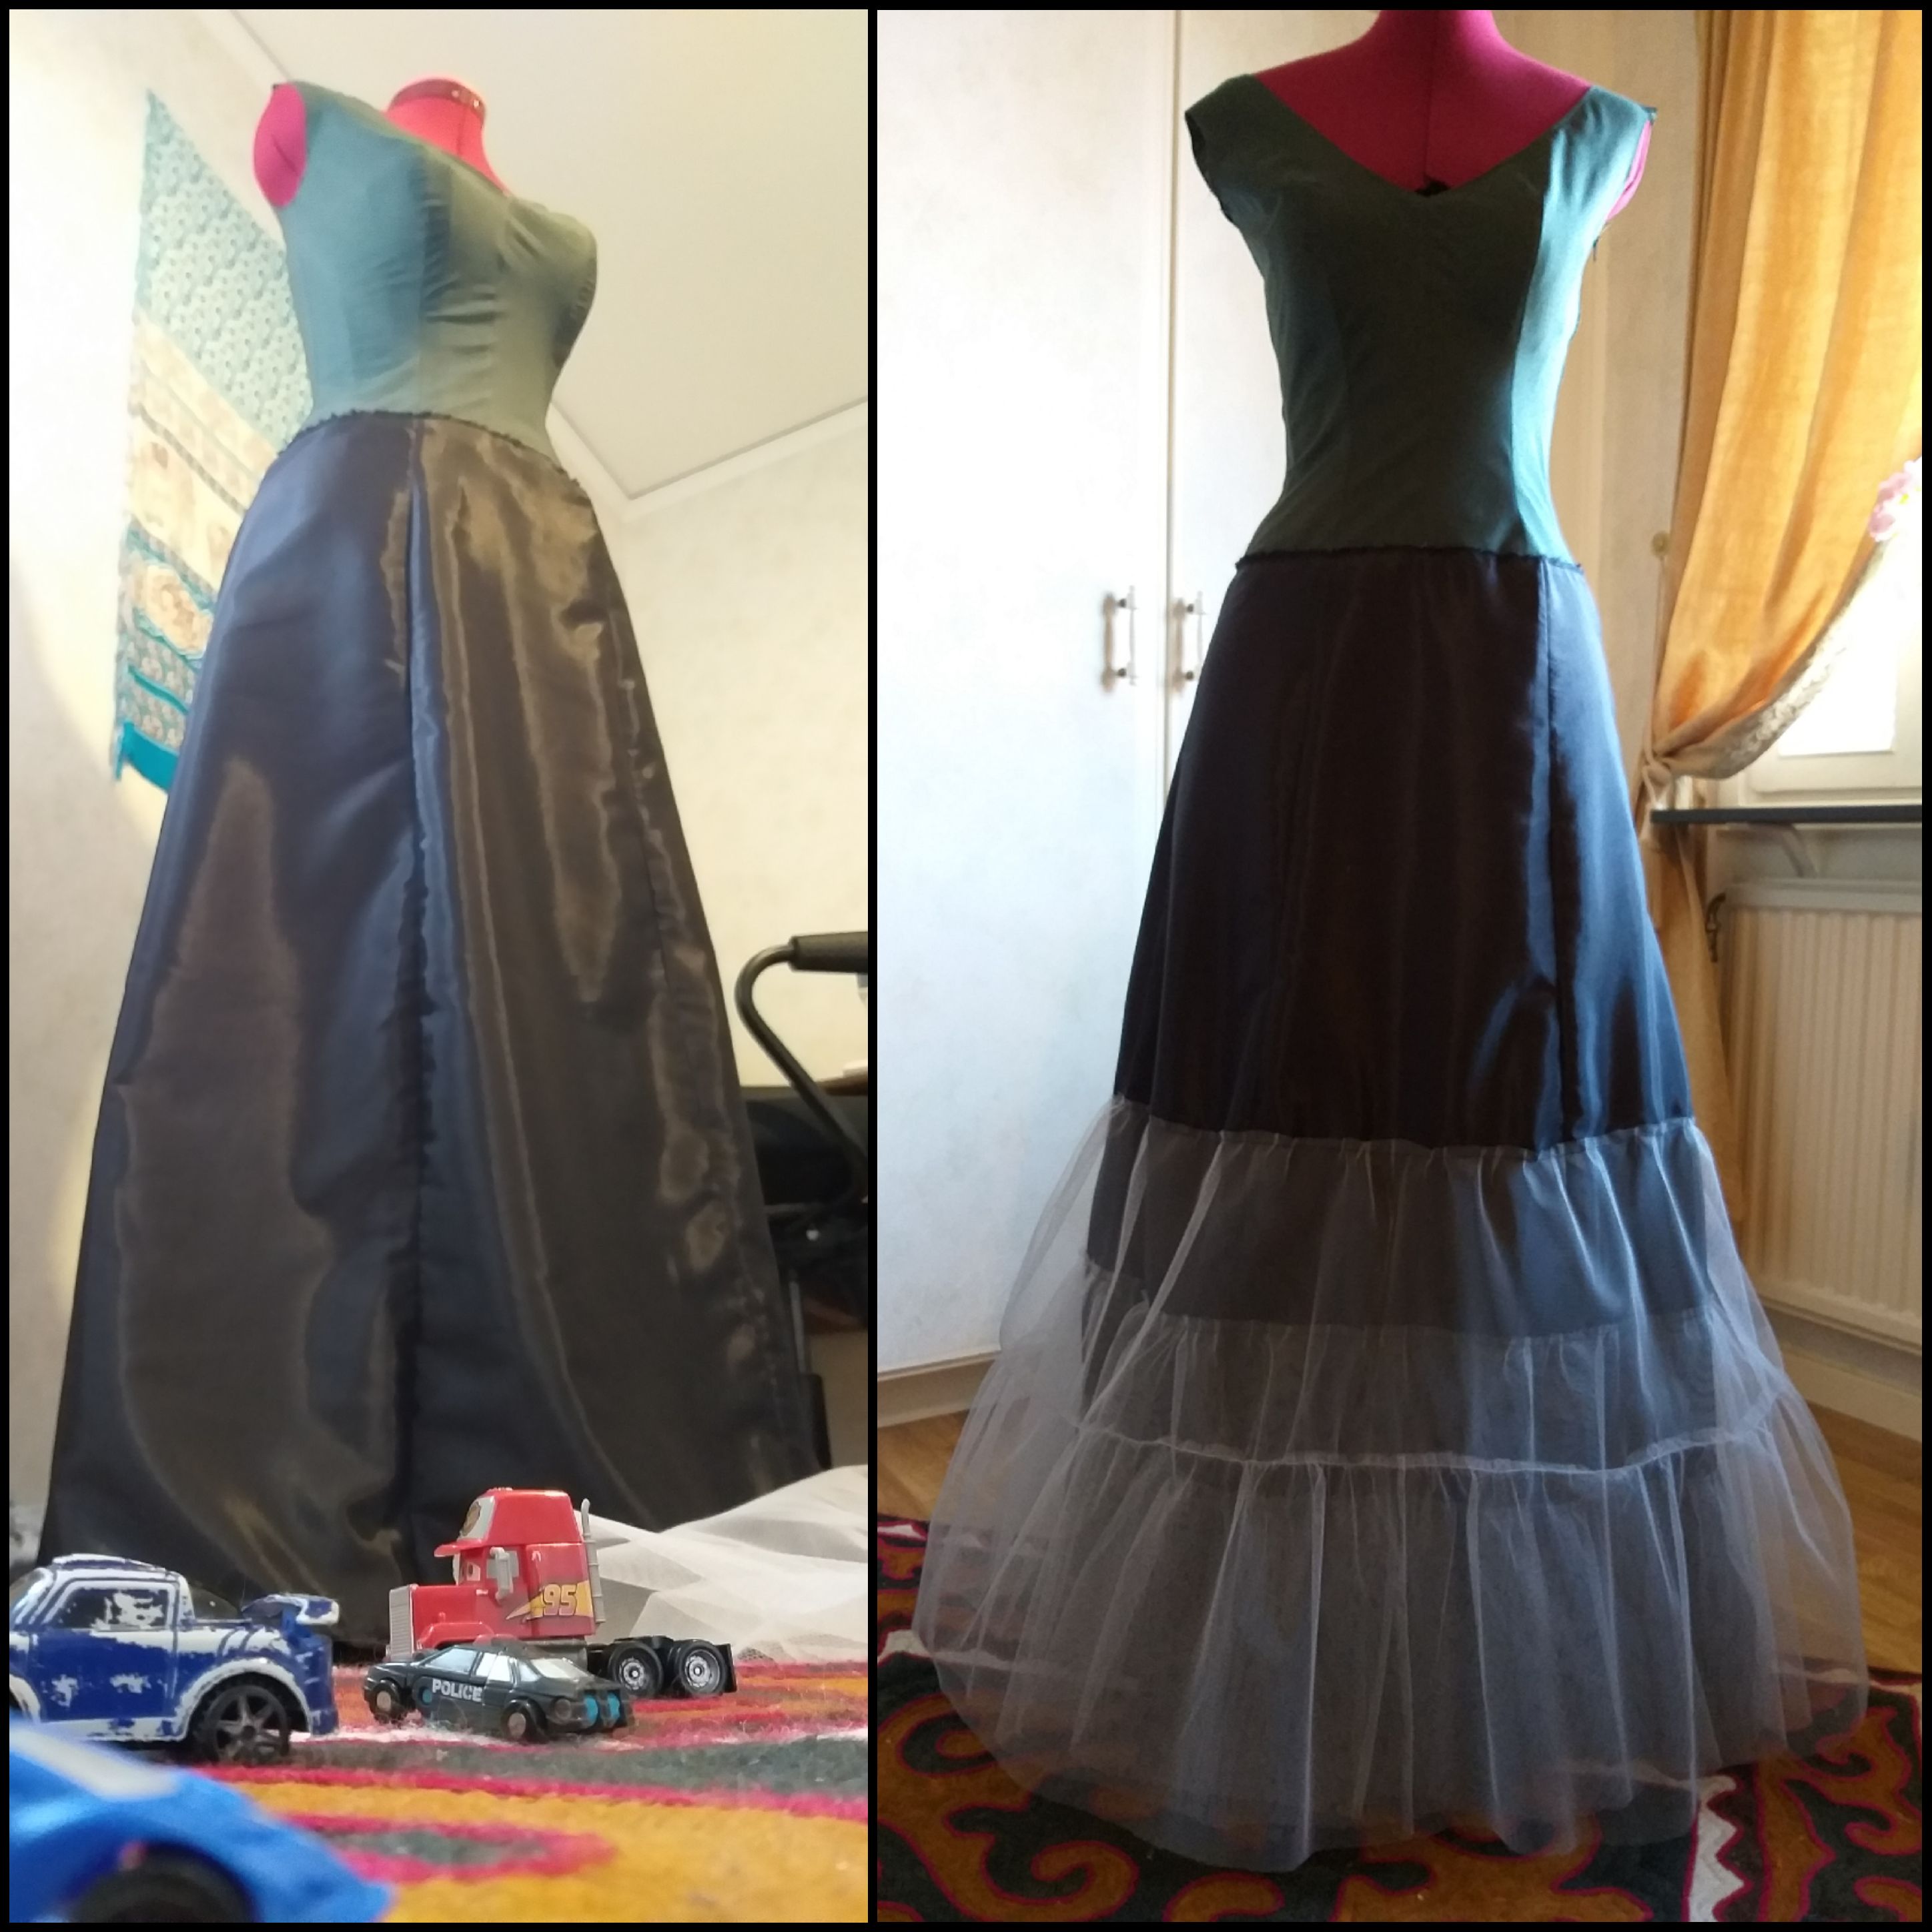
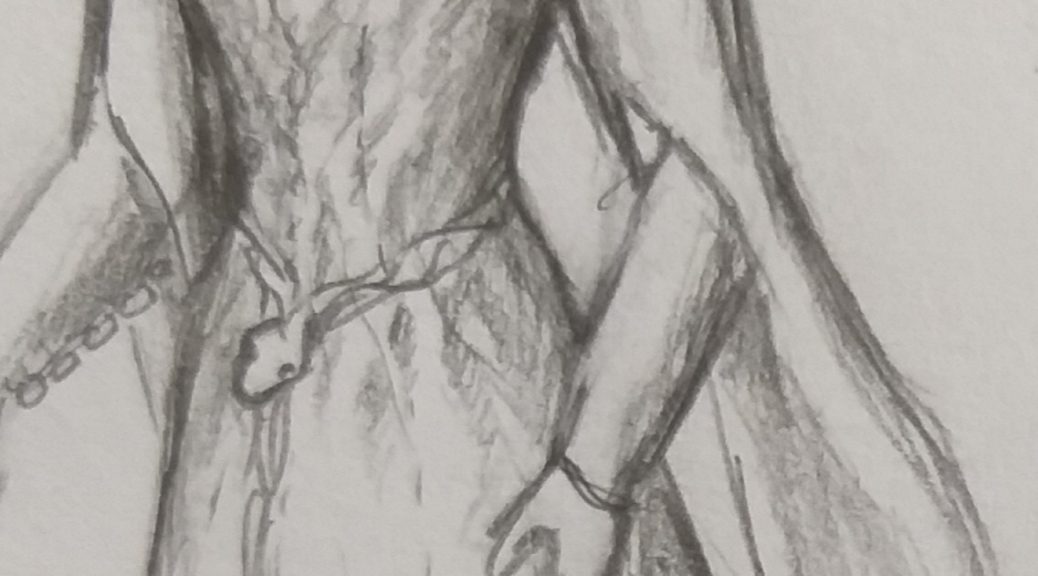
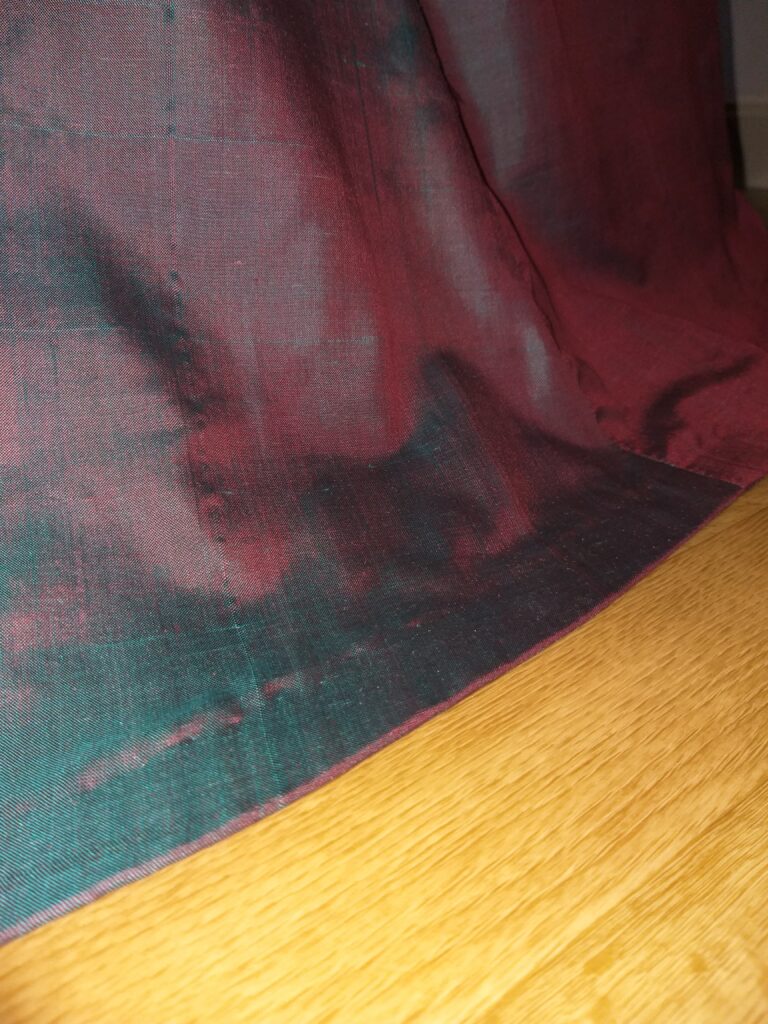
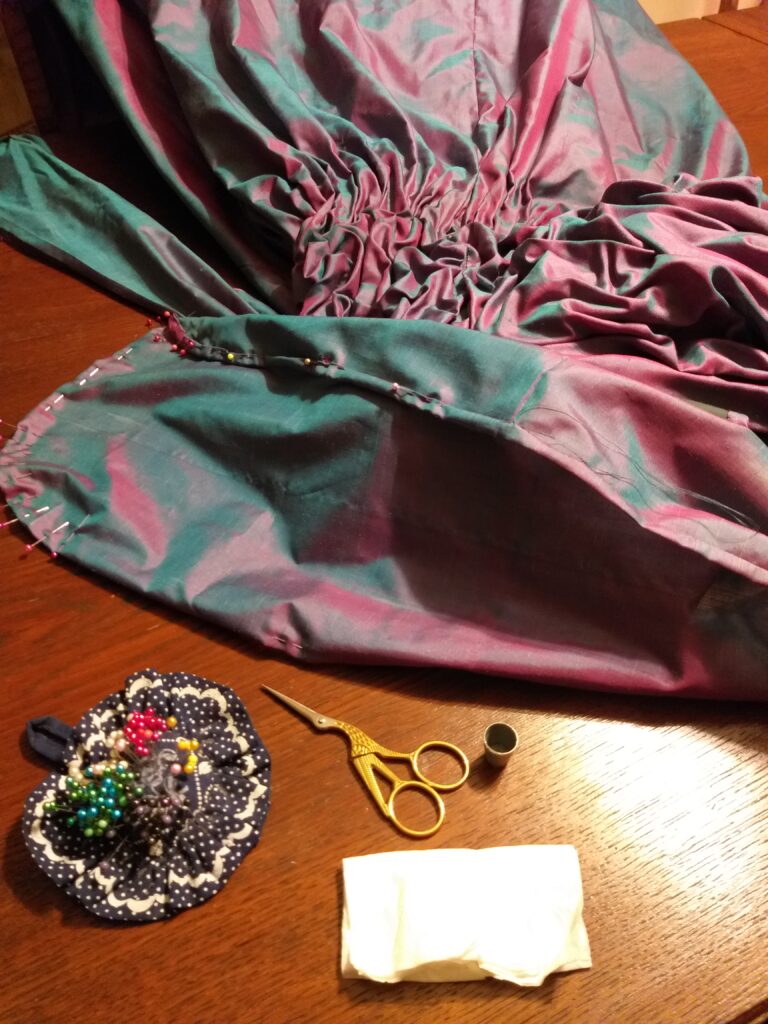
I wanted to try horse hair lining for the hem of the skirt, in order to have a more professional finish. Haha. That did not work out very well, as I had placed the horse hair upside down and the thin fabric was distorted. I had to unpick everything again, start from the beginning and finish it by hand instead.

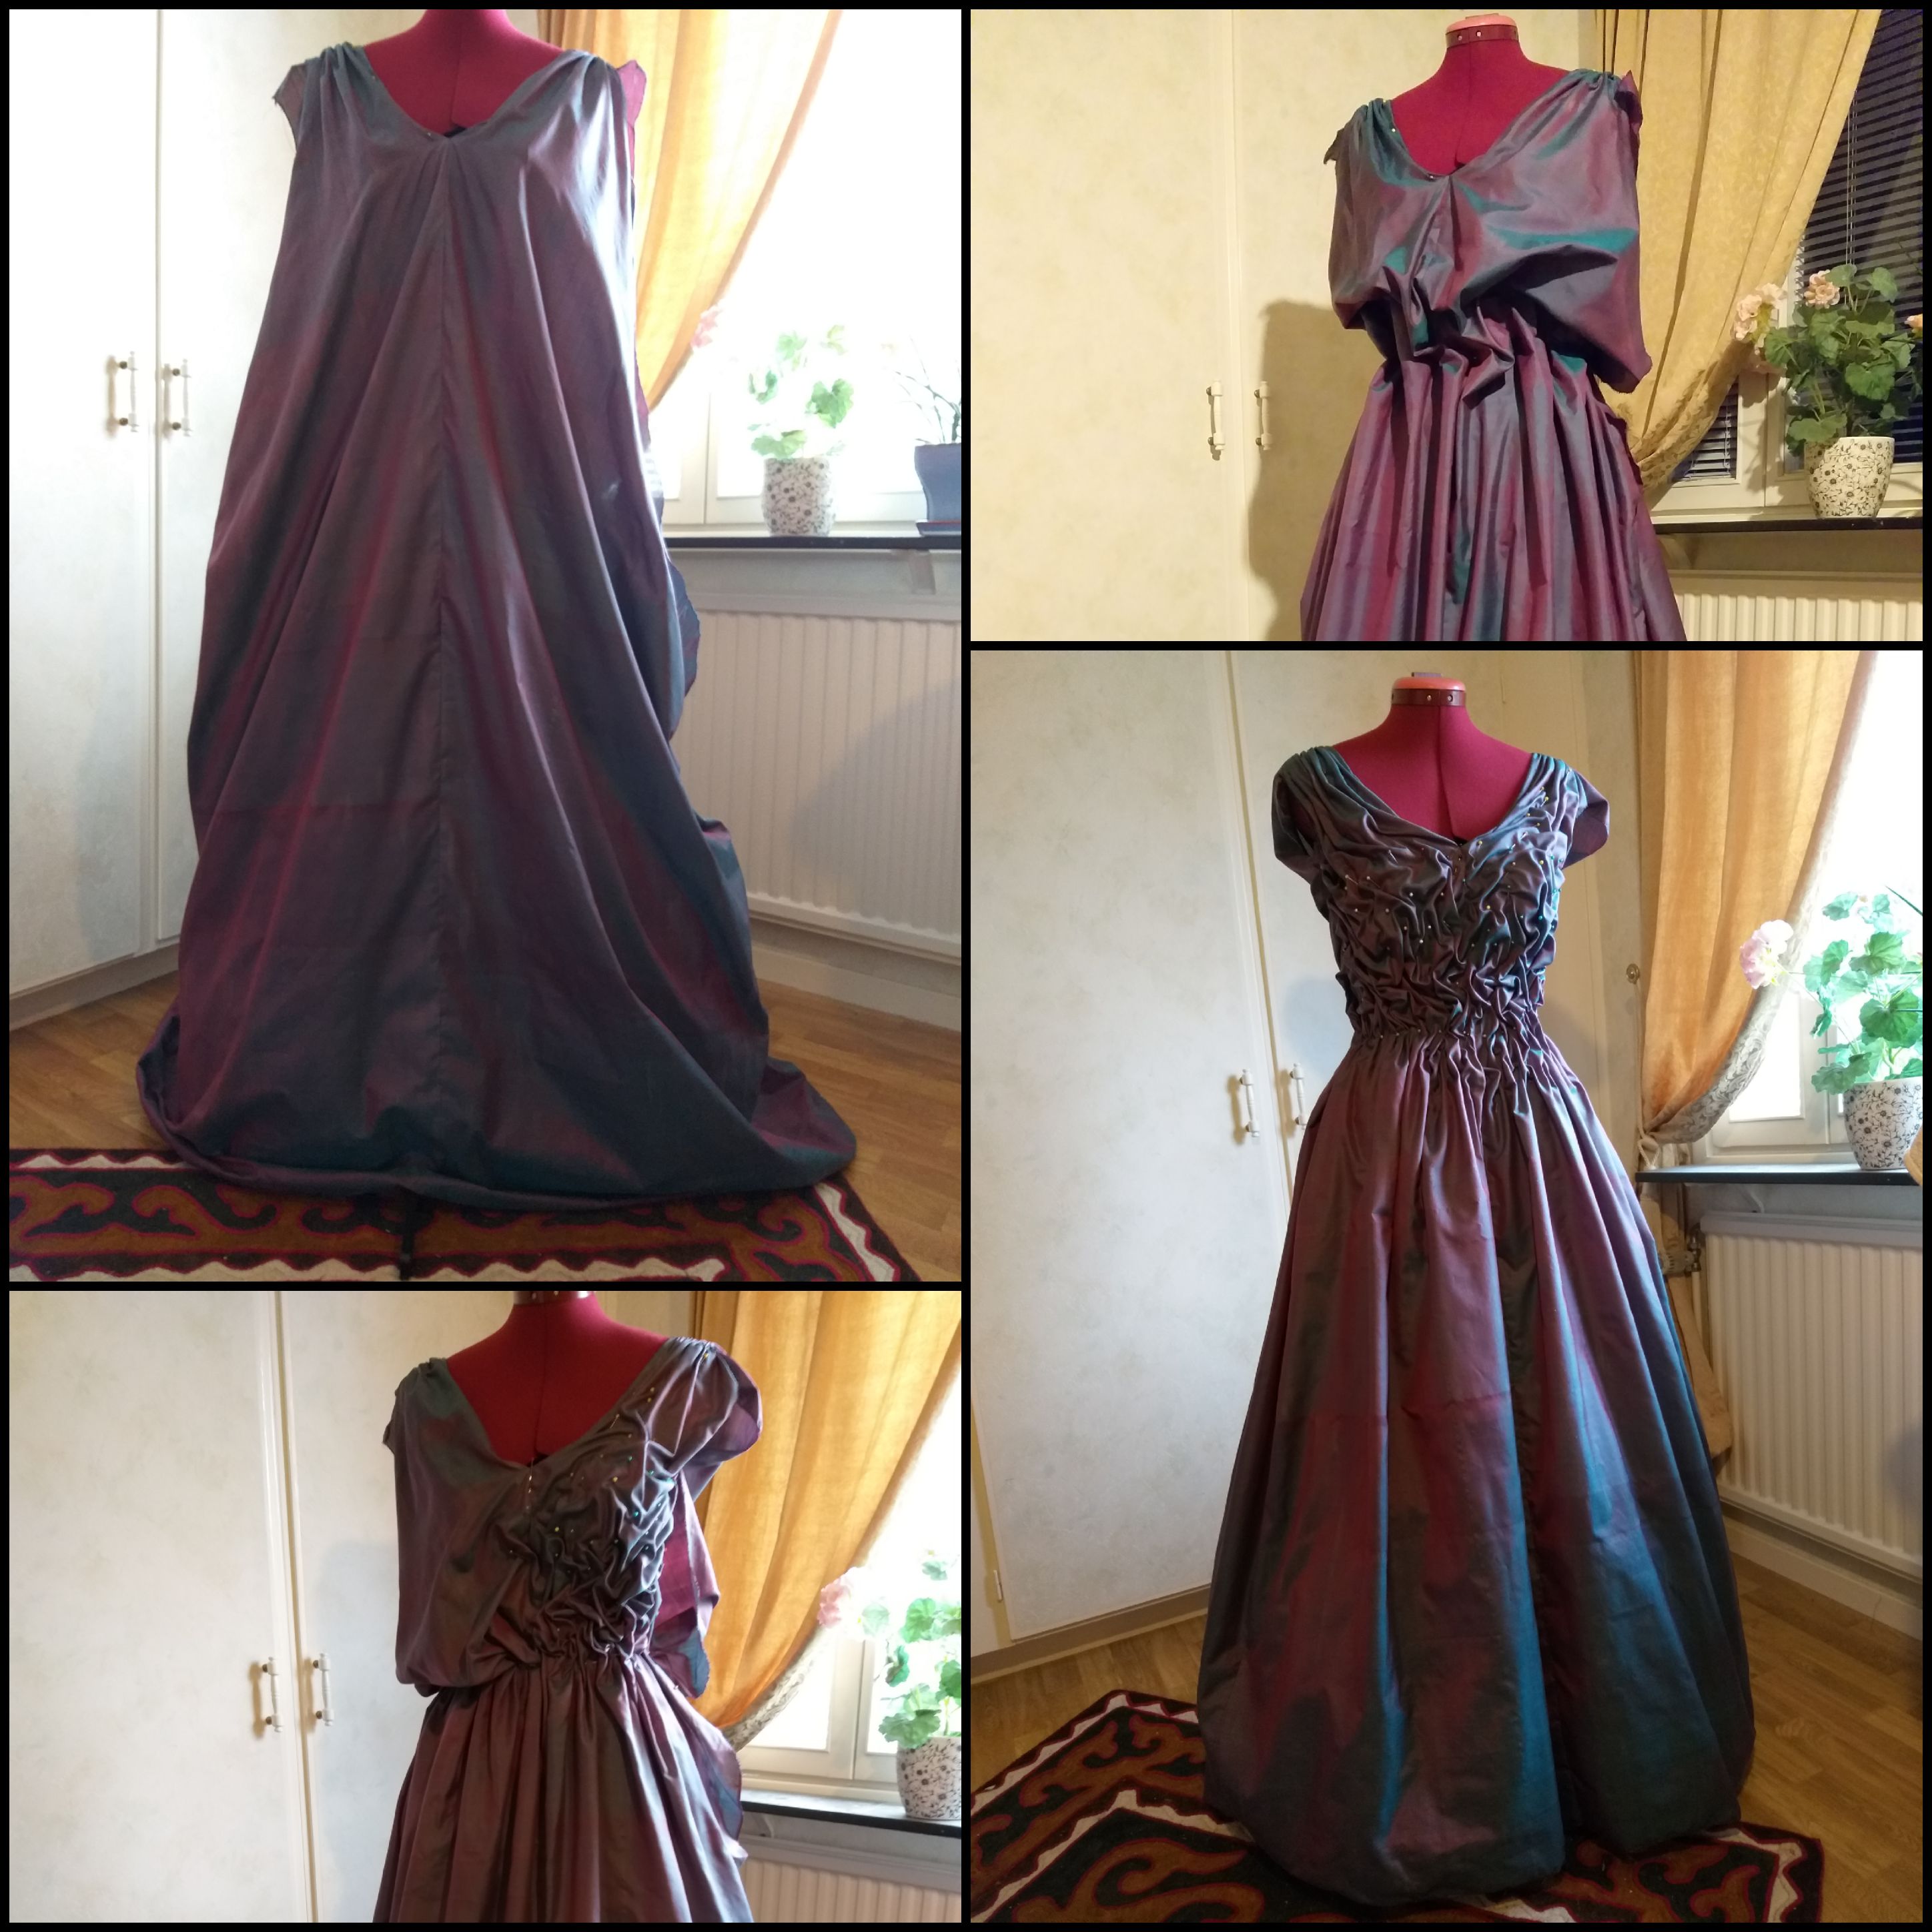
I had pondered on whether to leave the dress without arms or not, but as the skirt was finished, I thought it did not look enough fairytale like. I had a dupioni silk (given by a friend, Carolina Holmström) laying in my stash, matching the gown perfectly.

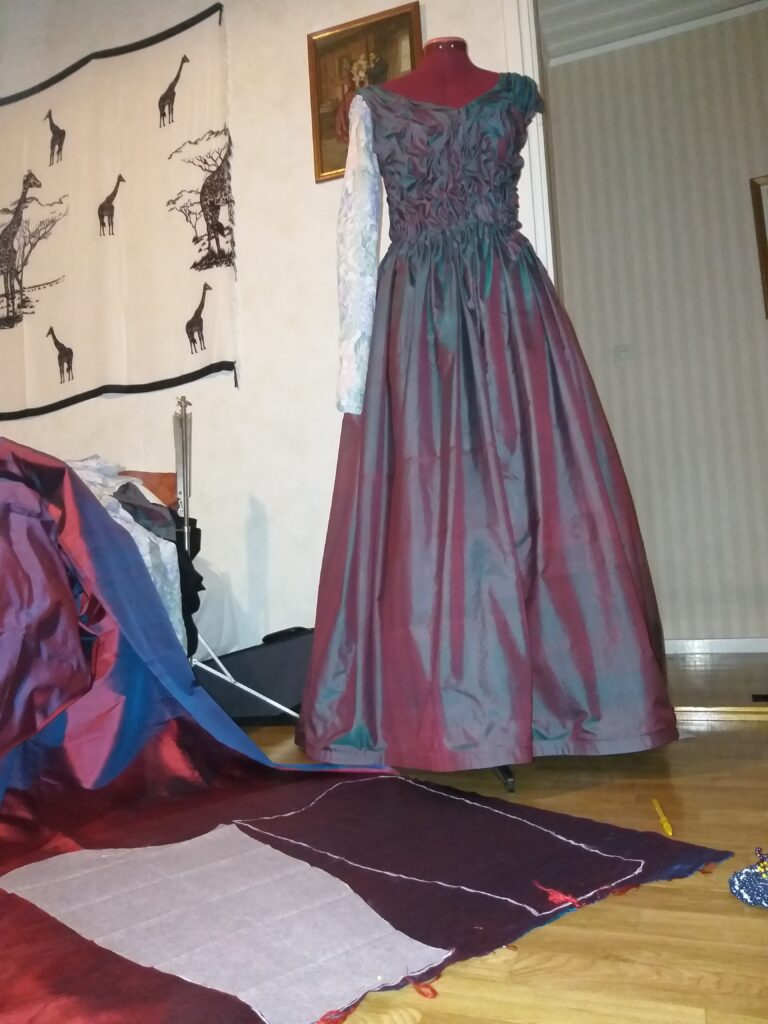
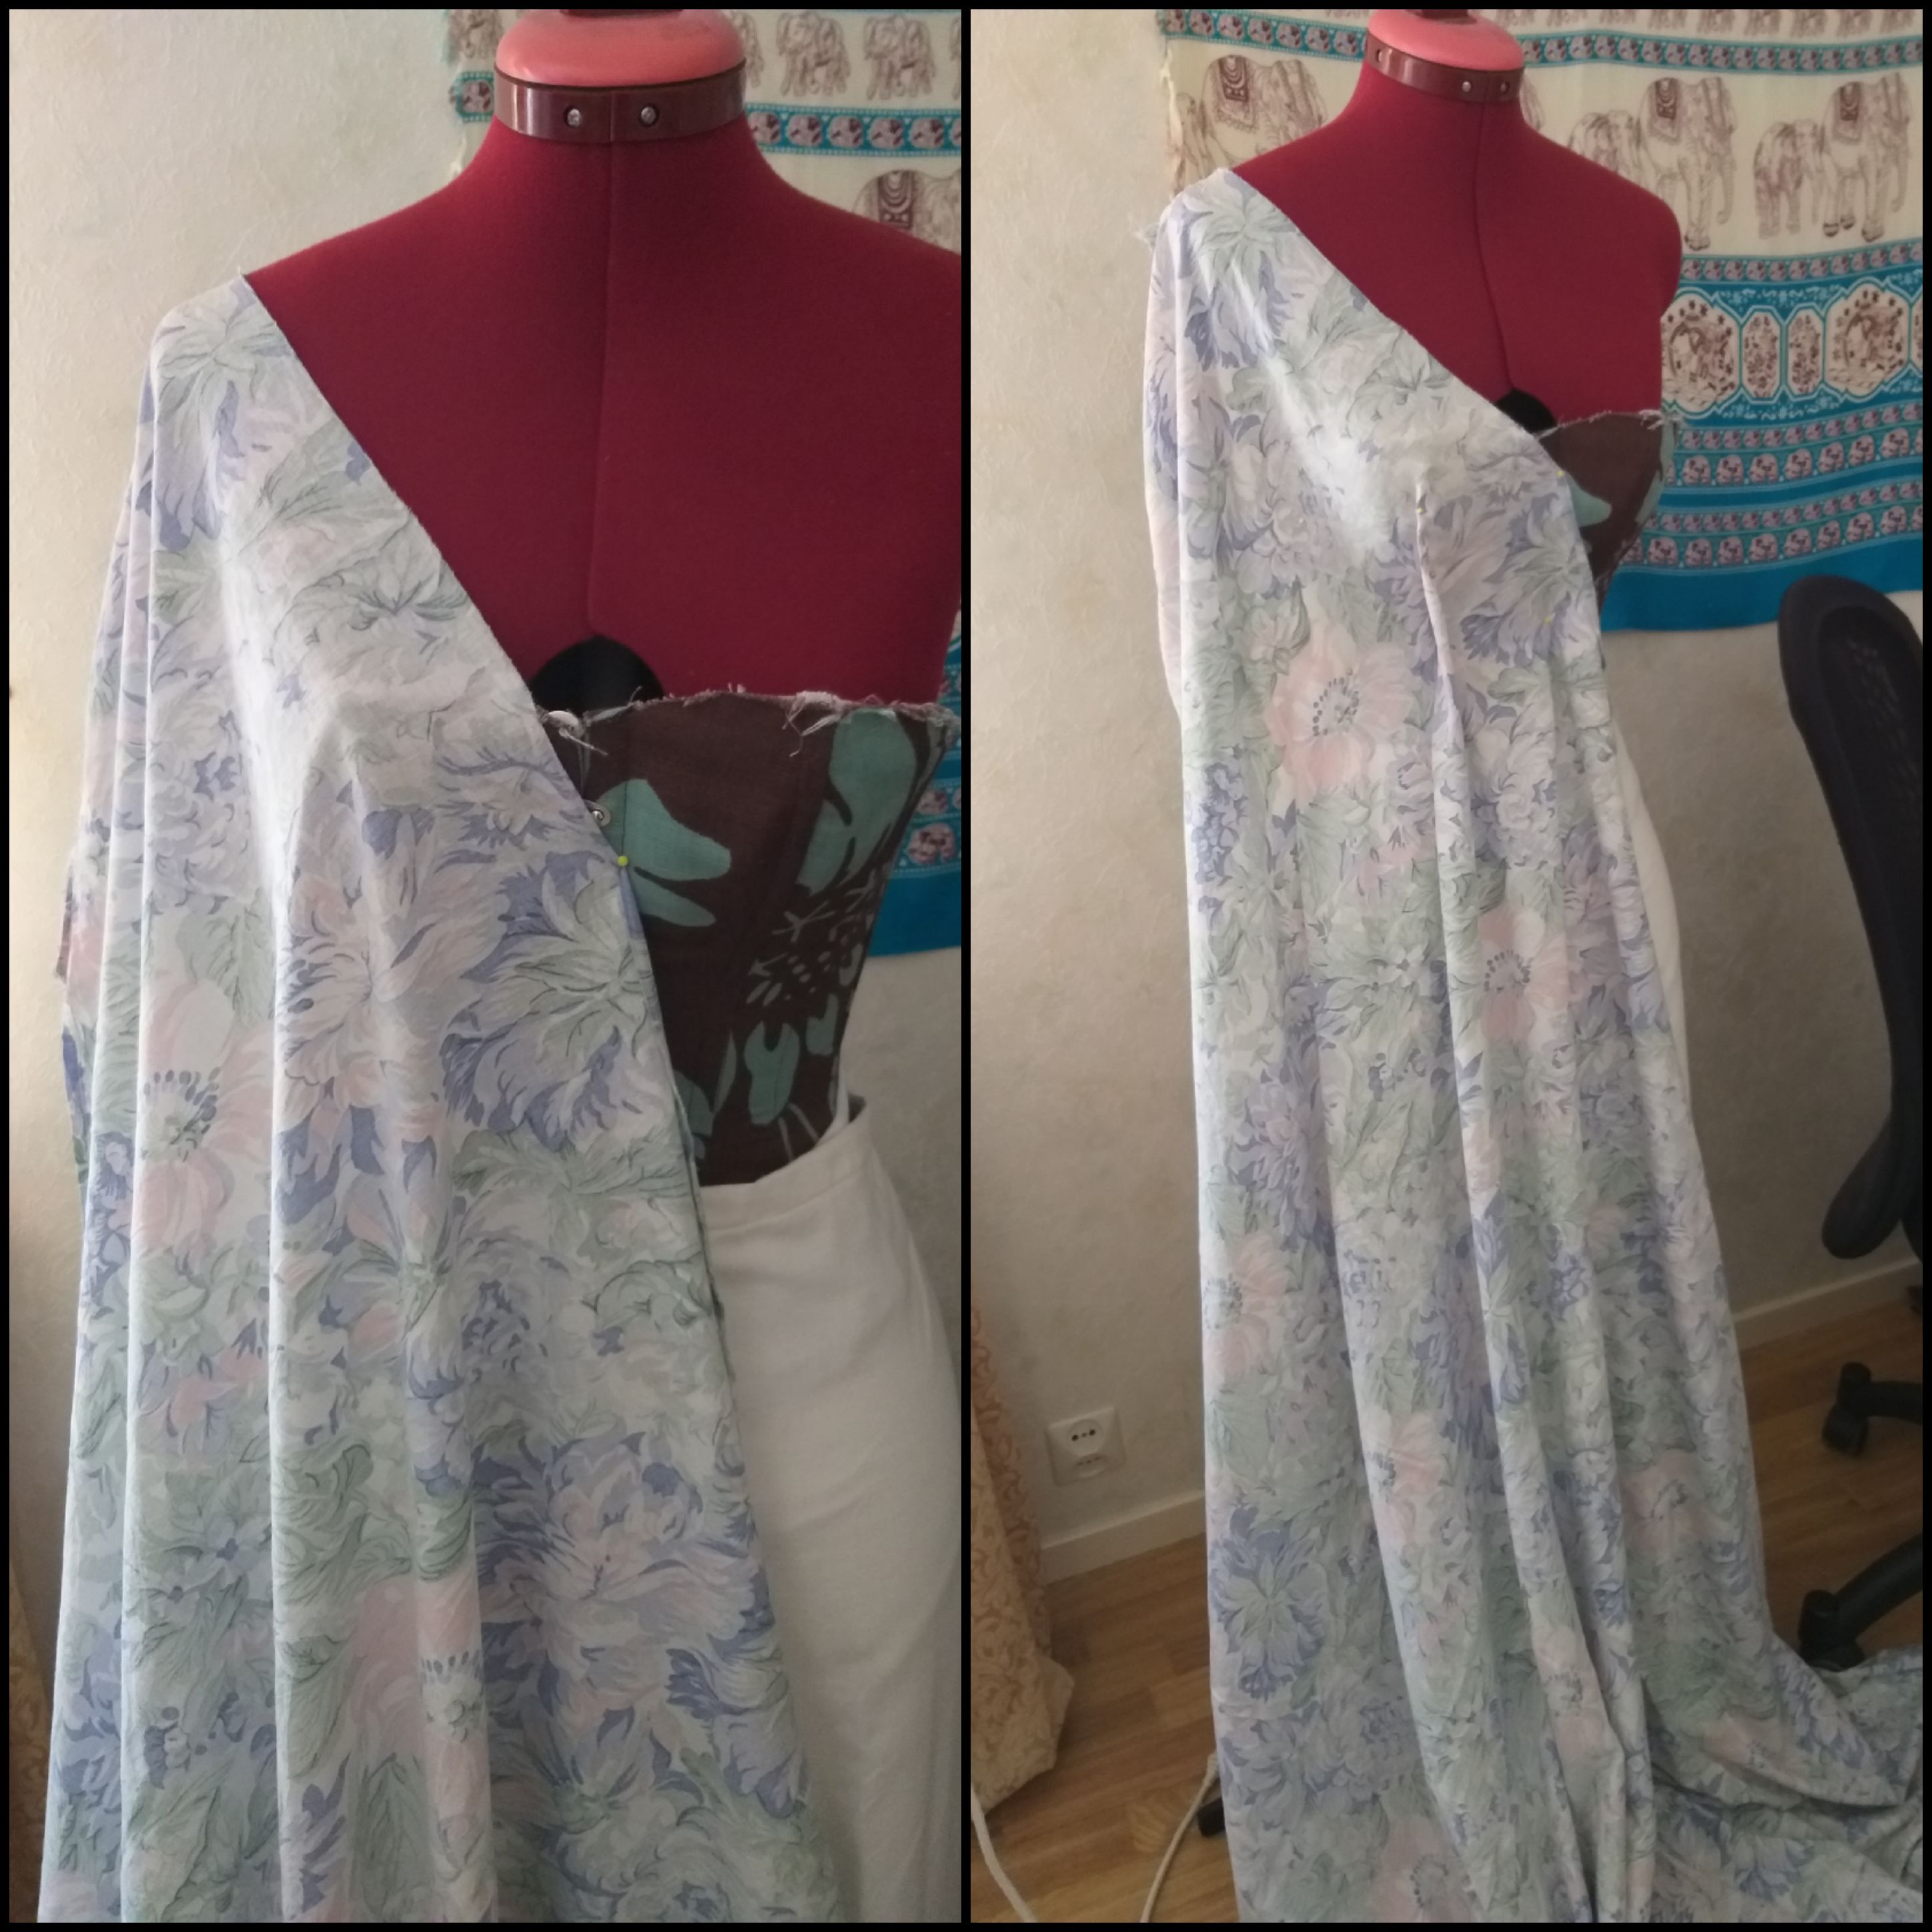
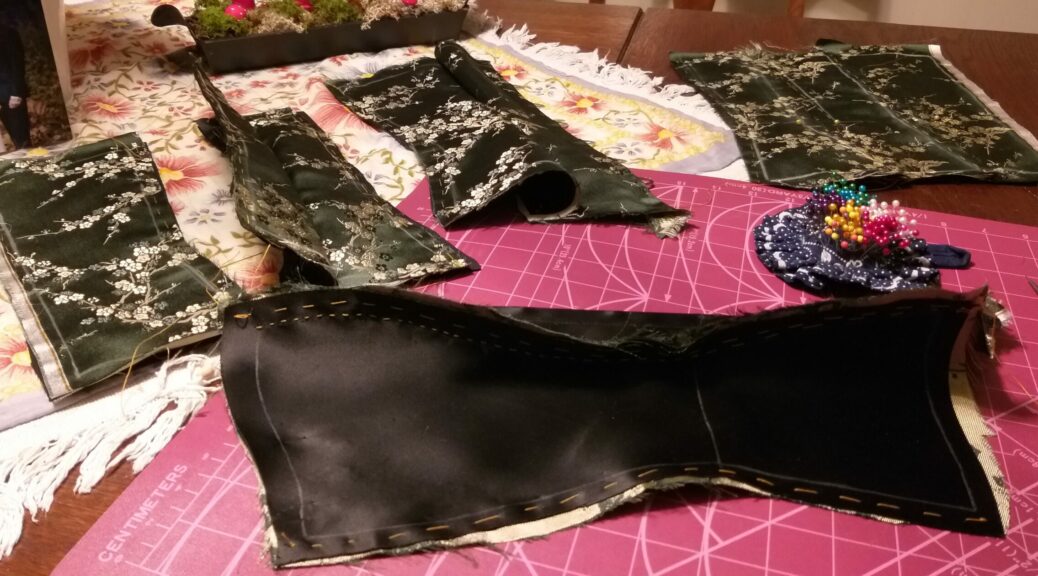
I wanted a late medieval S-arm with shiny buttons, preferably 10 on each arm. I used the pattern from my late 1300s cotehardie. Unfortunately I had only ten buttons totally, so I spaced them out in the best way I could.

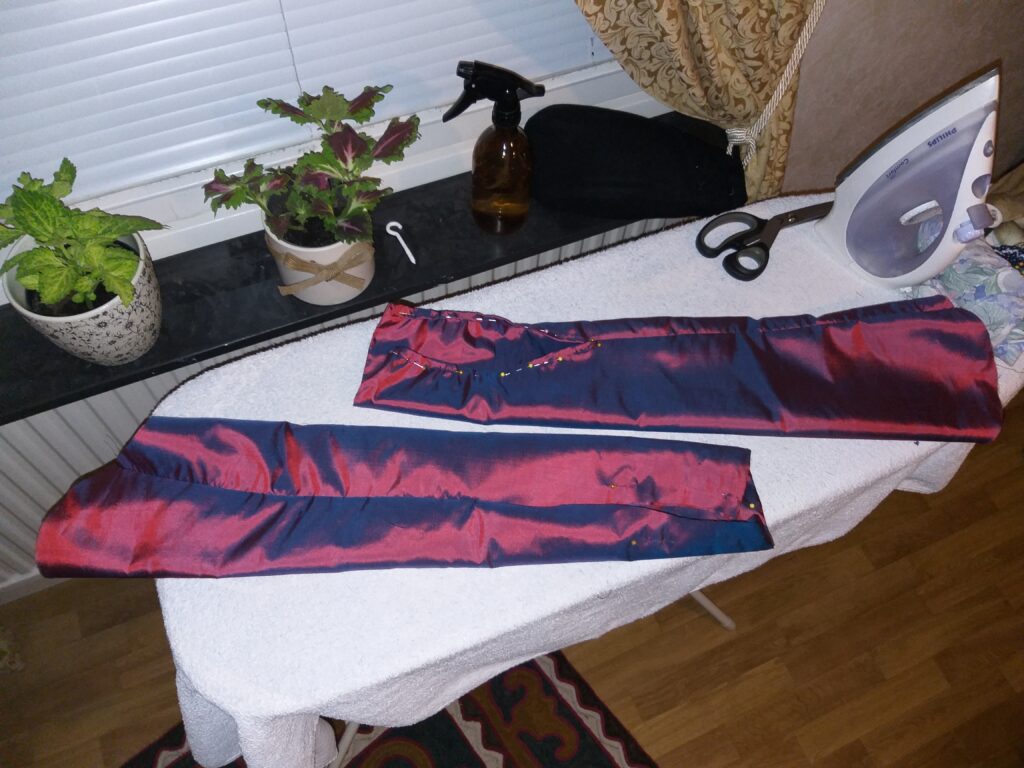
After finishing the cotehardie arms, with handsewn buttonholes and metal buttons, I used the scraps I had left of the dress fabric for the flowy arms. Everything was hemmed by hand. I had time for it, thanks to a nasty cold causing one week of isolation, due to the Covid restrictions.

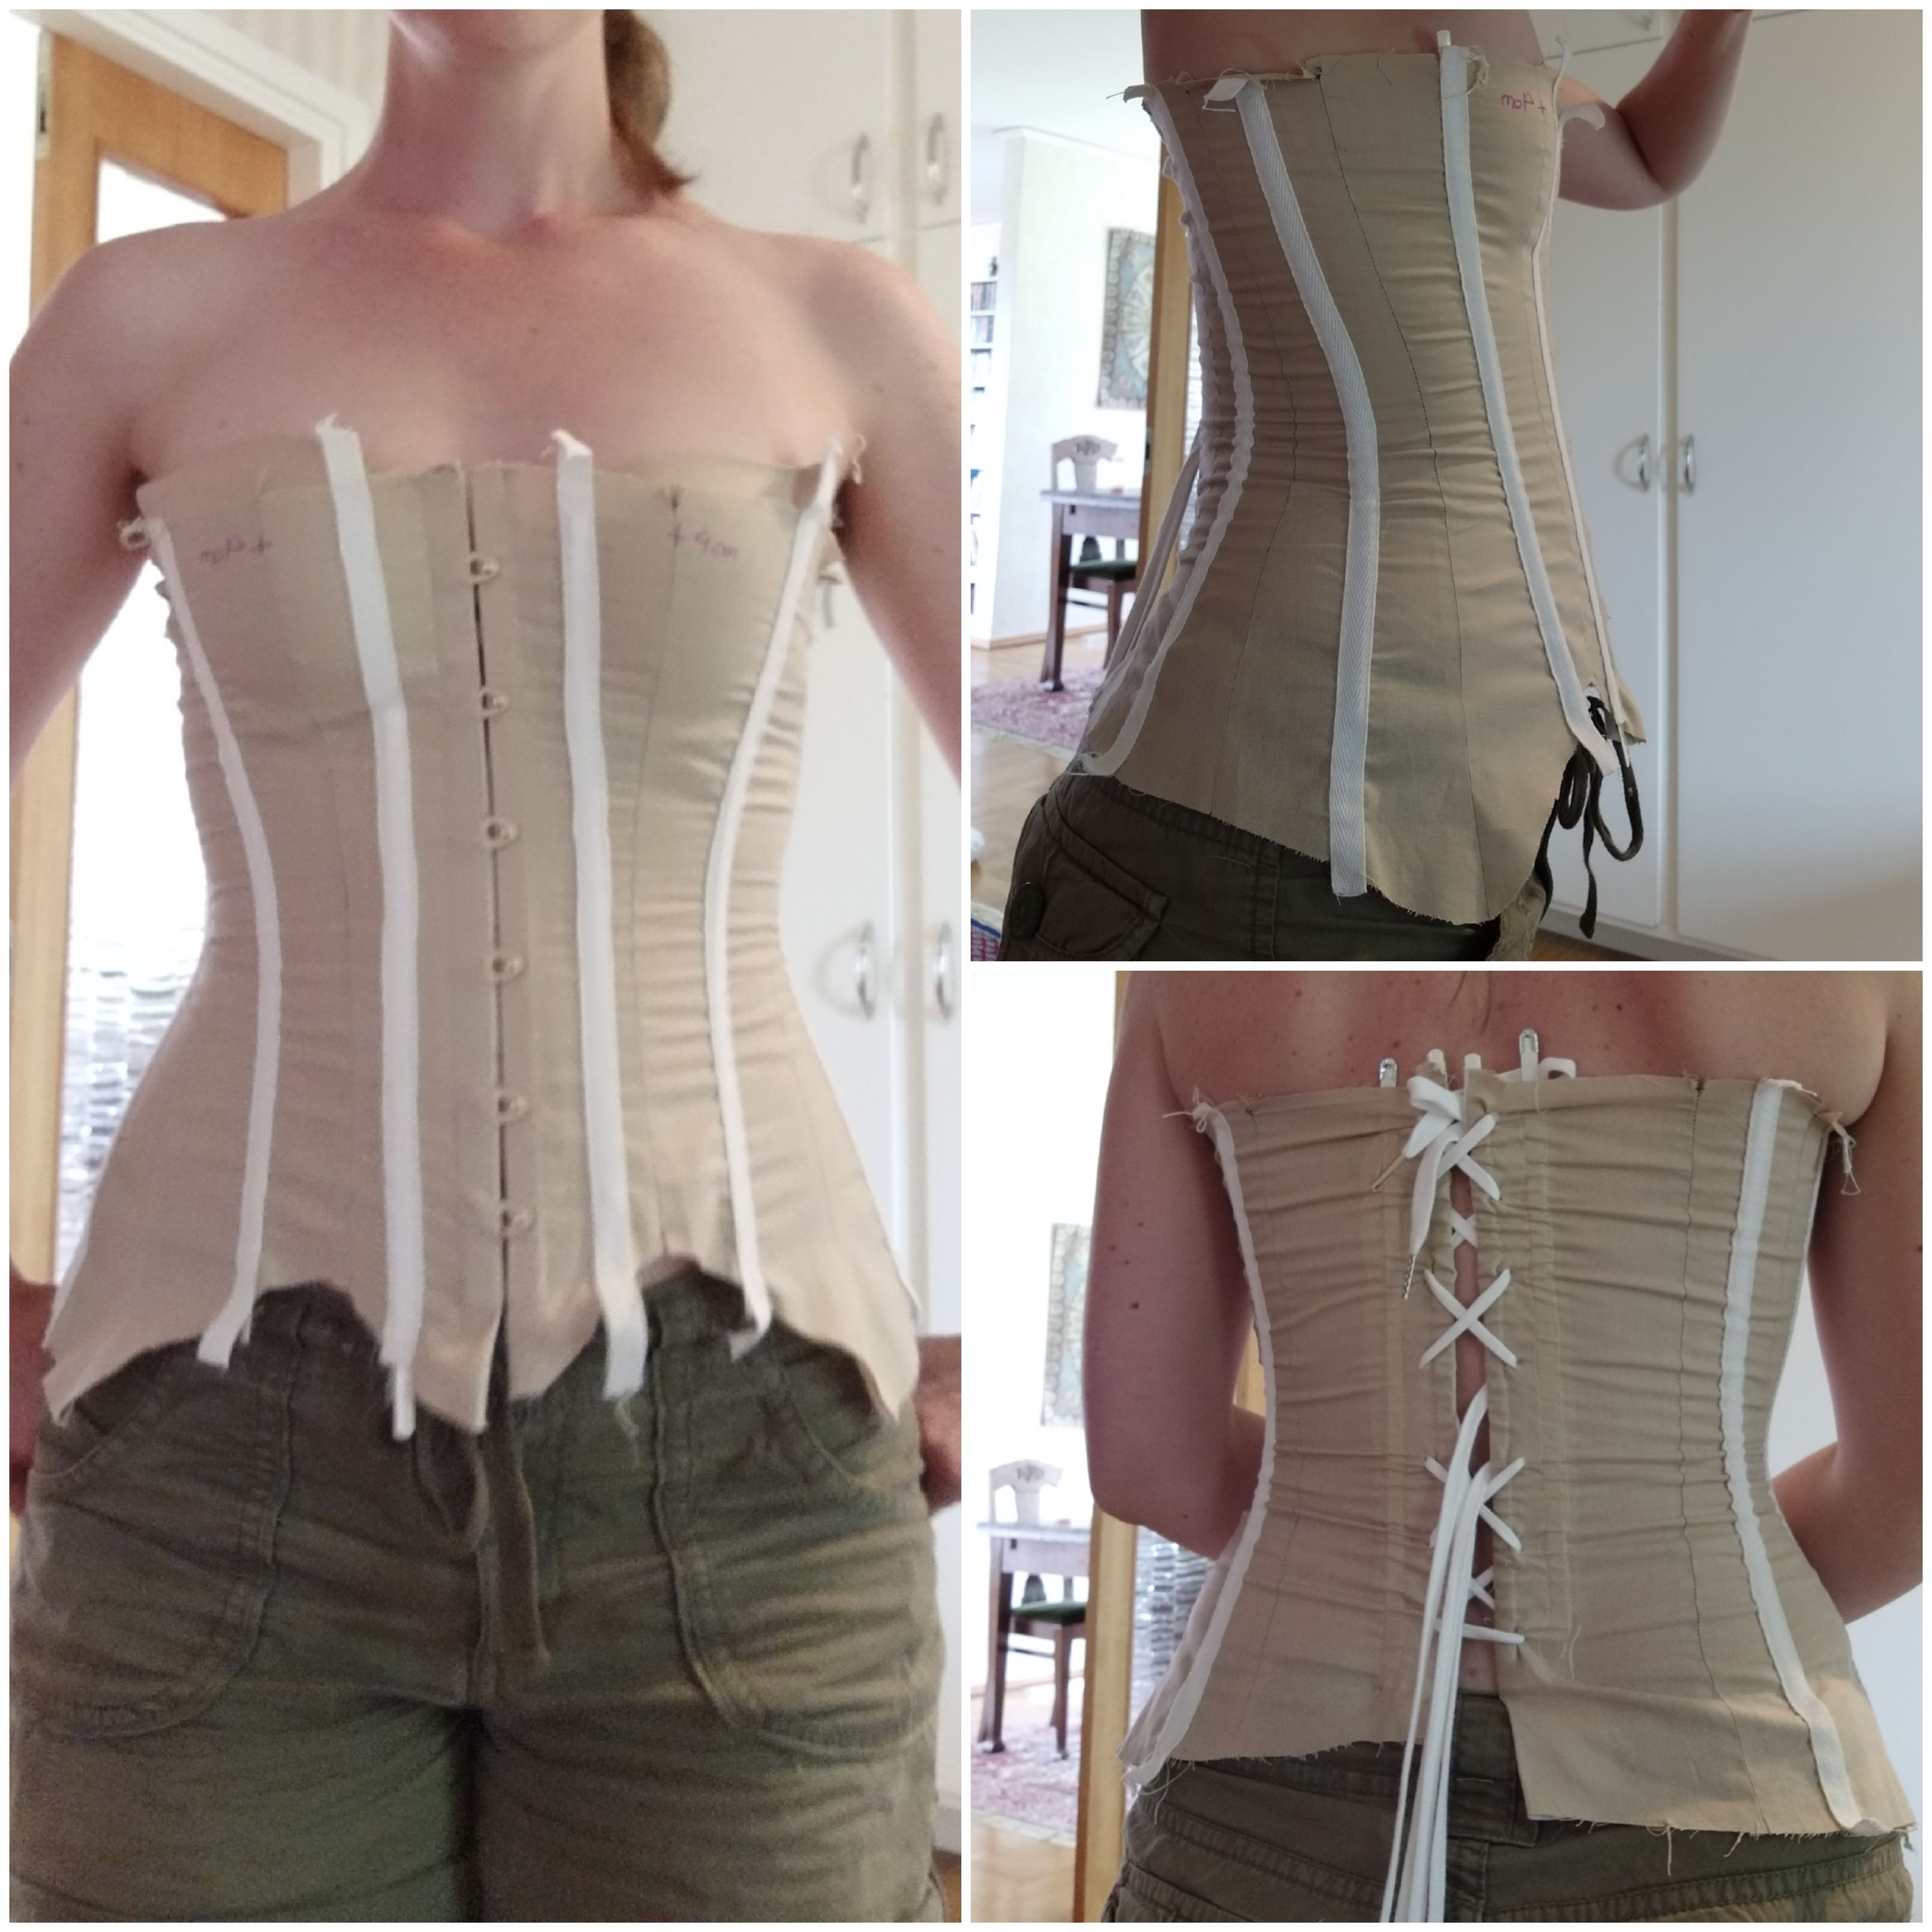
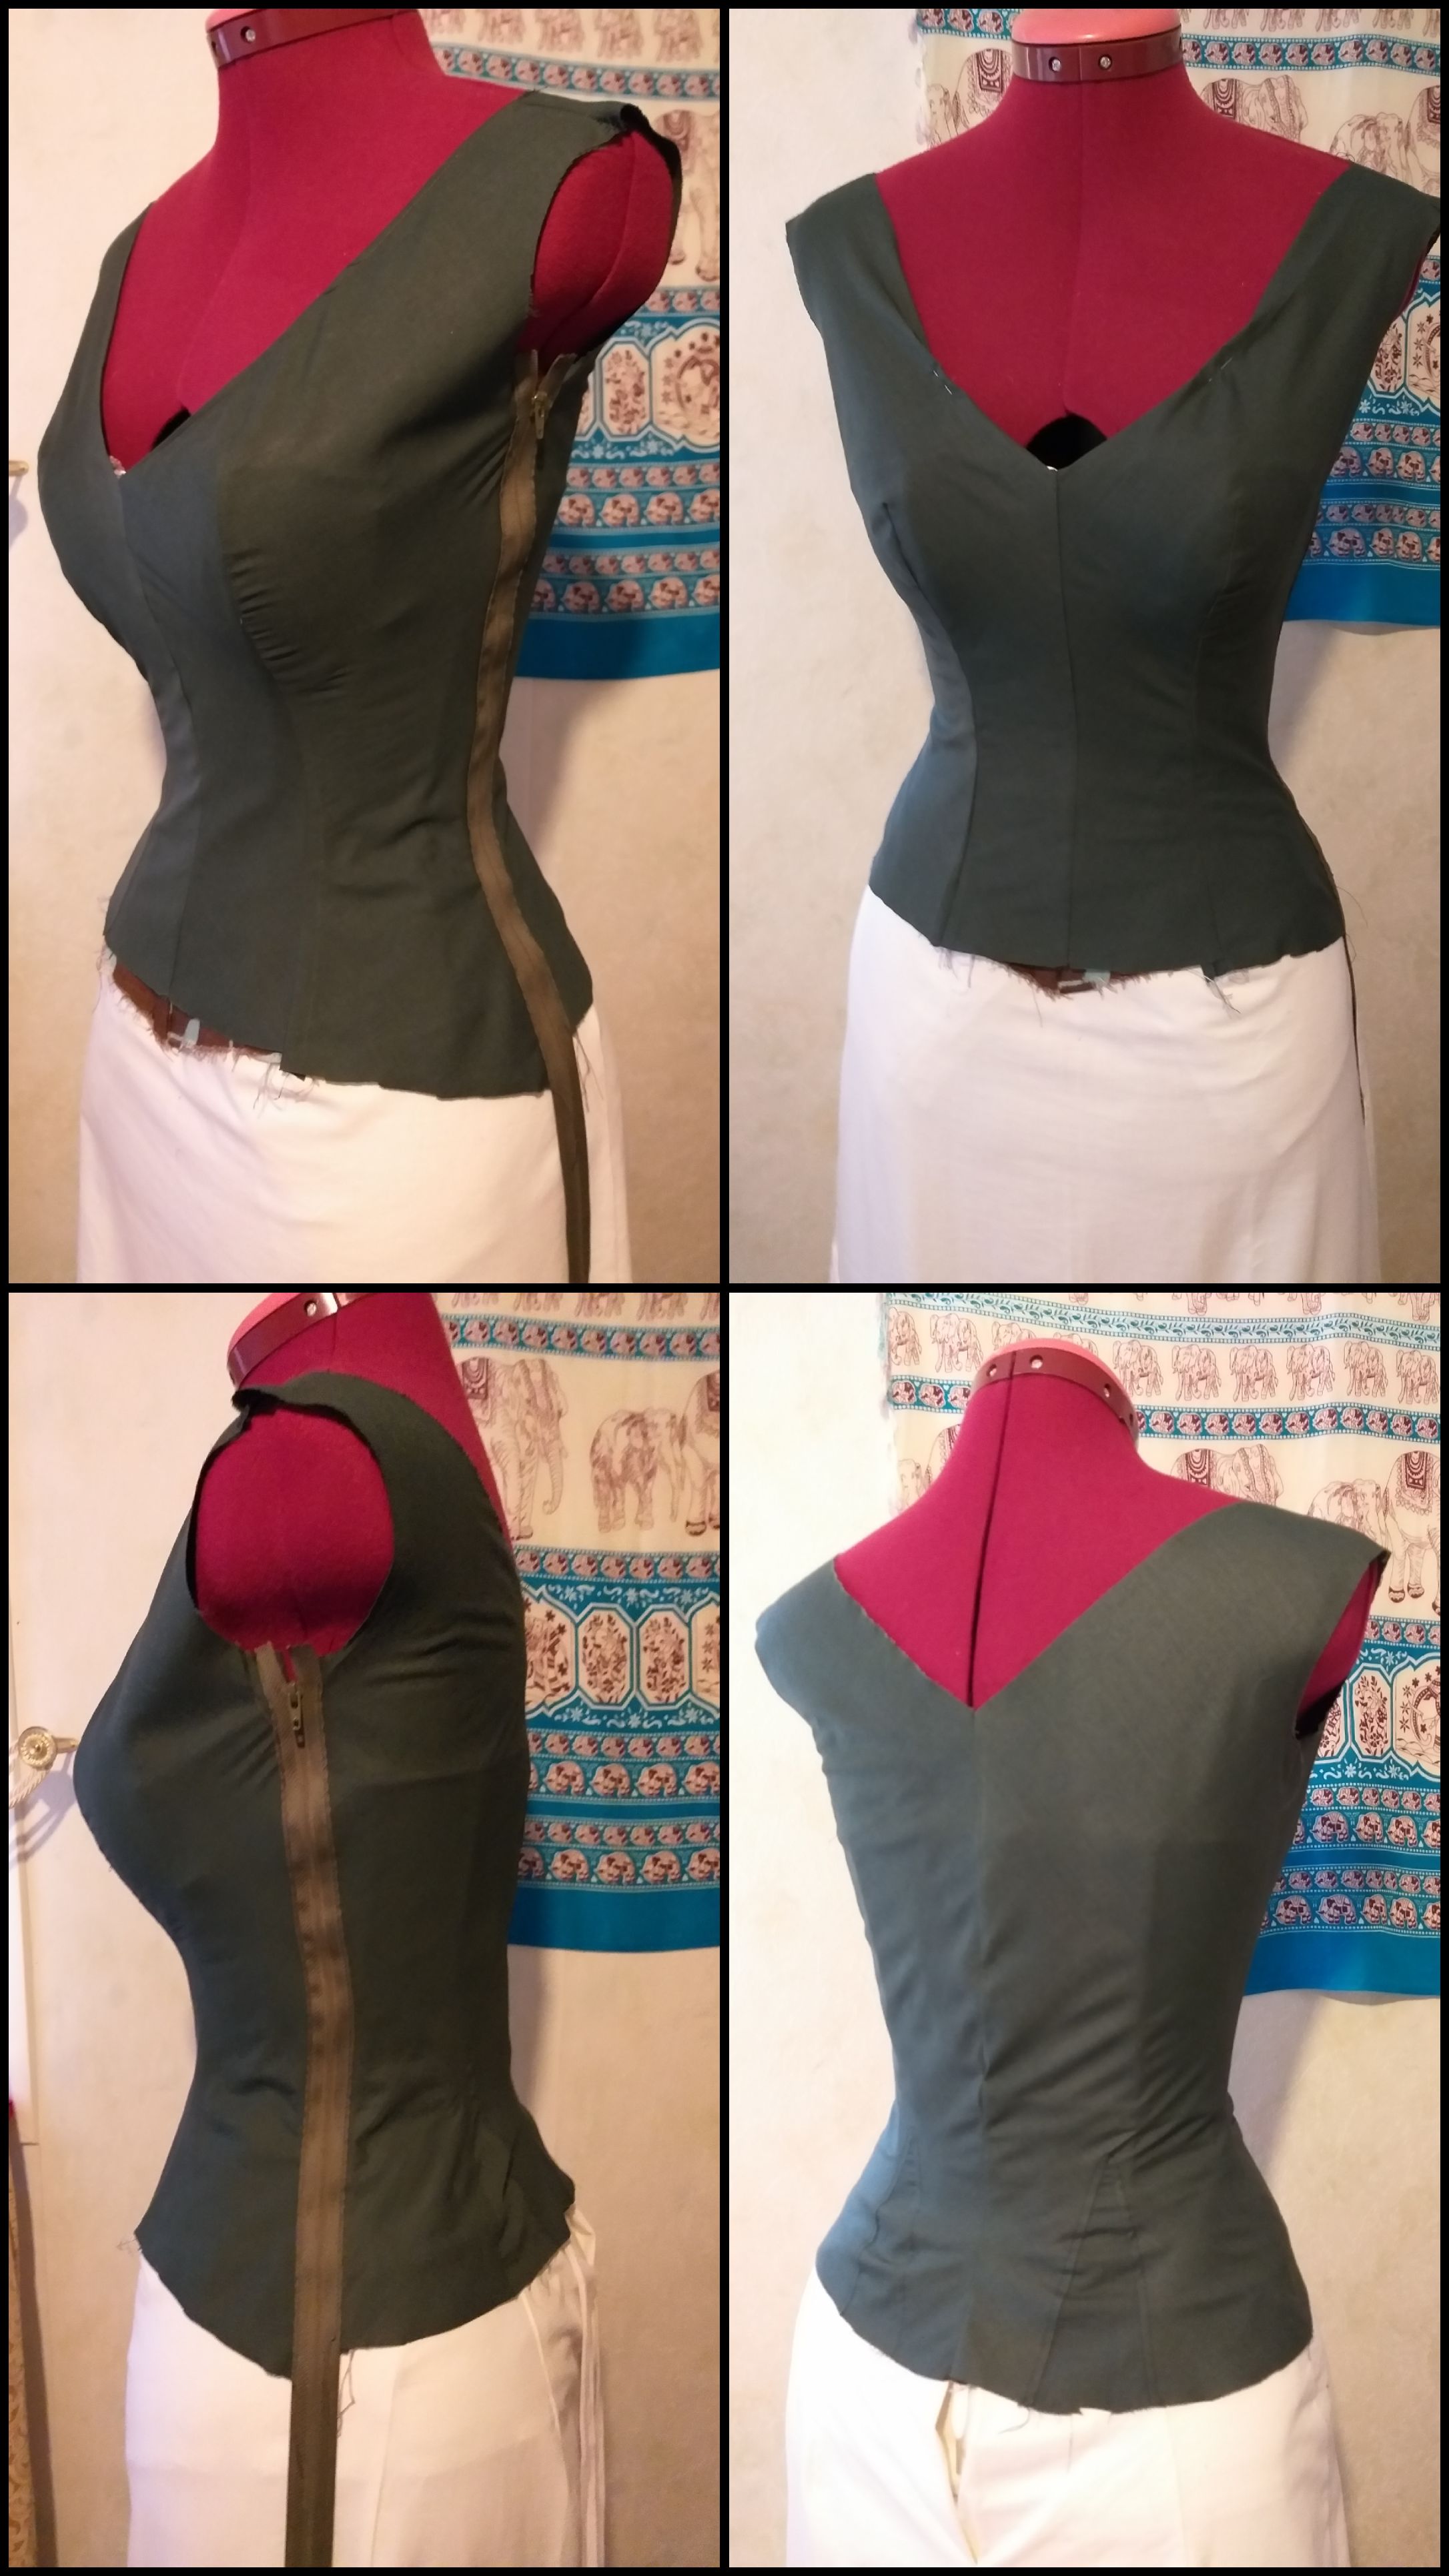
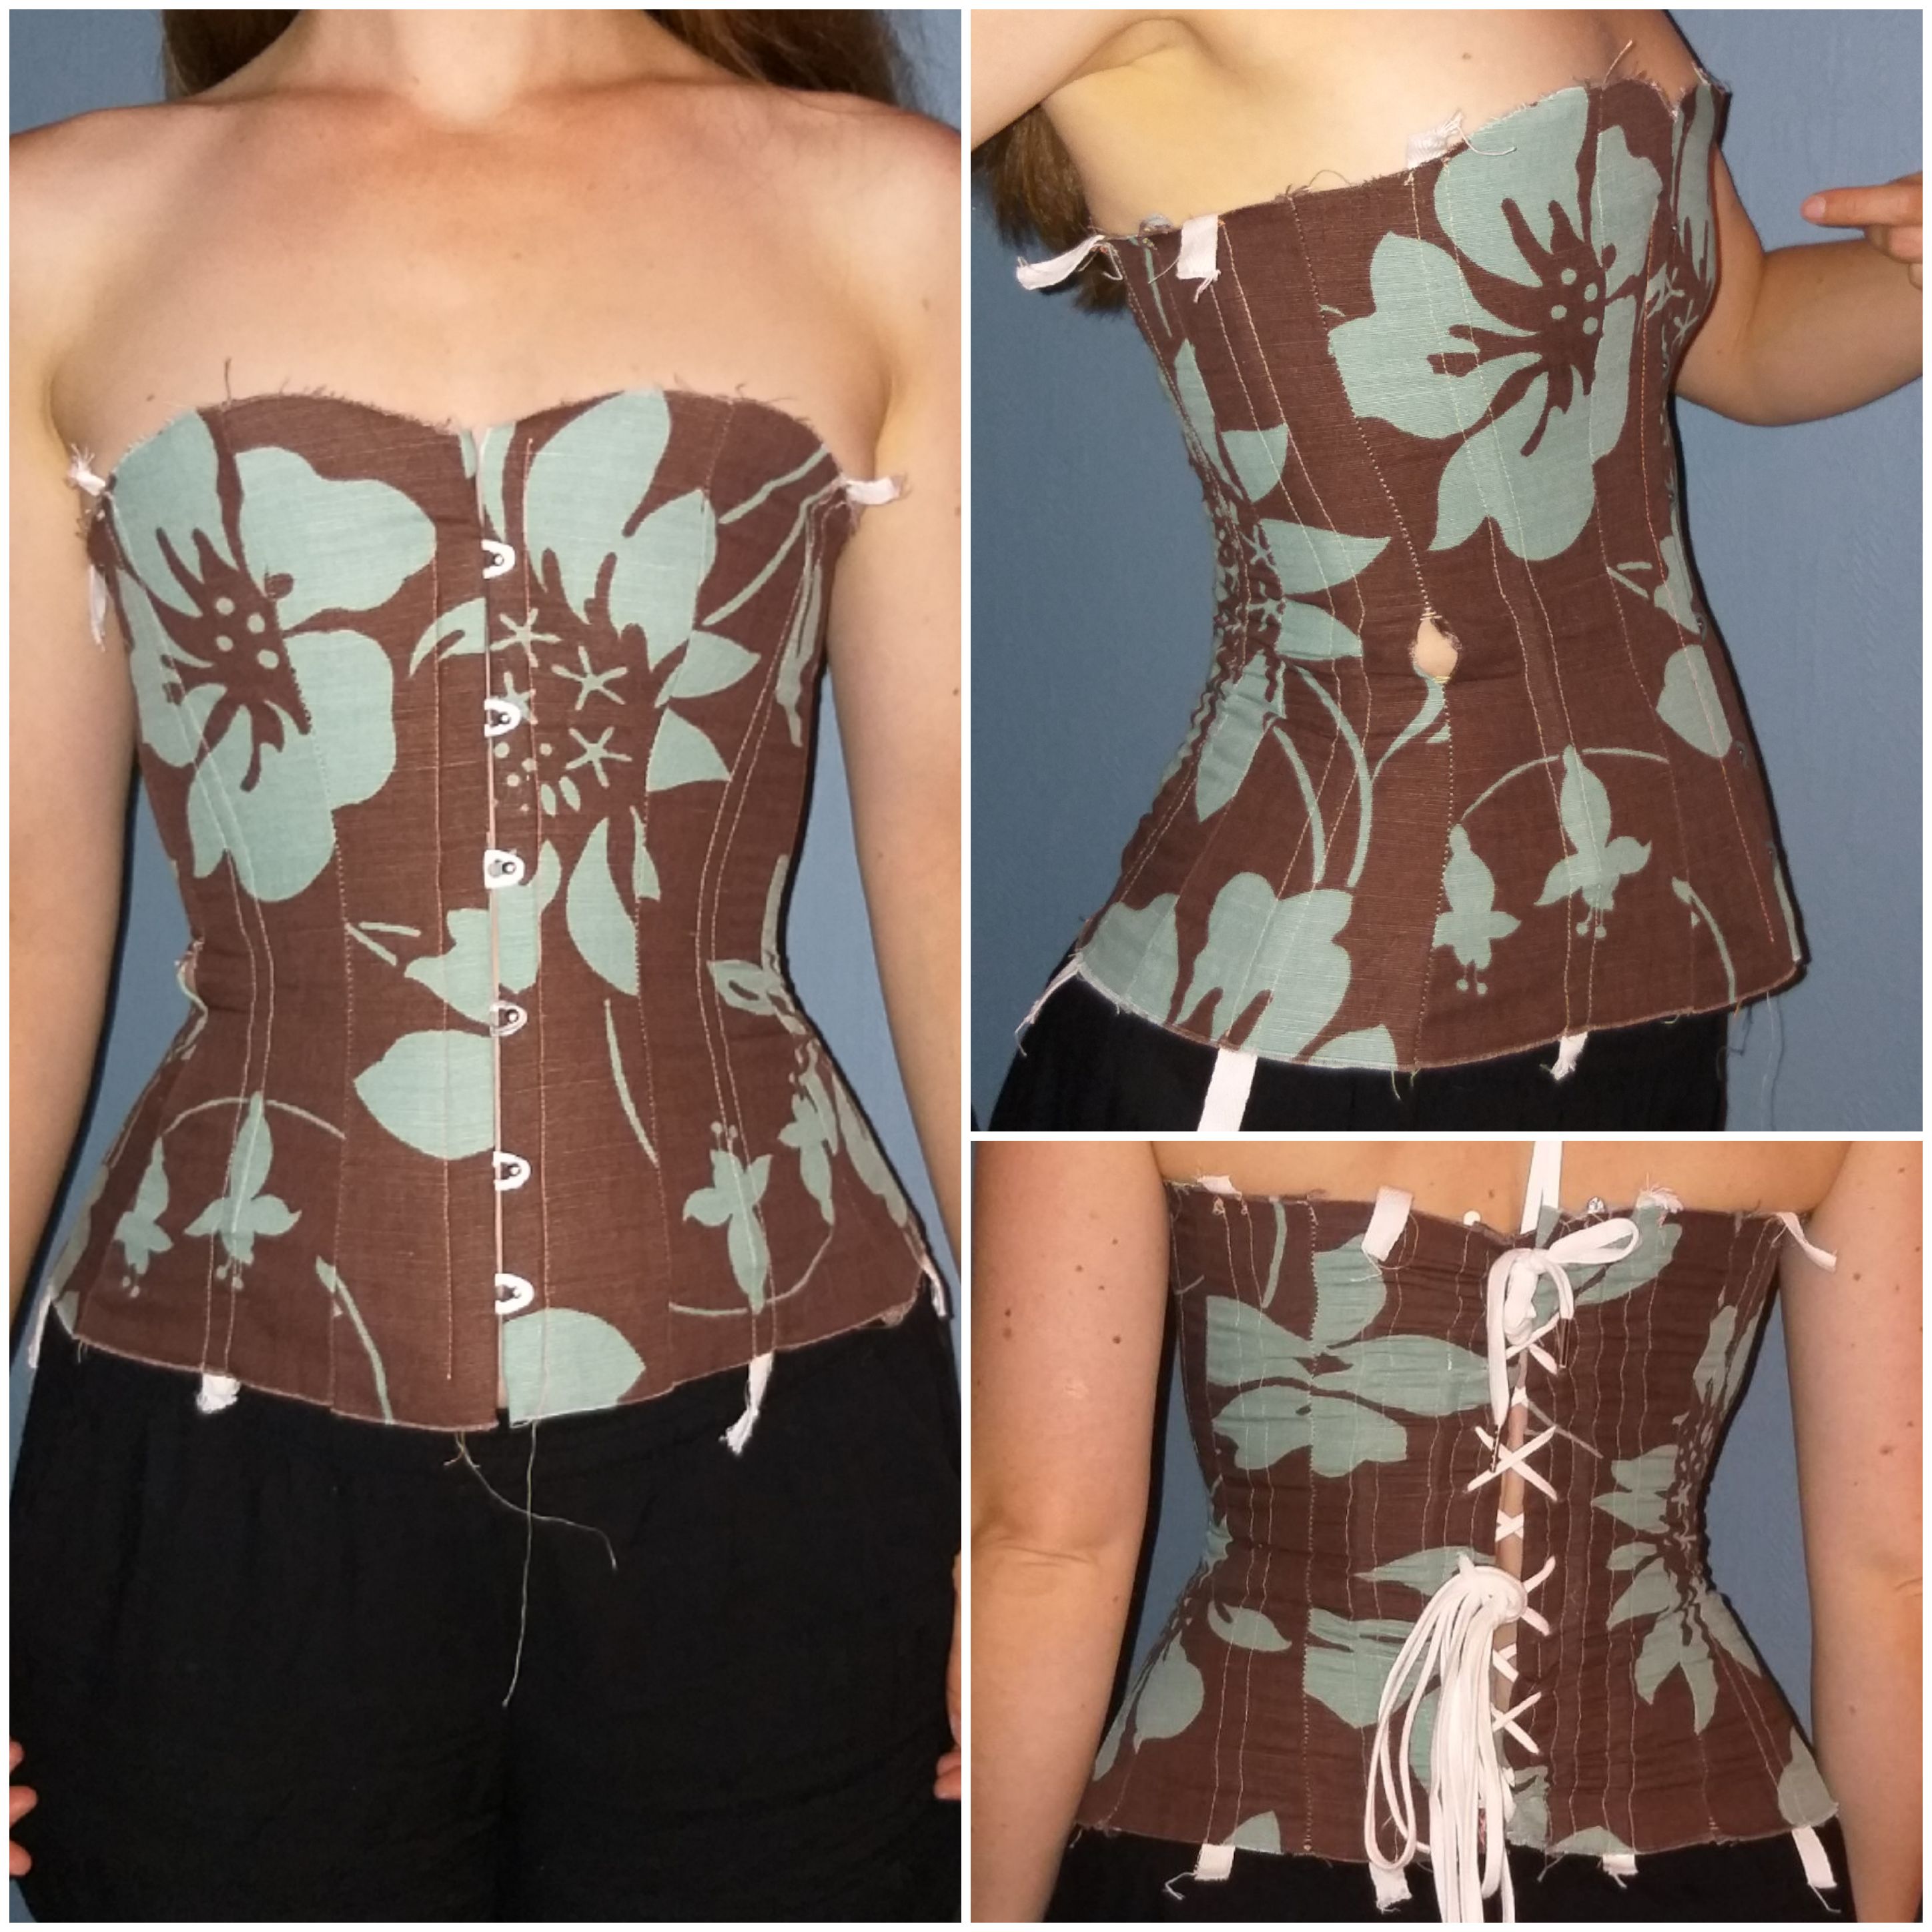
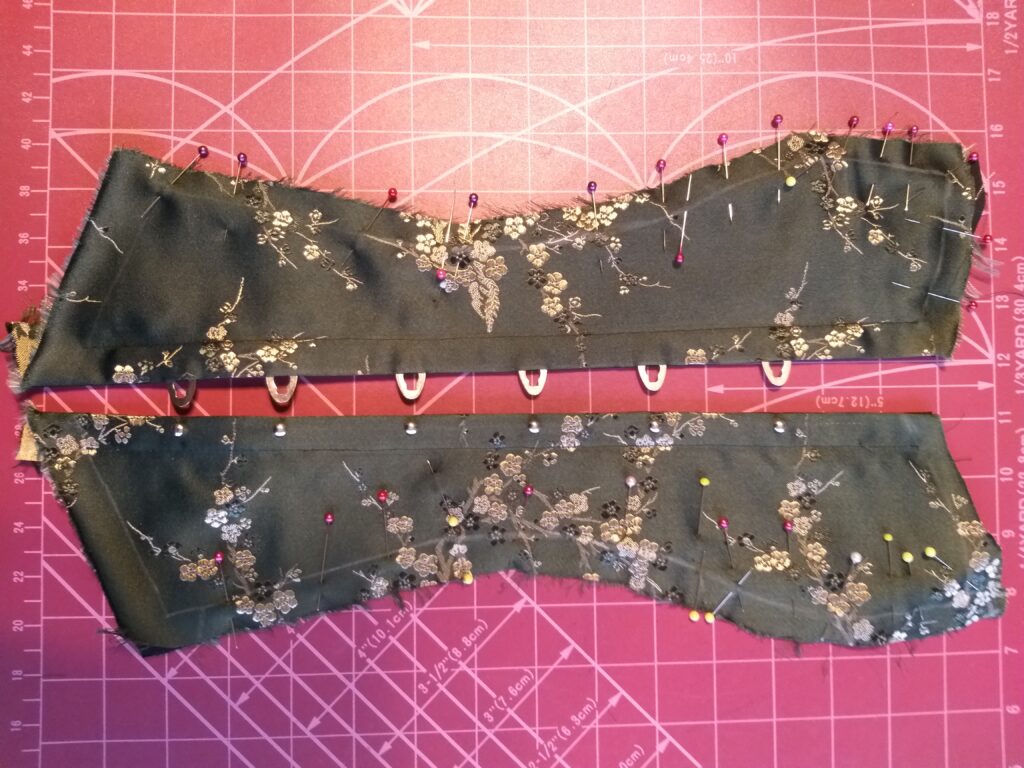
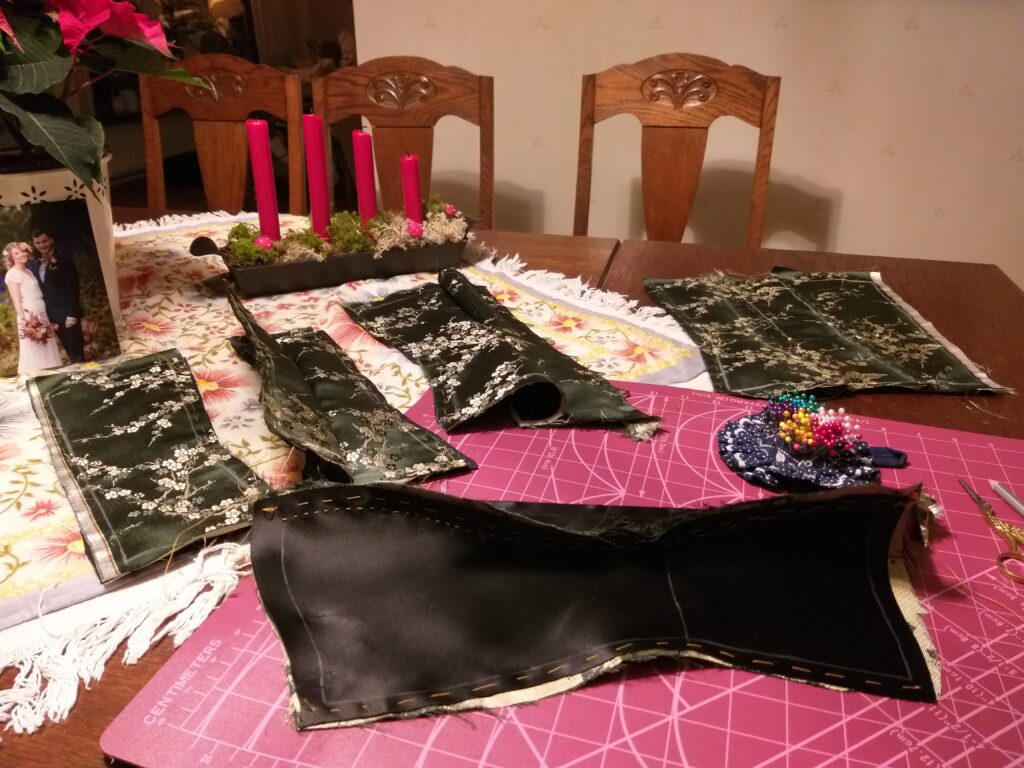
As the dress was finally finished, I tore my corset mockup apart, so that I could use the busk and boning for the real corset. This time, I tried to make everything as precisely as possible – rollpinning, basting, using waist band, fray check, stitching in the ditch etc.

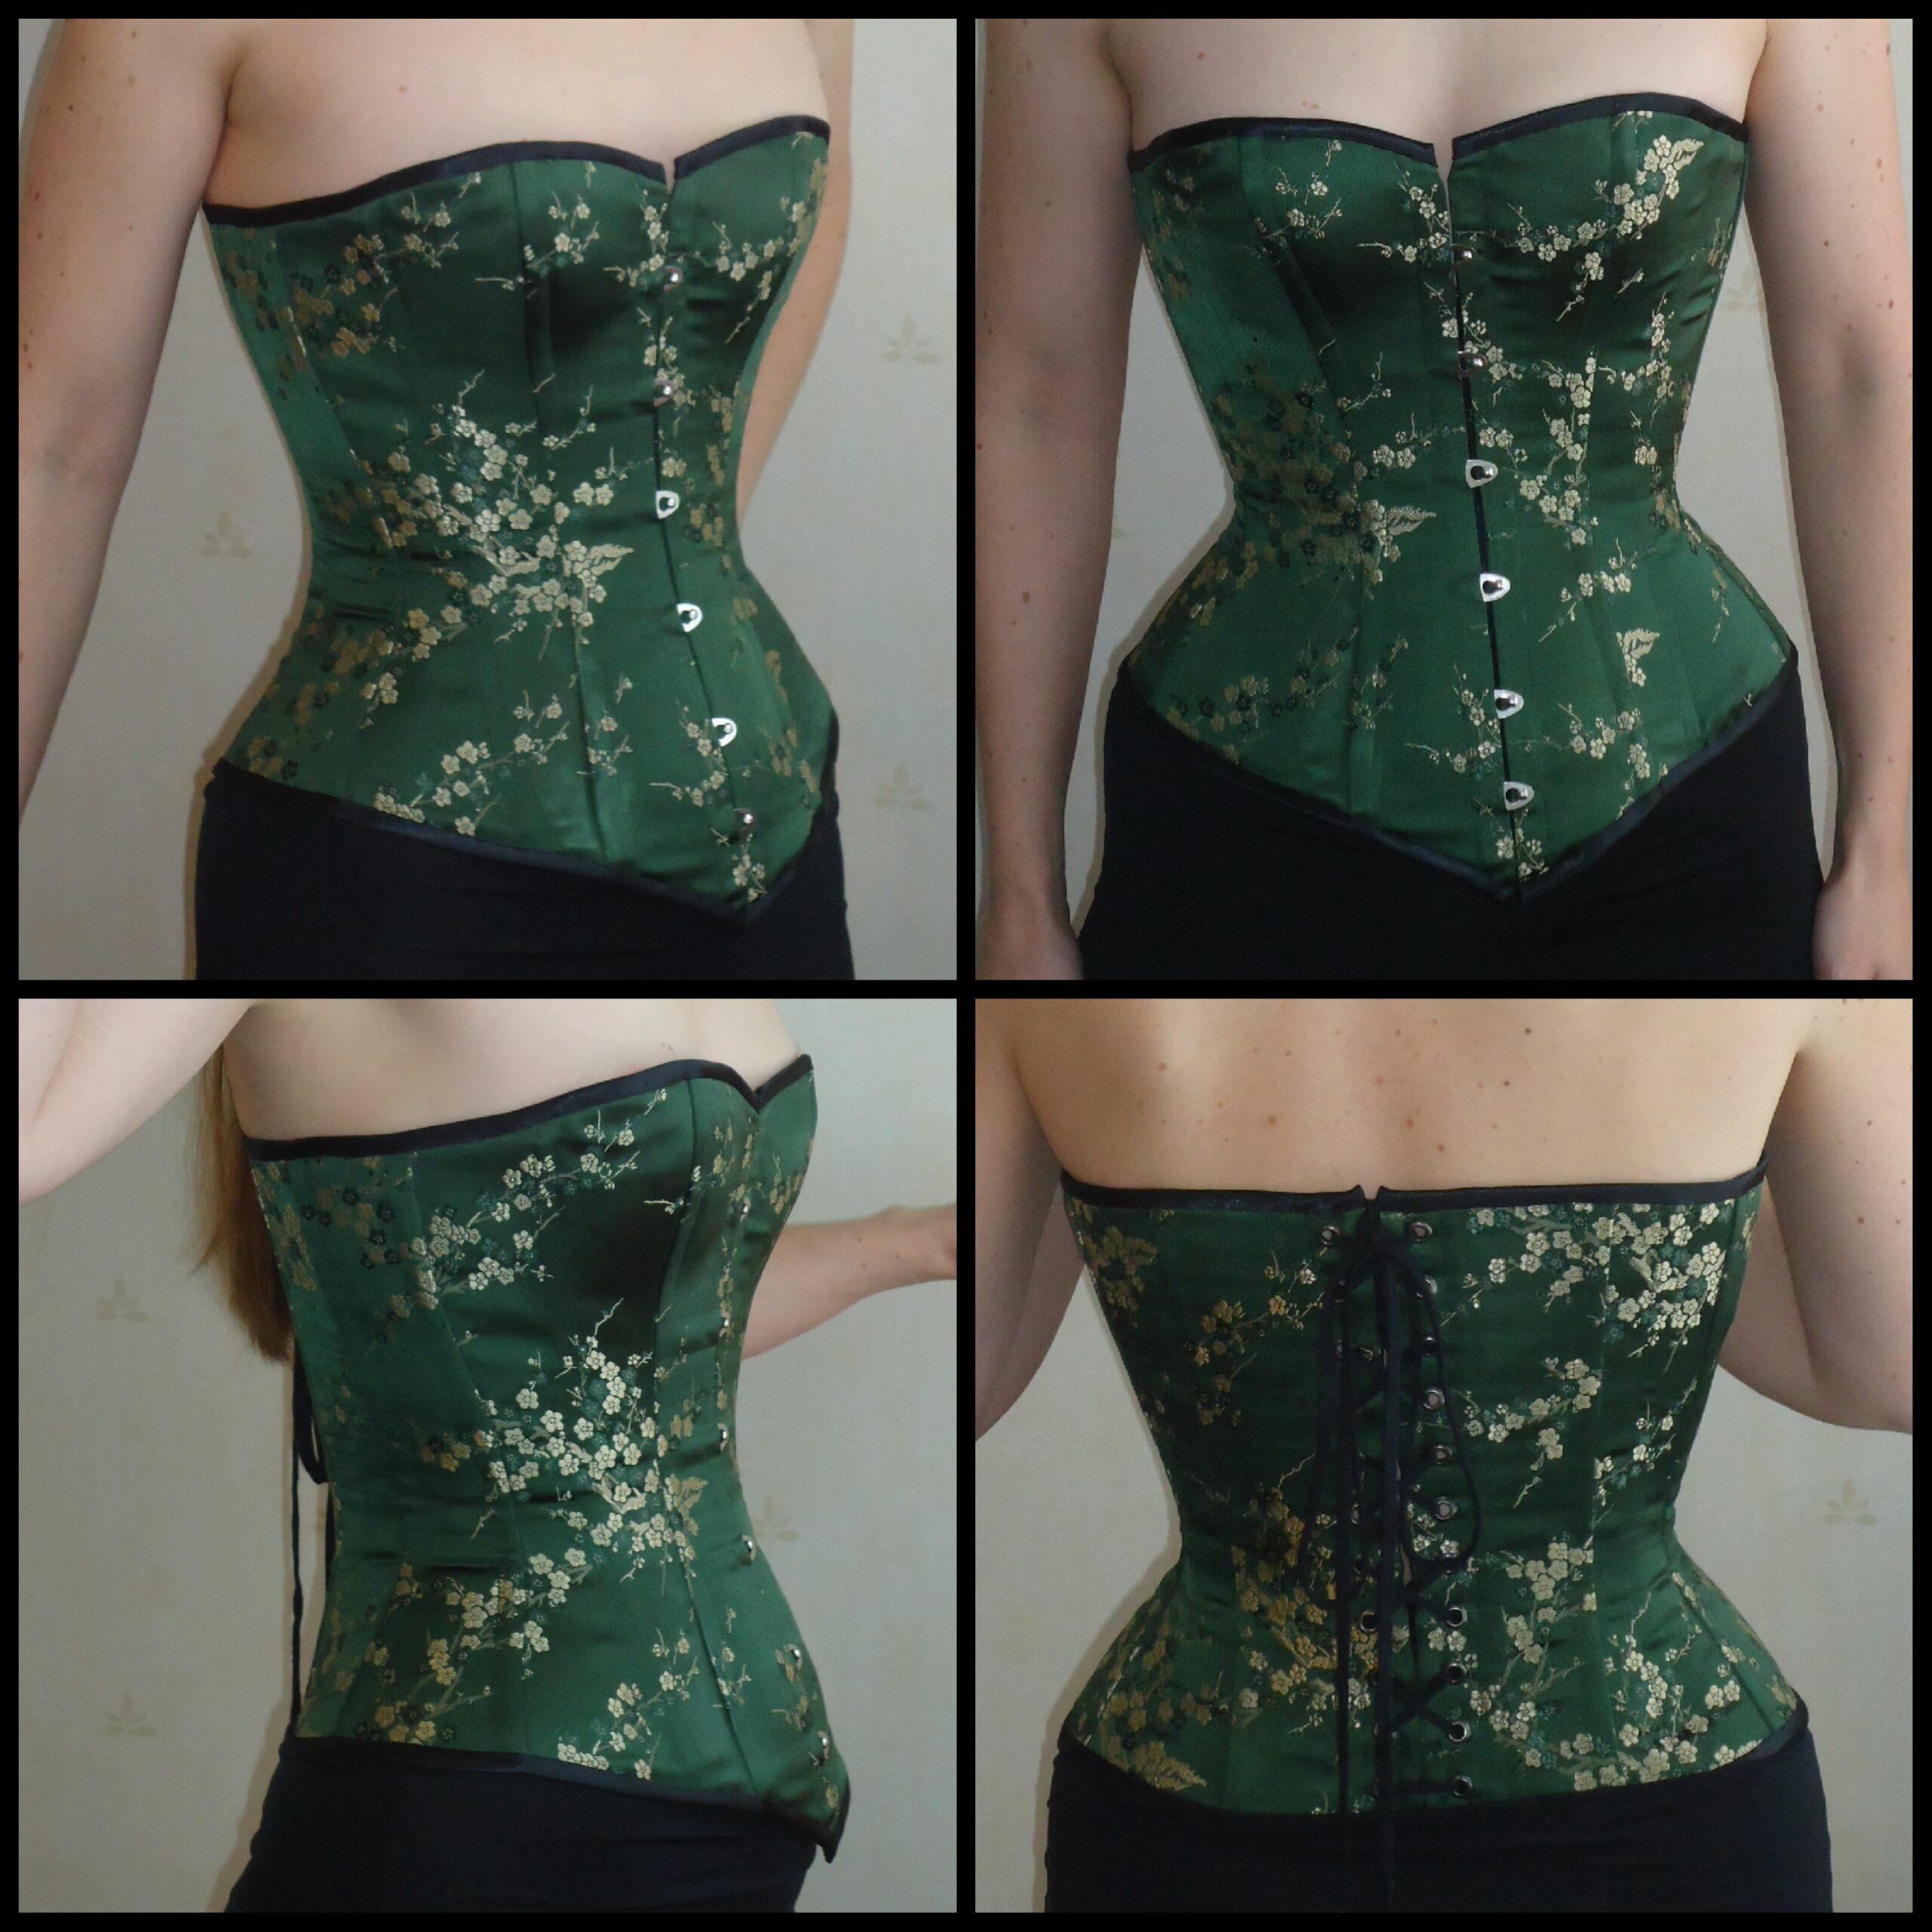
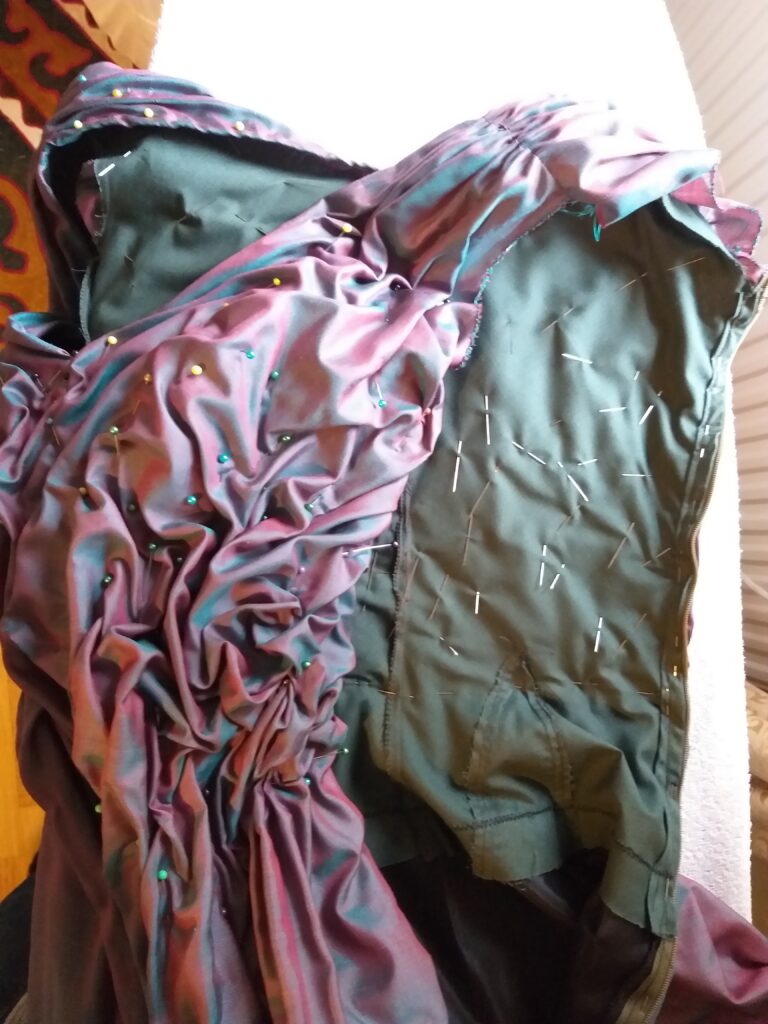
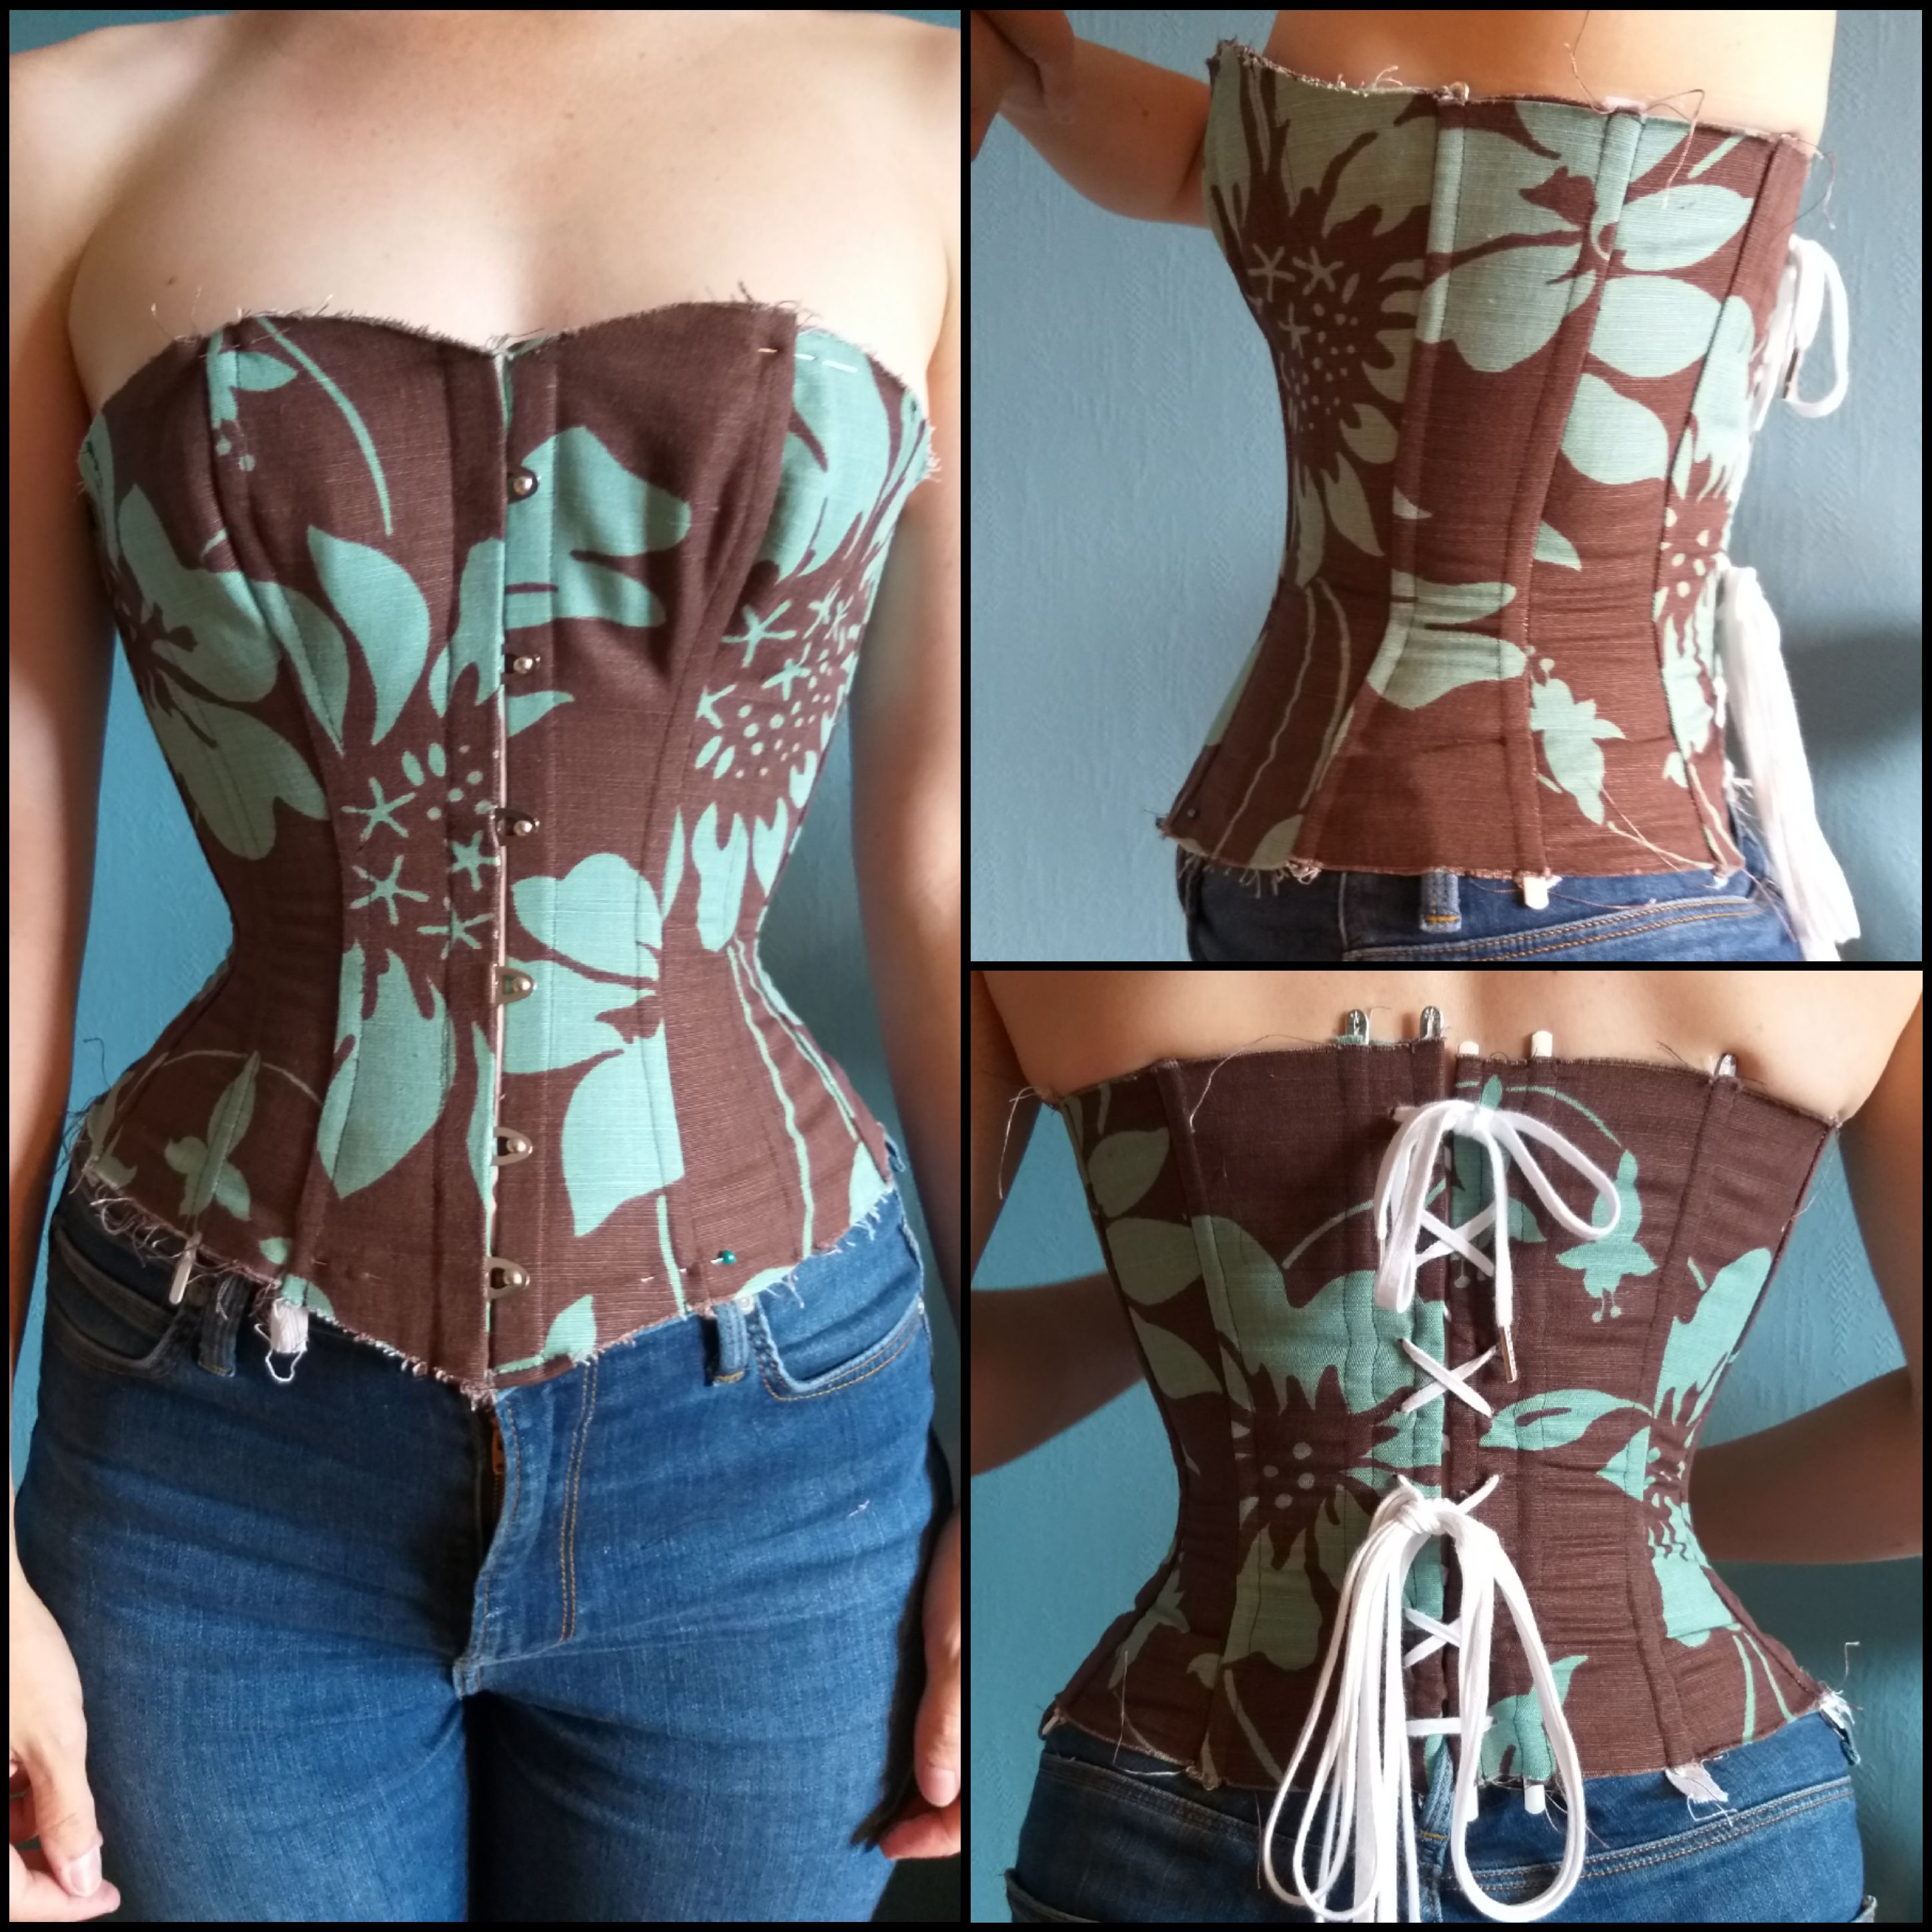
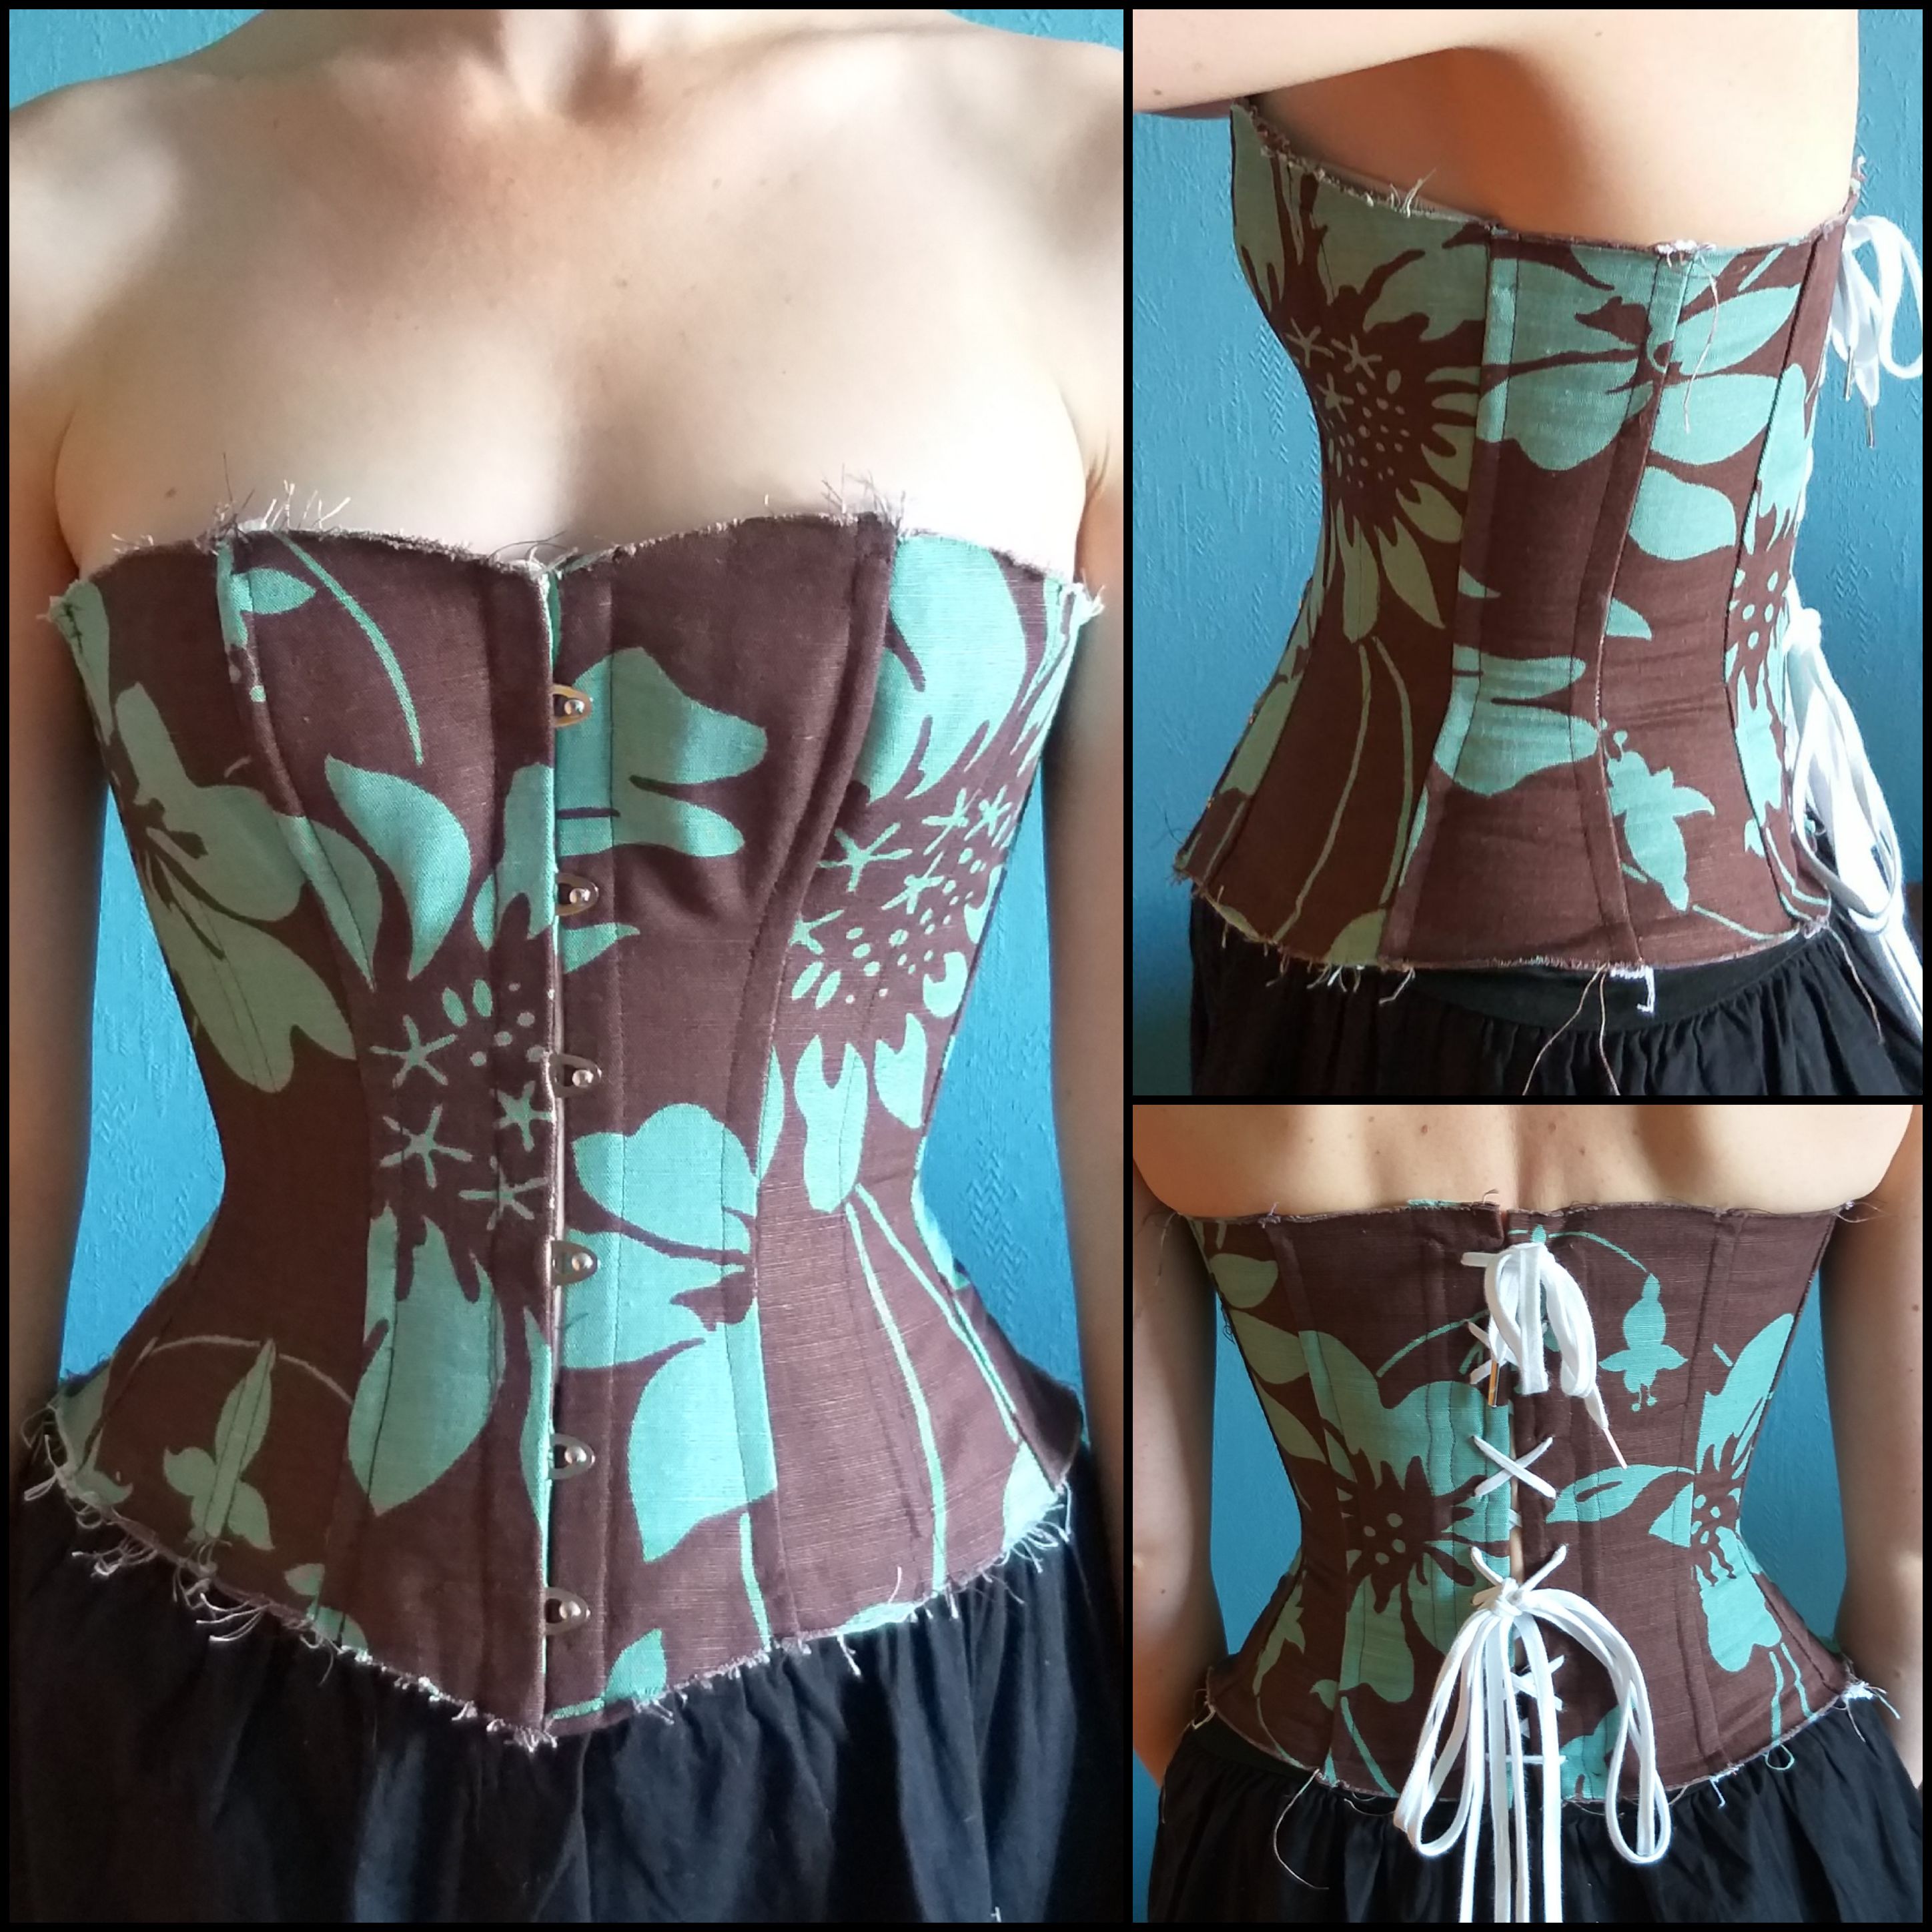
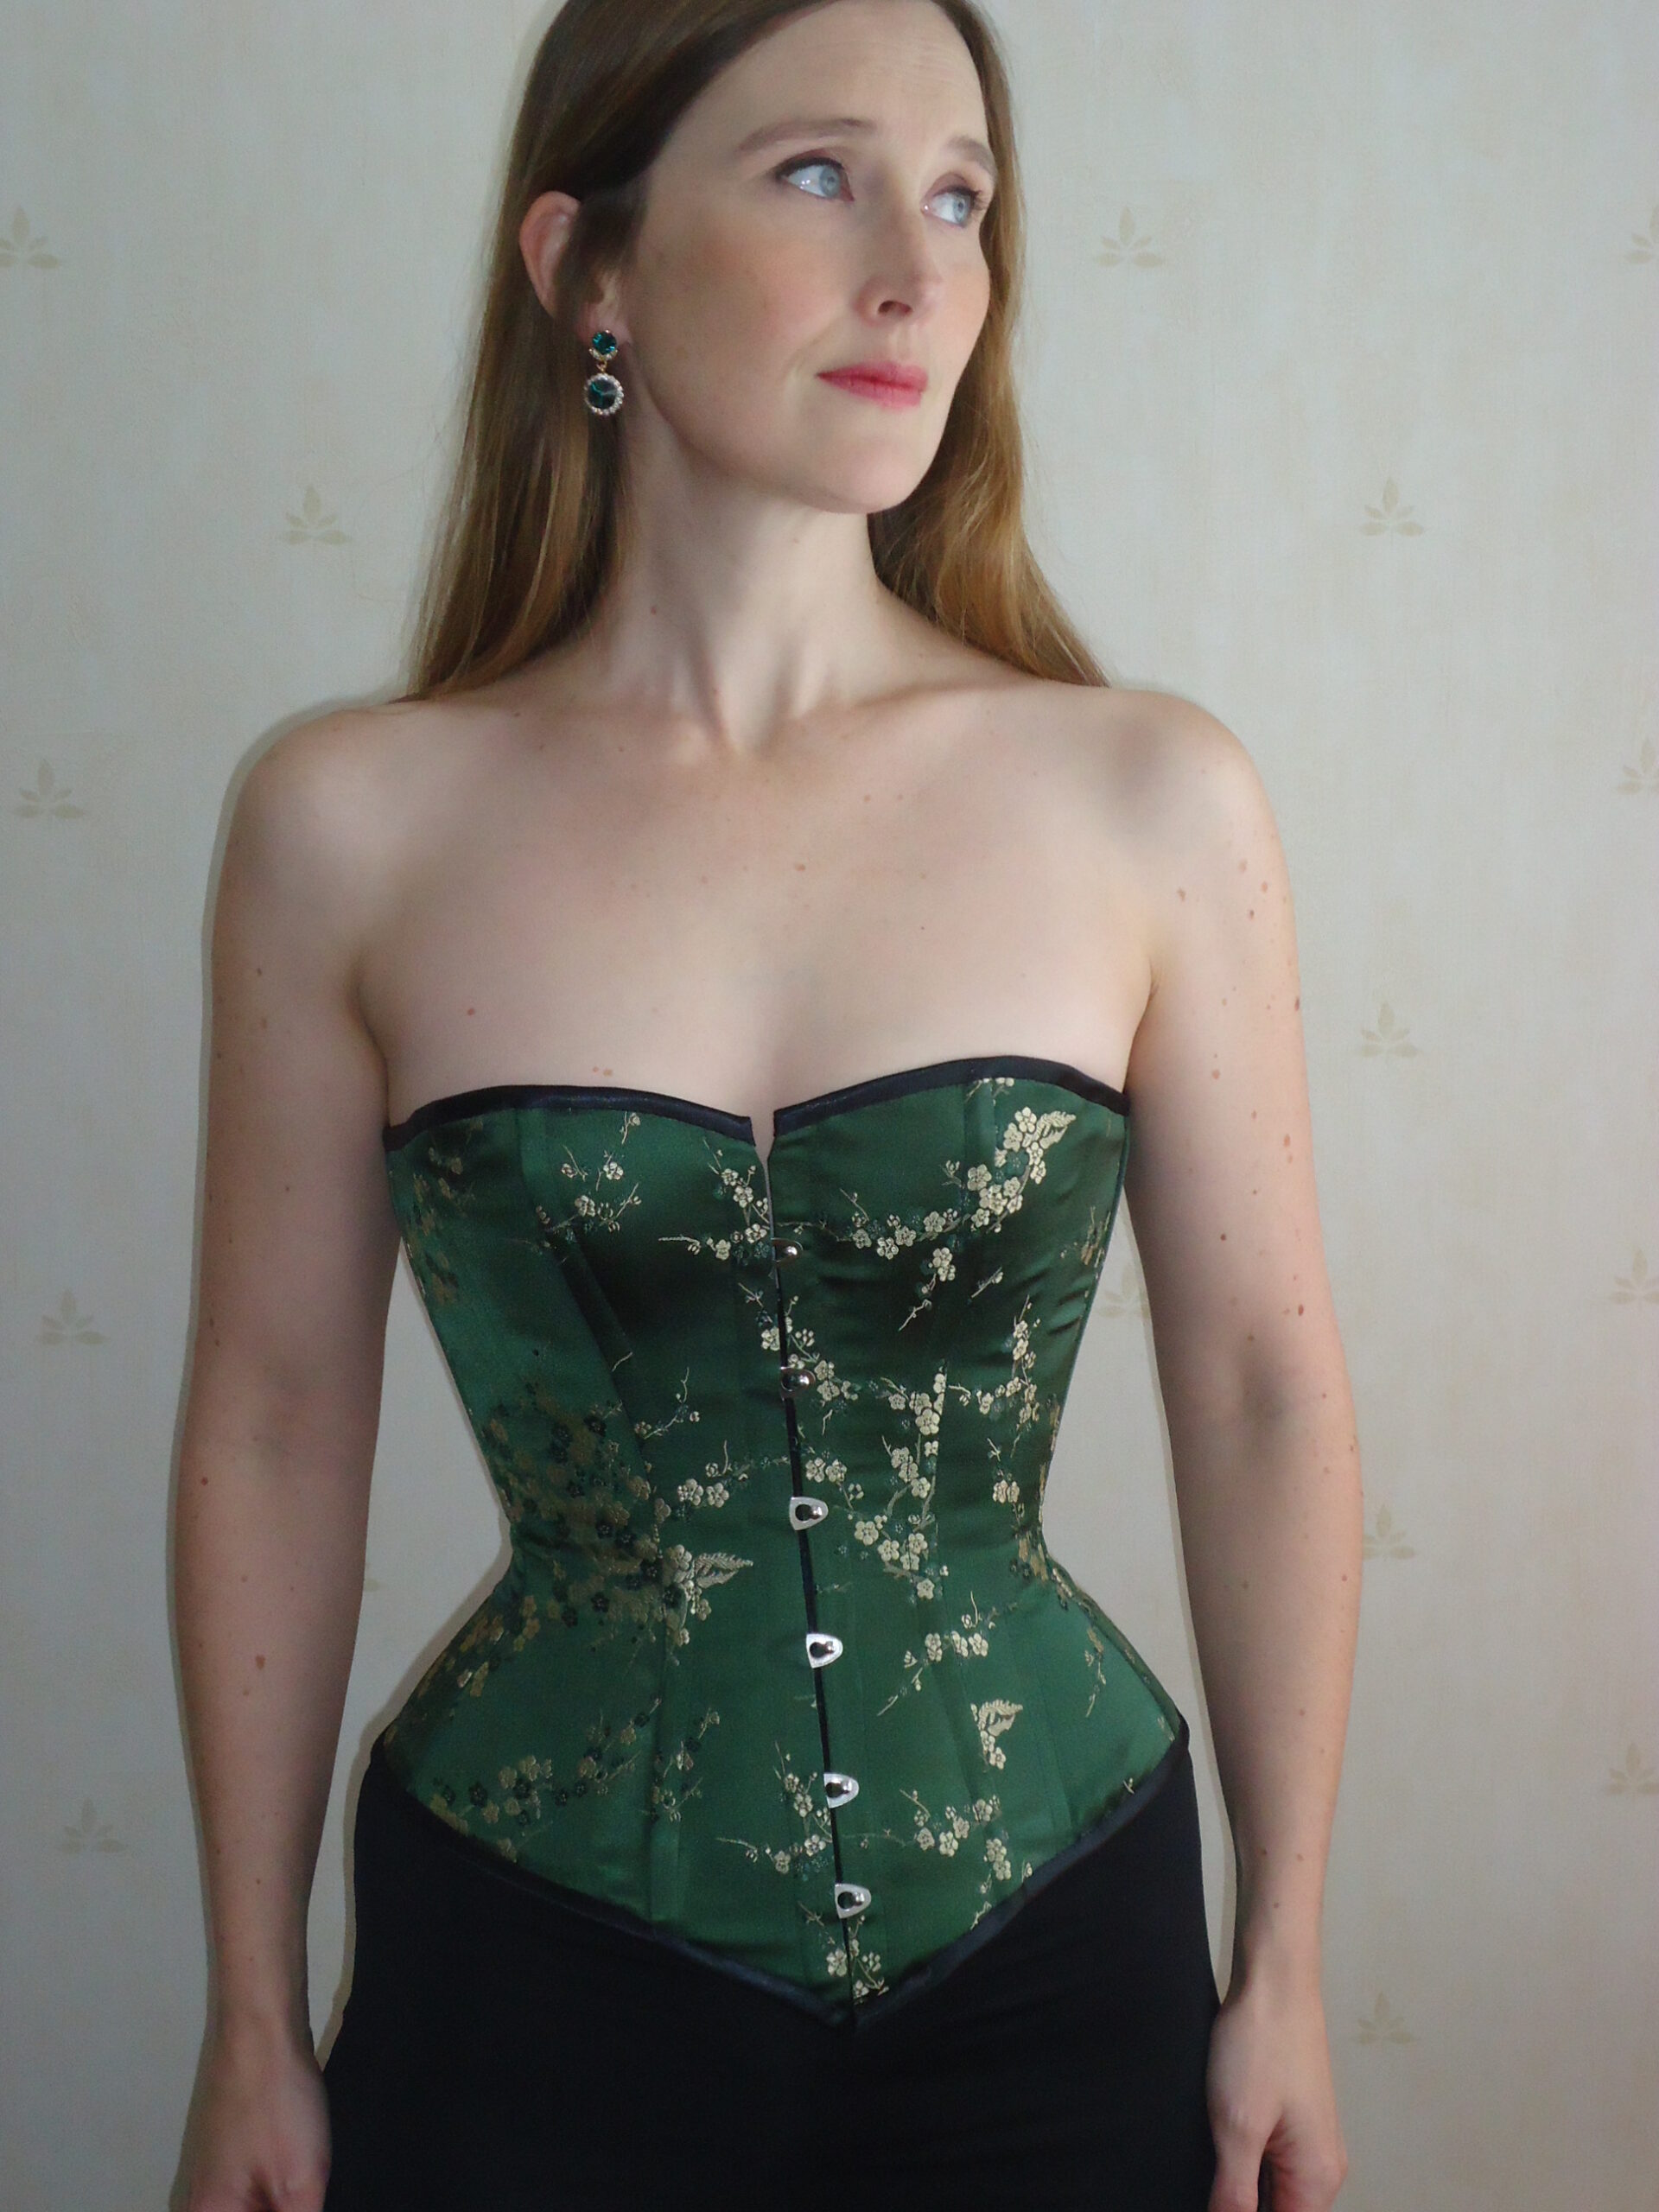
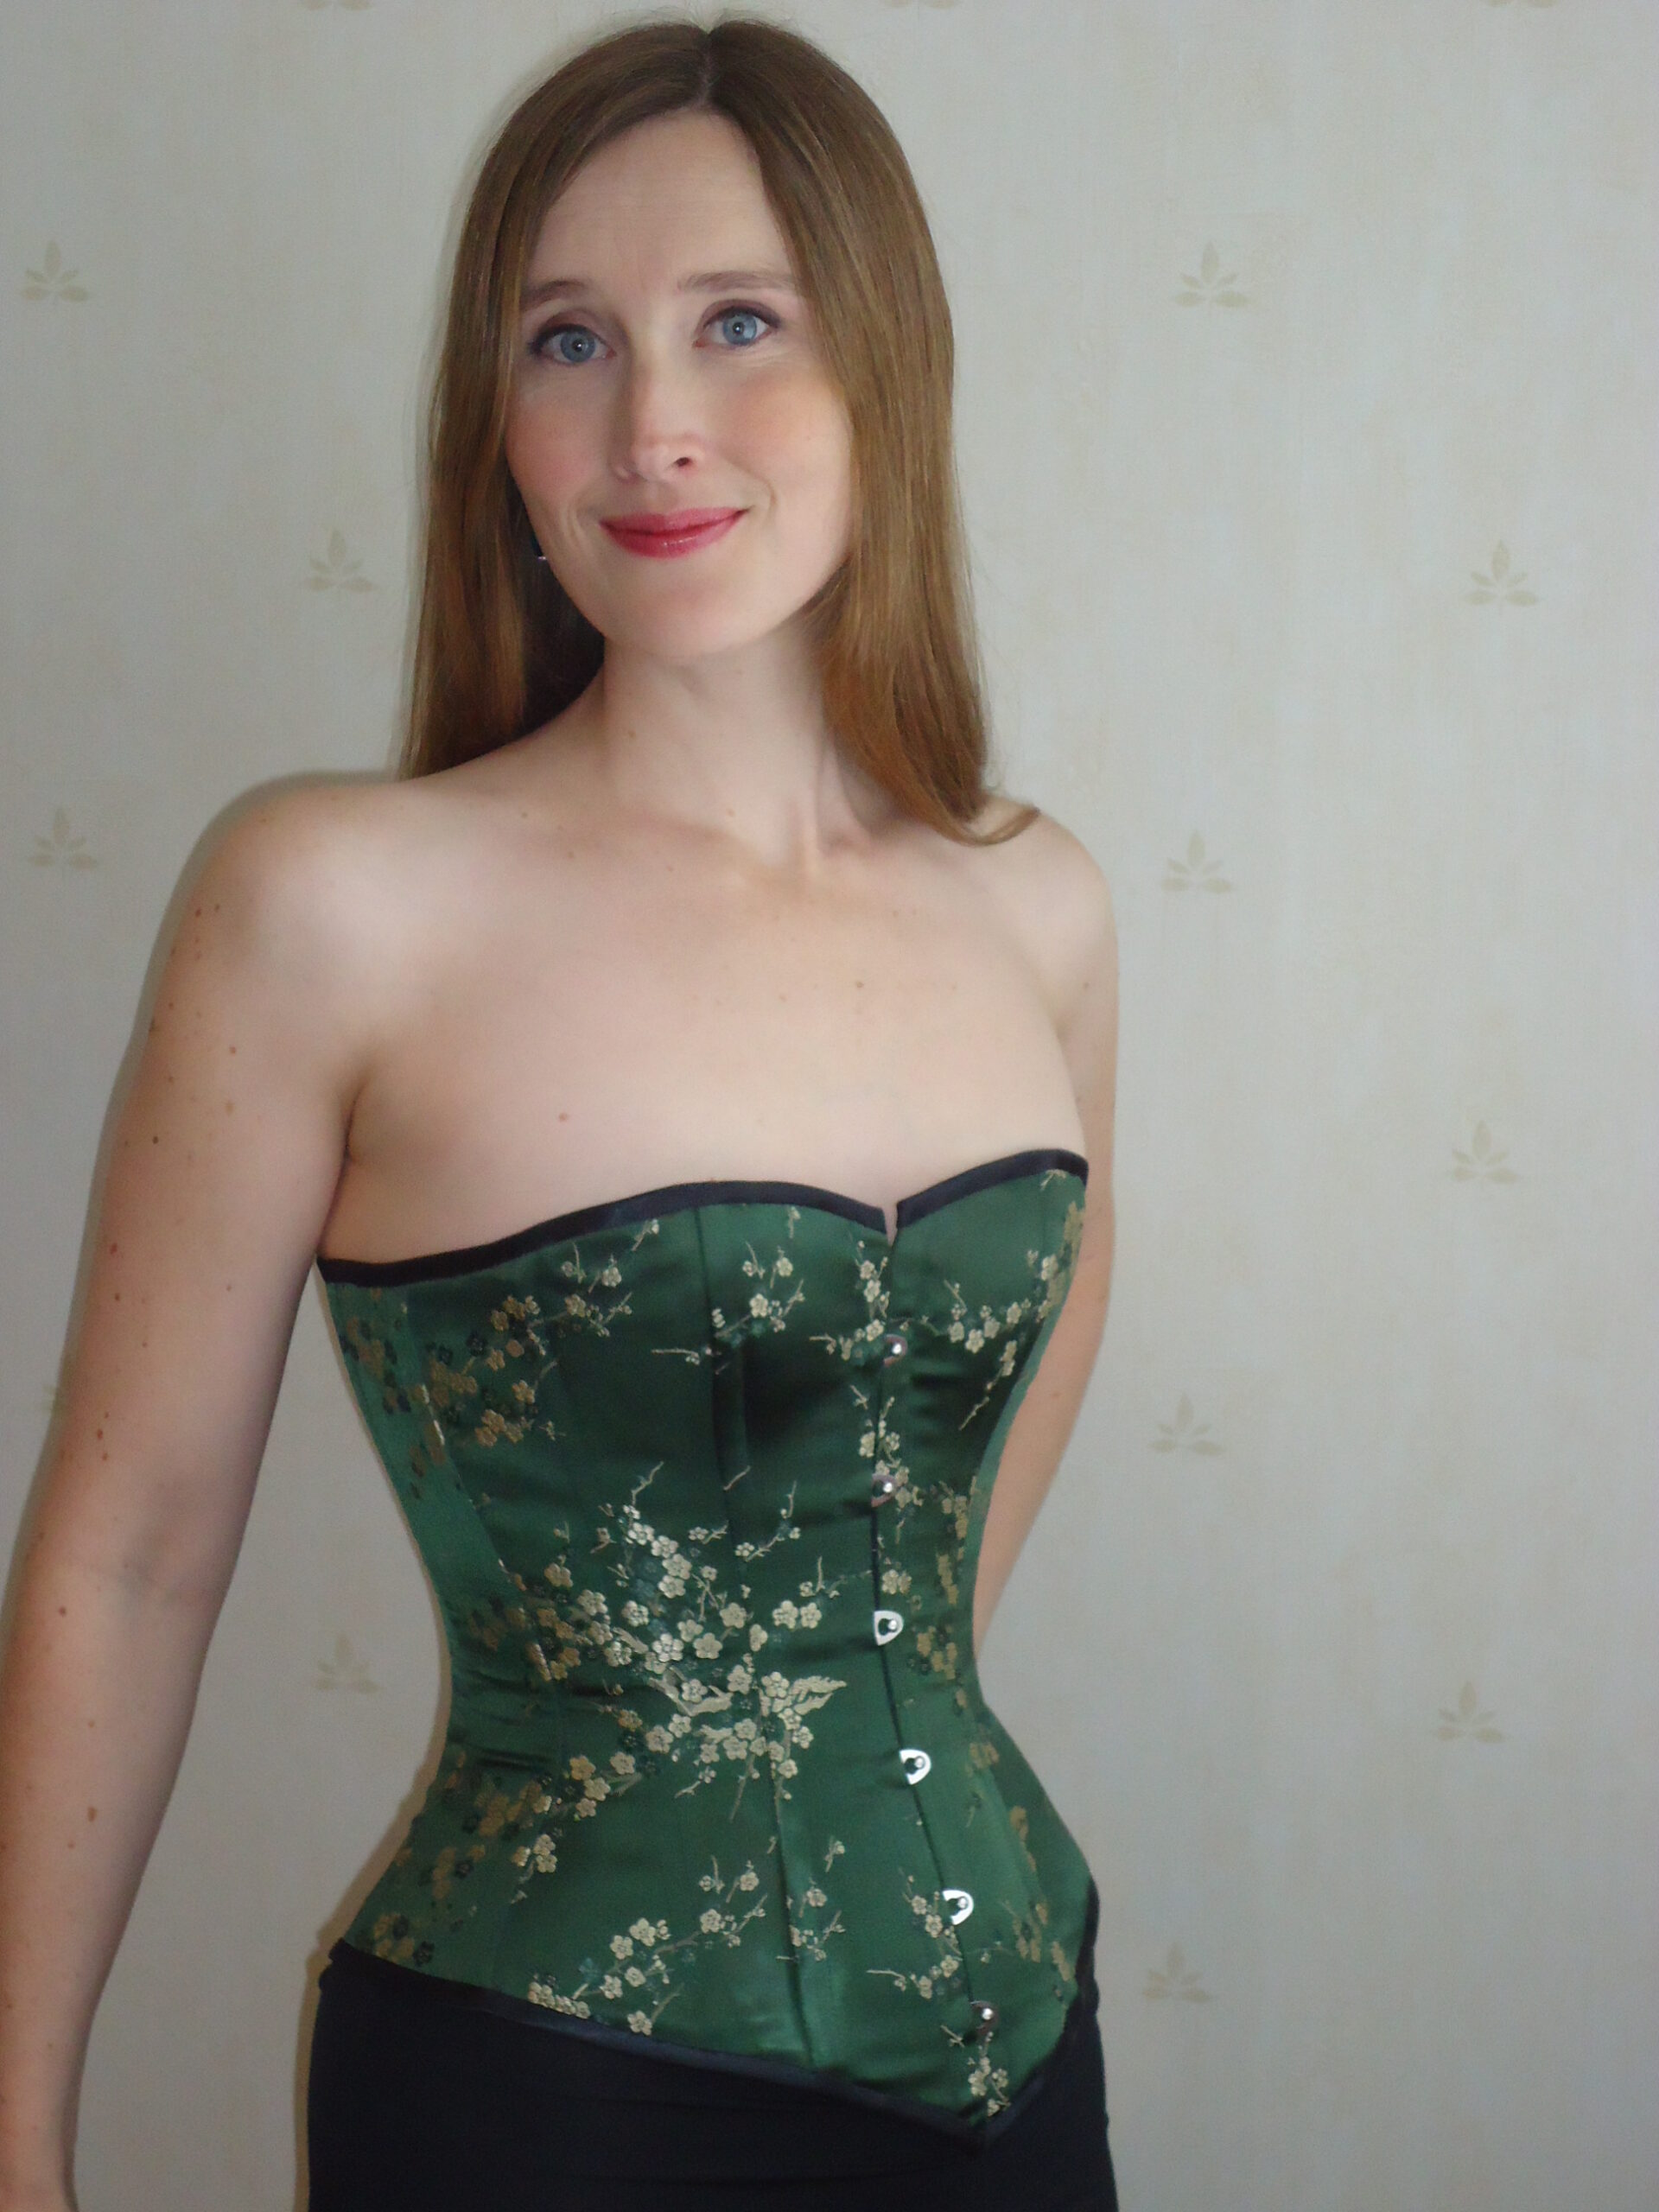
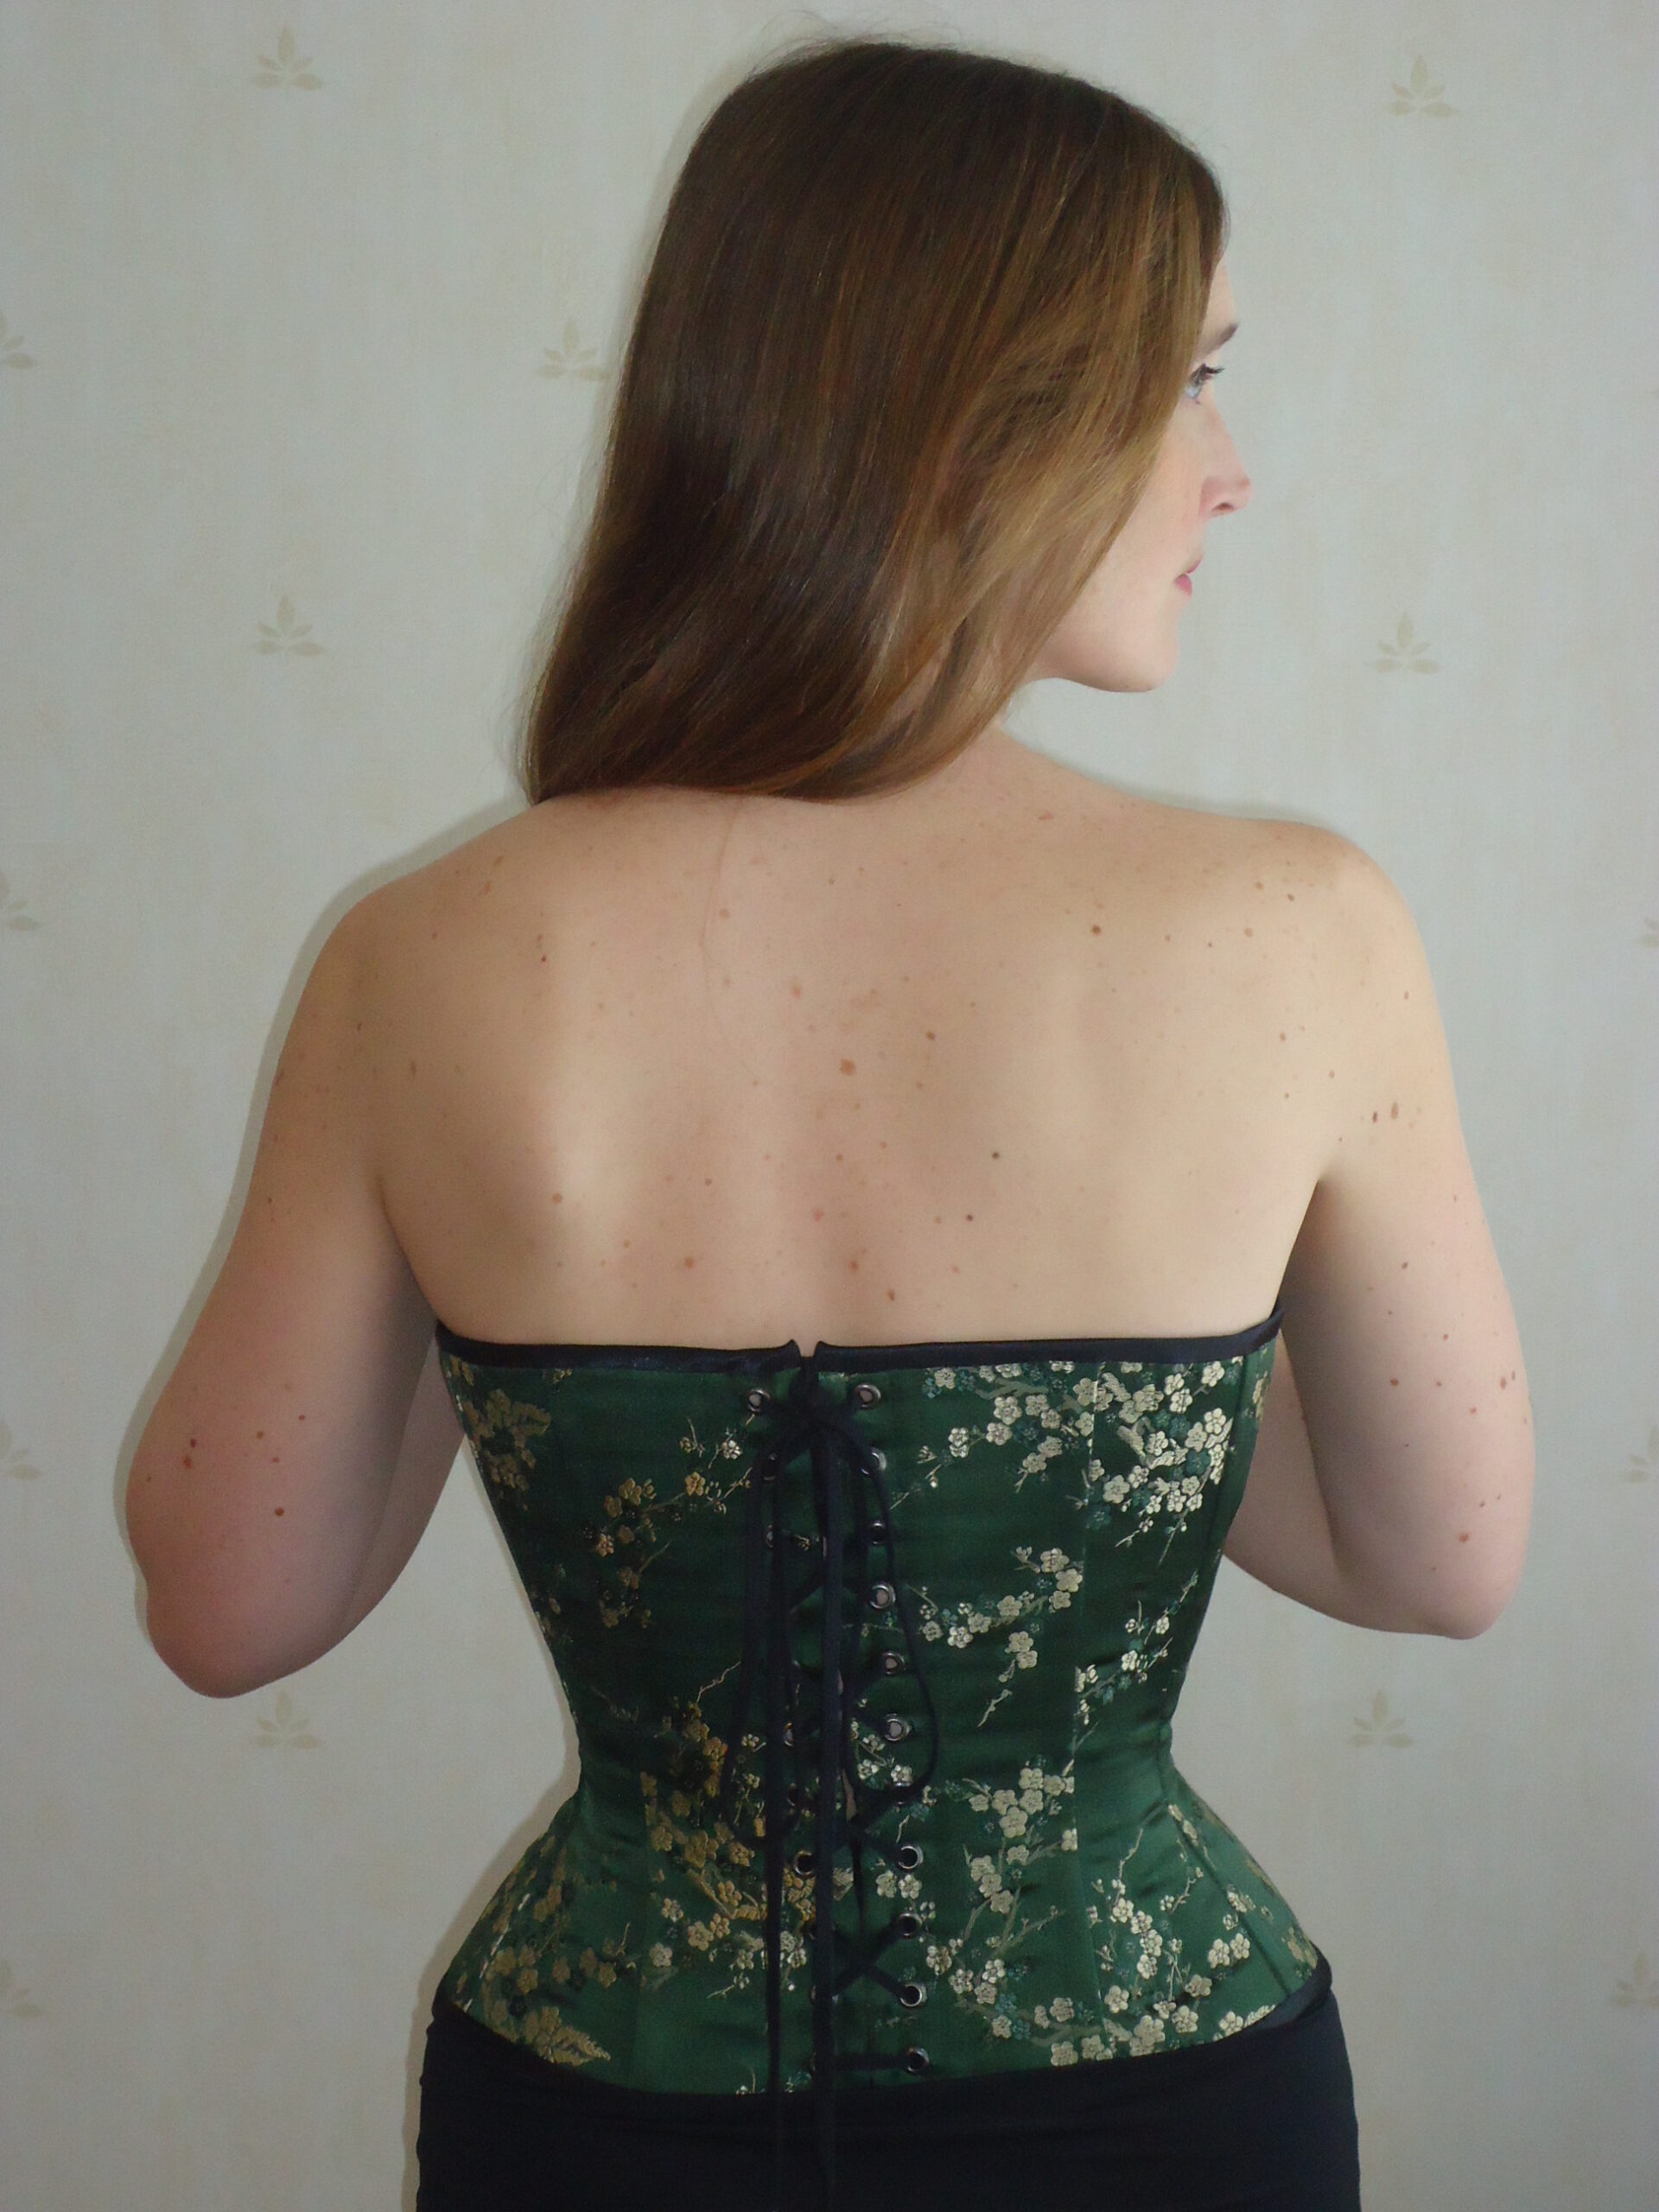
After trying the corset on for only three times, I found out that the wonderful satin was already straying away from the eyelets.

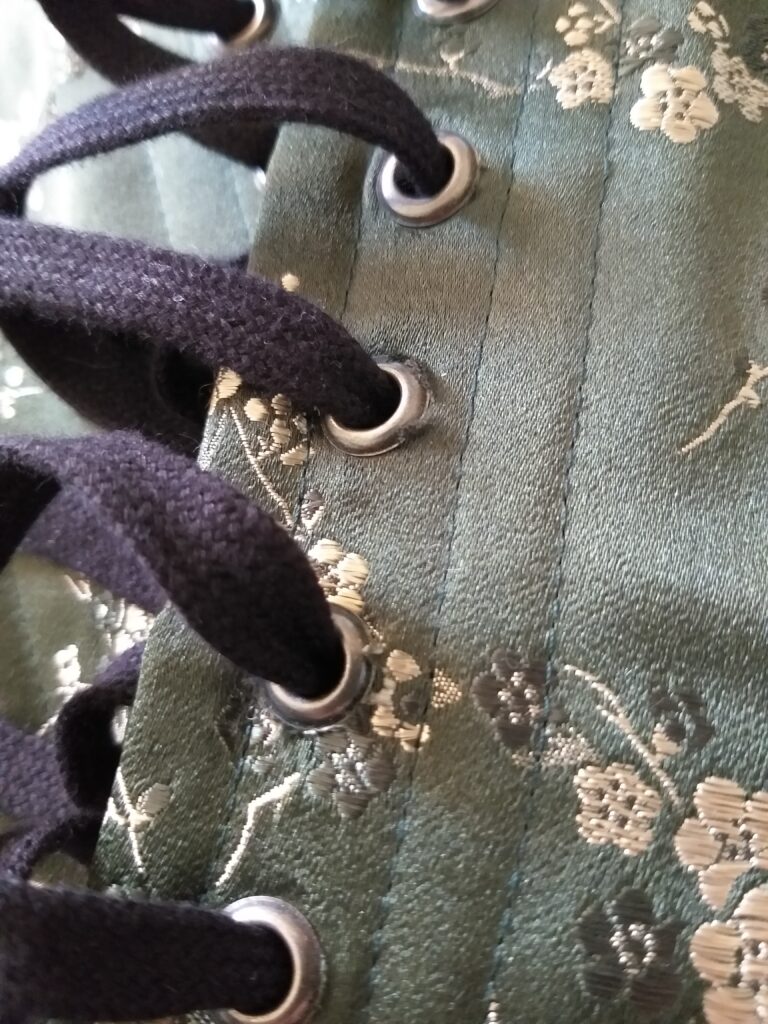
I have got wonderful advice from the mentors and Stitchling members on the Foundations Revealed Community, so that this will not happen again, with the next corset.

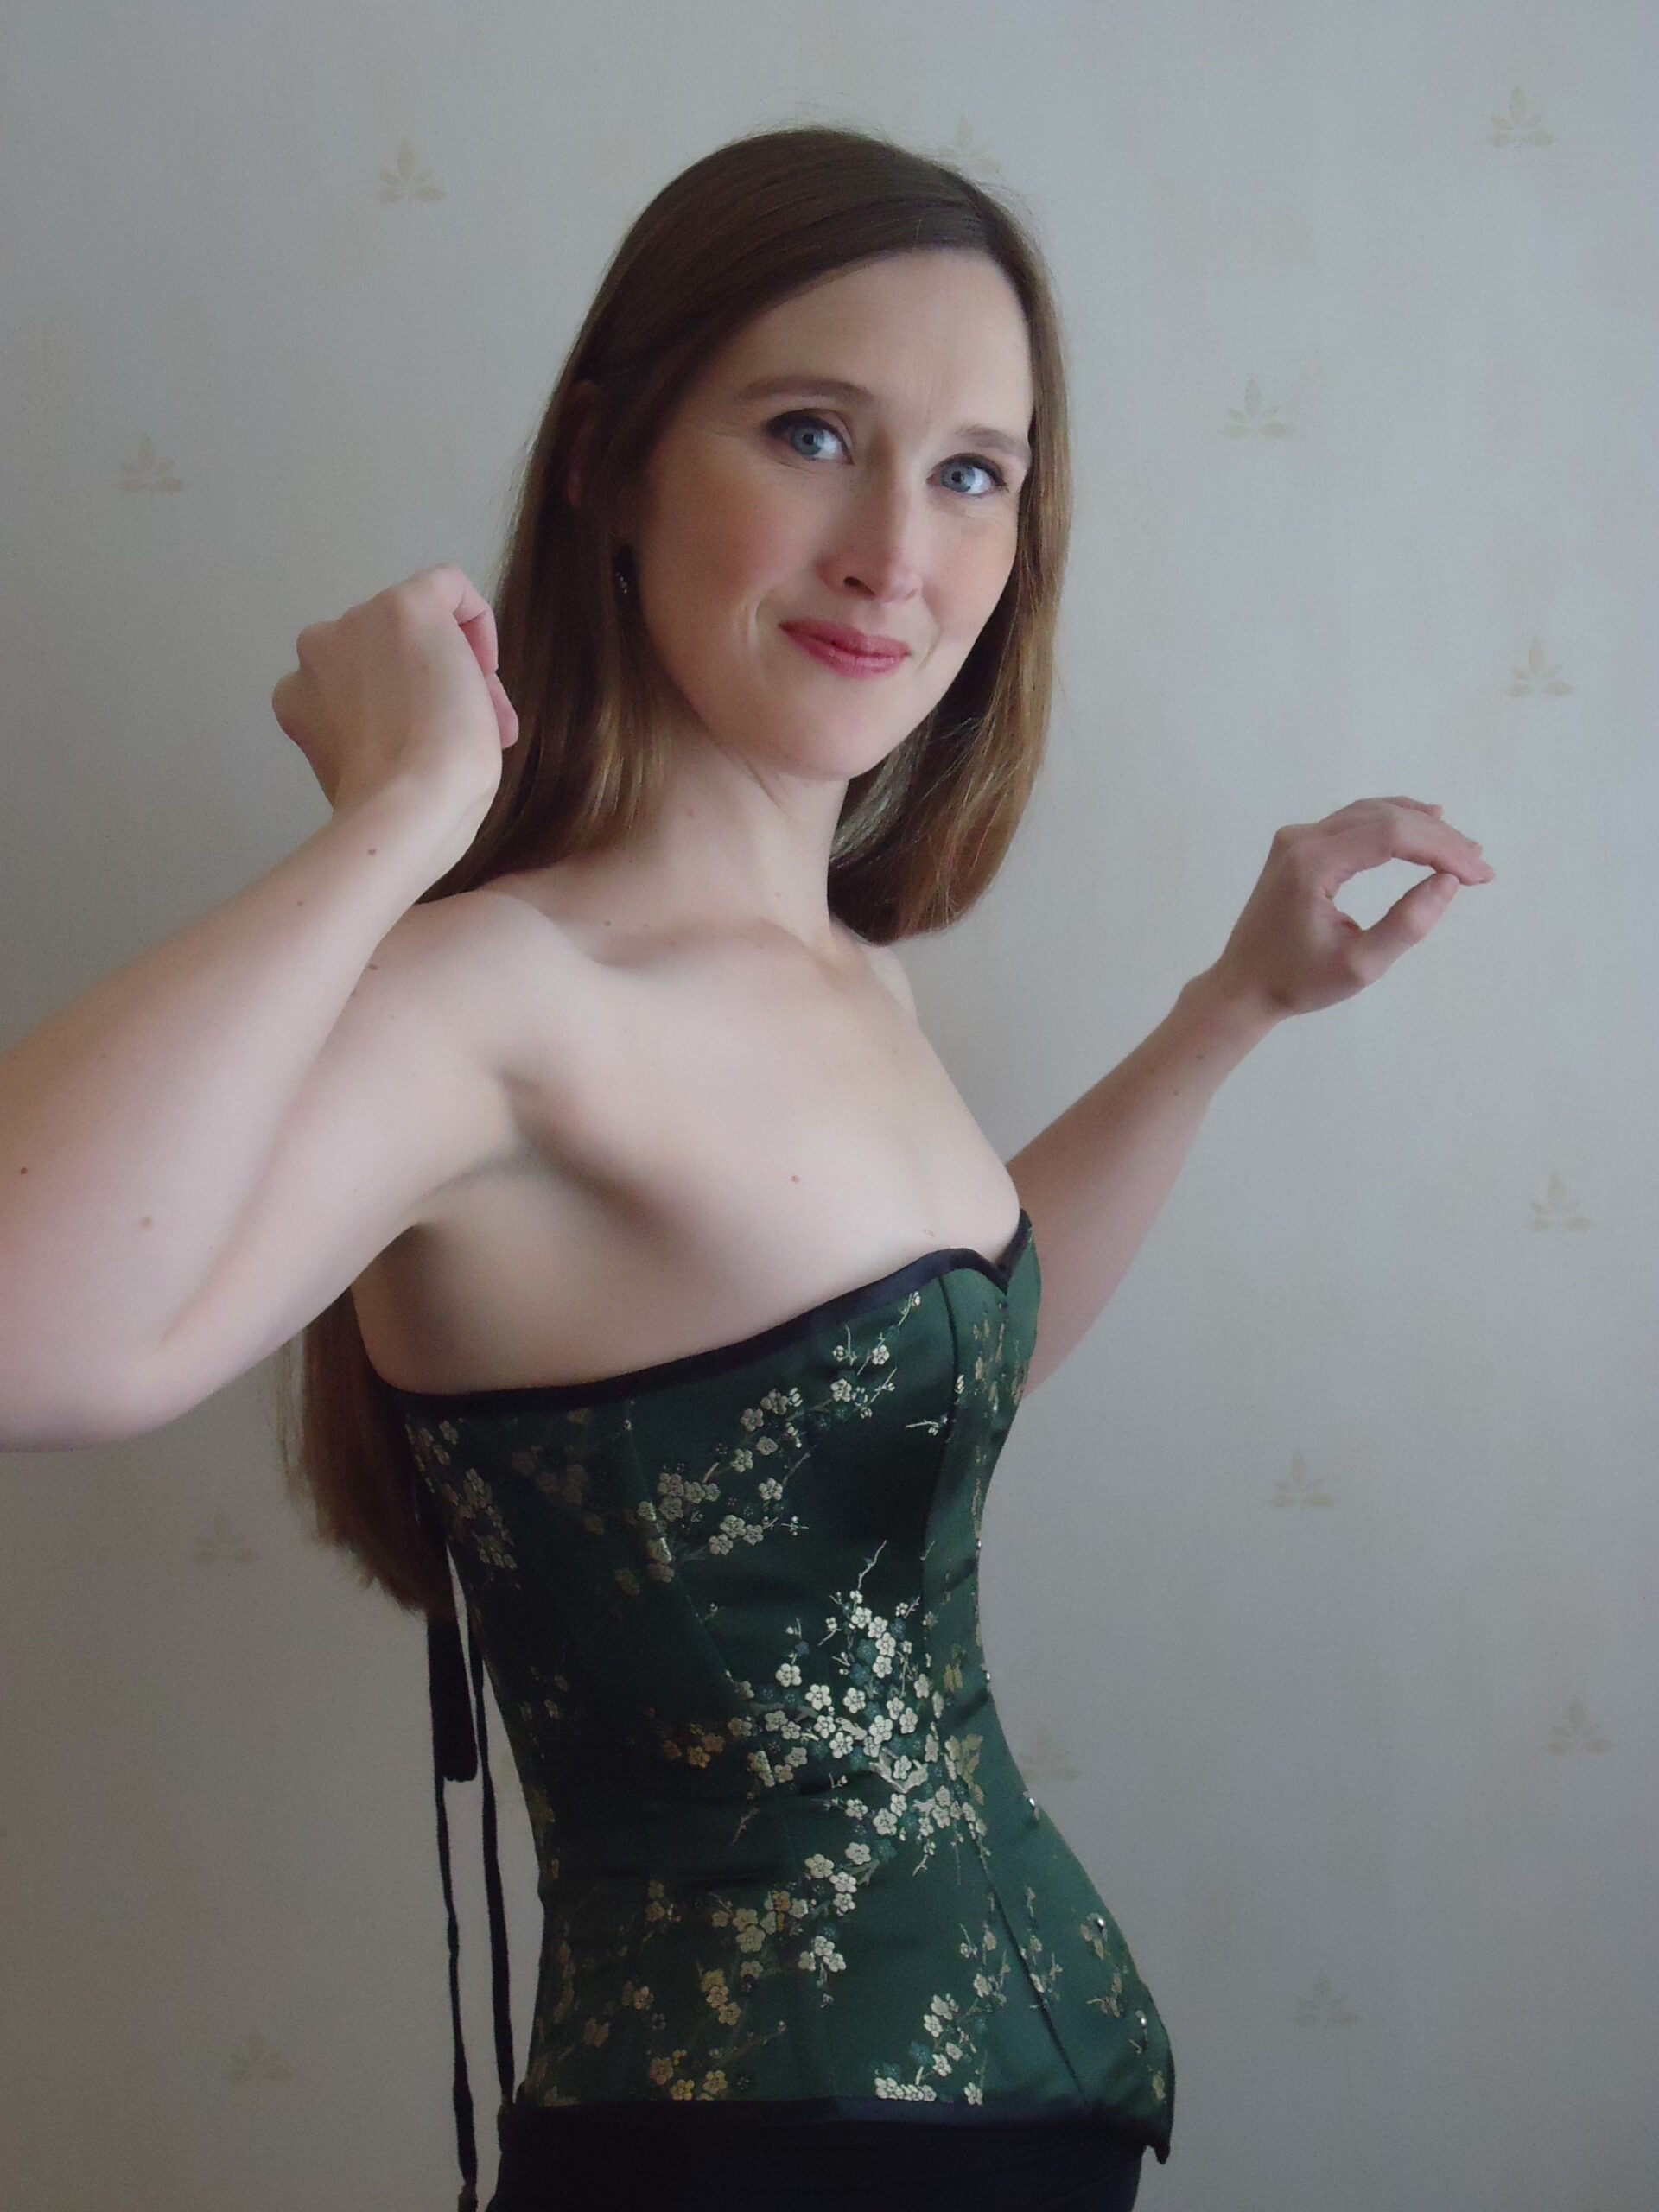
There are a lot of new wrinkles, which I suppose depend on the silk behaving different than the mockup material. My uncorseted waist measure is 72 cm, but laced up its 62,5 cm – so almost 10 cm reduction. Overall I am very pleased with the corset. It is so much better than my earlier ones and I have learnt so much that I want to apply on new projects.

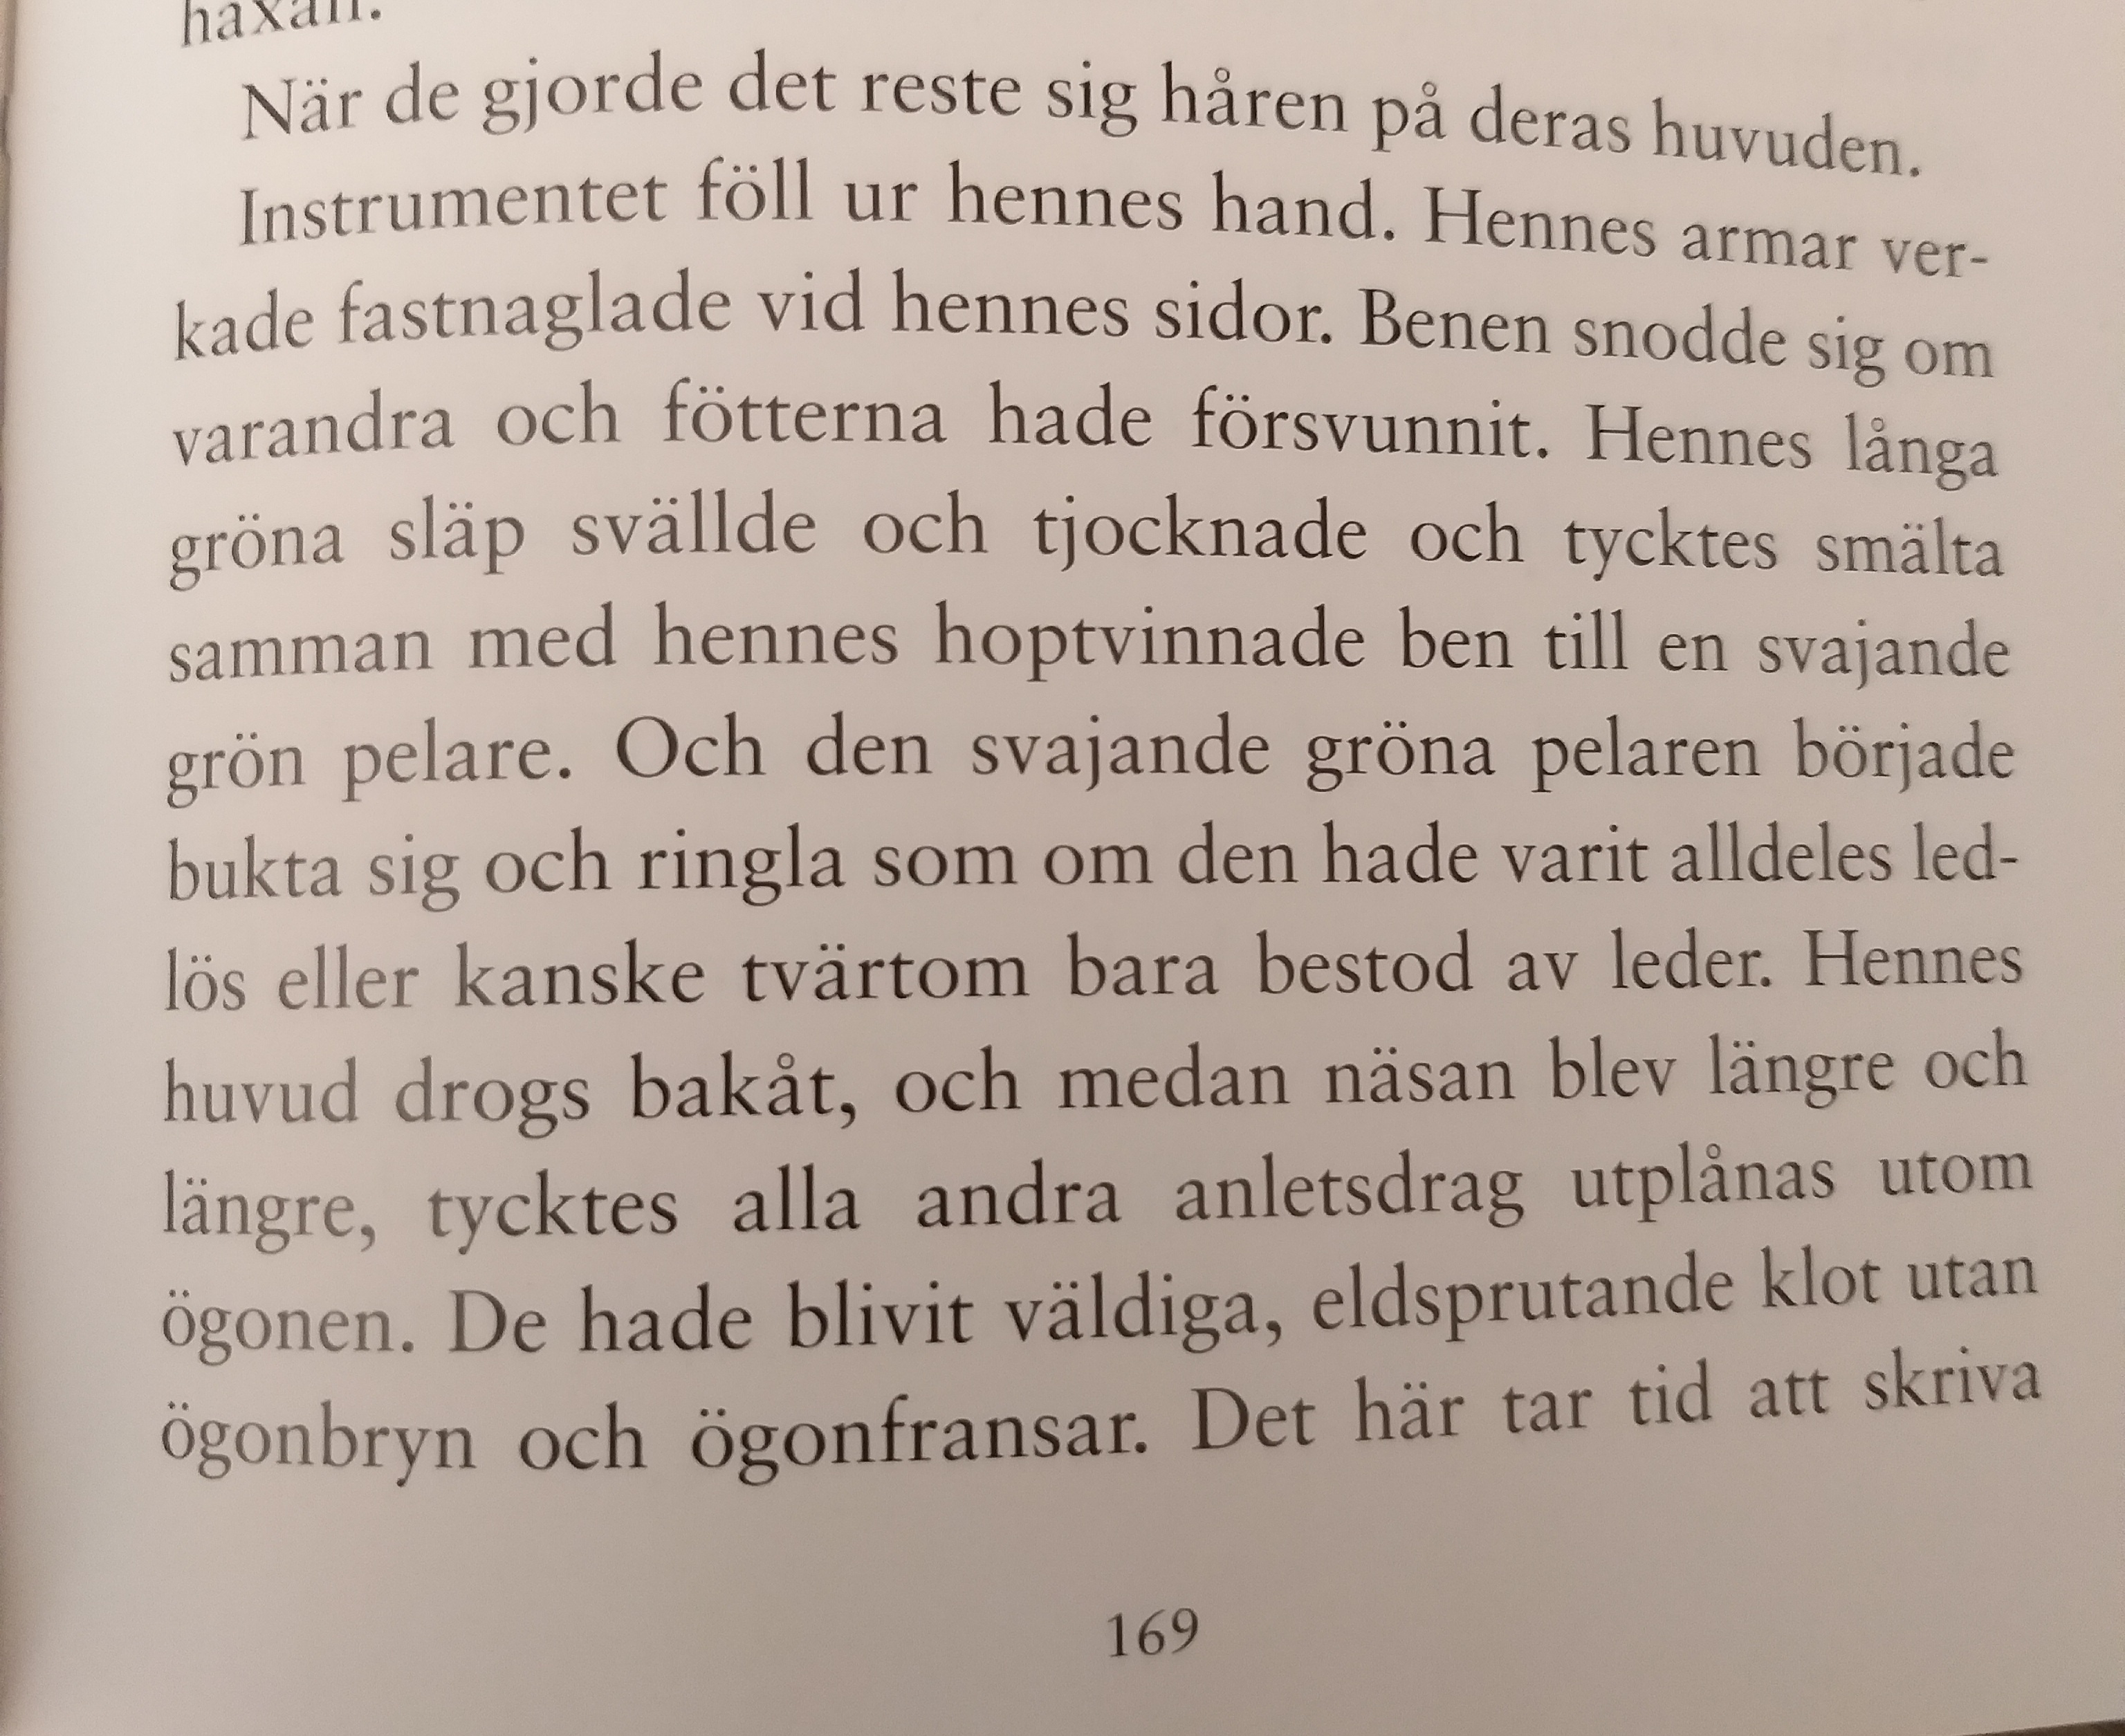
Compare this to the first mockup, and you will understand why I am content, even though there are some issues left.

Share

Serpent Witch – Part 2 – draping the blob into a fairytale gown

After achieving the right shape for the corset mockup, I have aimed at making the smoothest foundation possible, to go underneath the lightweight silk. A few minutes at a time, I sketch, measure and sew. Tiny steps, over and over again. At last it begins to look like a dress.

Efter att uppnått rätt silhuett på korsetttoillen, försöke jag skapa den jämnaste grunden jag kunde, för det tunna sidenet som ska vara ytterst.  Jag har skissat, mätt och sytt några minuter åt gången. Små steg i taget, om och om igen. Till slut börjar det likna en klänning.

Draping and finding out that it will be best to use a bodice and then an attatched skirt

First, I made the bodice part, from a lightweight cotton, that I got from Birgitta. It has a long zipper under the arm. It has two darts in front and, mistortunately two gussets at the lower back (don’t ask me why). Then I added a skirt, made from a synthetic lining fabric, that I got amongst the most beautiful fabrics from Sollan, through Carolina Holmström. In order to get the right  flowy shape, I have added tulle in several rows, smother in the front and more gathered in the back.

Creating a bodice pattern from the draped fabric

Först sydde jag klänningslivet av rester från ett tunt bomullstyg som jag fått av Birgitta. Livet har en lång dragkedja under armhålet, två inprovningar framtill och två sprund i ländryggen (fråga inte varför). Sedan sydde jag fast en underkjol, av tyg som jag fått tillsammans med flera fantastiska tyger från Sollan, genom Carolina Holmström. För att få till den perfekta böljande formen, fäste jag sedan tyll i flera rader nedtill på kjolen – mest rynkade baktill.

Finished bodice with zipper
Petticoat with tulle, to get the right shape

The fashion fabric is a very lightweight dupioni ikat from Khiva (an ancient city along the Silk road), that I got from my mother years ago. Since it doesn’t fit the historical fashions that I use to do and is too beautiful to use for any project, it has just layed in my stash, to be taken out and be stared at for a while every year. I was thrilled when I finally found out that it would suit my serpent witch!

Klänningstyget är ett tunt ikatmönstrat dupionsiden från Khiva (en uråldrig stad längs sidenvägen), som mamma gav mig för många år sedan. Eftersom sådana tyger inte förekommer under de historiska moden som jag sysslar med, har tyget legat i en låda för att bli framplockat och stirrat på med jämna mellanrum. Jag blev så glad när jag kom på att det skulle passa fint på ormhäxan!

It is 60 cm wide and good 9 m long. I have measured and counted so many times, trying to figure out how to cut the fabric and have something left for the sleeves. Finally I have decided to just finish the dress and see what I can come up with with, using what fabric is left afterwards. Oh, the horror.

Tyget är 60 cm brett och drygt 9 m långt. Jag har mätt och räknat så många gånger, för att lista ut hur tyget ska klippas och ändå få något över till ärmarna. Till slut har jag bestämt mig för att göra klart klänningen först och se om det sedan klura ut hur ärmarna ska se ut, utifrån hur mycket tyg jag har kvar då. Kära hjärtanes.

Draping the blob into a fairytale gown

Now I have started draping. It is great fun! But it is challenging to save the hemline at the right height as I  manipulate the fabric. I put a pin in every wrinkle and will then secure all of this stiching by hand with my finest needle. This will take maaaany hours.

Nu har jag börjat drapera tyget. Det är superkul! Men det är knepigt att bevara rätt höjd på kjolfållen medan jag manipulerar tyget. Jag sätter en nål i varje veck och ska sedan fästa allt detta med handsömnad. Detta kommer ta mååååånga timmar.

Share

Serpent Witch – Part 1

Dress Diary Part 1

Background

The journey has finally begun! The theme of next year’s Your Wardrobe Competition is any character from any literature.  Exciting, isn’t it?! I haven’t been able to decide on which character to go for, as I feel like I can’t go down the Jane Austen lane and yet another regency gown. Unfortunately the Elizabeth Gaskell characters are from particular years that I am not willing to spend a year on recreating and the wonderful characters of Dickens are either too young or too old for me. There are some sympathetic background characters in Astrid Lindgren’s books, but I have already made a competition piece inspired by her Edwardian teachers. I have already seen many go for my dear Tolkien characters. For a while, I thought about making a dress for David Eddings’ Polgara.  Then there is a character in the Narnia book “The Silver Chair”, which actually has tickled my mind for many years – the Green Witch! When I was a child I dreamed of designing a dress for her, but then I lacked the skill to carry it out. Now, as a member of the Stitchling Society, surrounded by true masters, I  think that I actually might be able to pull it through!

The Green Witch

I read the passages with the witch again (in Swedish). She is obviously the most beautiful creature Prince Rilian has ever beheld. Haha! She is very slender, with curly hair and glimmering skin. Her dress is flowy, in a venomous green colour.

I want to make a dress for this lovely lady! In order to get such a slim waist, I will need a corset with waist reduction and breast padding. As I like the victorian take on the medieval fashions (especially the preraphaelite take on this), I  will make what I call a Medievorian dress. I will use my lightweight dupioni fabric from Khiva, hoping to create a flowy texture on top of the corset base. I have not  yet  decided  what  the  arms  will  look  like,  as  I am  not  sure  how much  fabric  will  be  left  when  the  rest  of  the  dress  is  finished.

I want to make some kind of belt, incorporating her serpent avatar.

Corset

I made a self drafted corset pattern by Cathy Hay’s tutorial, years ago. Because of lack of money and thus lack of the right materials I have never finished it. I have returned to it several times, though, and drawn cryptical lines… I believe I originally made it for giving 2″ waist reduction and some push up.

Here comes my several mockups.

These lines must have been for an Edwardian shape? The corset fitted like a glove, but gave no extra shape.

2nd mockup, with straight lower line, some waist reduction, but no extra room for breasts. Made from a bed cover fabric, a gift from my brother.

3d mockup with too big bust, and back skin spillage because of breast padding pulling the corset forward. I add 2 cm sloping waist.

4th mockup much better, but I reduce the bust a little more and change bent steel boning for spiral steel at the bust. In the sides I add heavily bent steel boning.

4,5 mockup – almost perfect? Sloping waist, waist reduction and padding for the breasts.

Now I am ready for draping the foundation layer and then the dress on the corset mockup. Hopefully I will have time both for finishing the real corset, the dress and accessories in time for the competition.

Share