Category Archives: Från idé till färdigt plagg

Becoming a Doctor and Some Smaller Projects

This Wednesday I had my very last exam and I passed. Crazy! Now there is only the Hippocratic oath, by the end of the month, between the world of medical doctorship and myself. It has been a hard ride, with many sleepless nights, tears of anguish and boring “holidays” filled with studies. But now it has finally come to an end. Wow.

I onsdags hade jag min allra sista tenta och klarade den. Galet! Nu är det bara det Hippokratiska läkarlöftet vid månadsslutet, som ligger mellan mig och världen av dokorskap. Det har varit en hård resa, med många sömnlösa nätter, tårar av ångest och tråkiga ”lov” fyllda av studier. Men nu är det äntligen över. Wow.

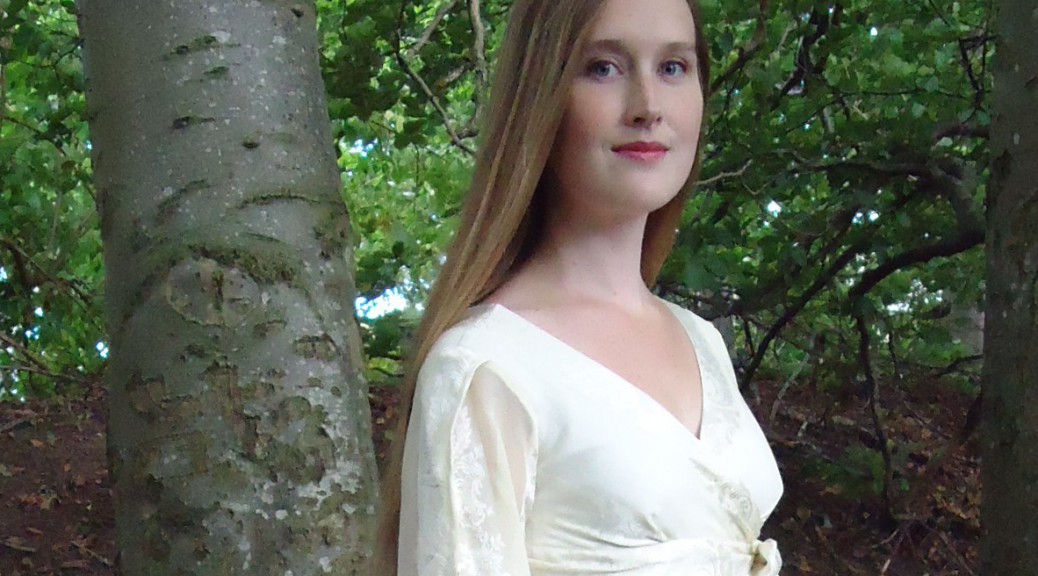
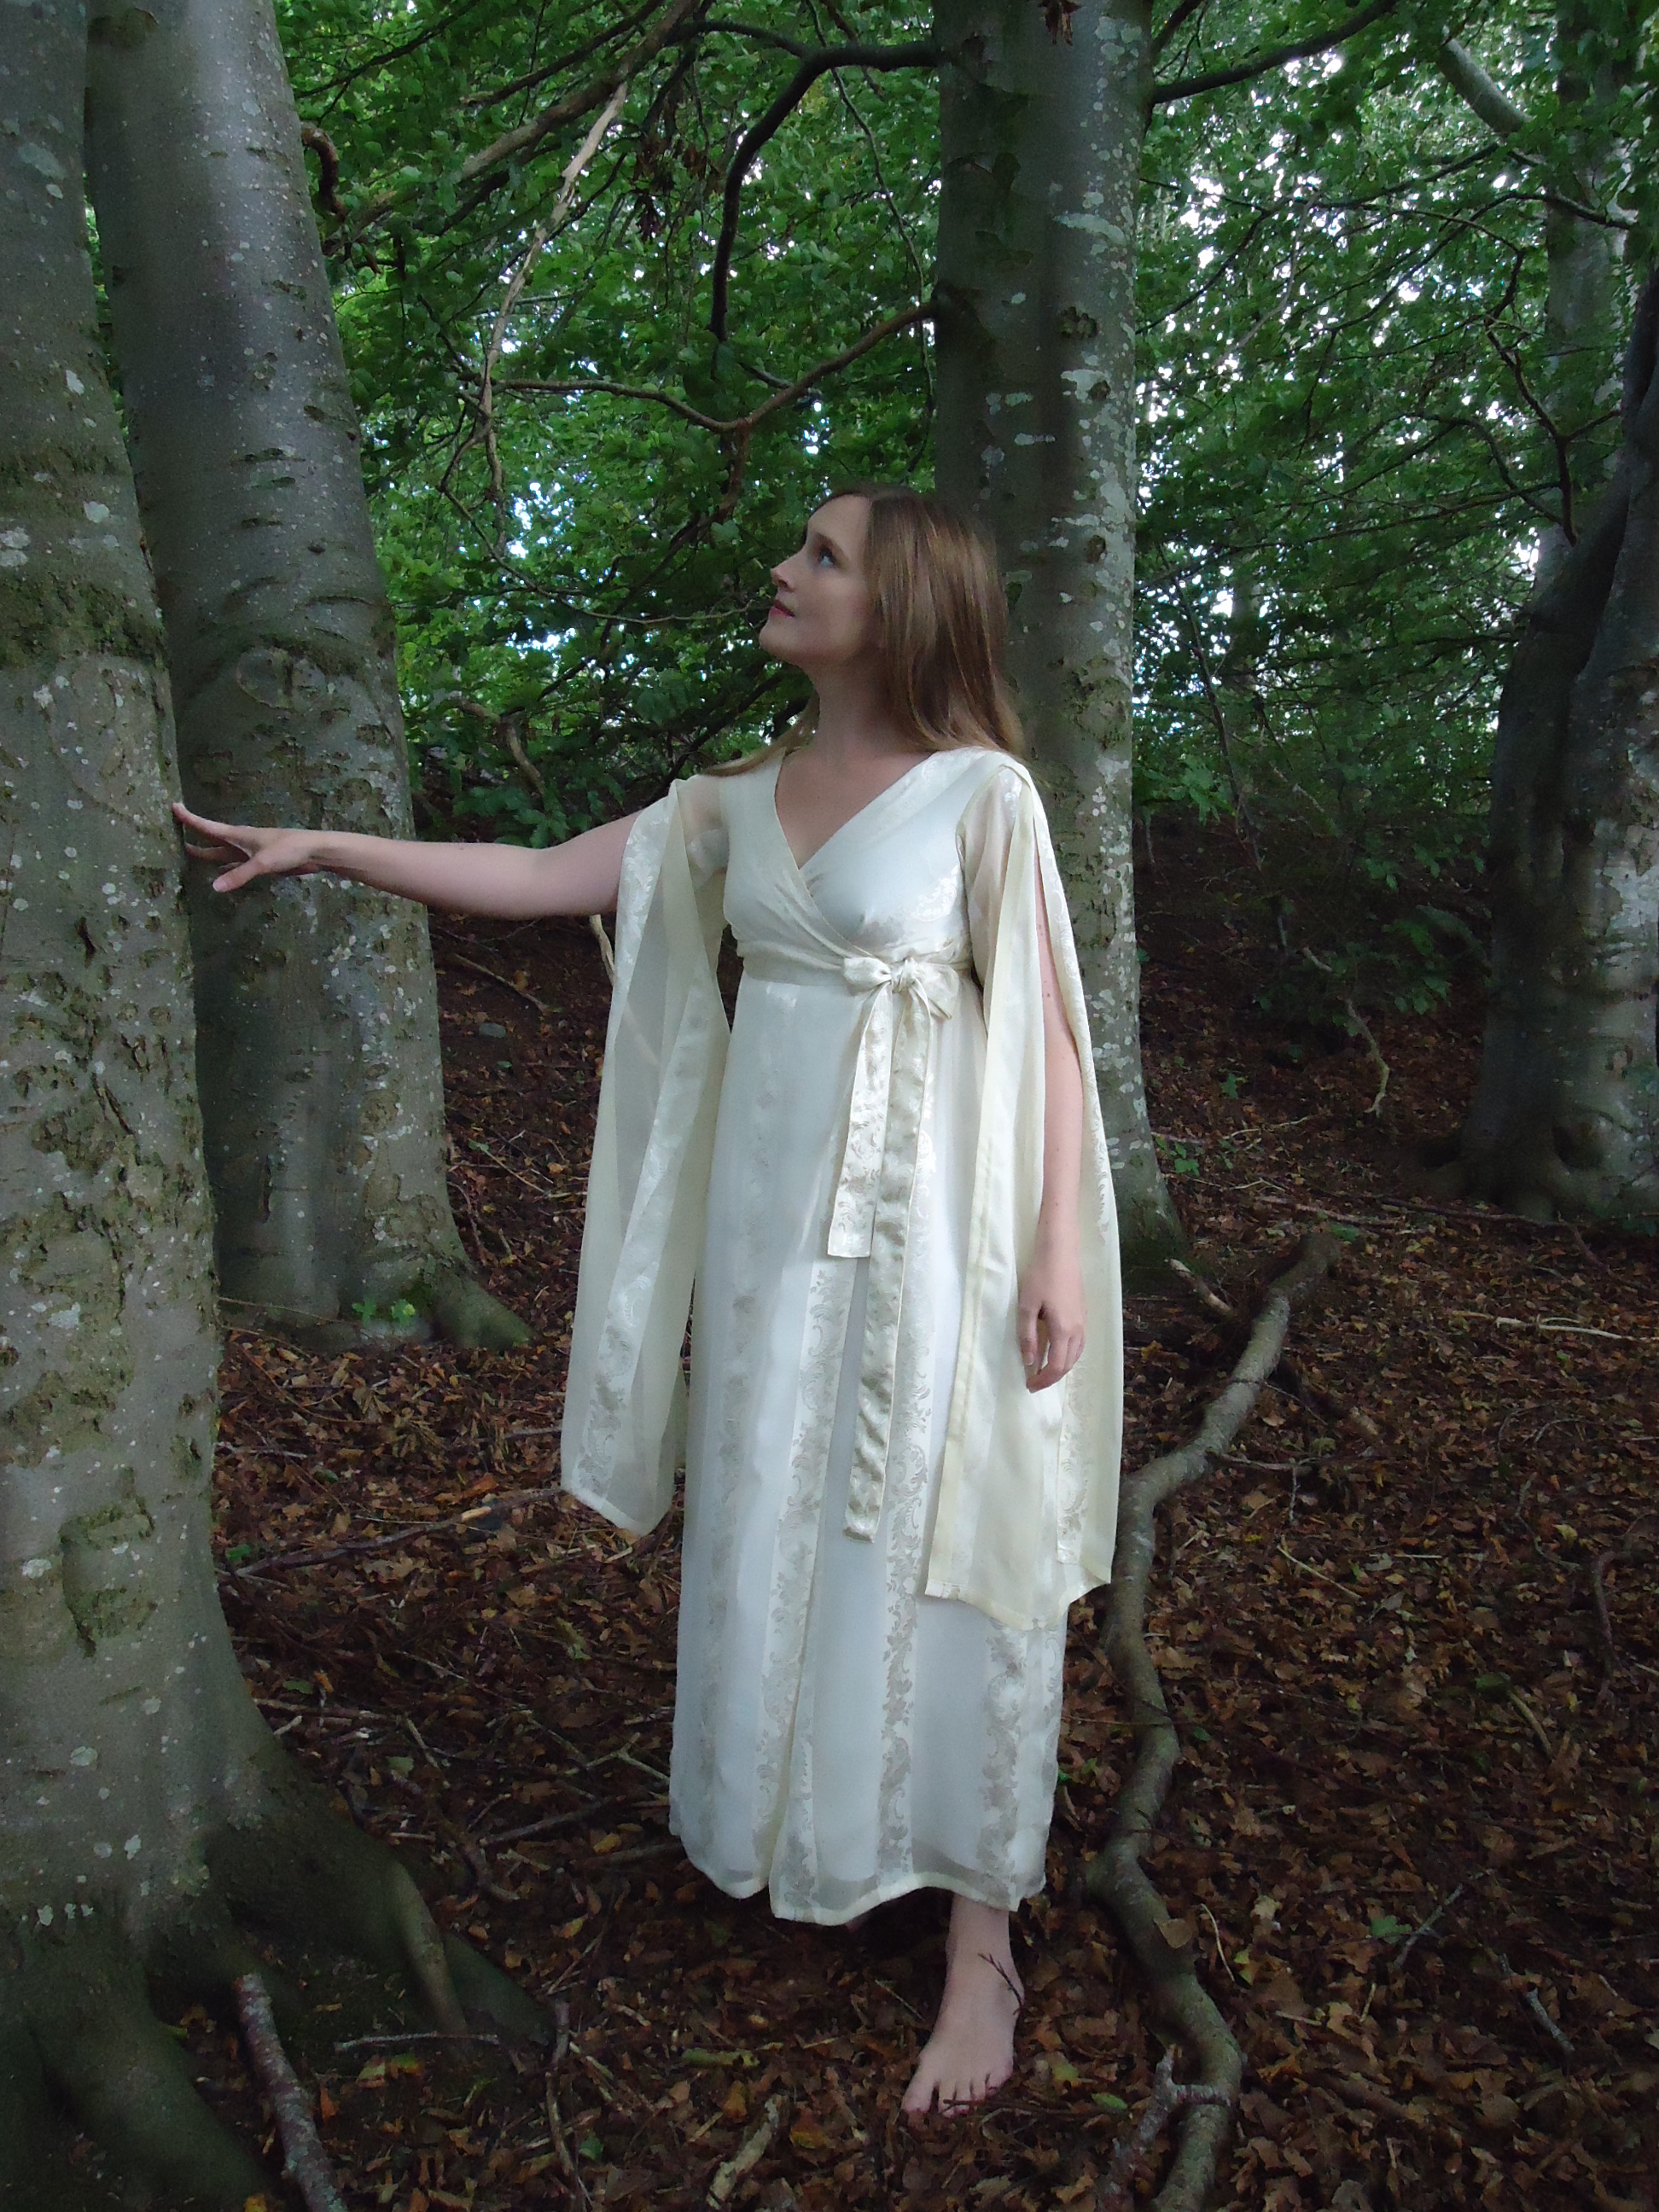
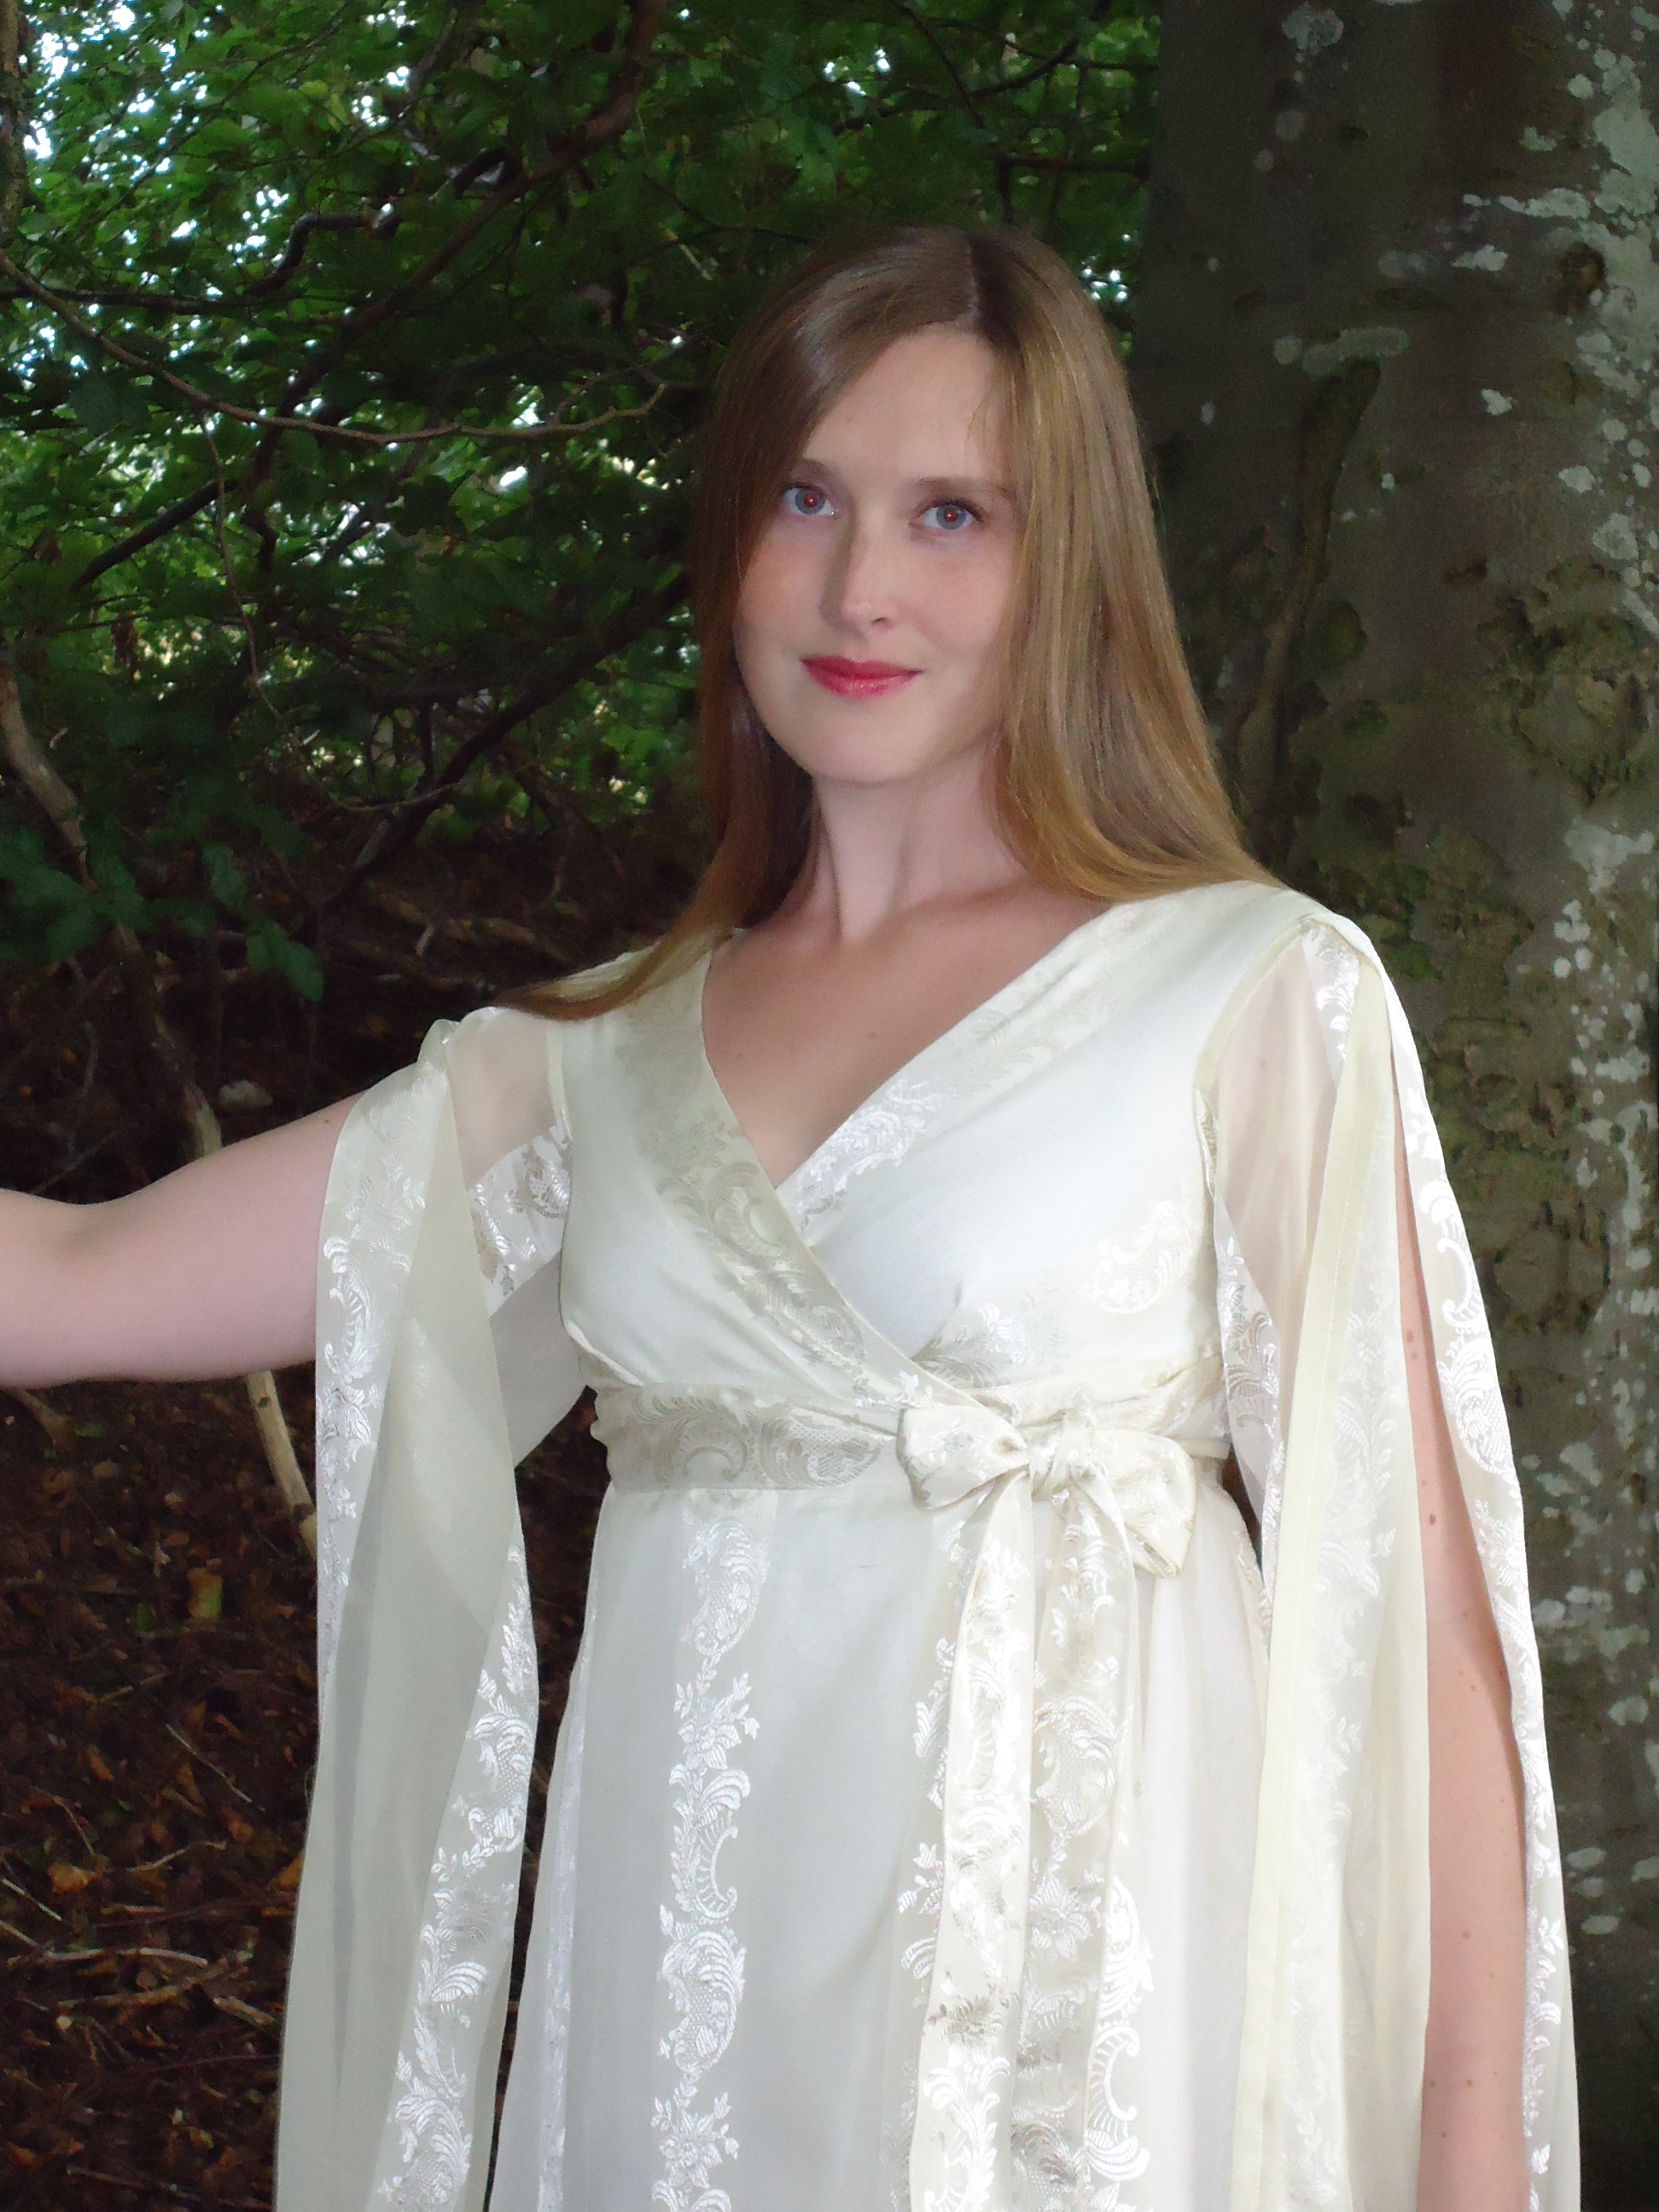
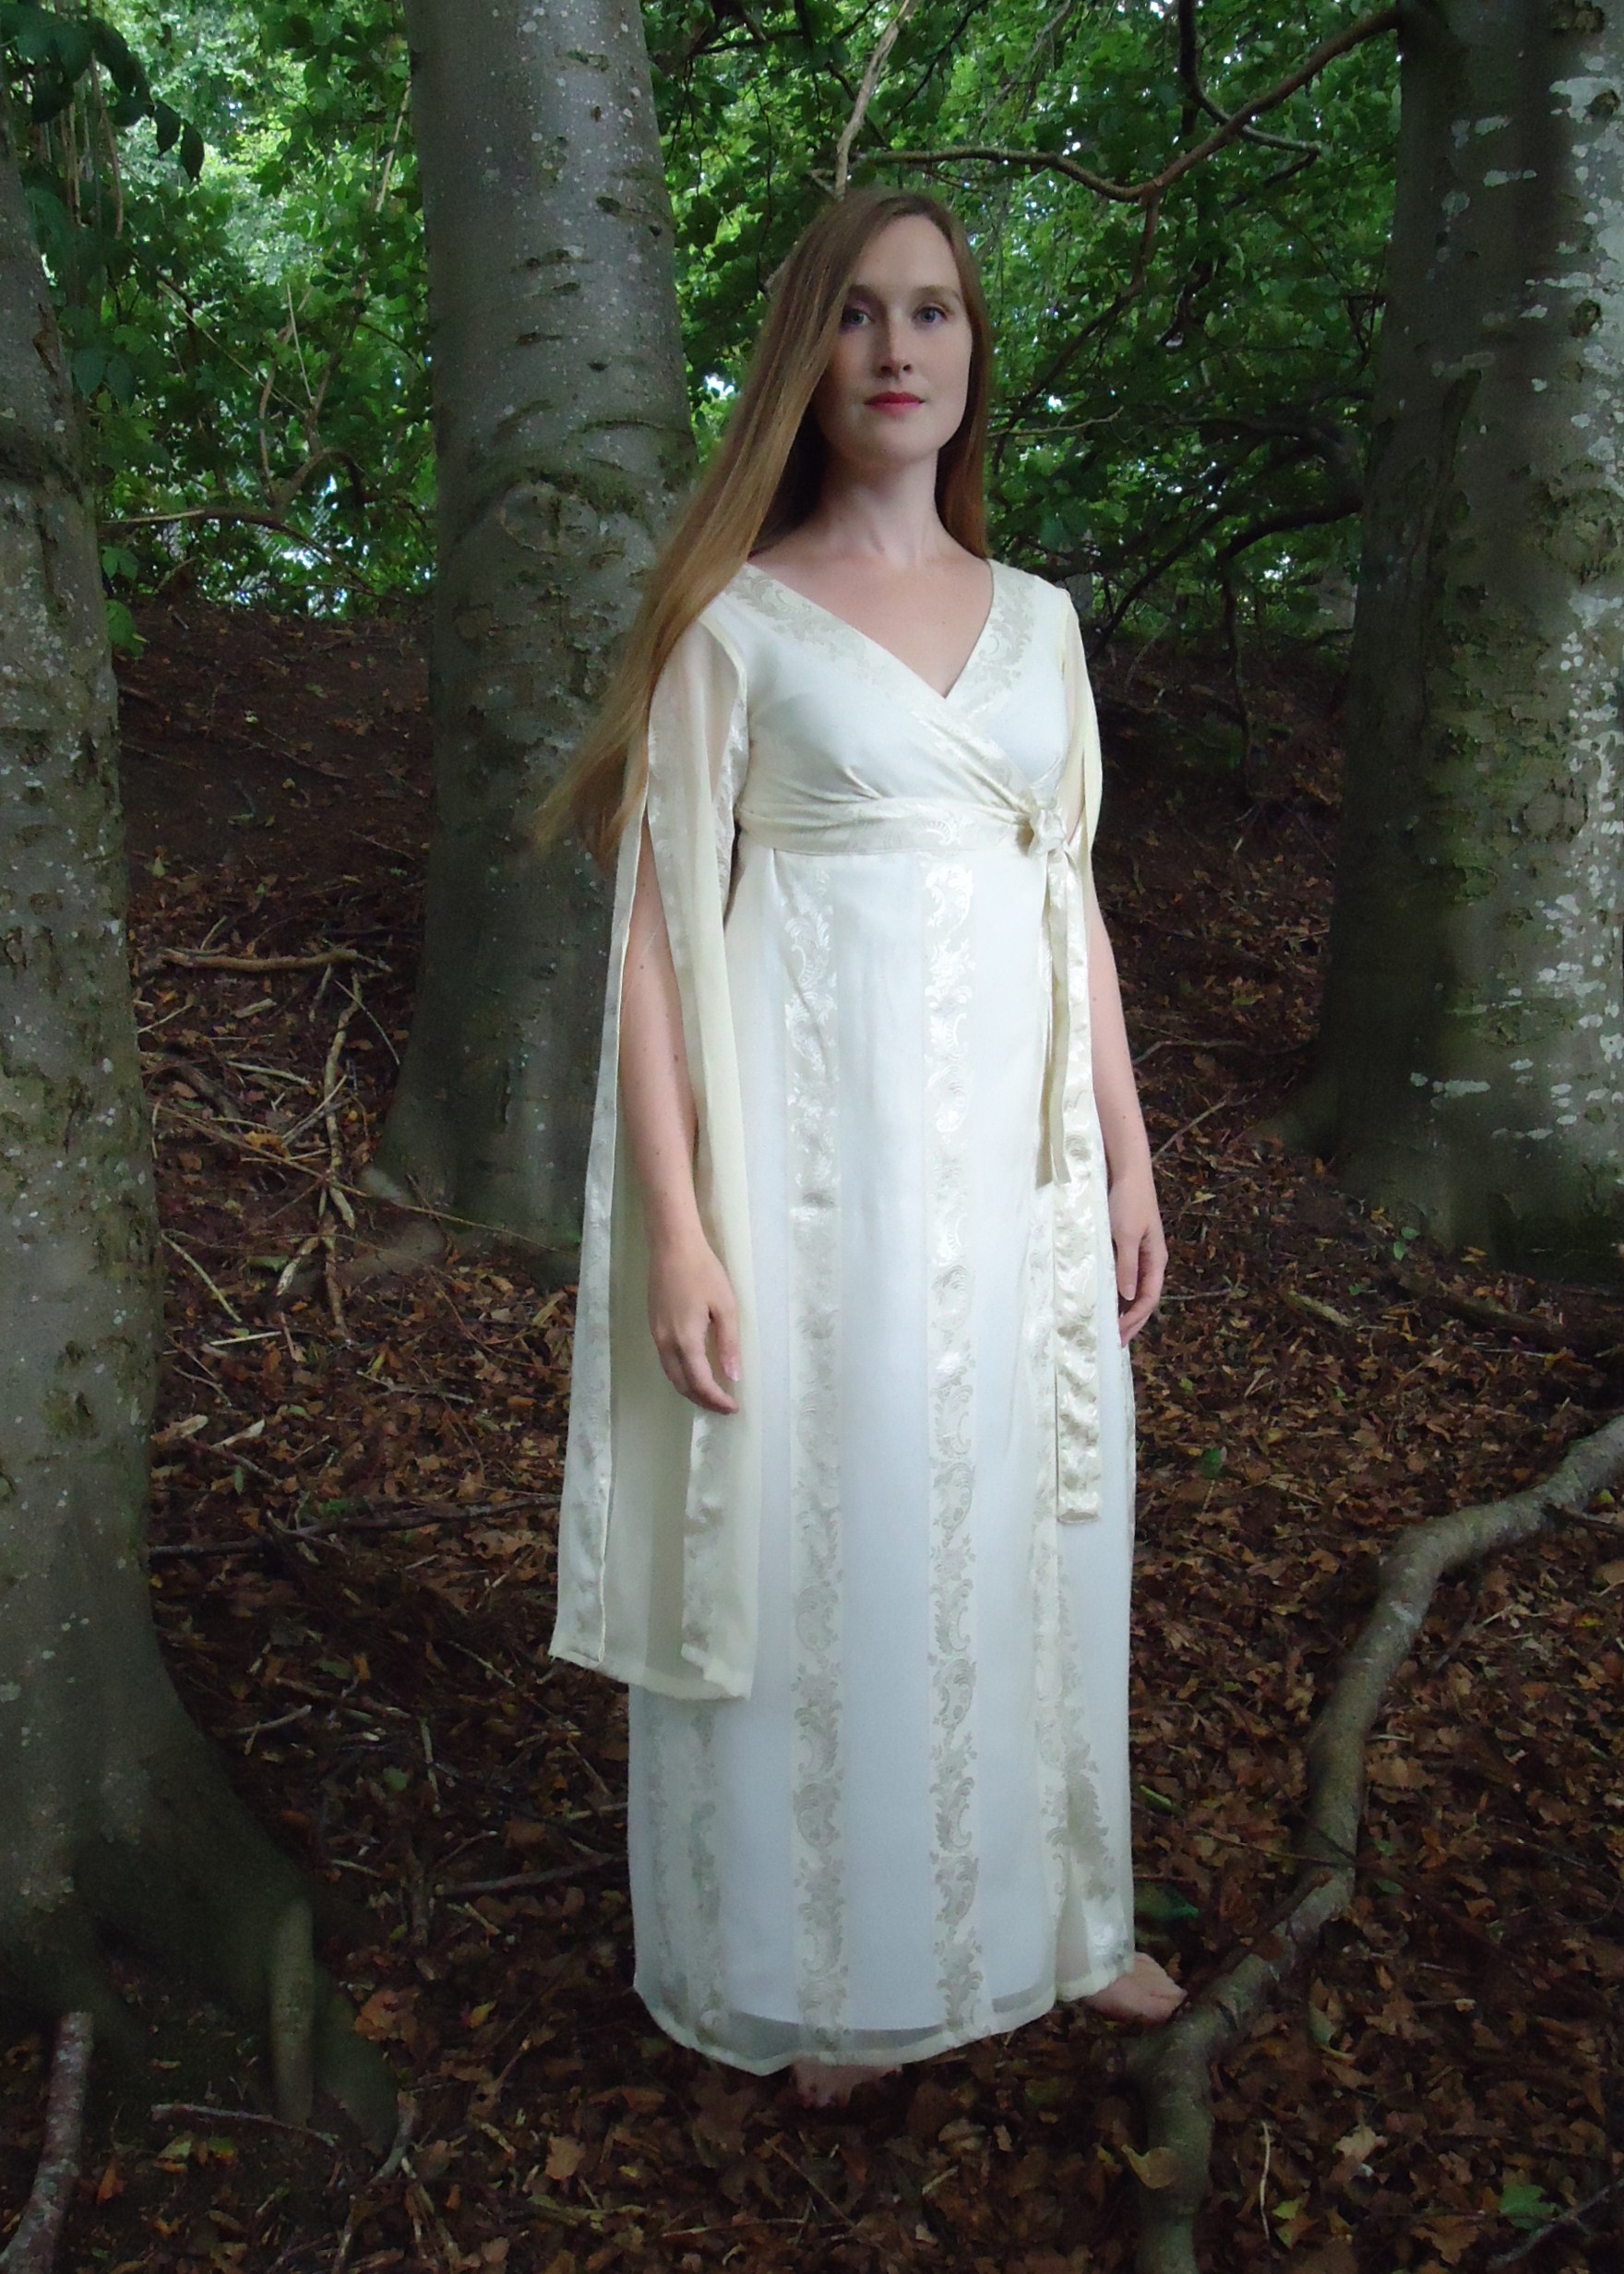
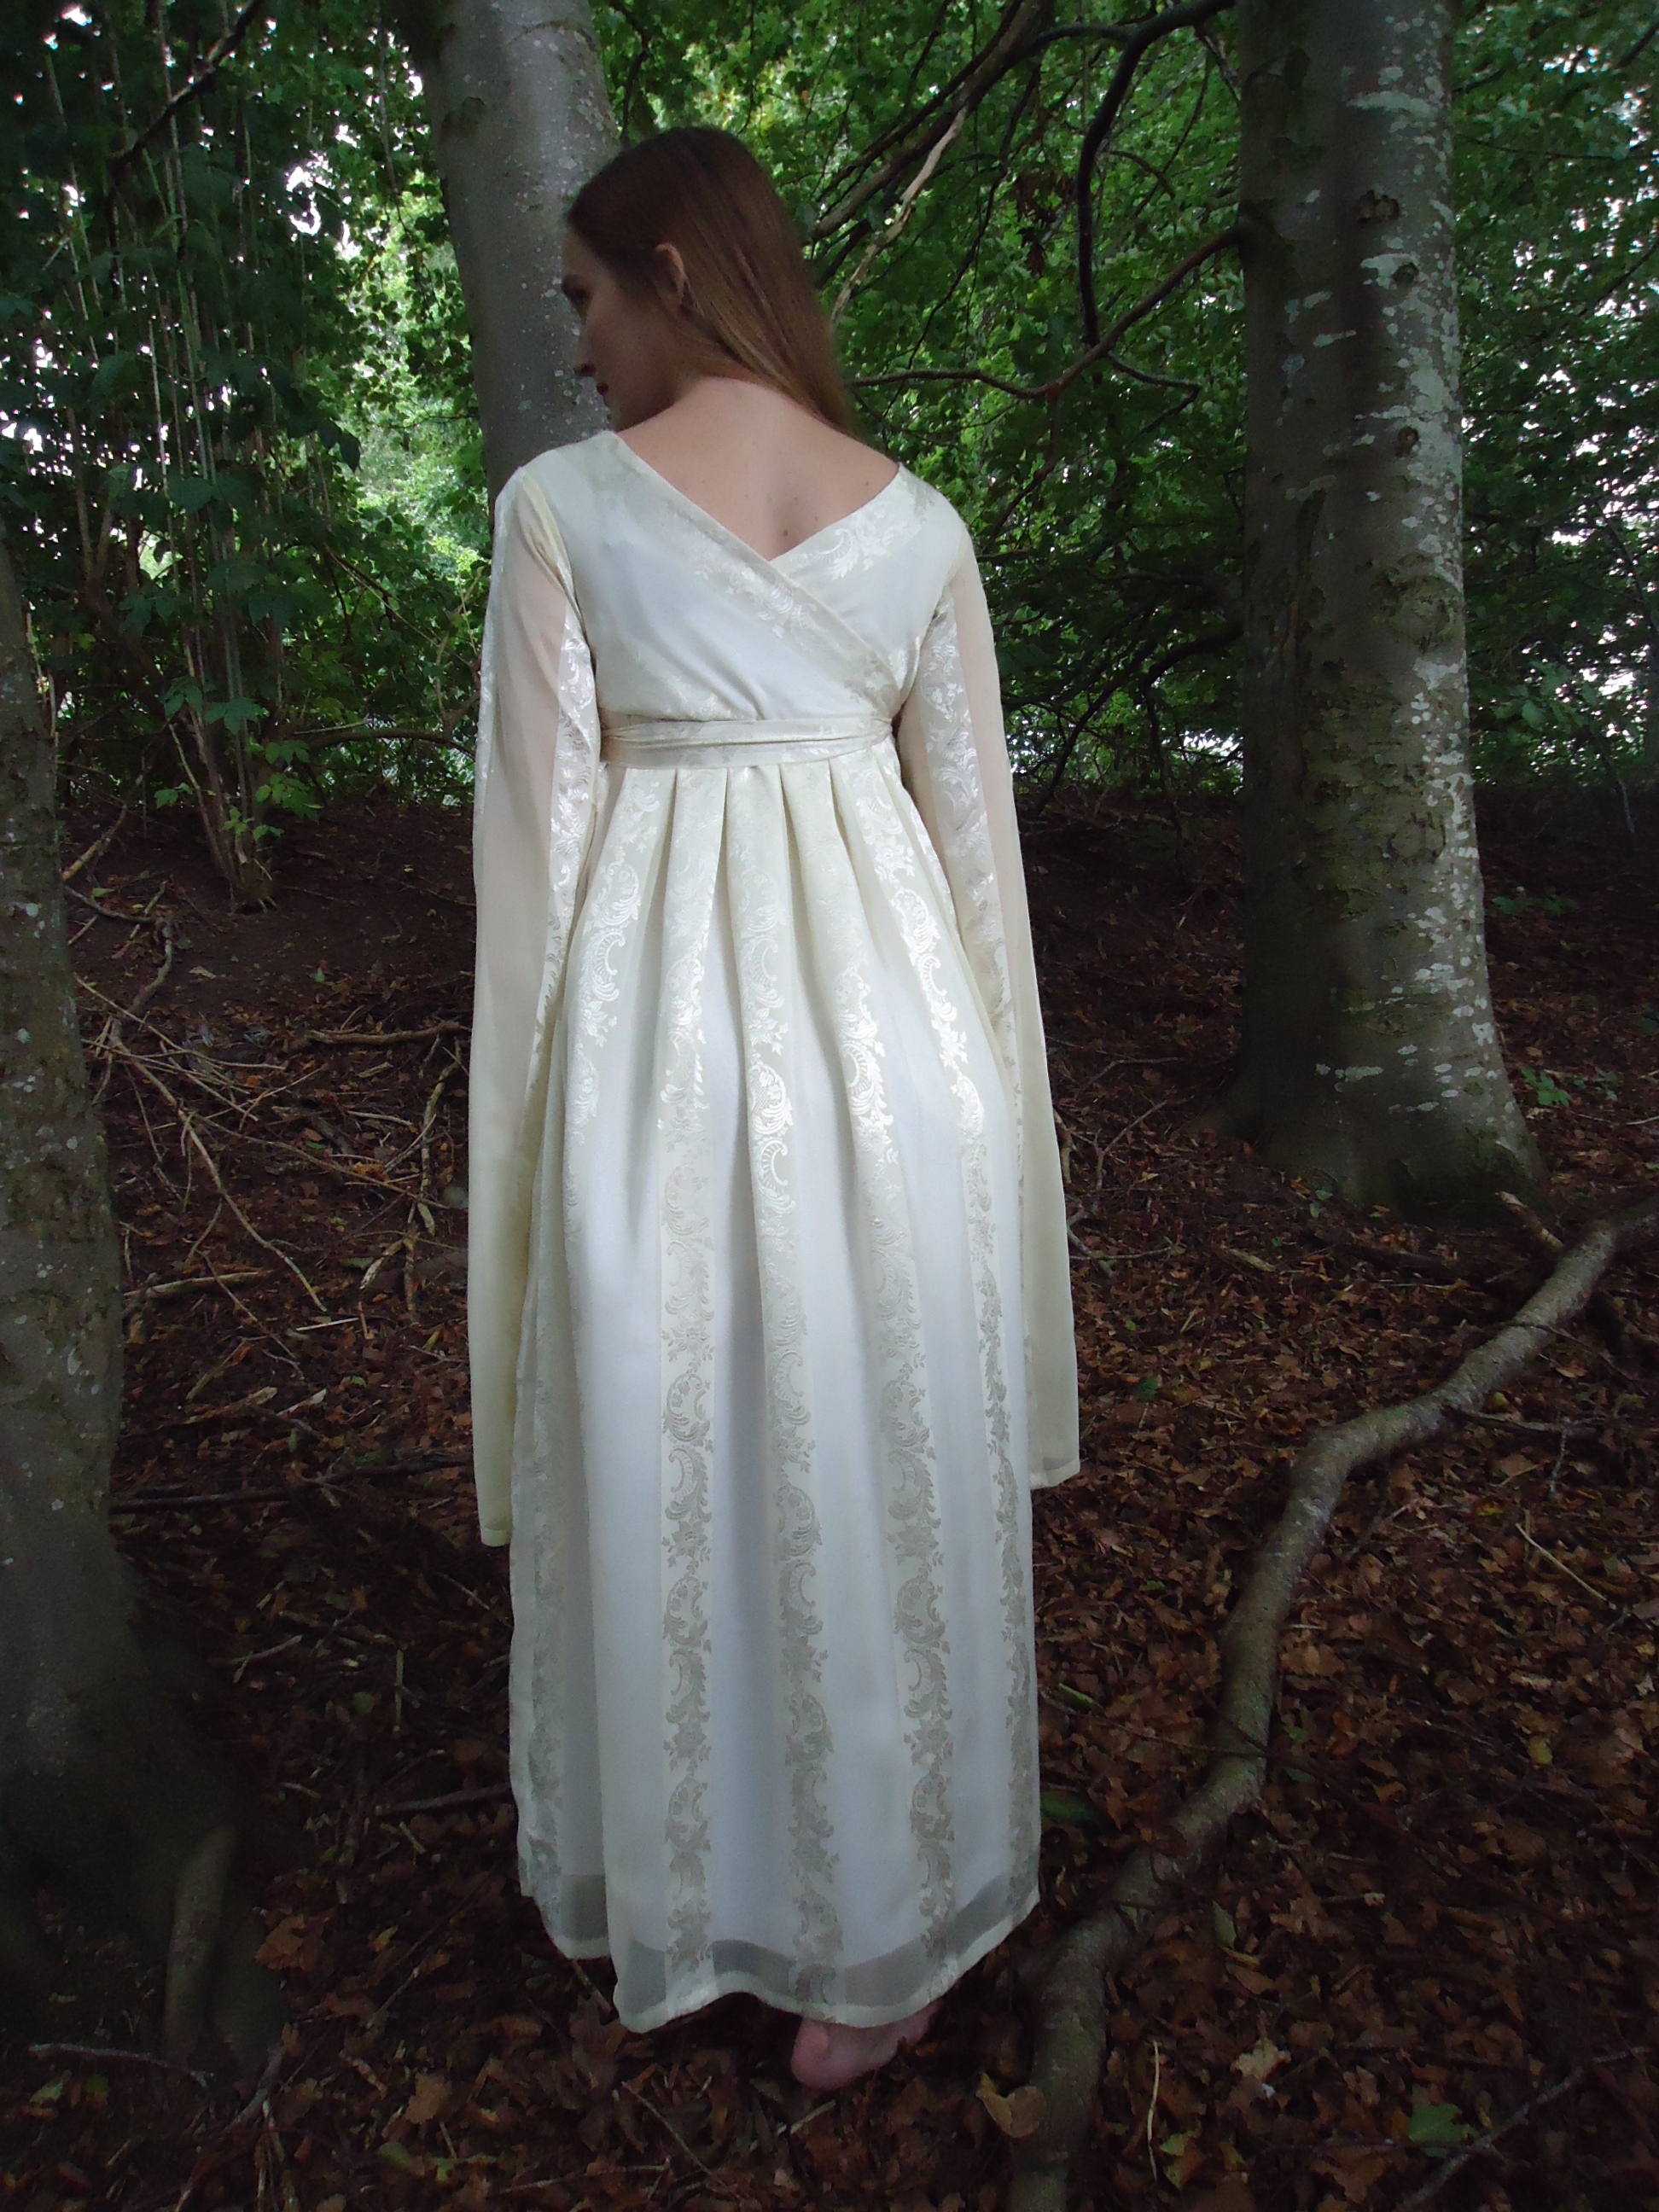
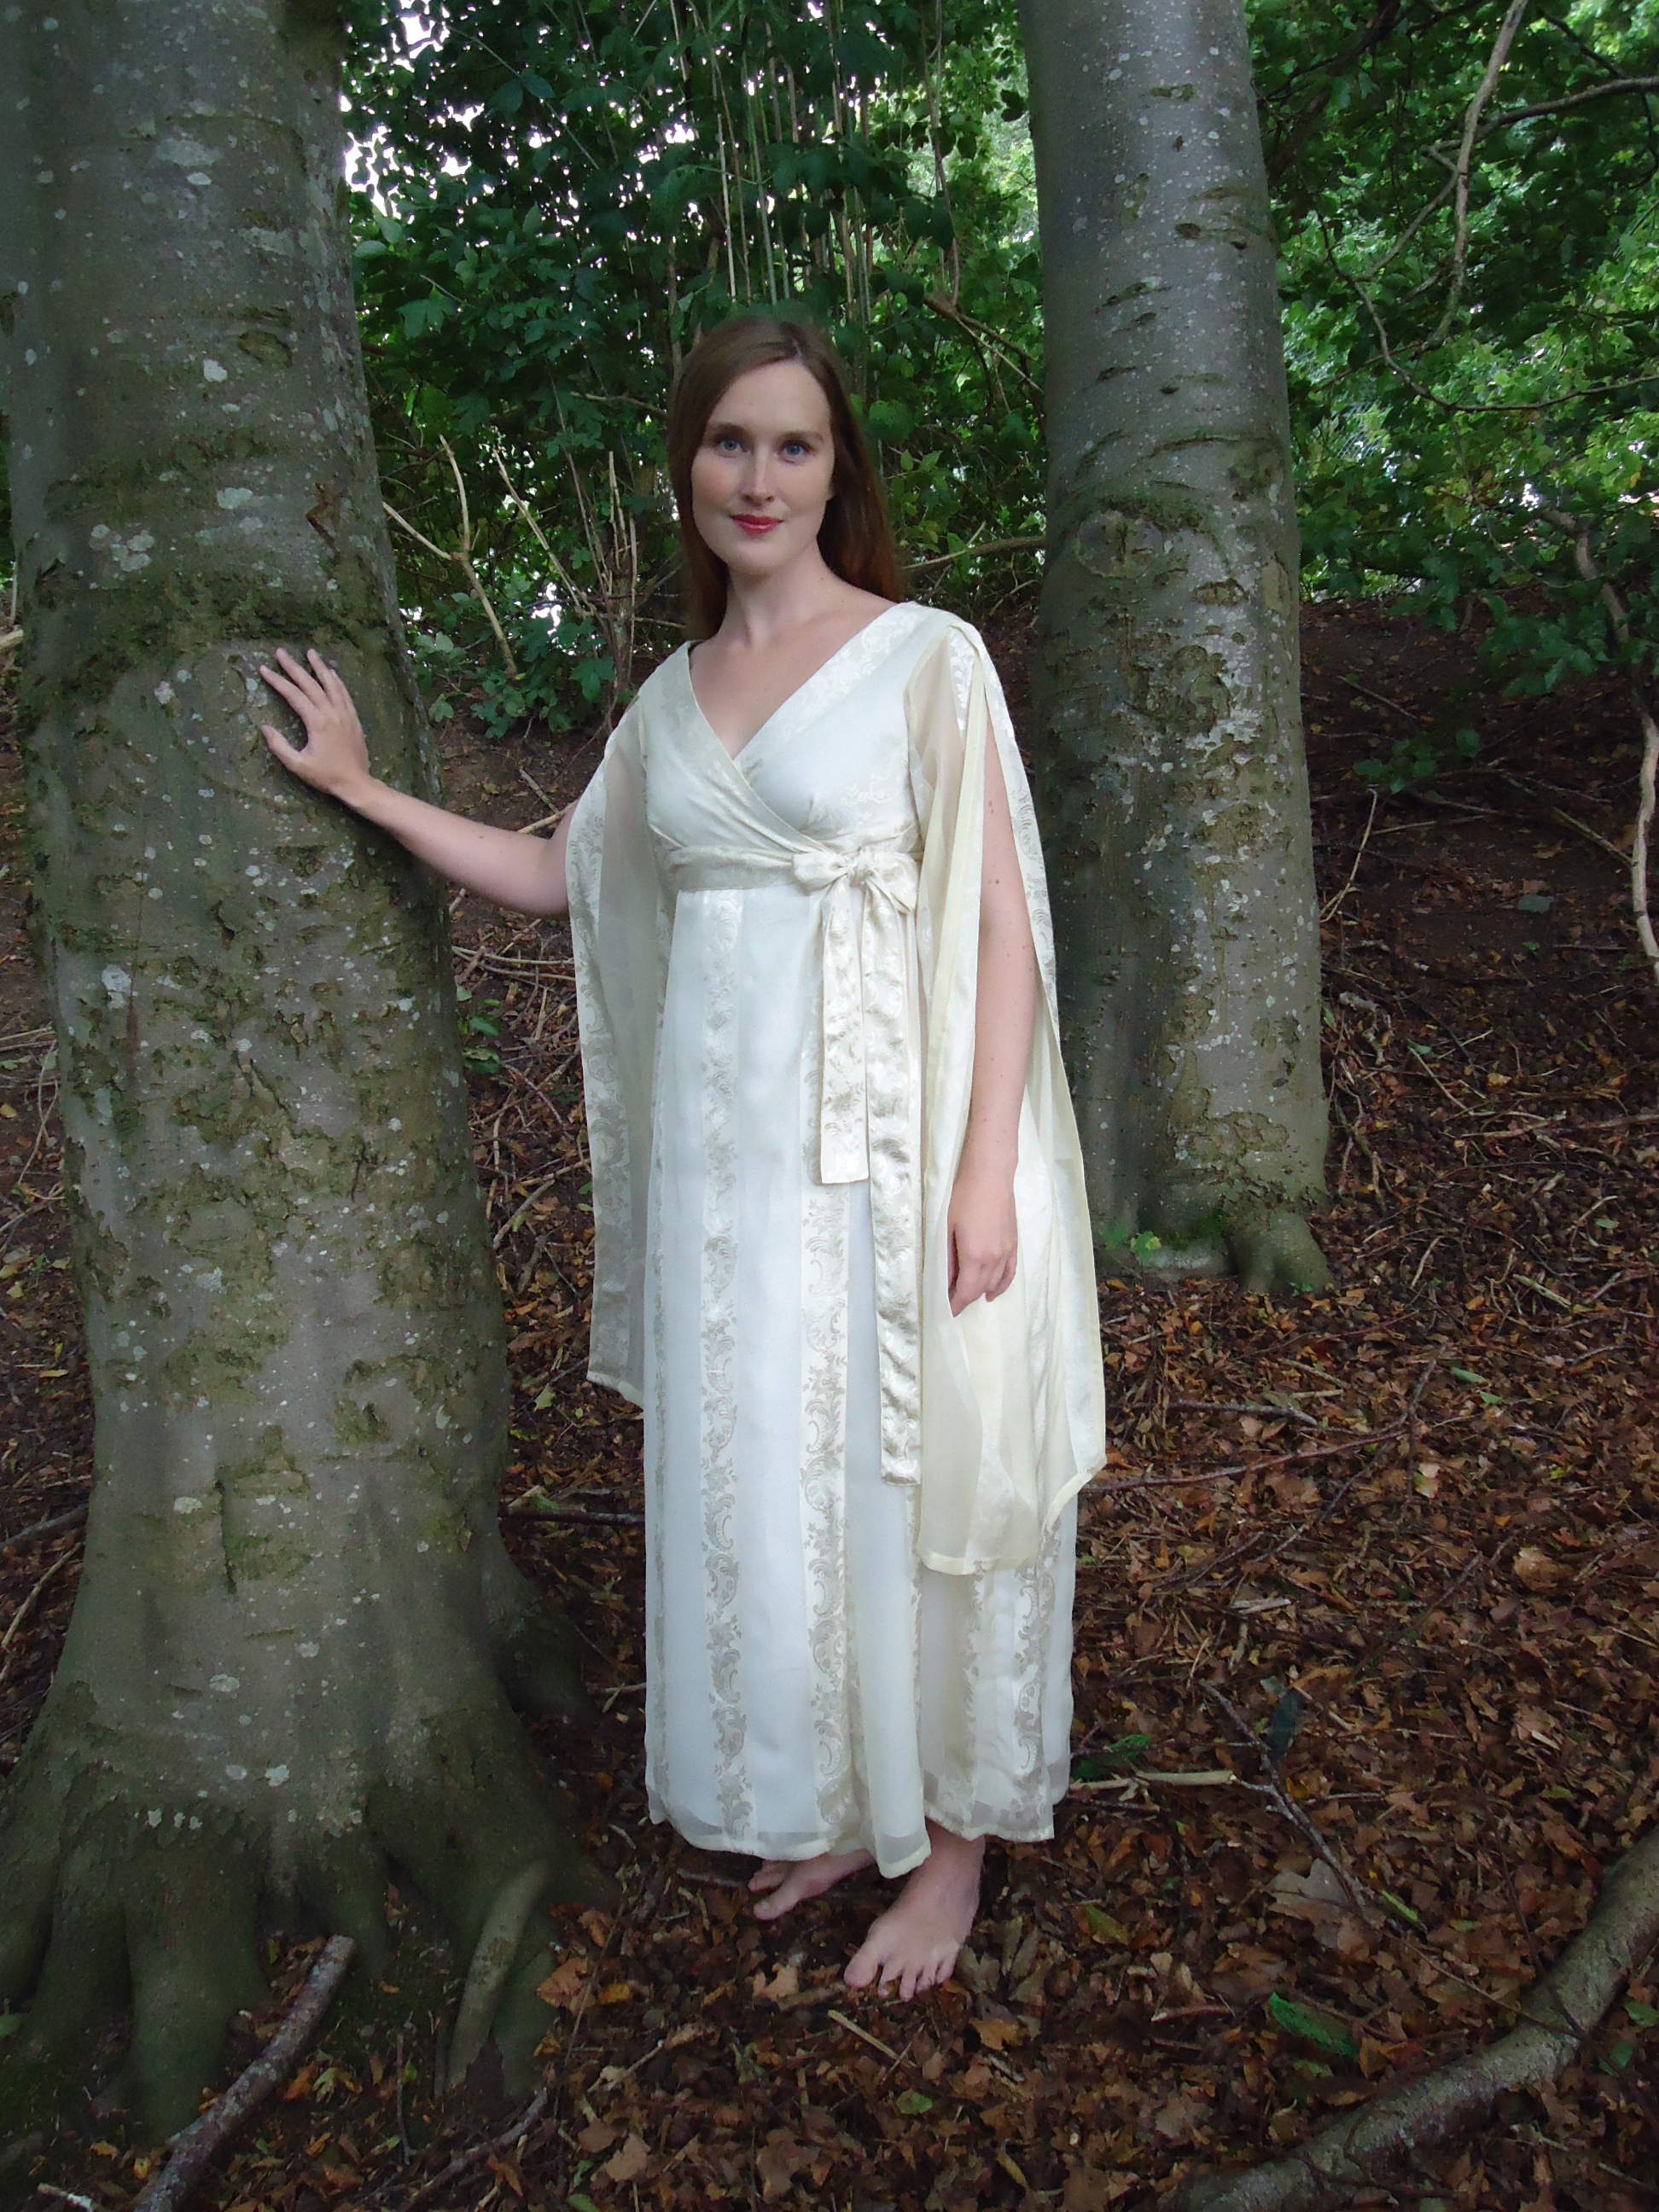
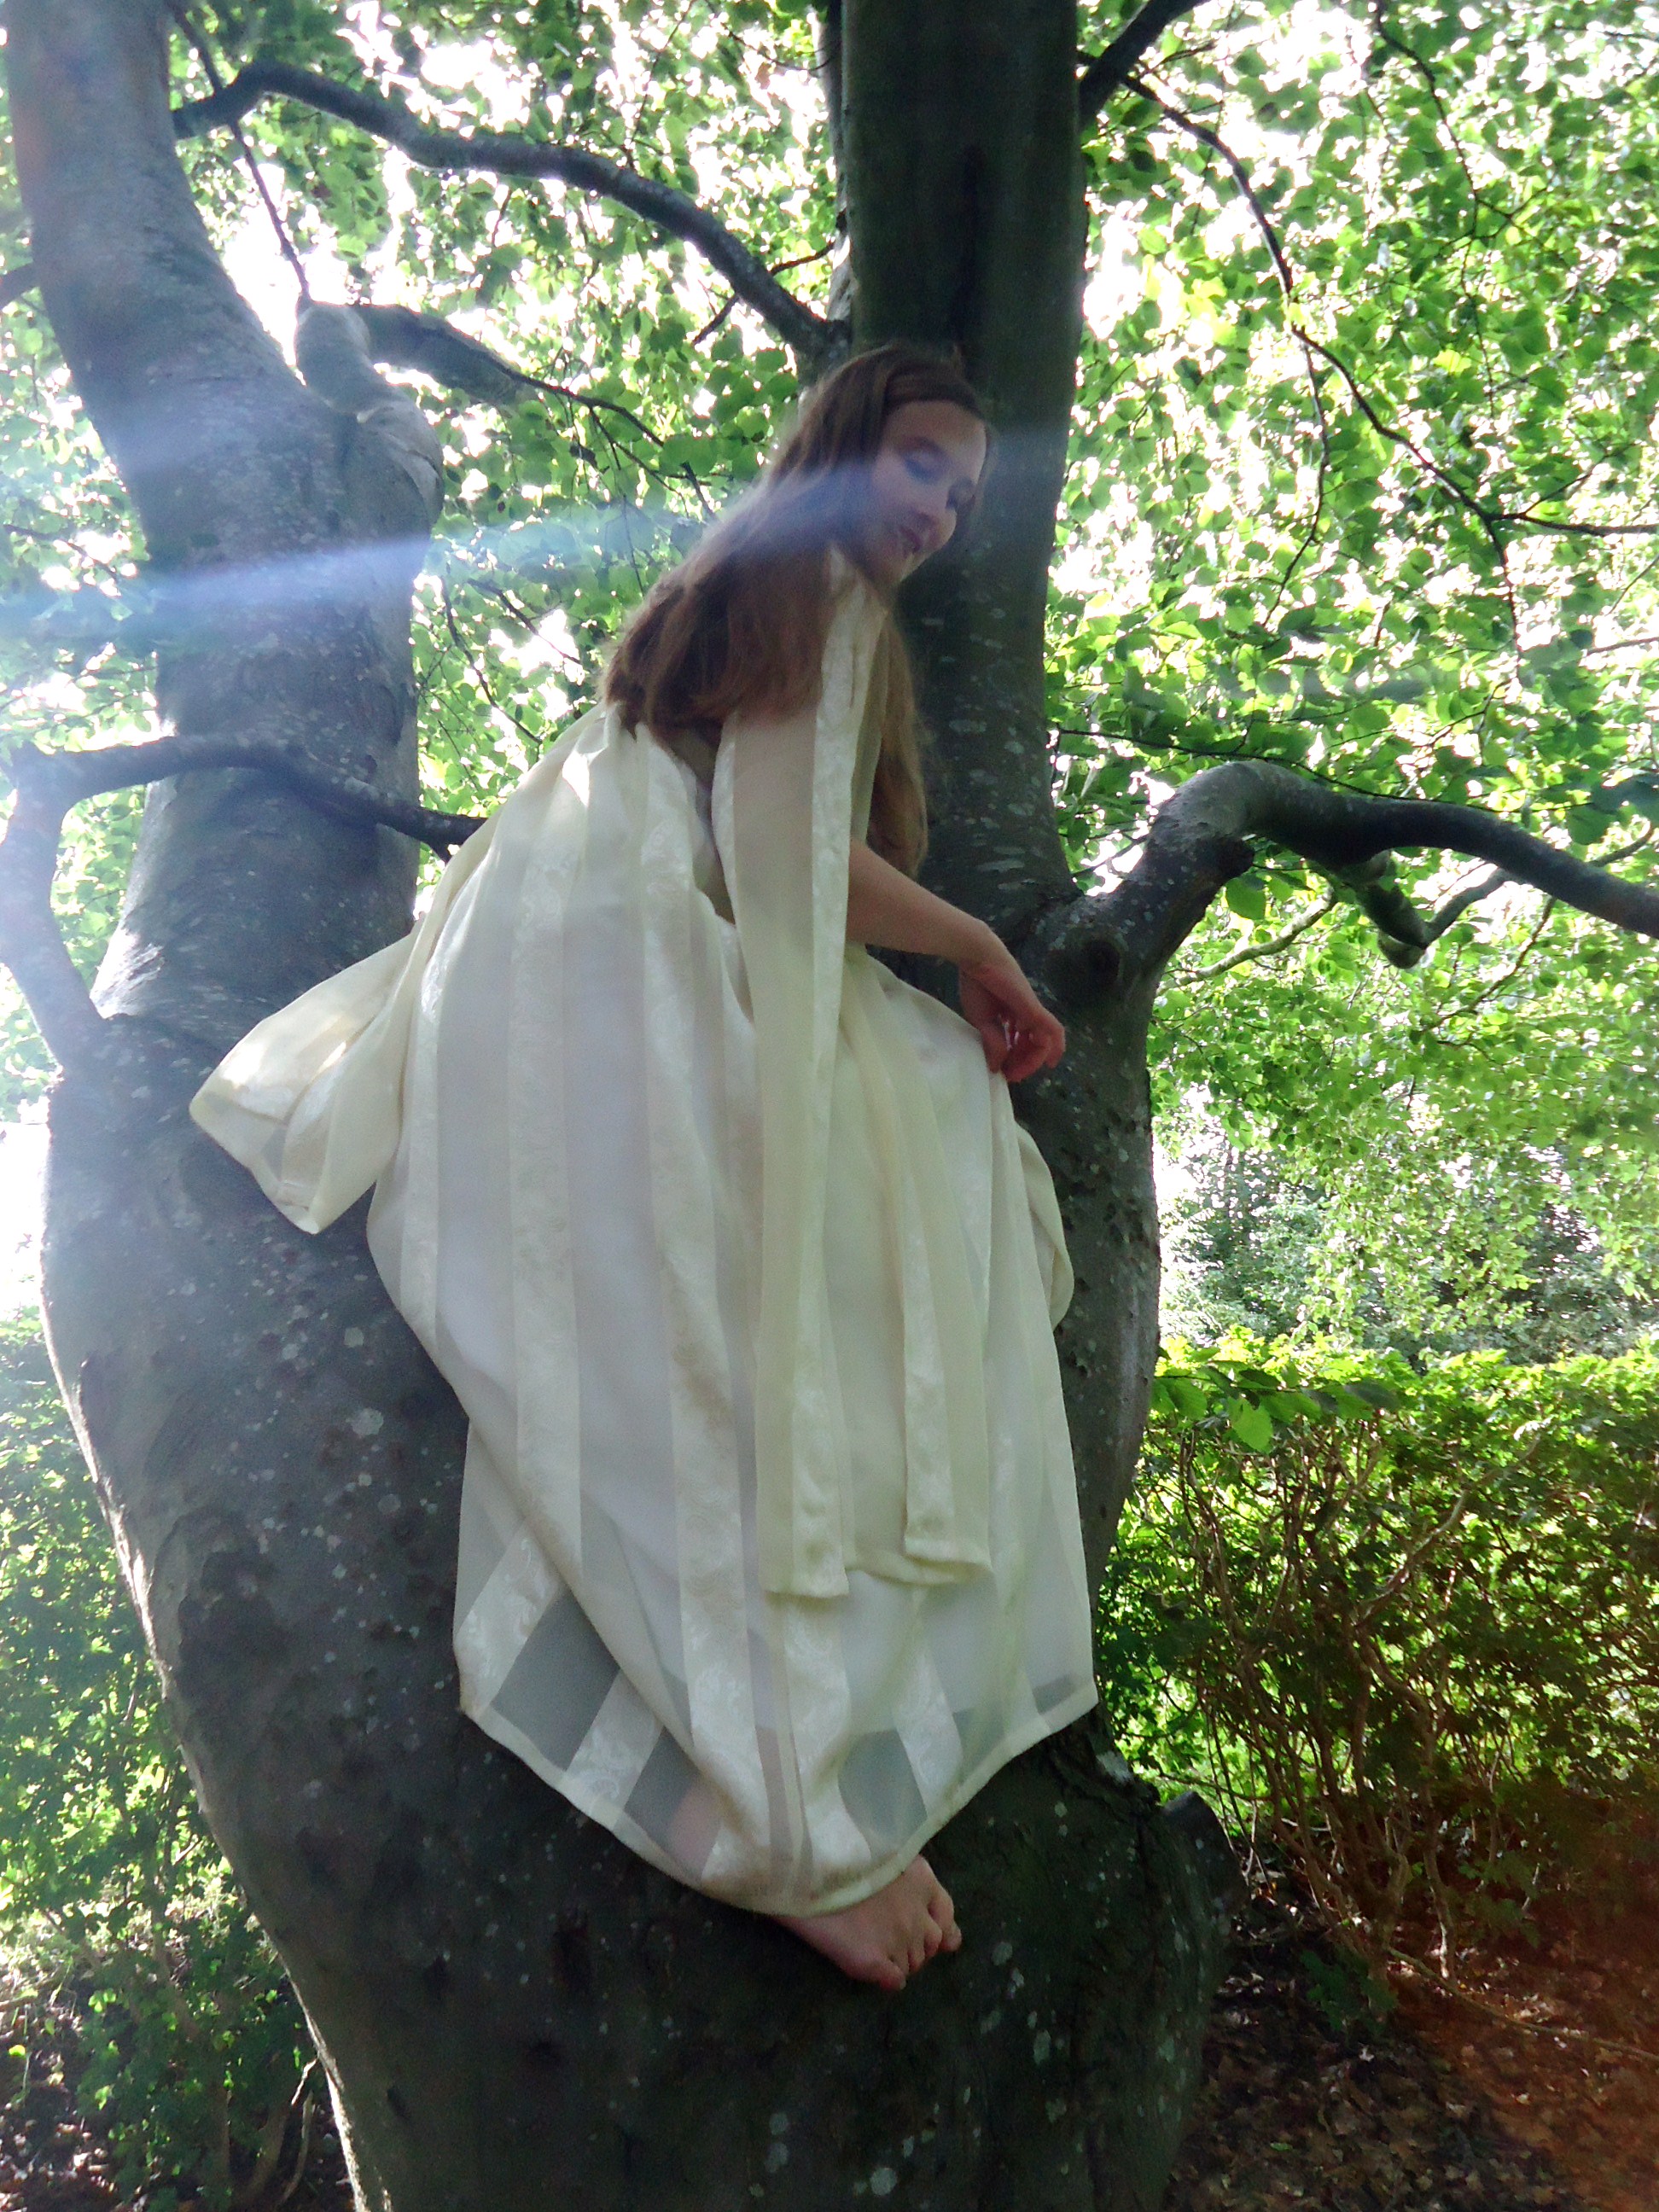
This semester has been about as tough as the others and I have not had time for bigger projects (except for grandmothers wedding gown). Here comes some small projects that I have used as distraction, though.

Den här terminen har varit lika tuff som de tidigare och jag har inte haft tid för större project (förutom mormors brudklänning, förstås). Här kommer några småprojekt som jag har haft som distraktion.

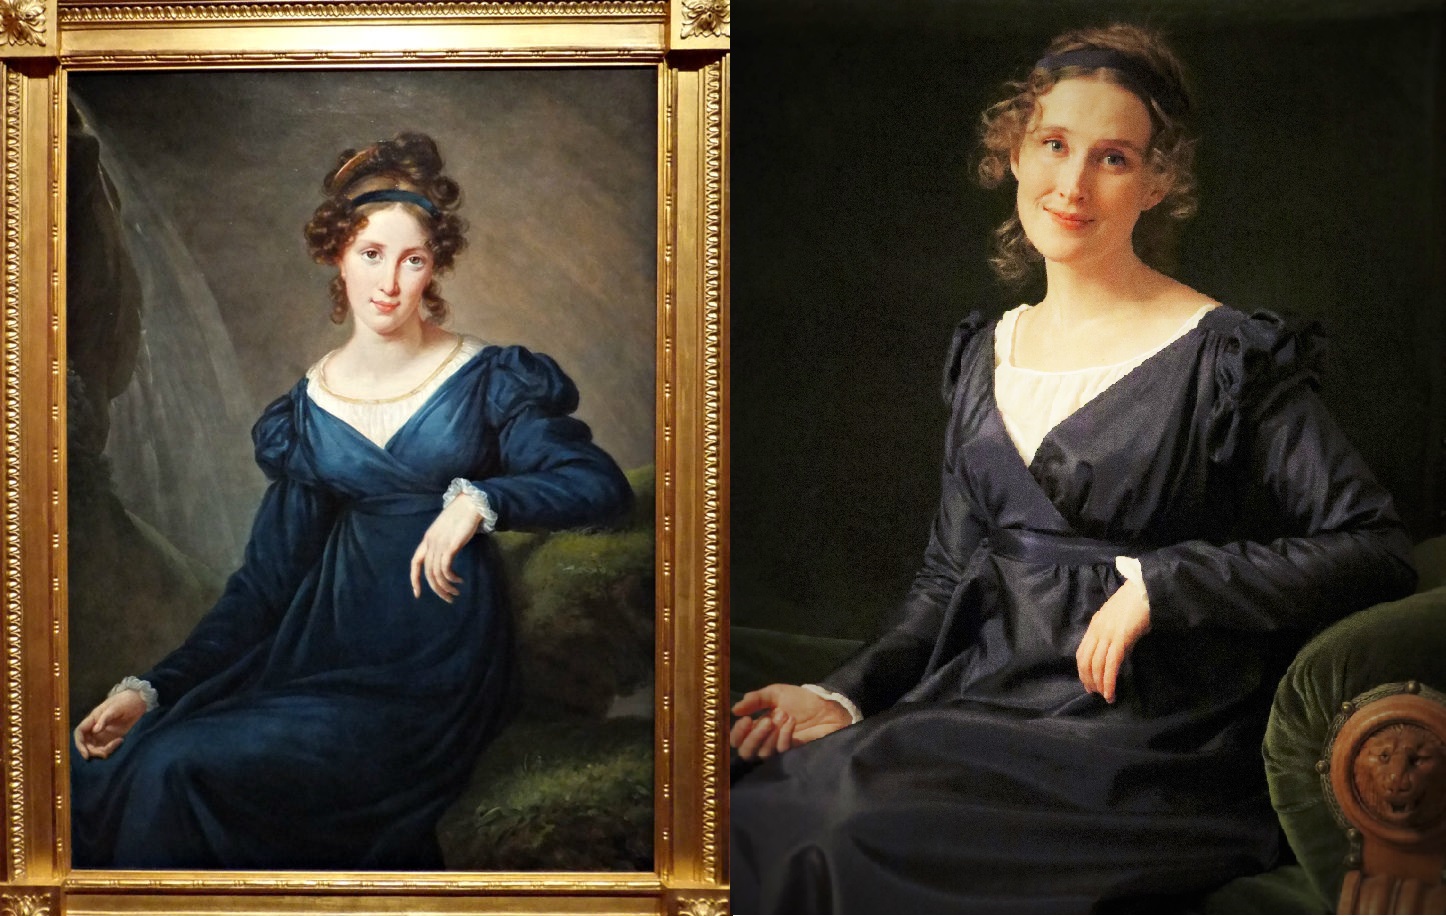
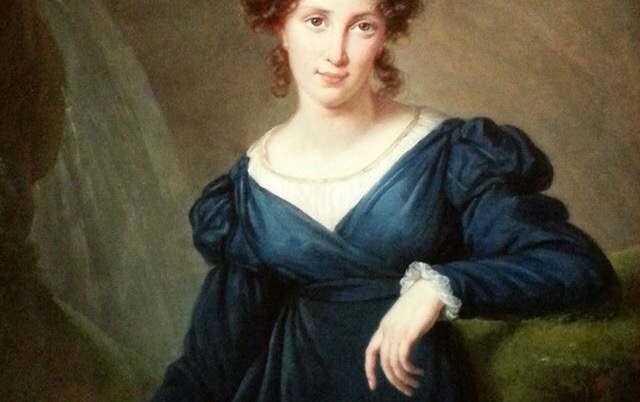
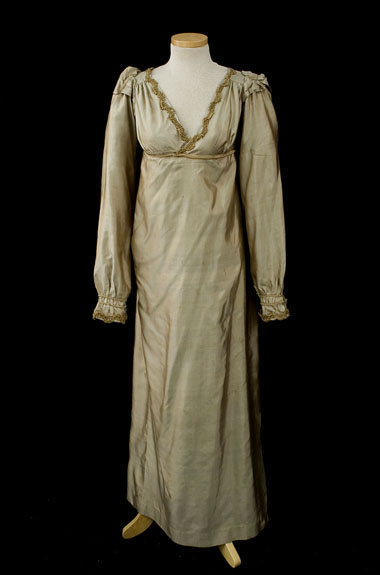
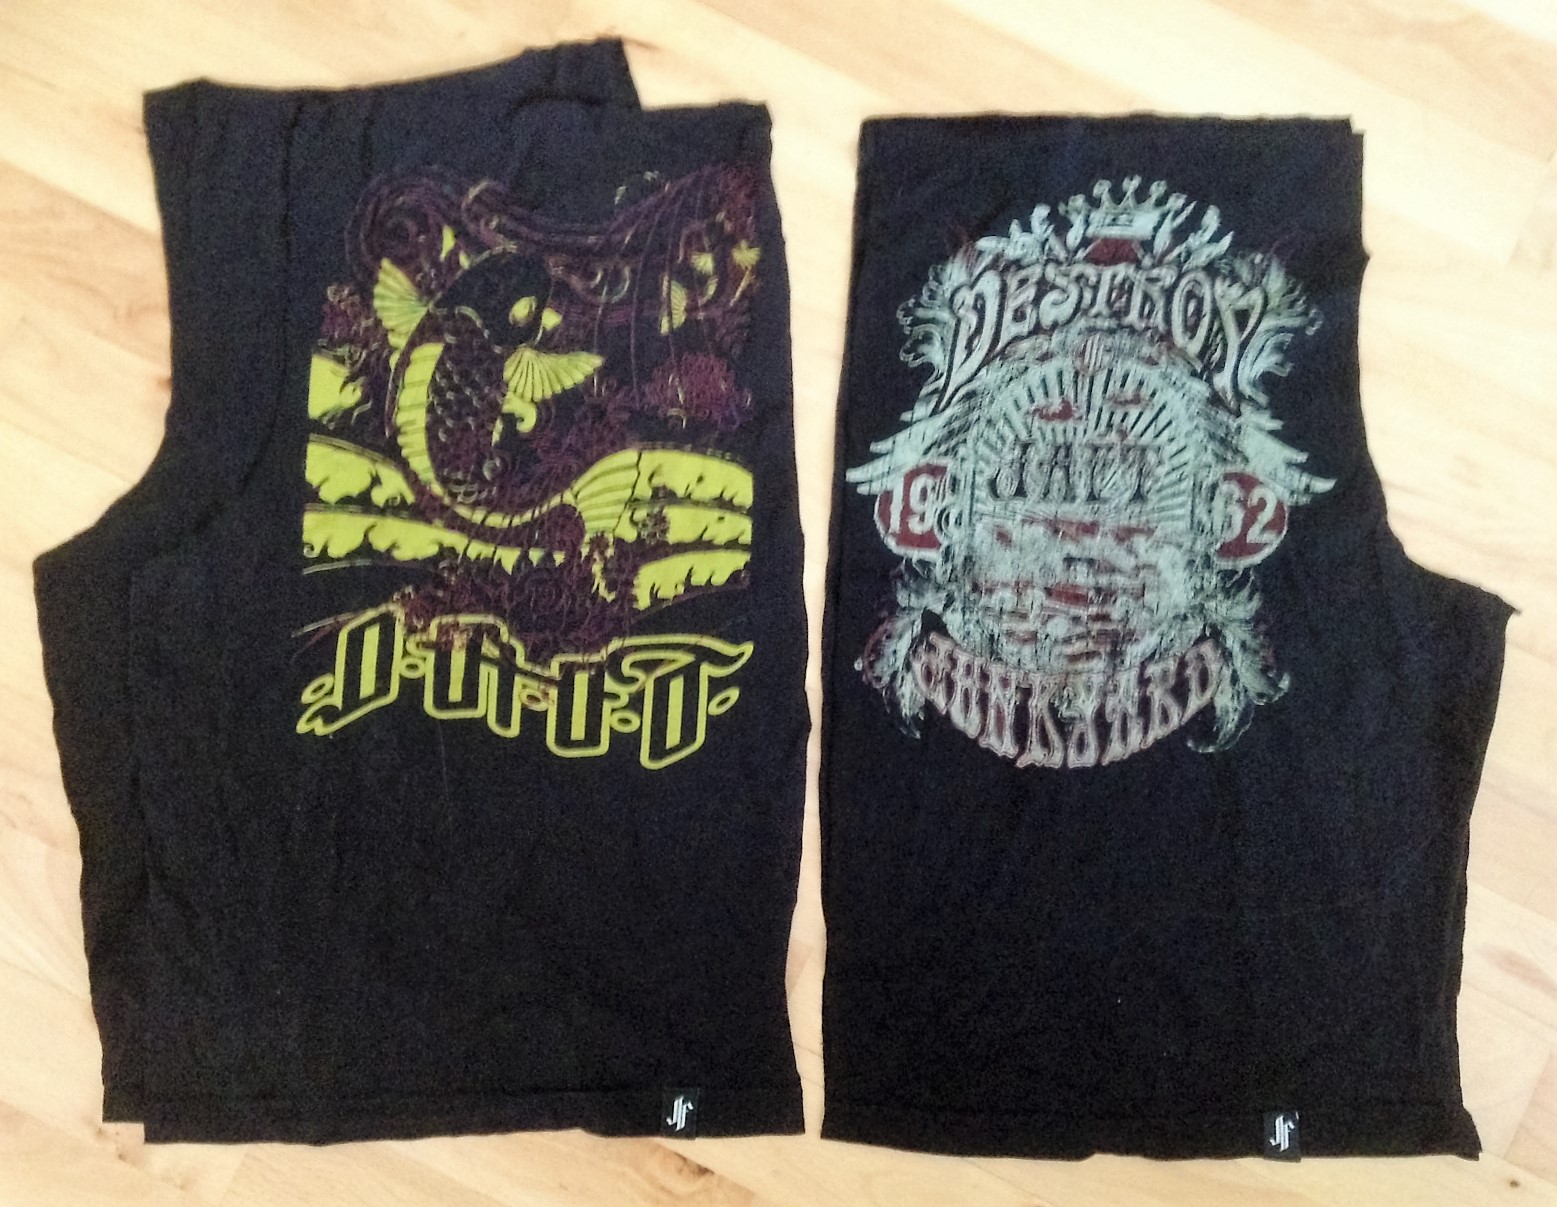
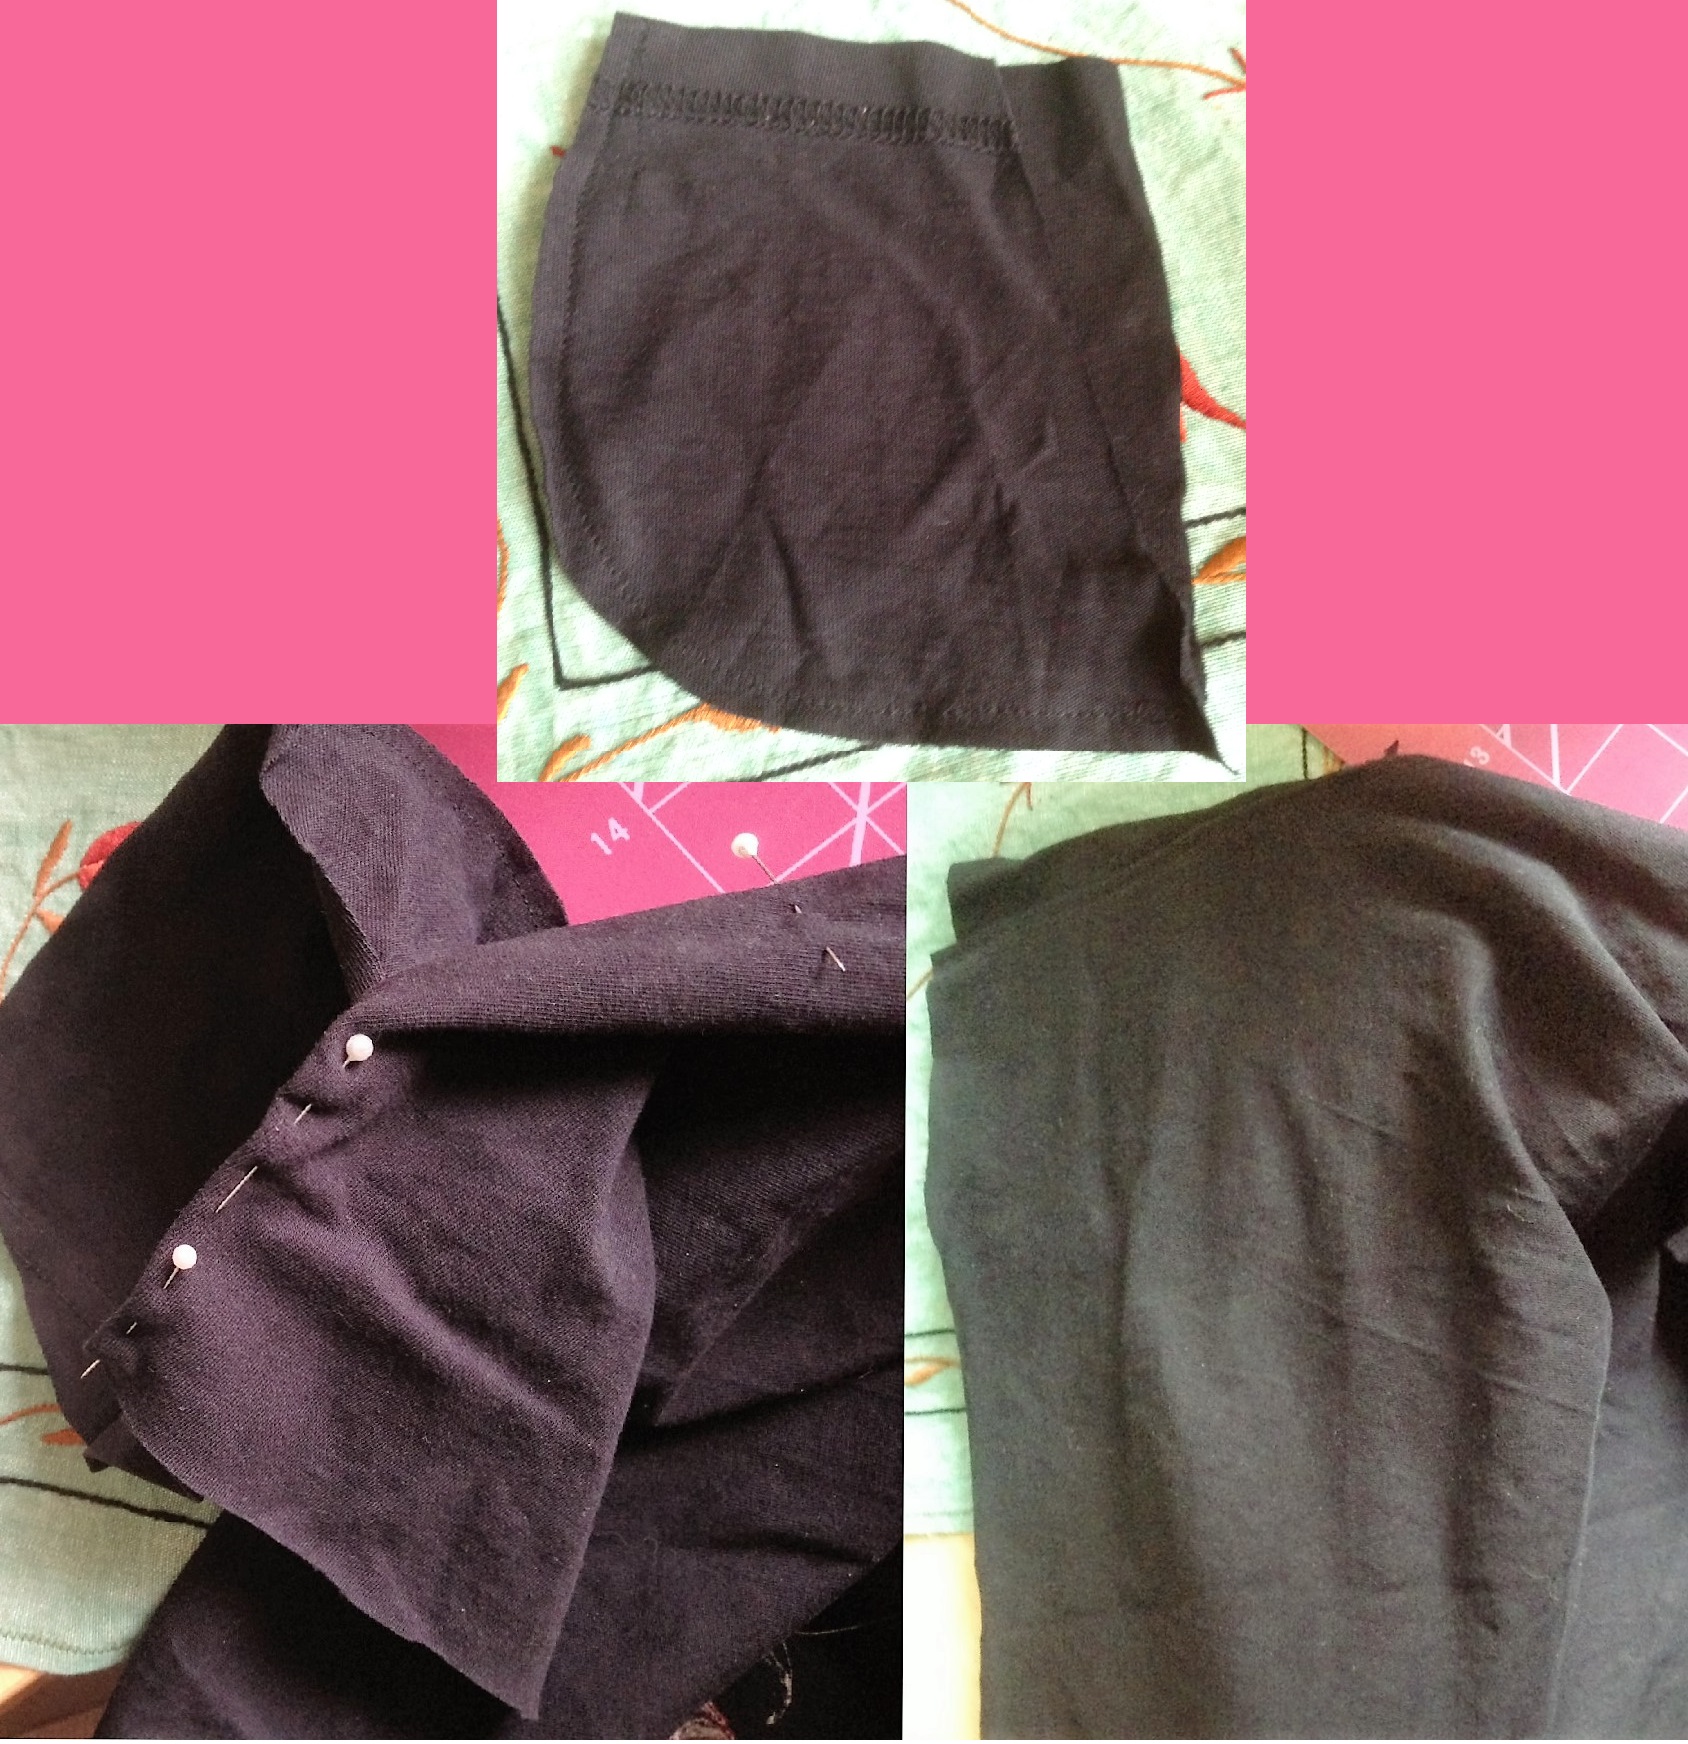
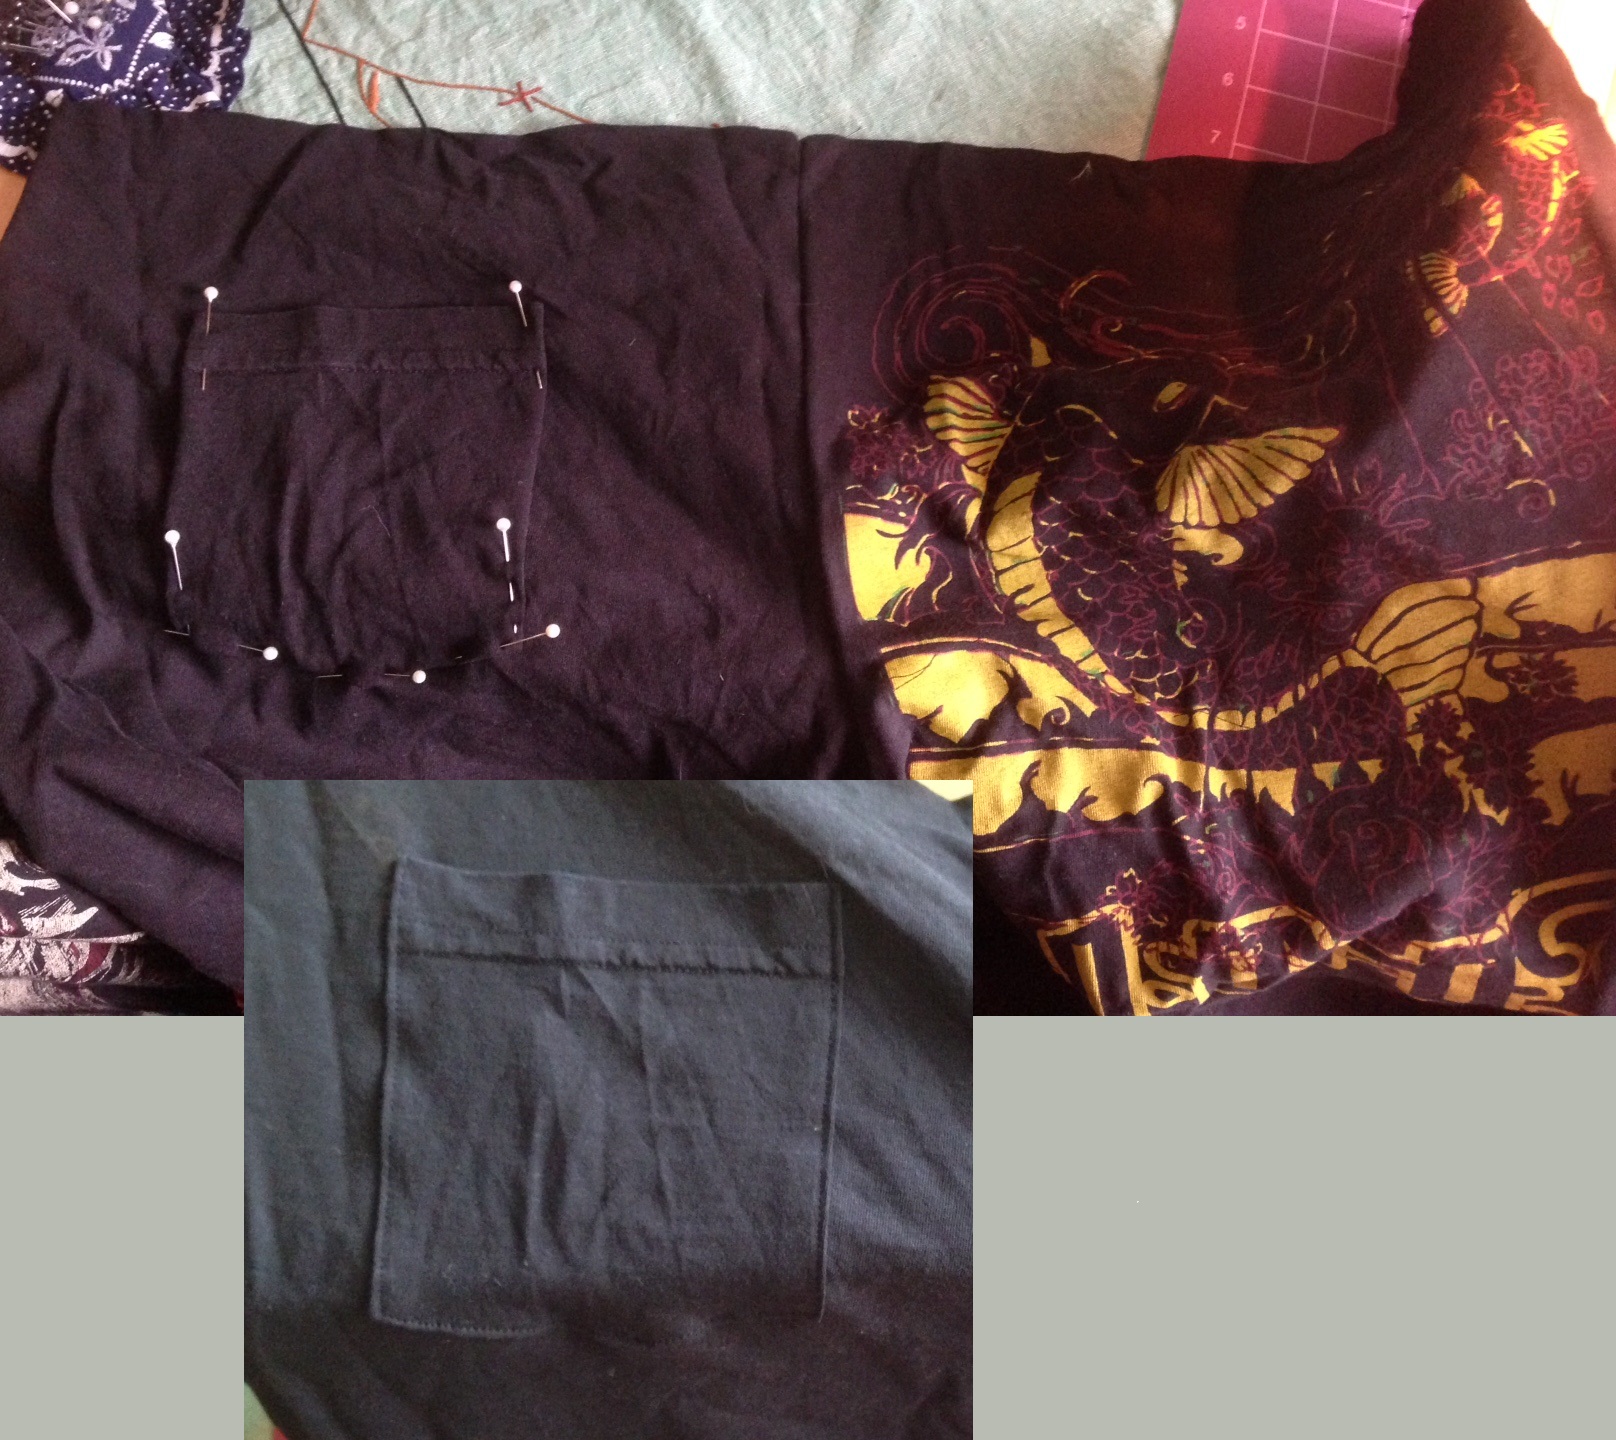
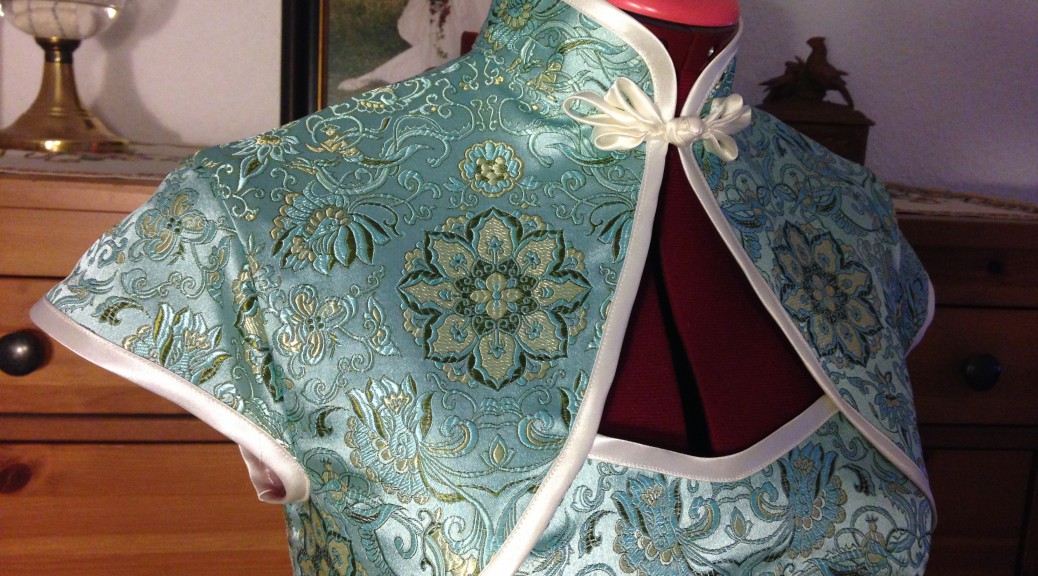
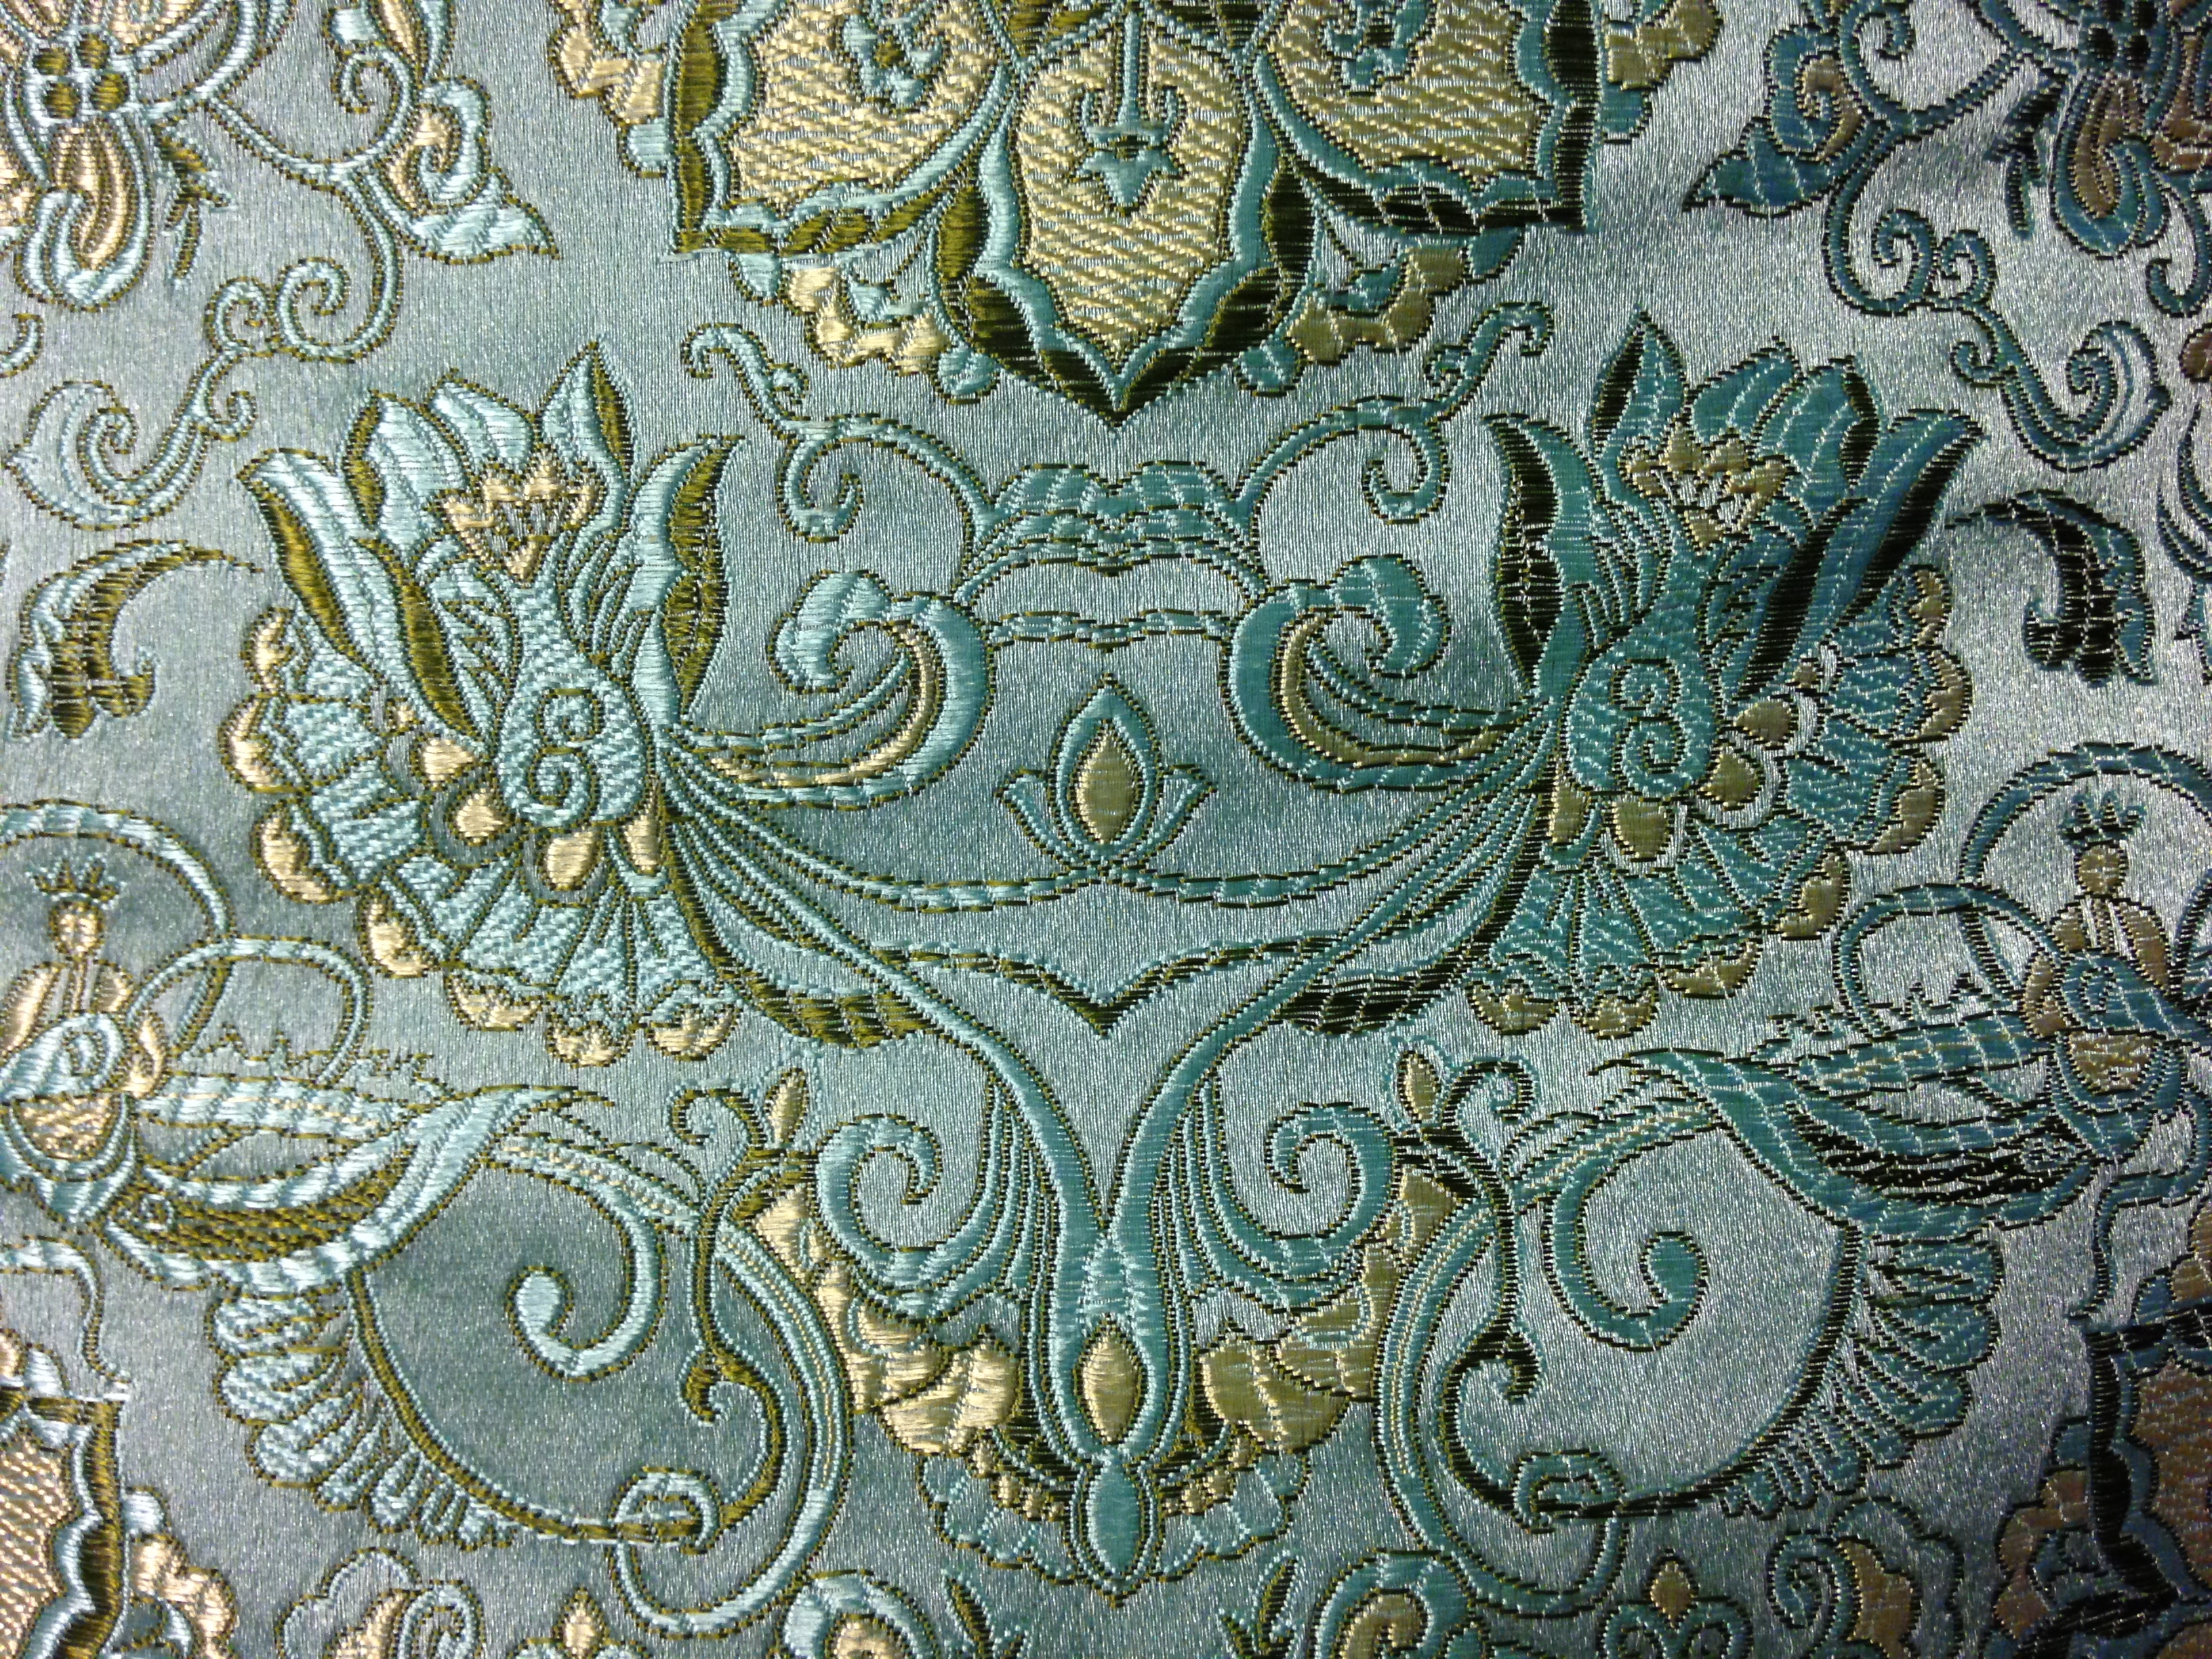
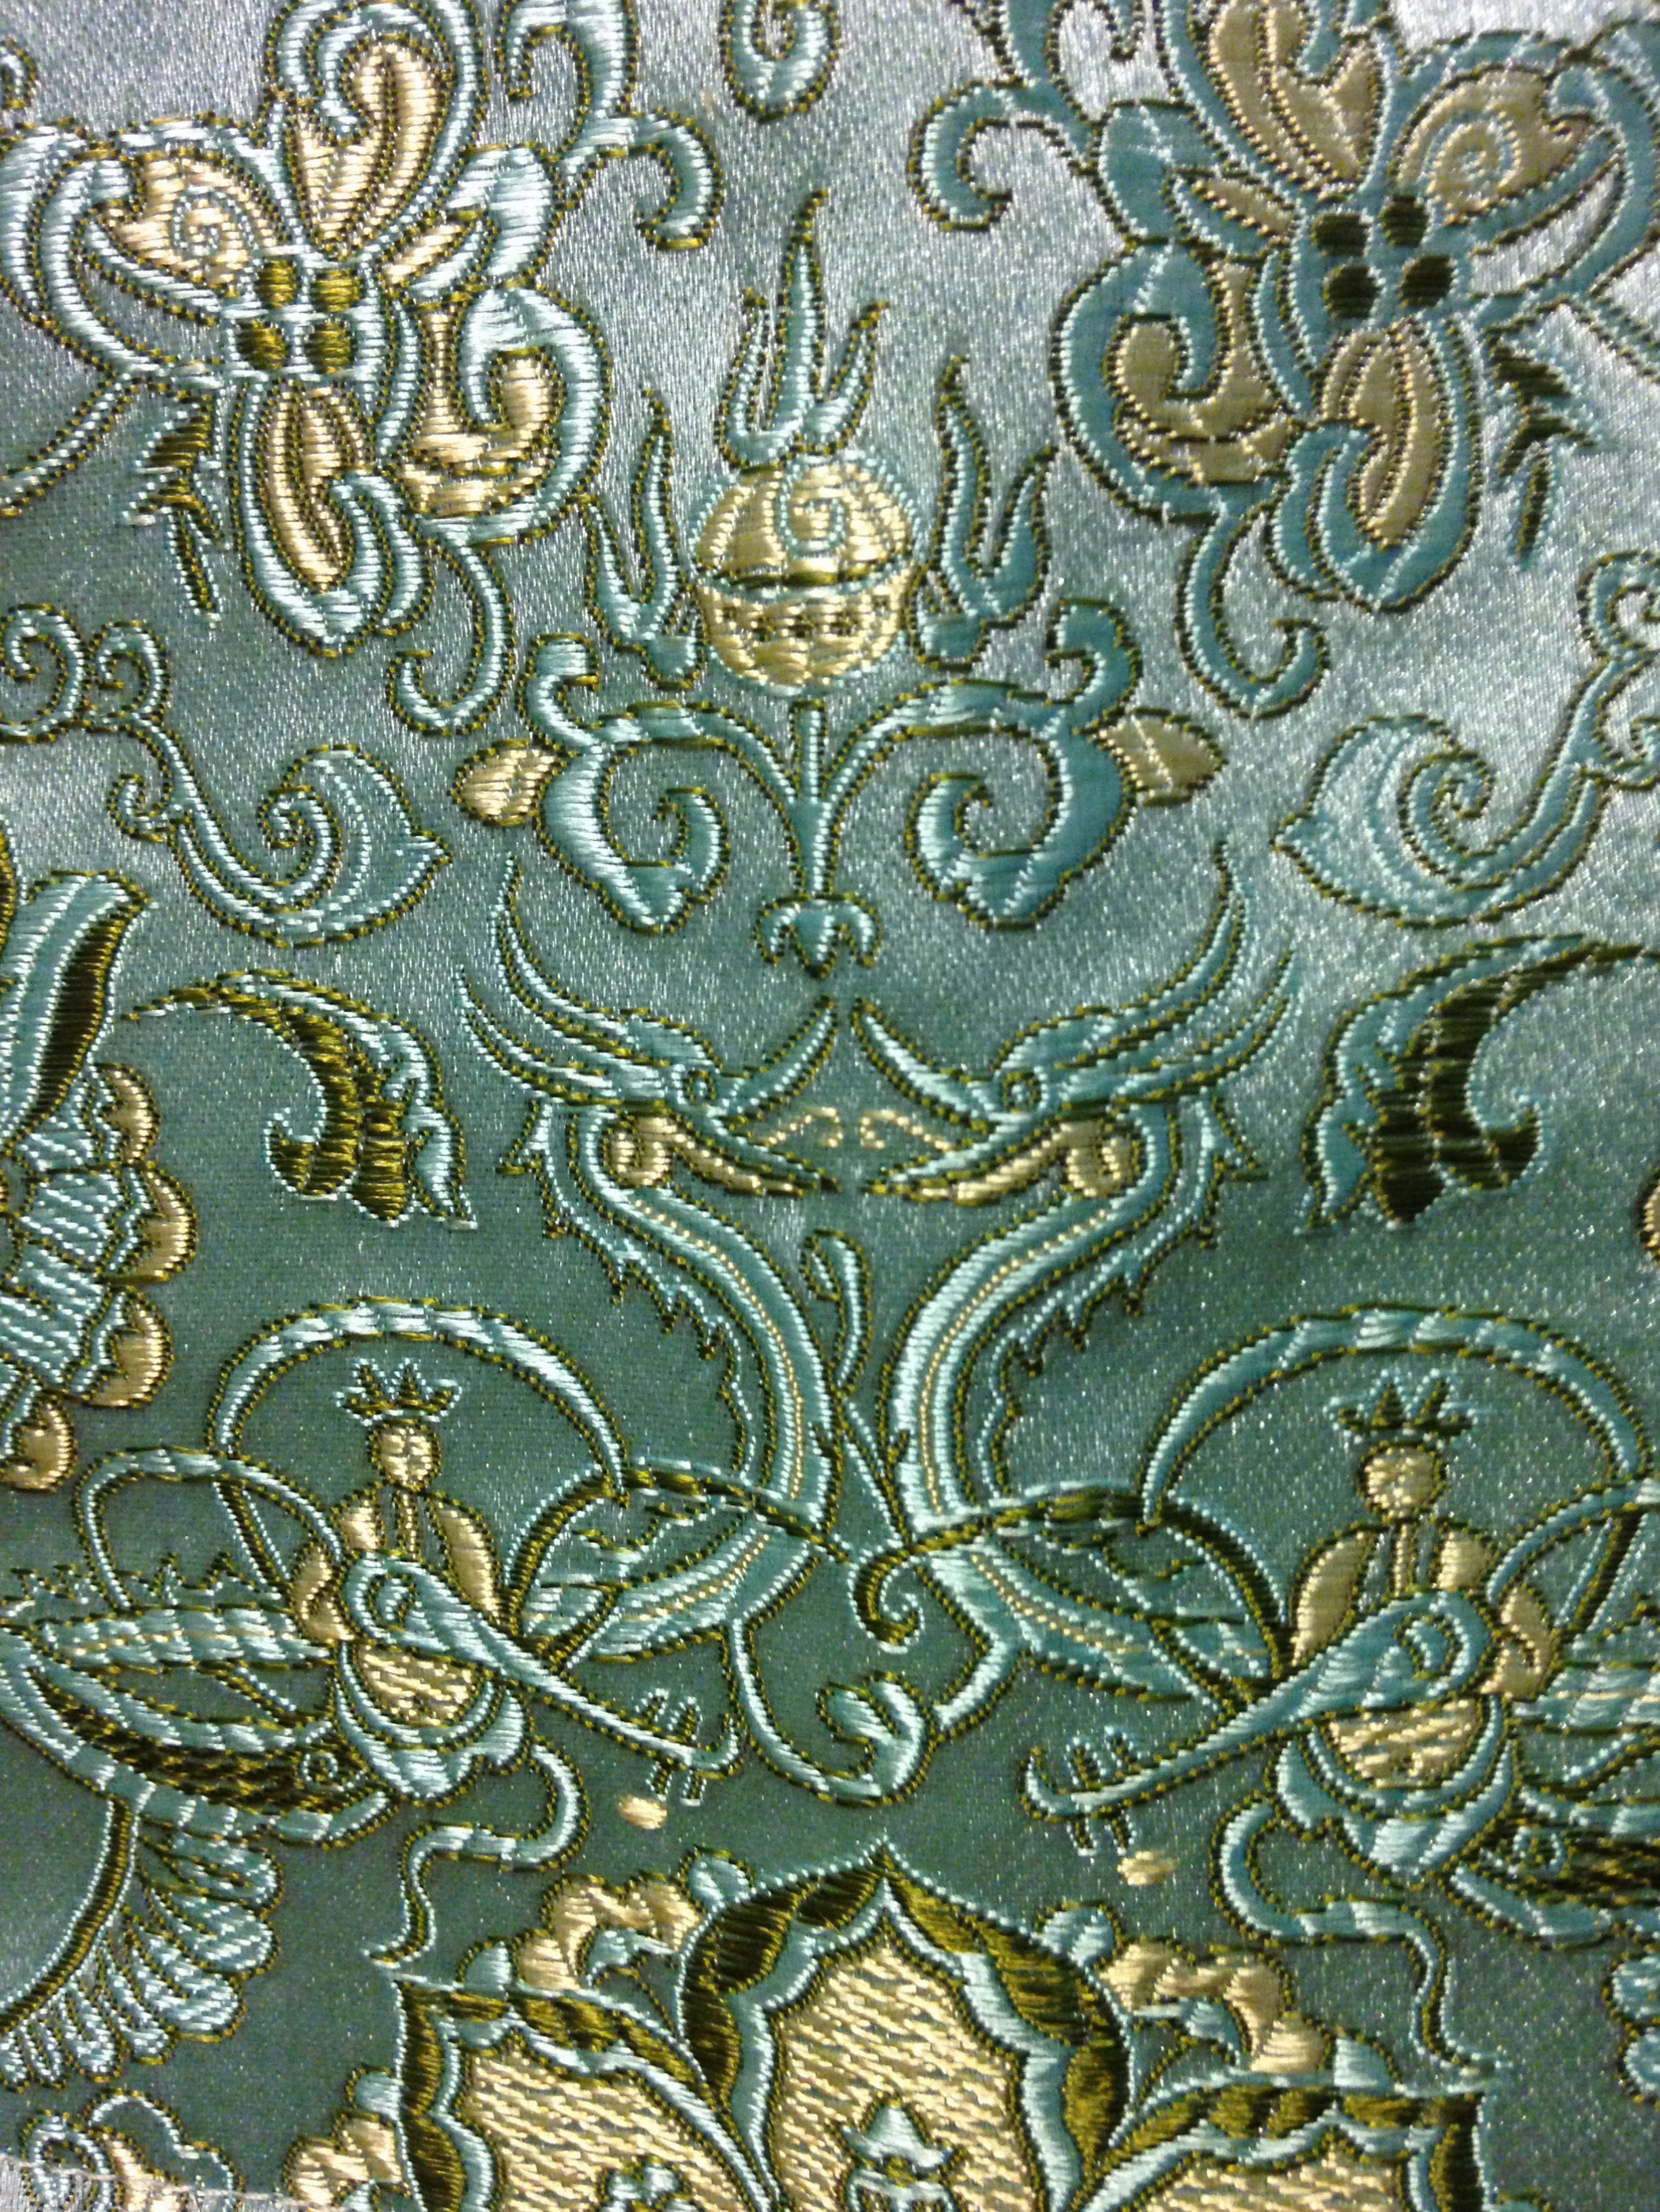
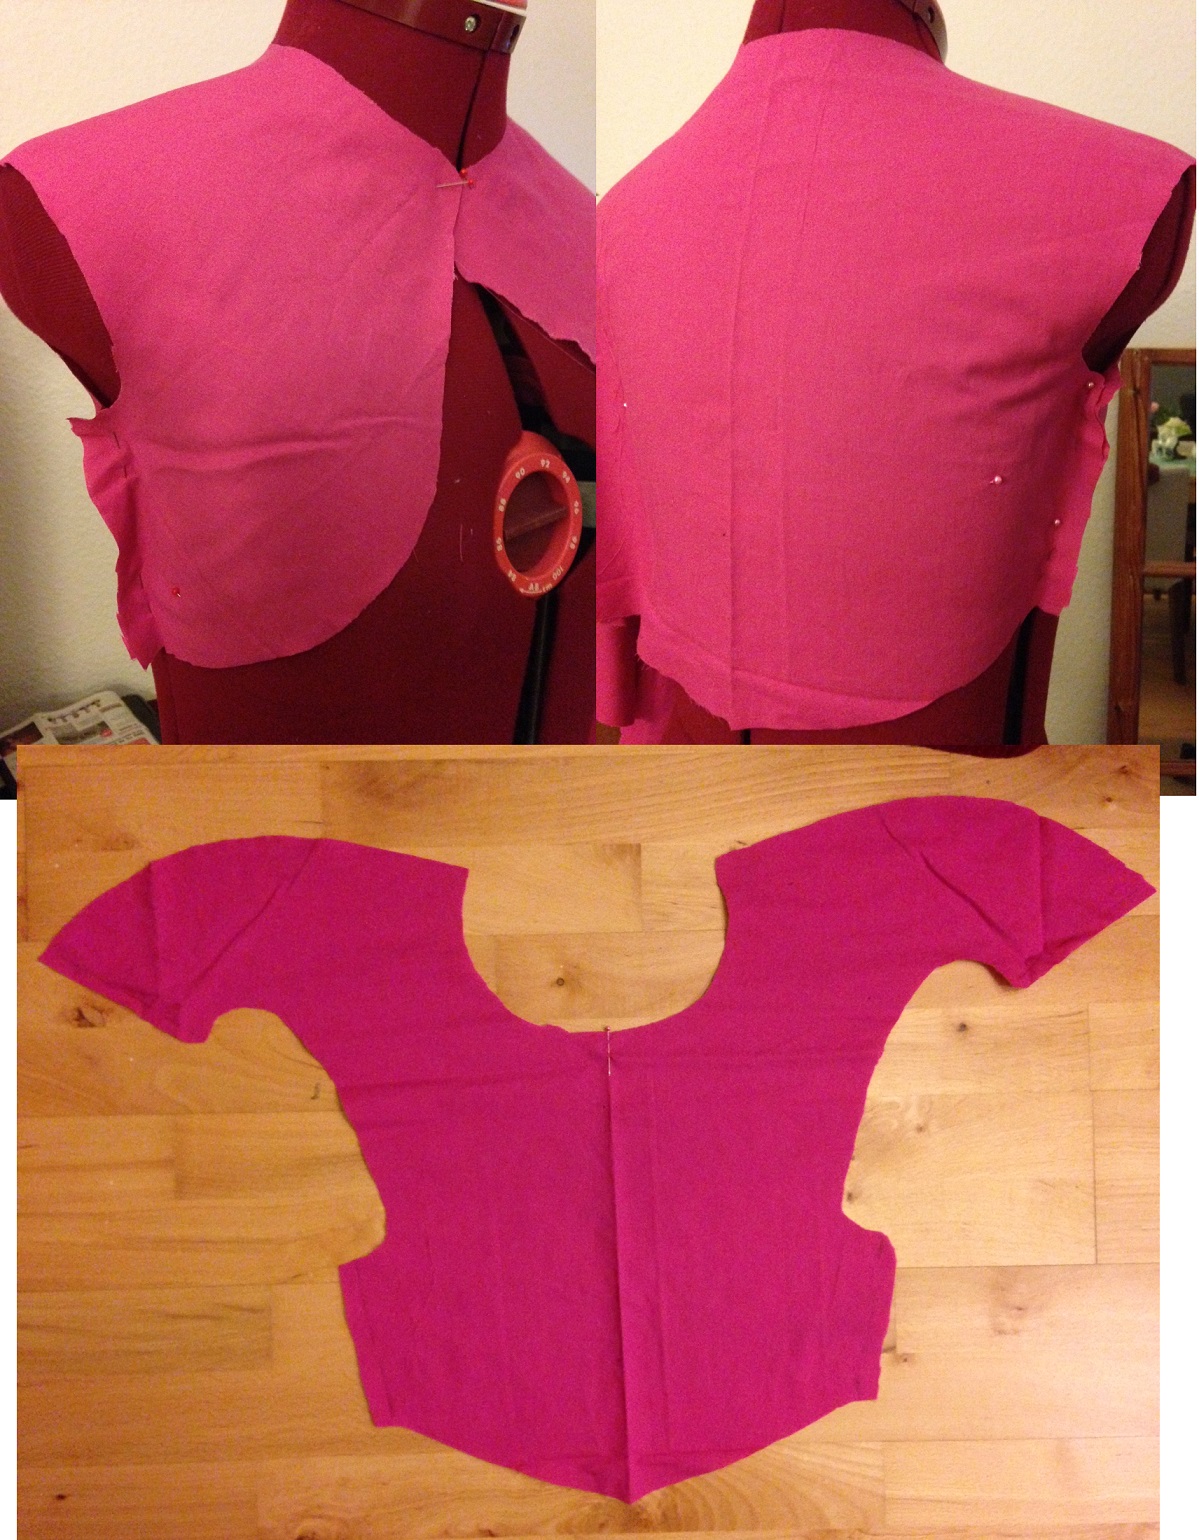
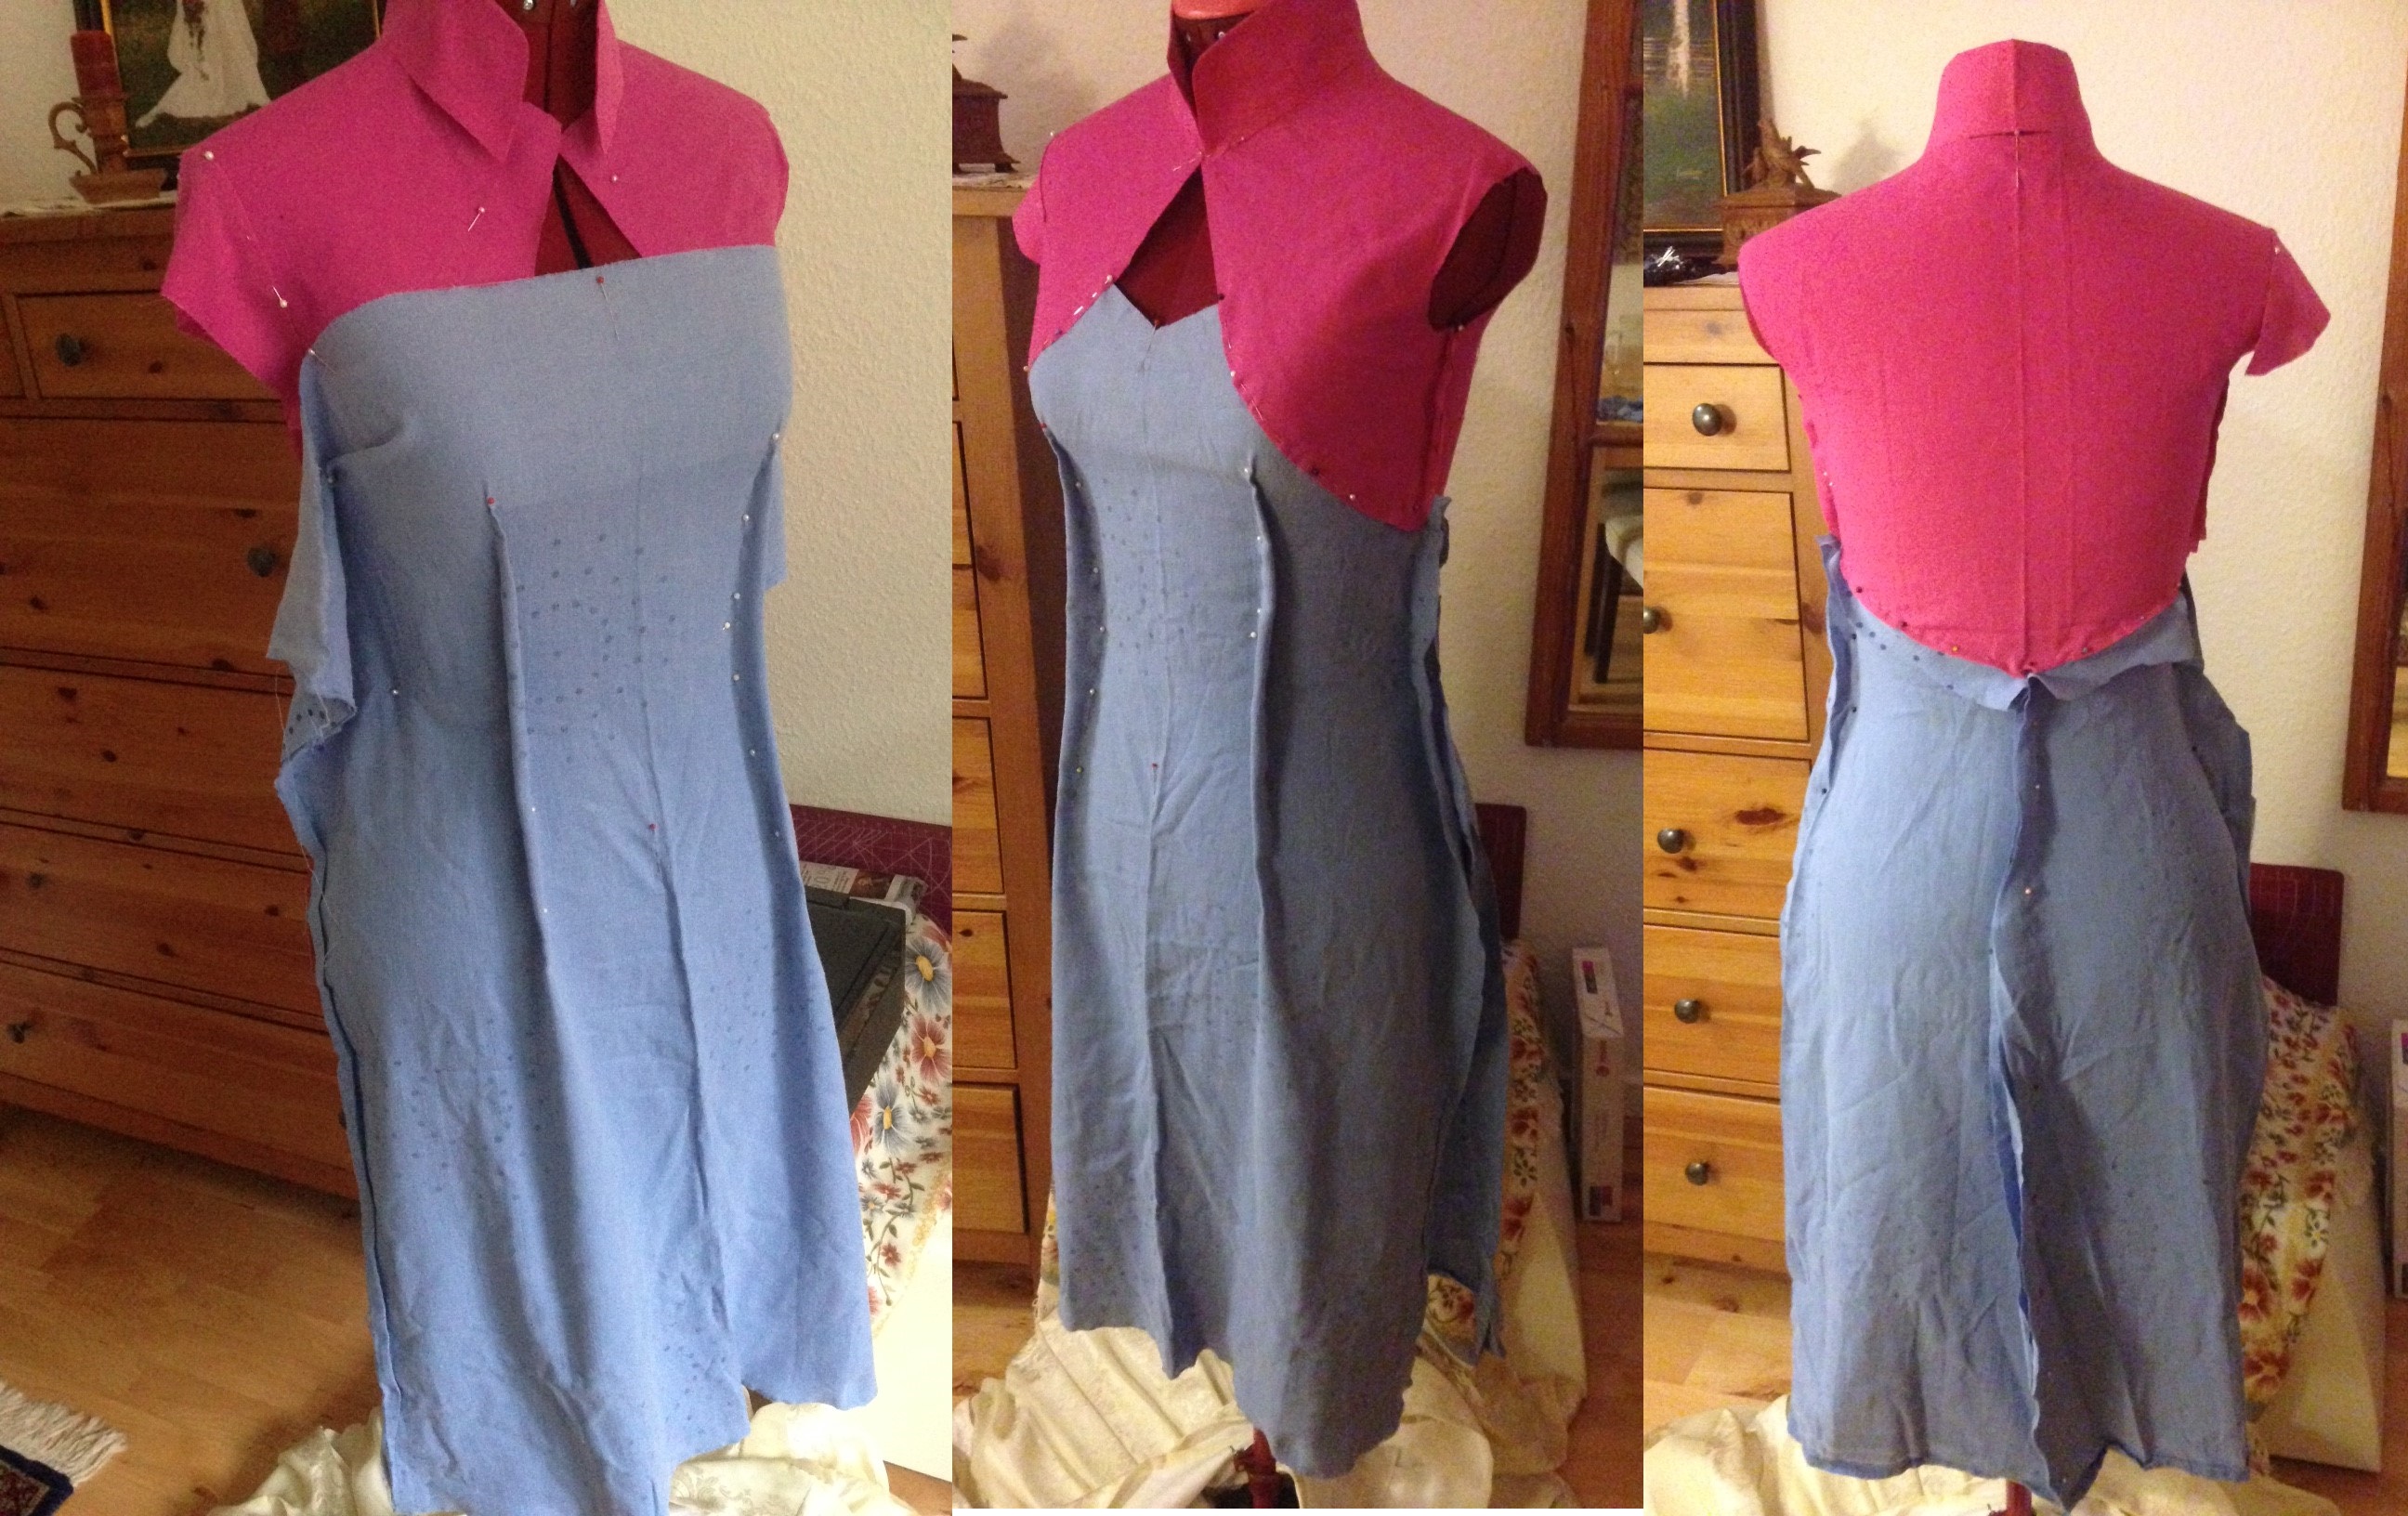
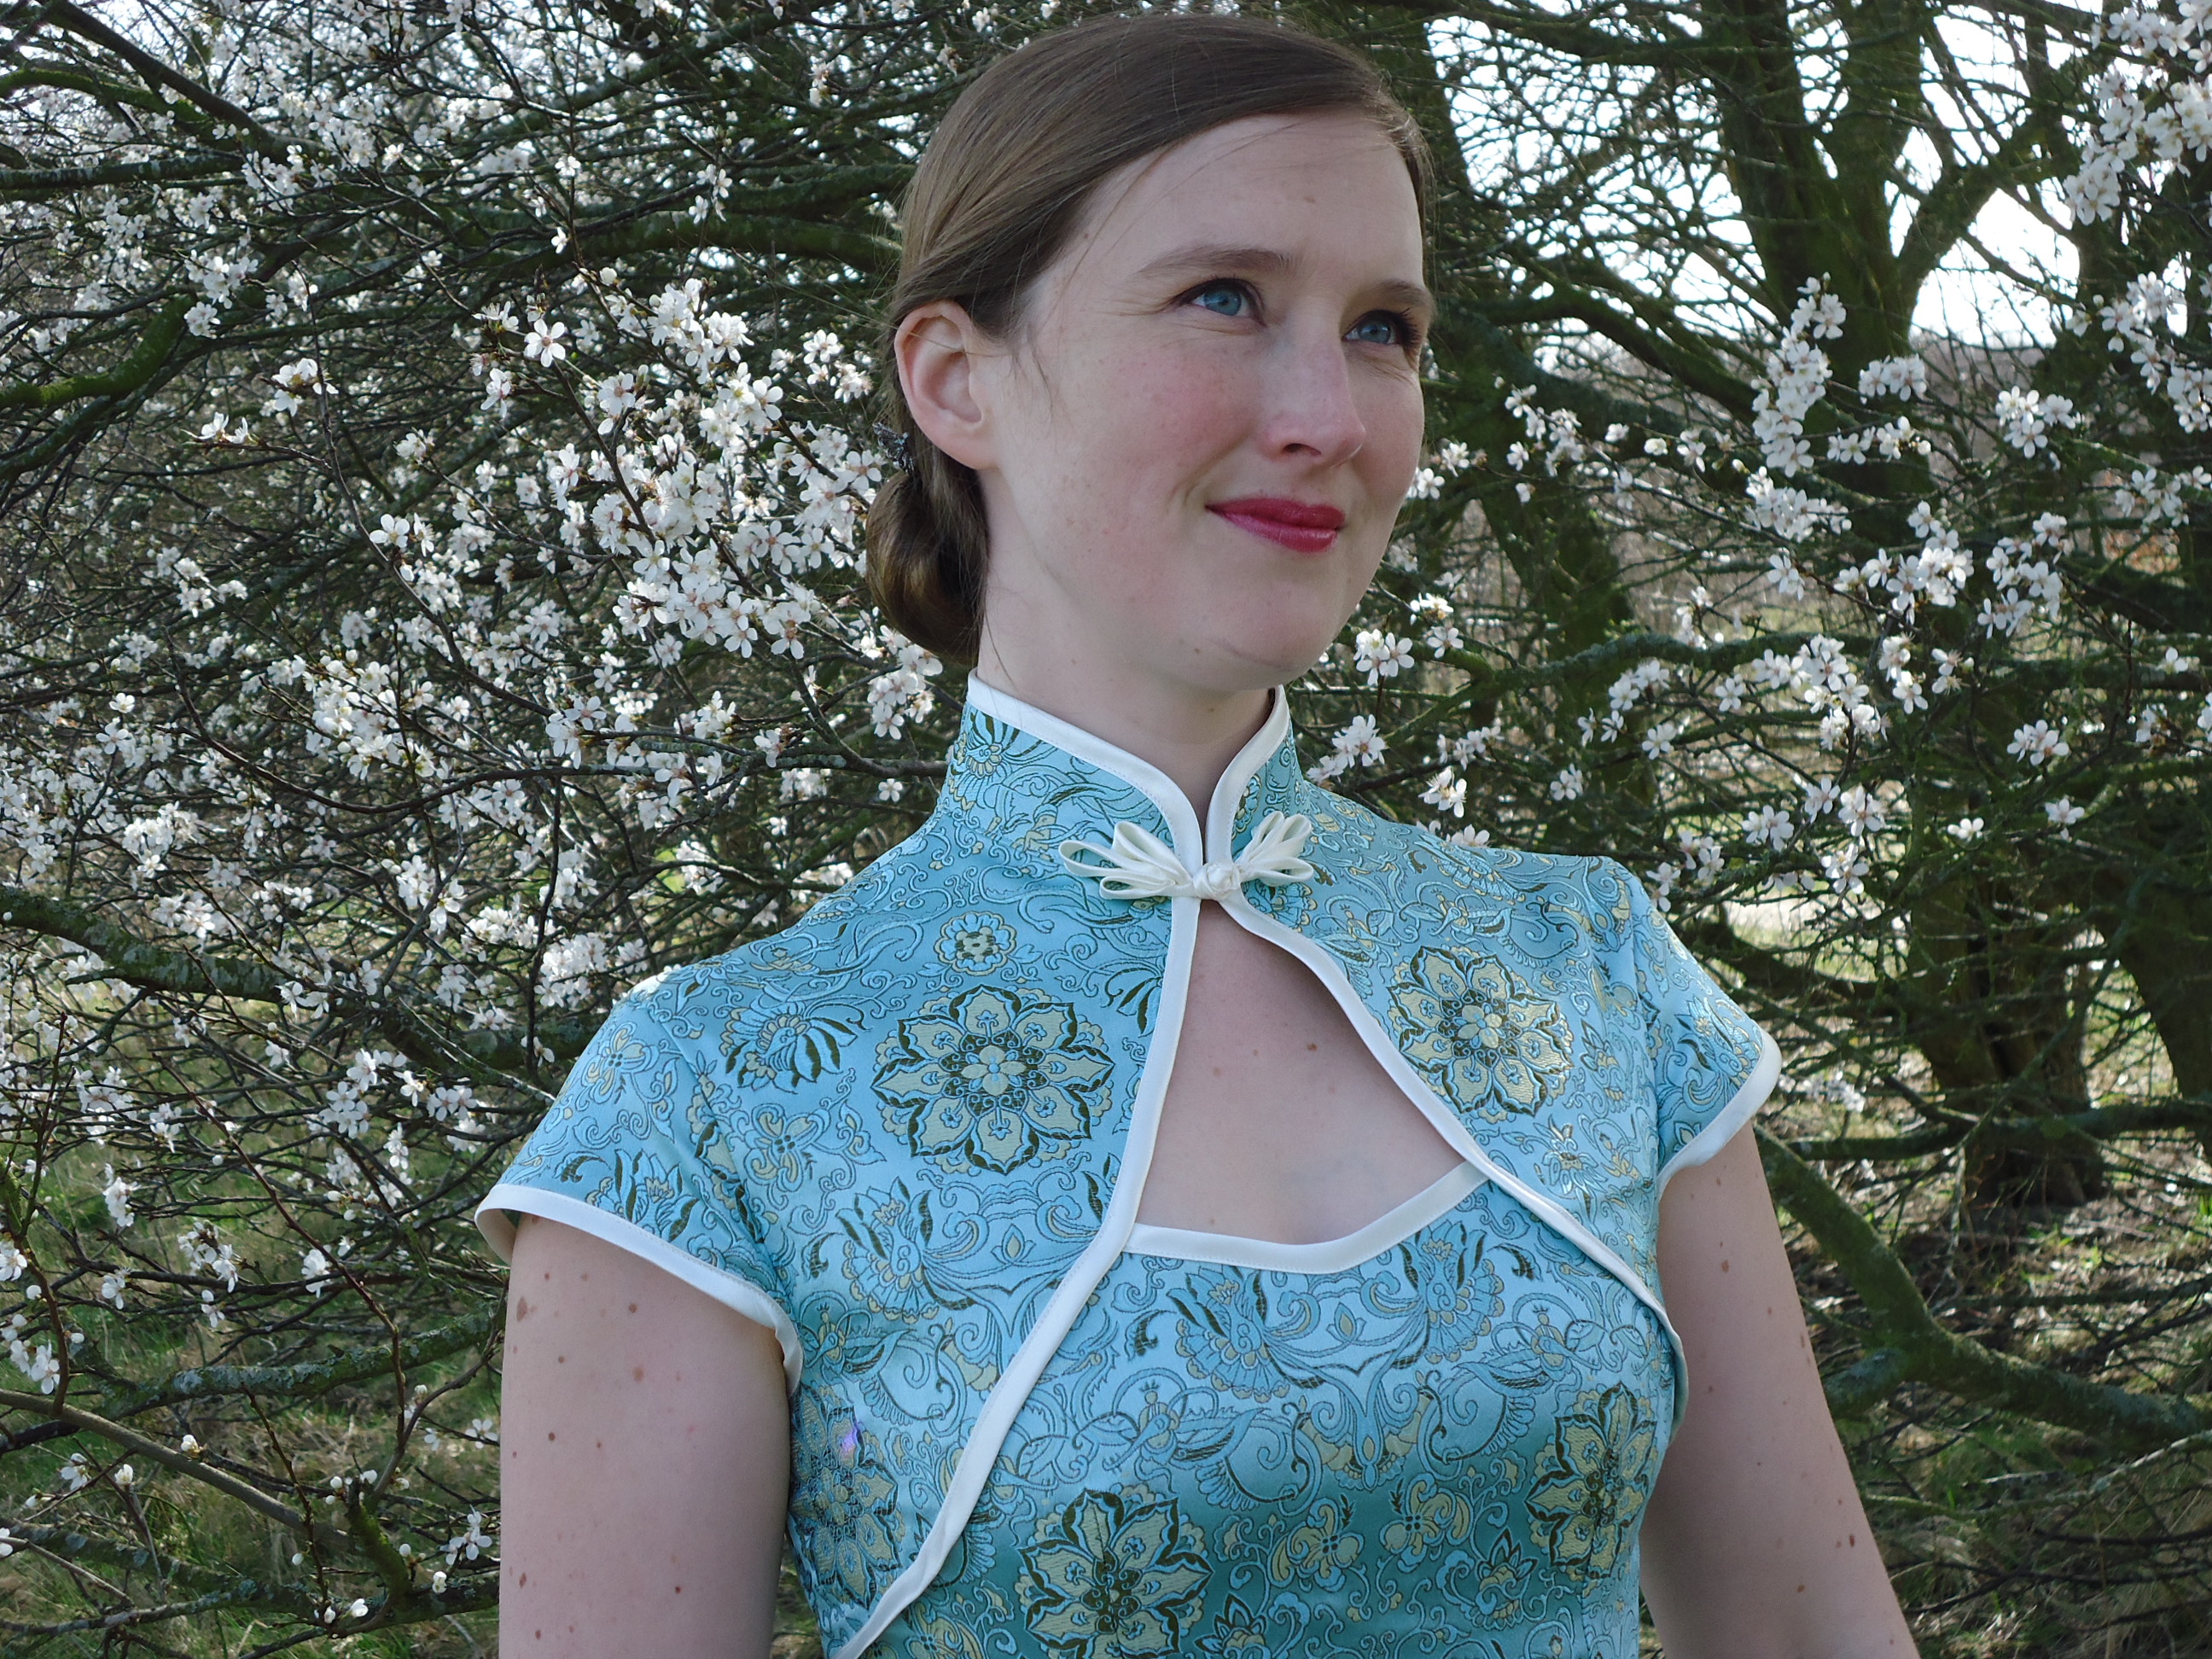
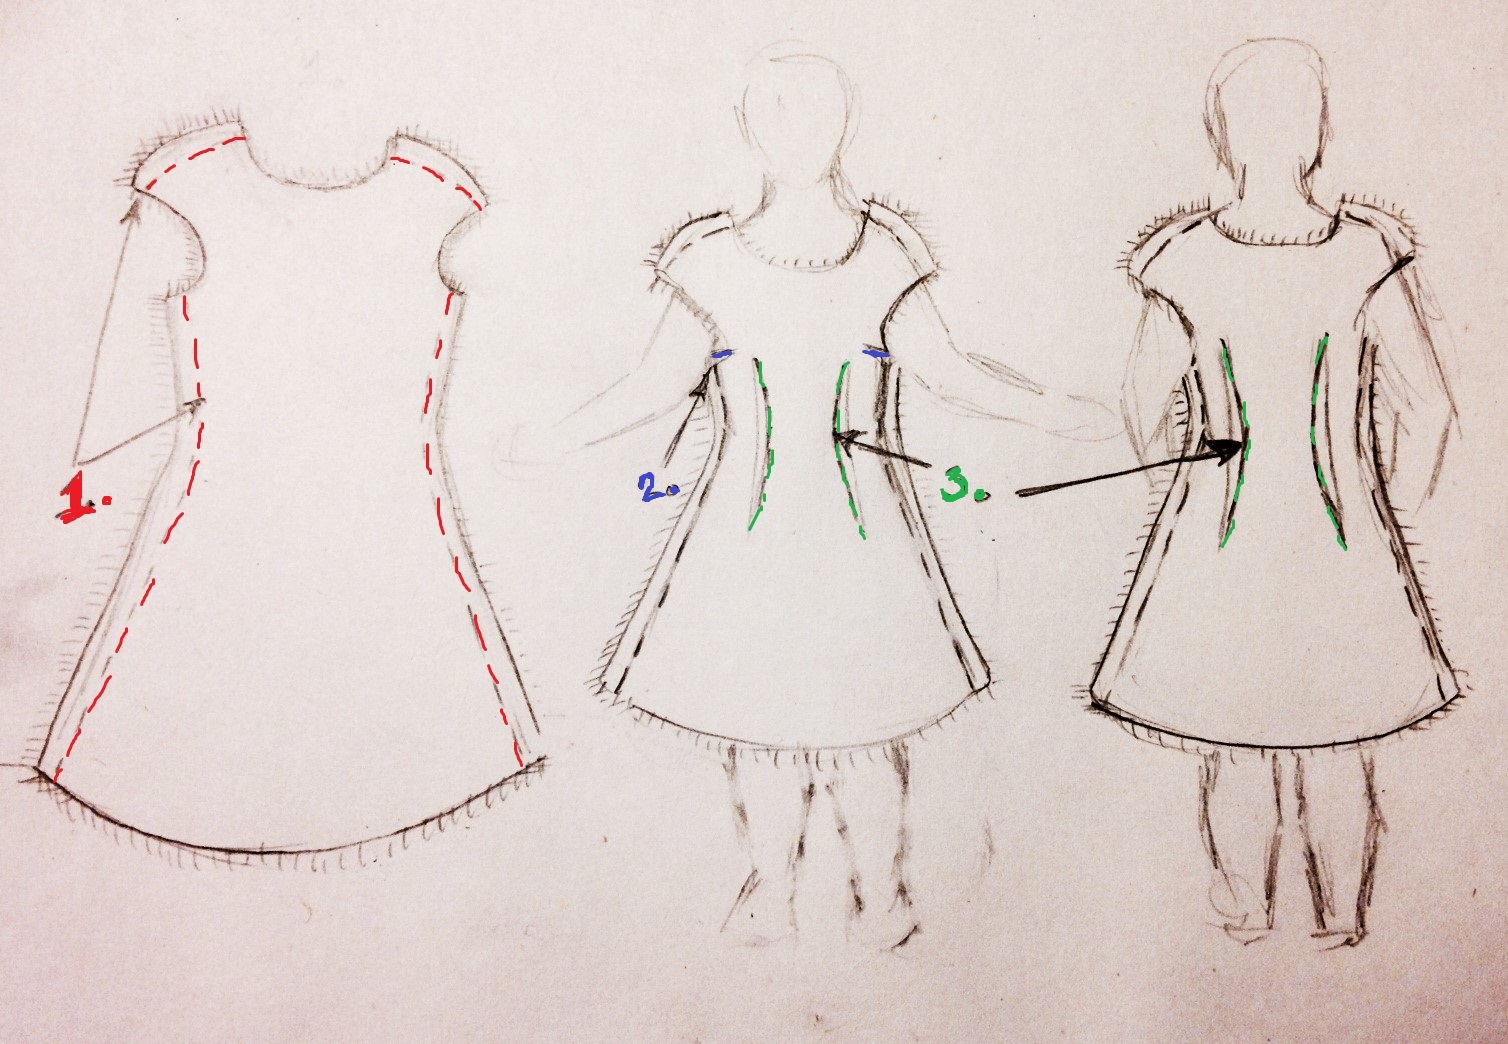
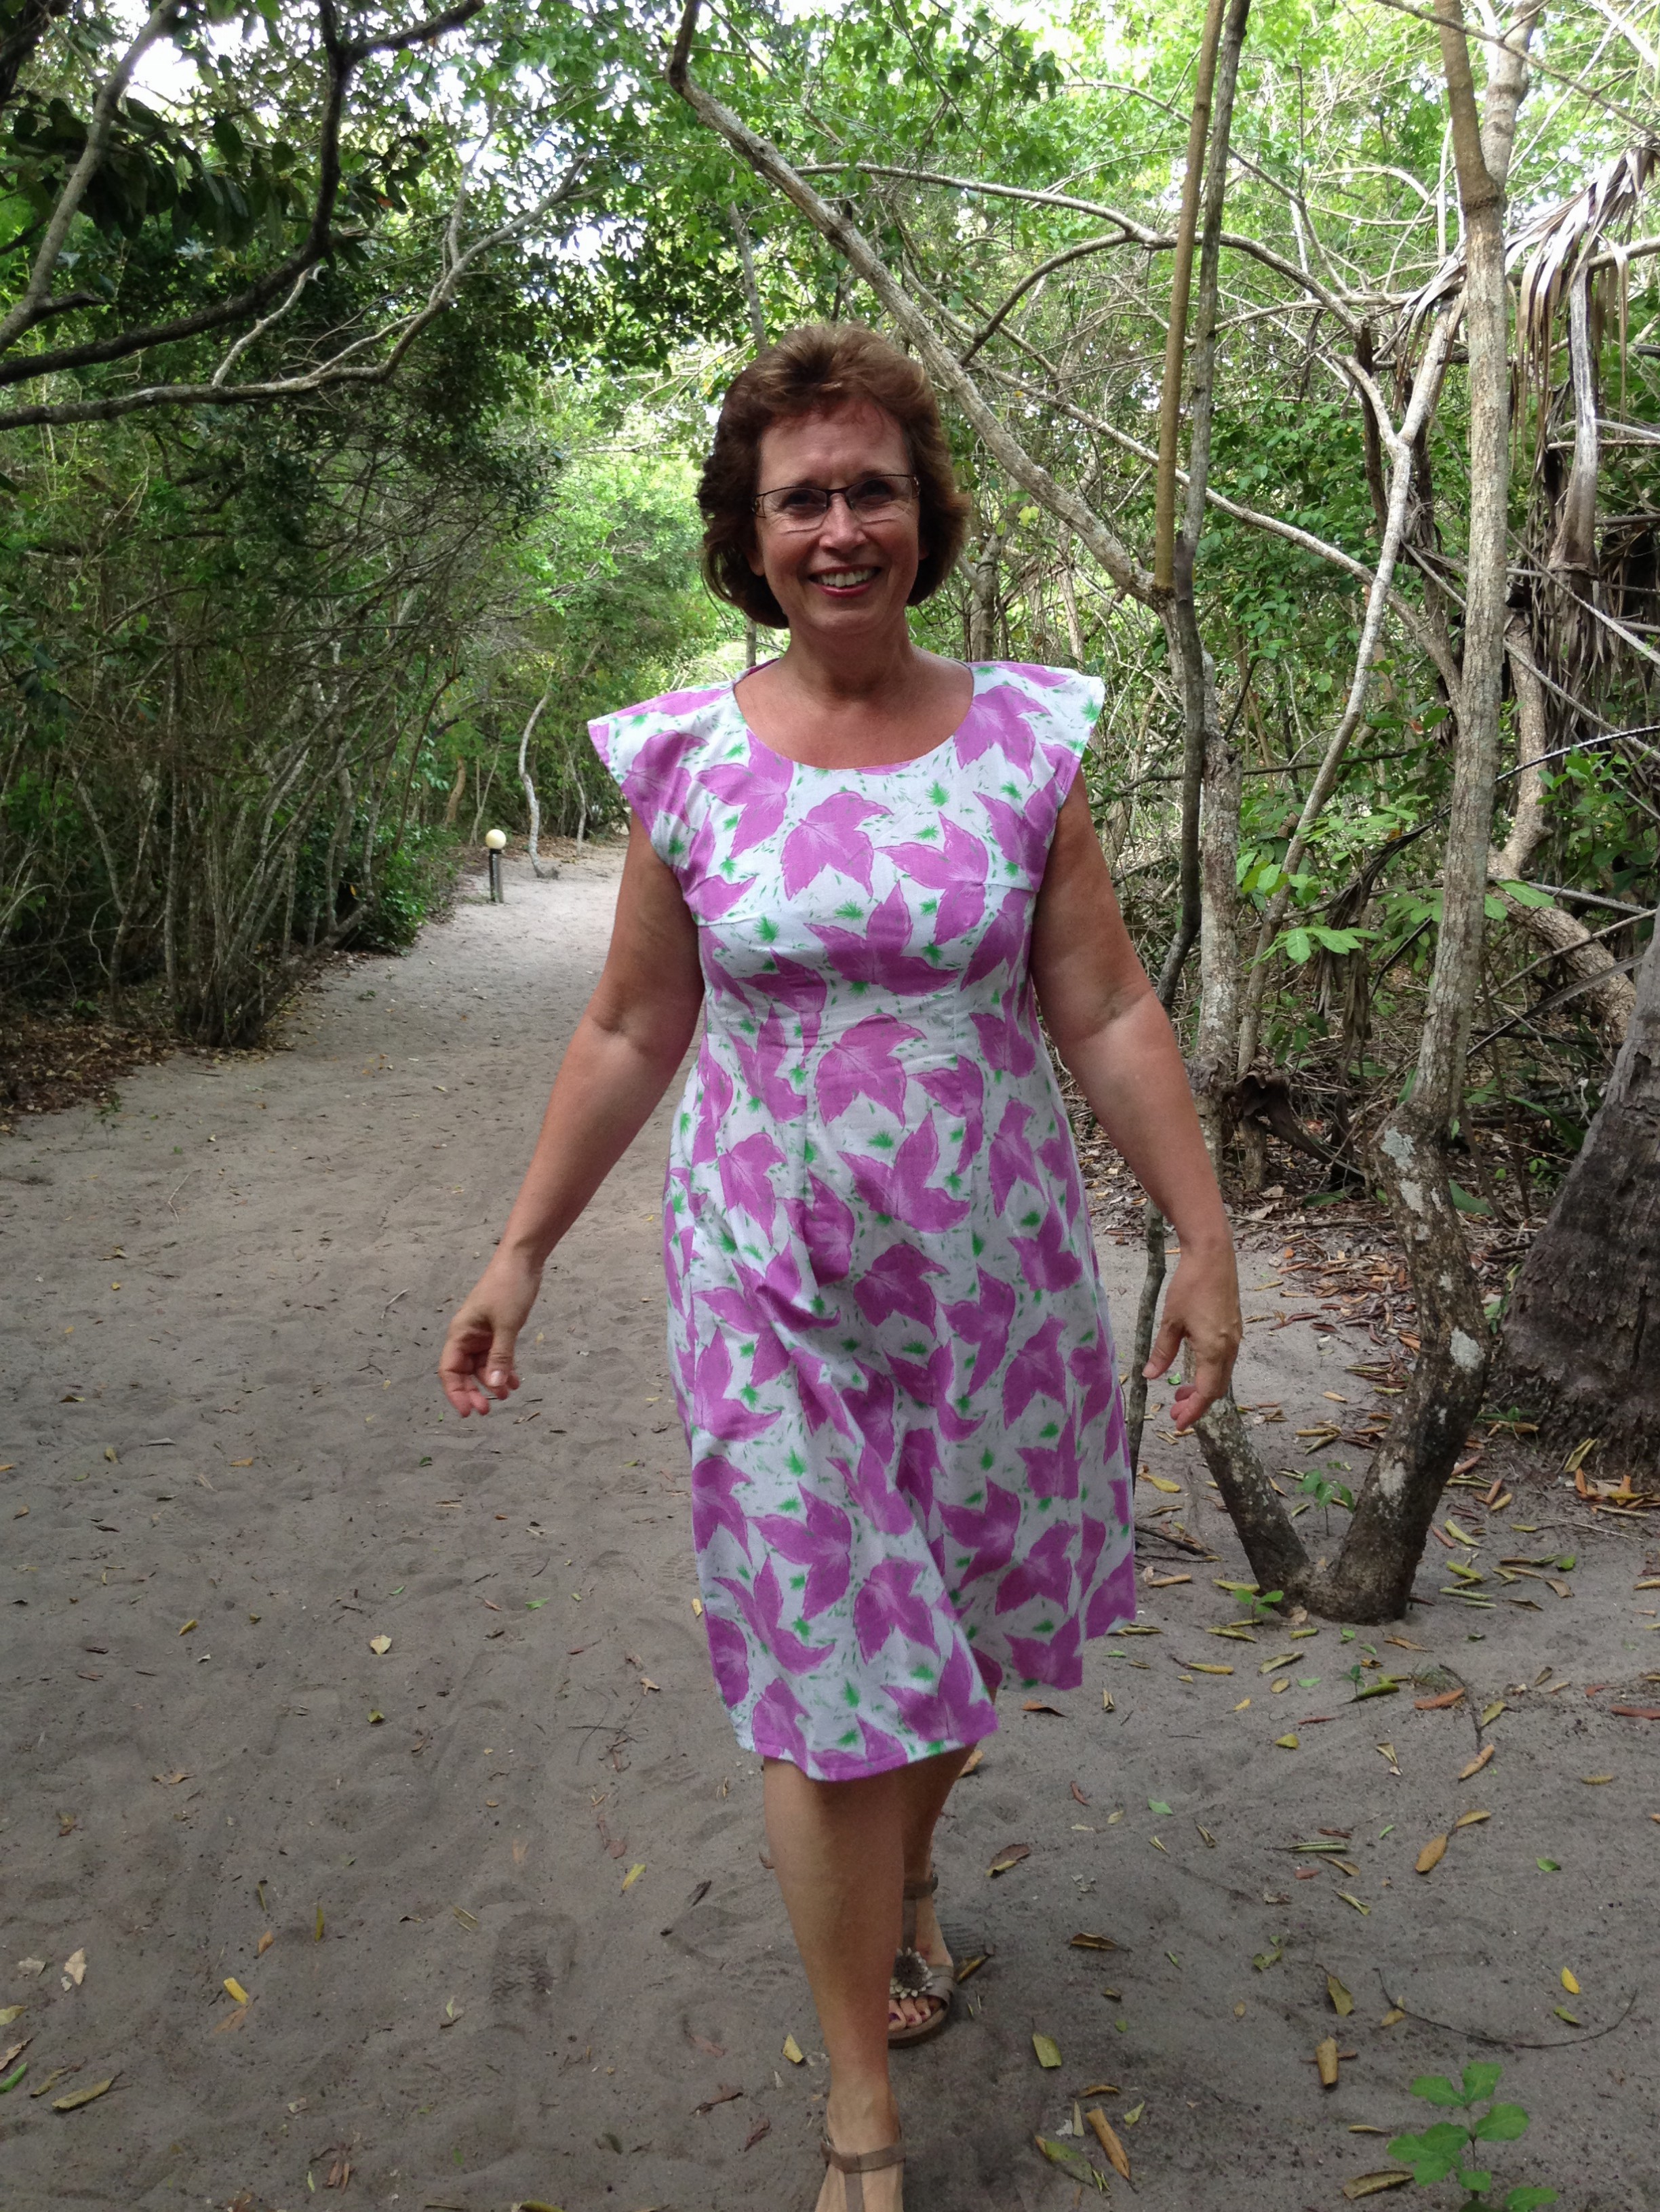
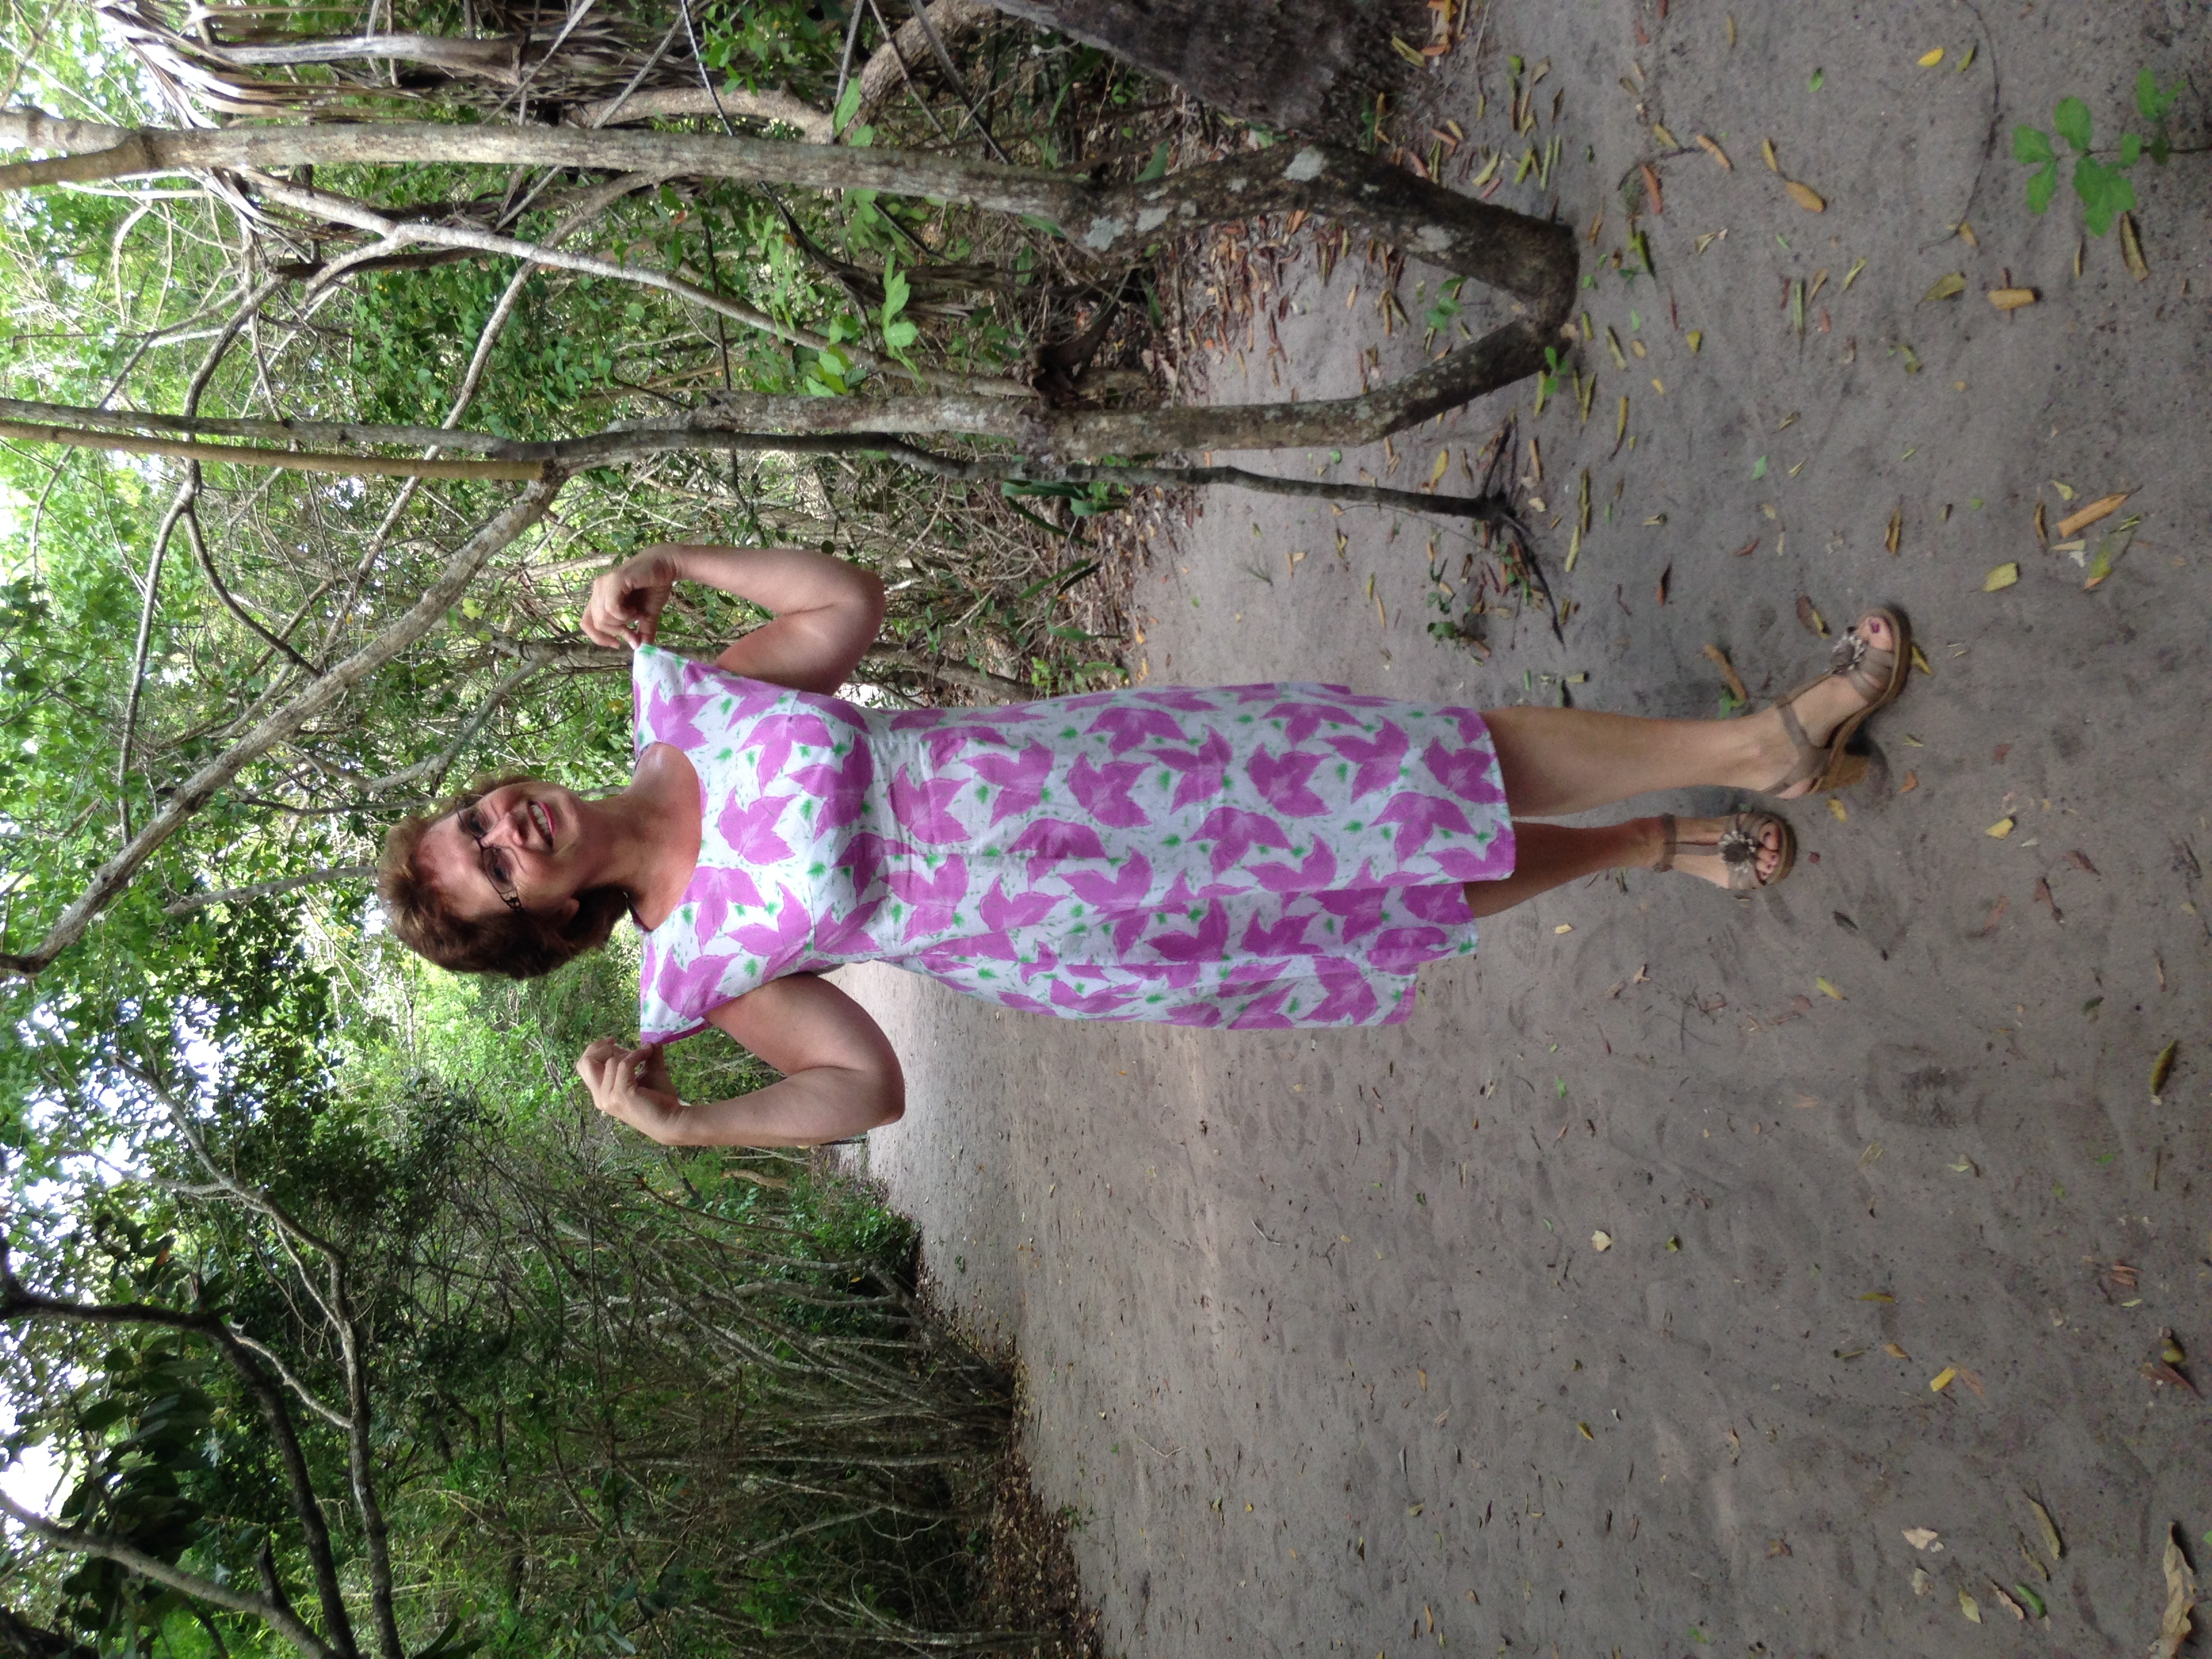
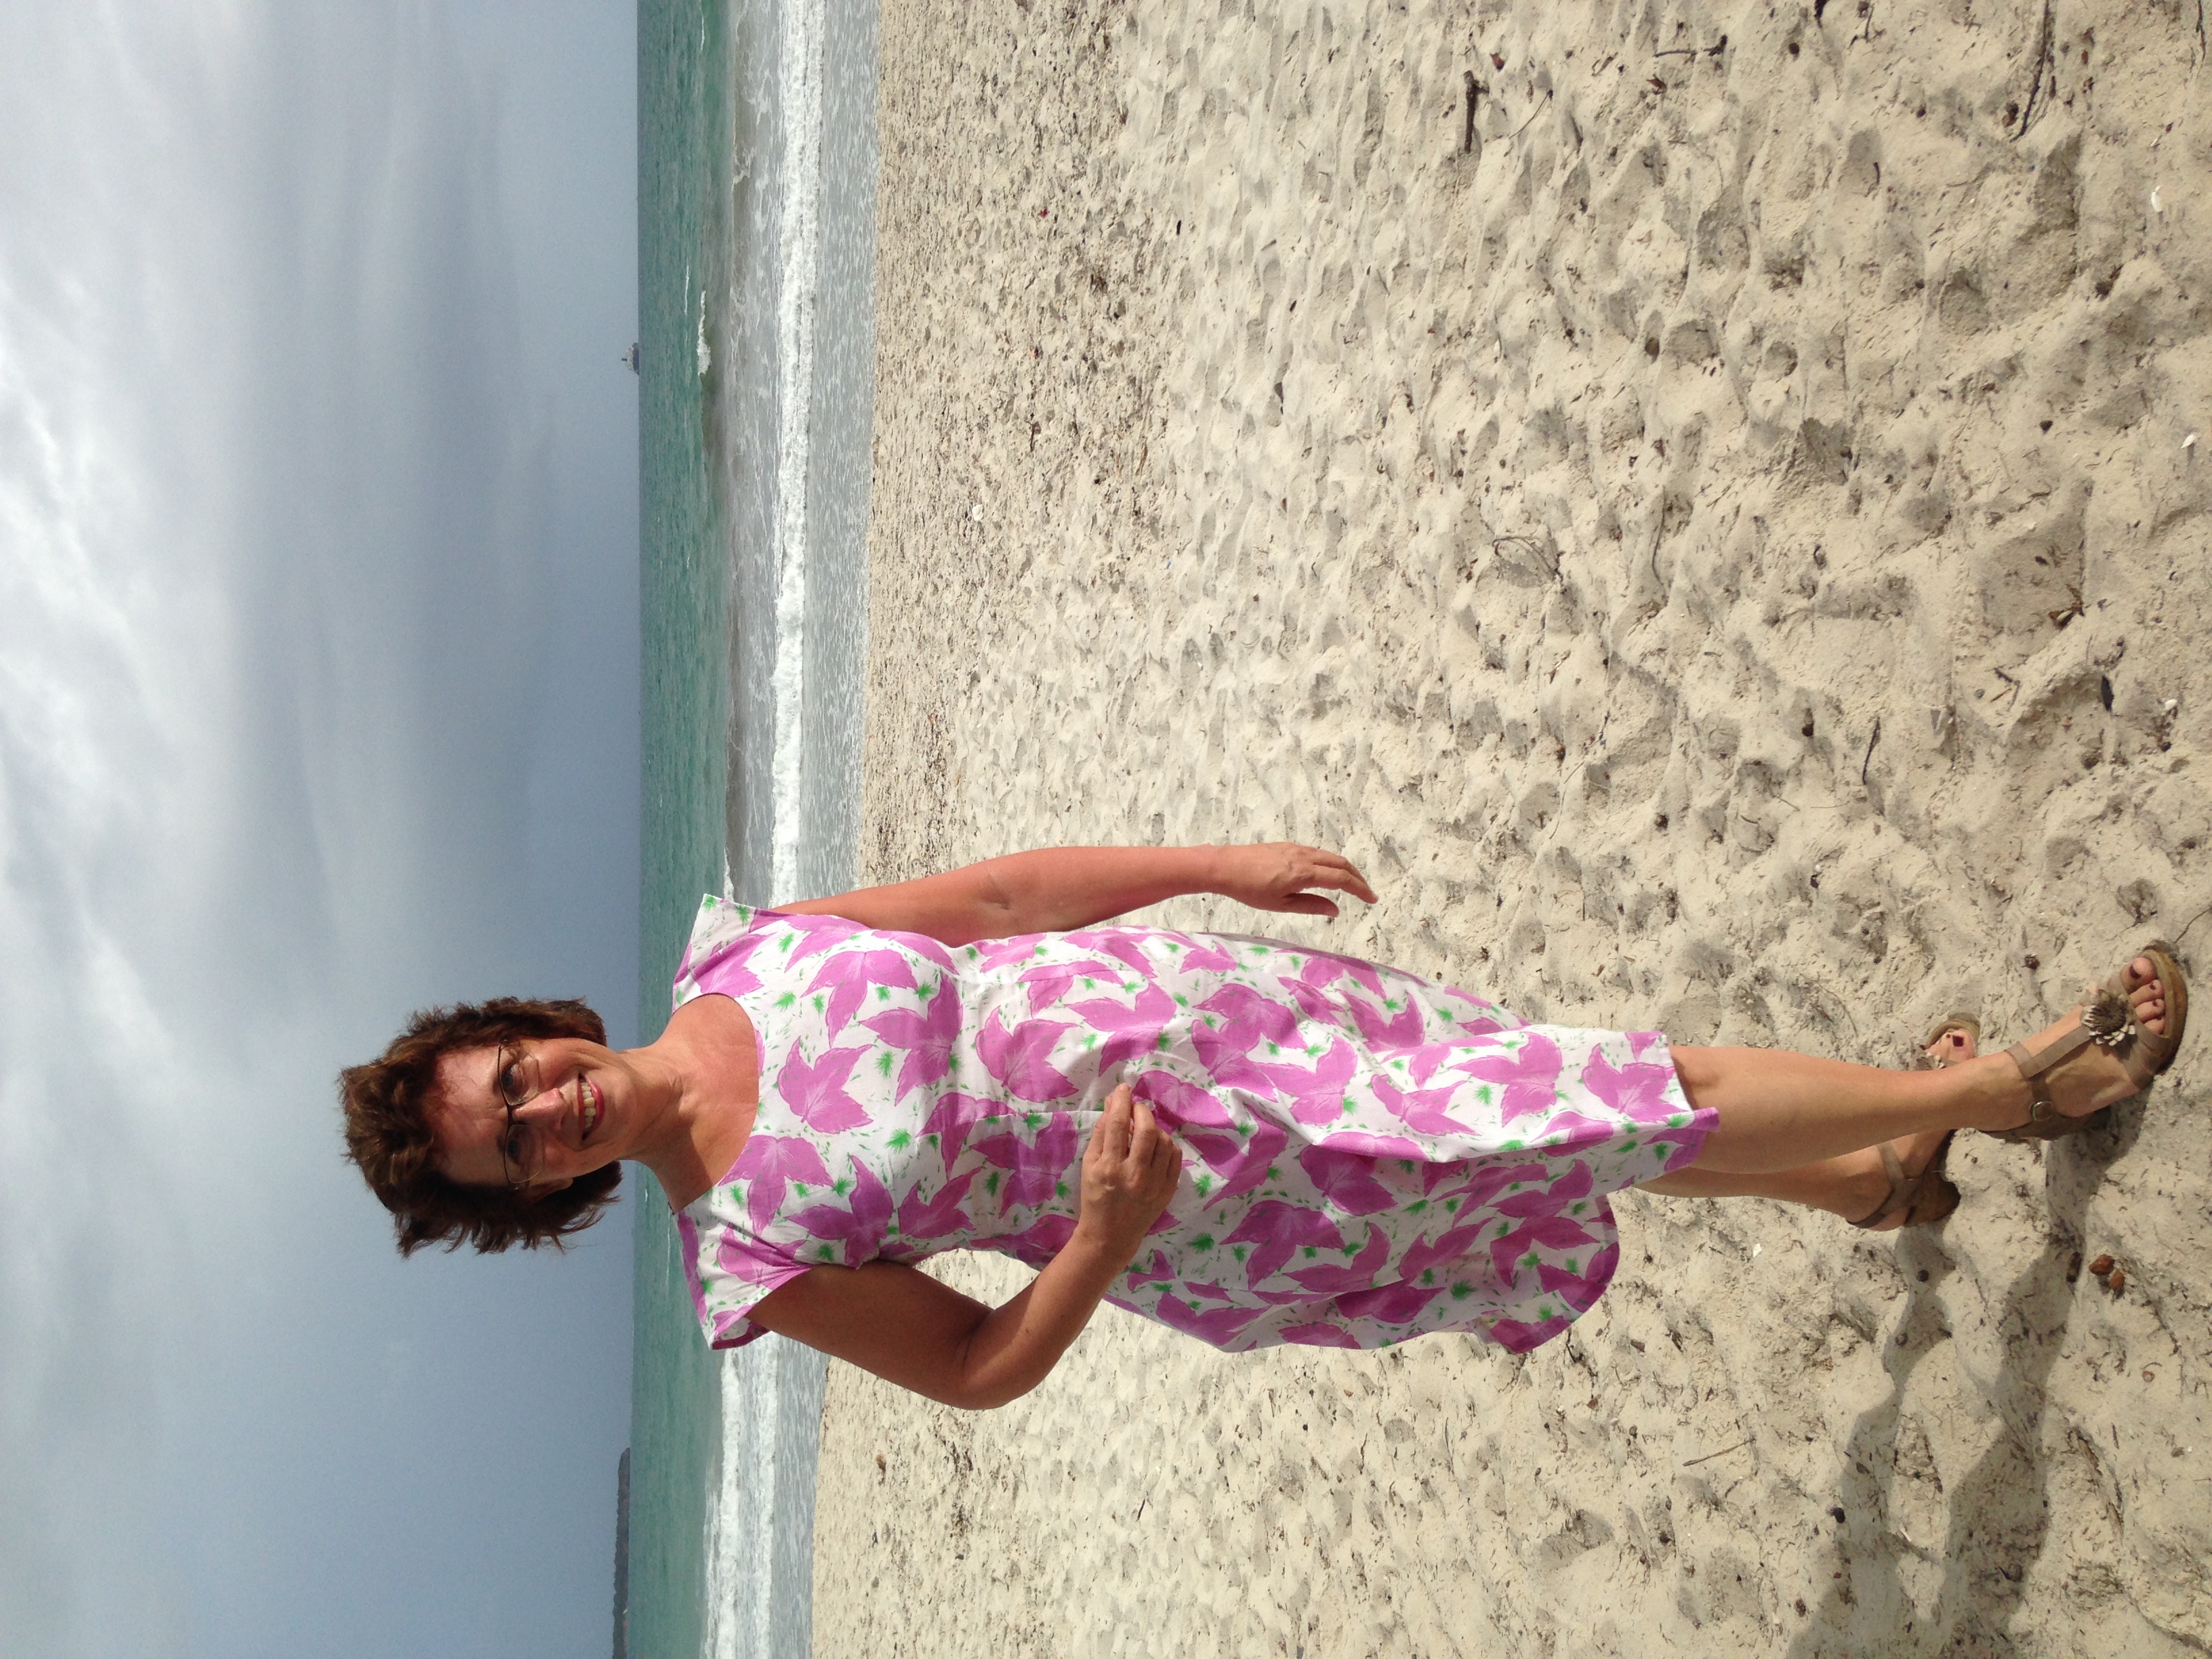
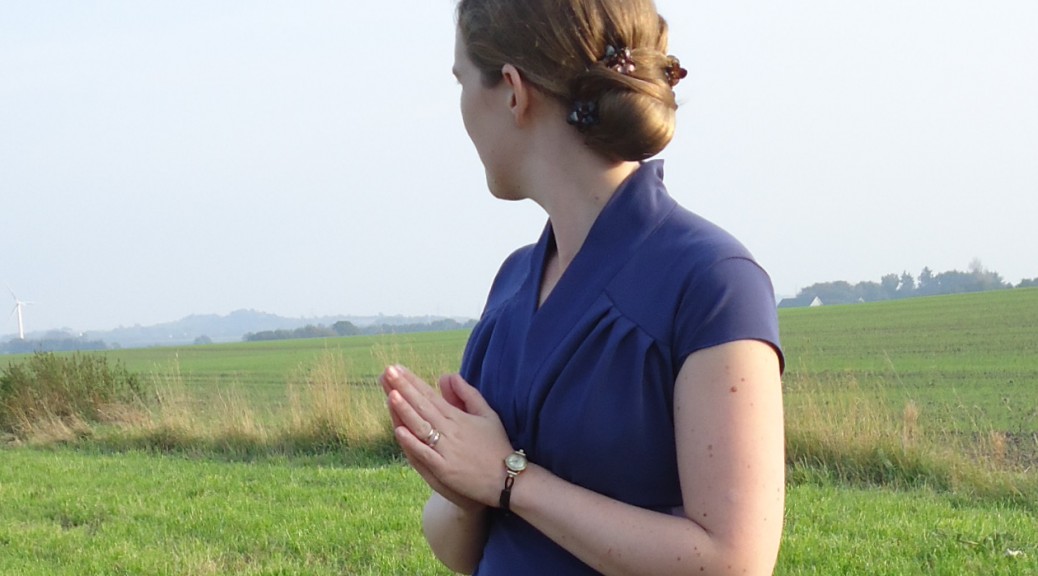
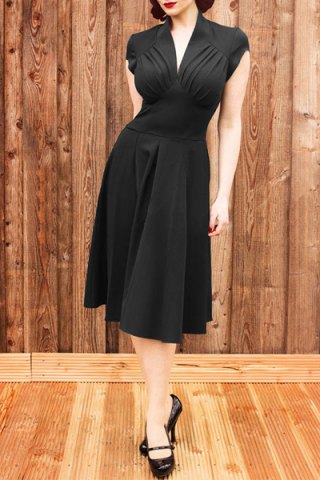
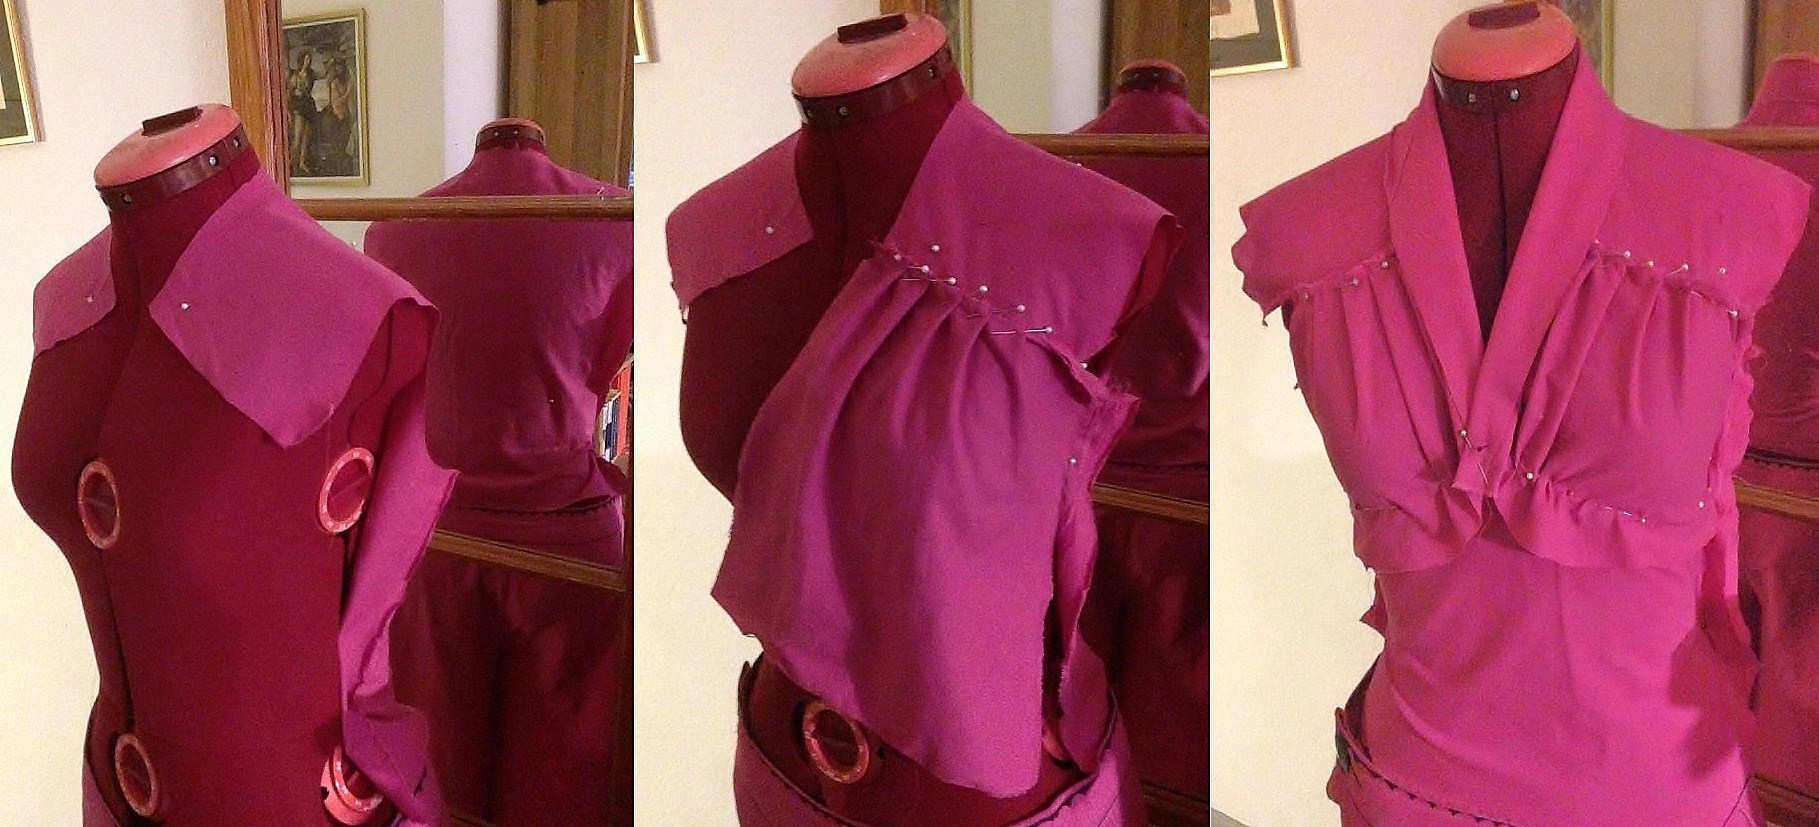
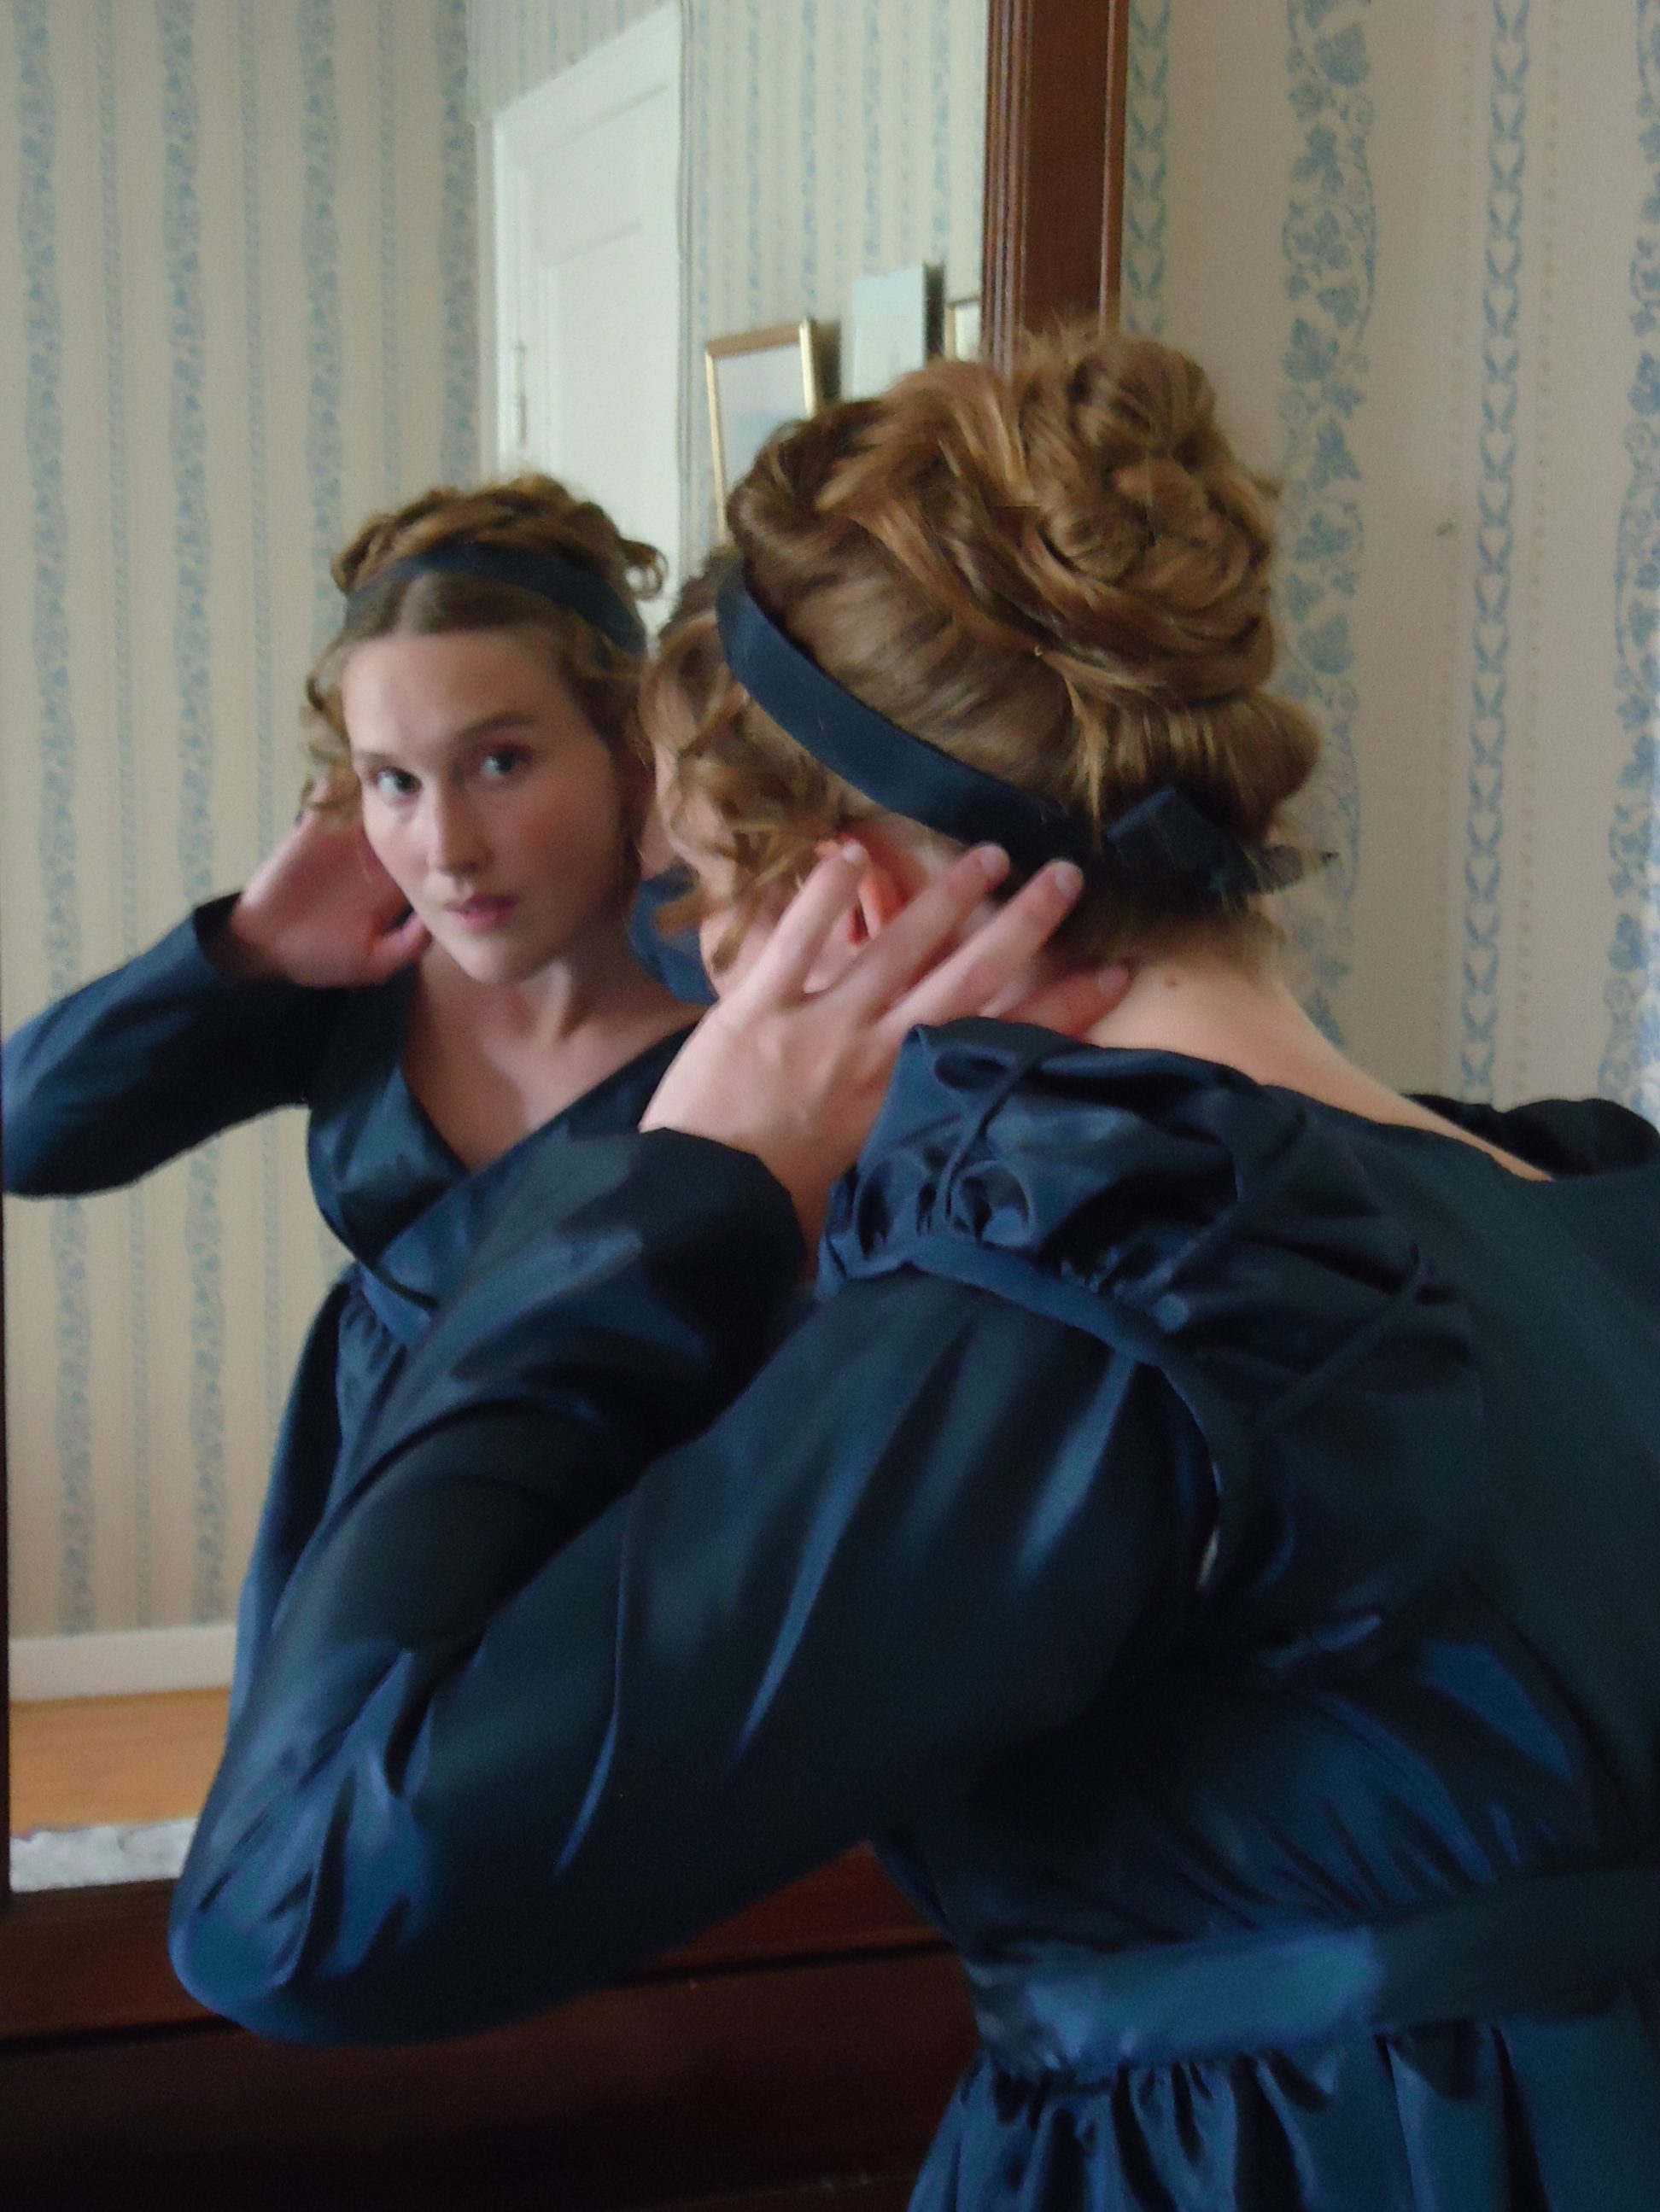
I needed a chemisette for completing Tatyana Borisovna Potemkina’s look. I got material from my ever benevolent mother, who sacrificed a sleeveless blouse for this purpose. I sew it on our bus trip back to Sweden, for the Christmas holidays, so nothing is documented, but before and after.

För att fullborda Tatyana Borisovna Potemkina’s klädsel behövde jag en chemisette. Jag fick material av min ständigt nådiga mor, som offrade en ärmlös blus. Jag sydde samman överdelen på bussresan hem till Sverige över jullovet. Därför är ingenting av processen dokumenterat, men åtminstone hur blusen såg ut före och efter.

The blouse before the transformation // Blusen innan förvandlingen

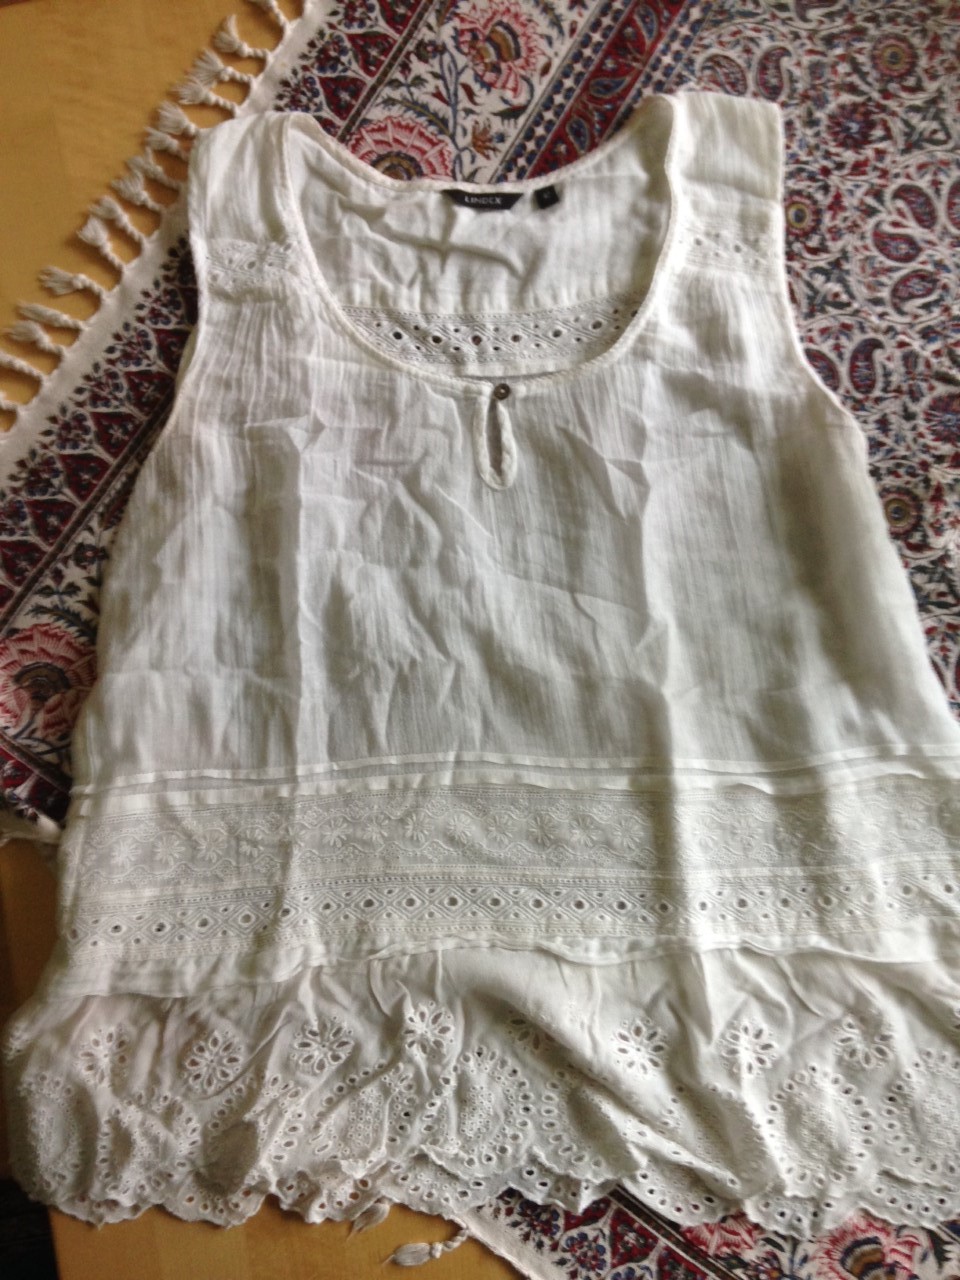
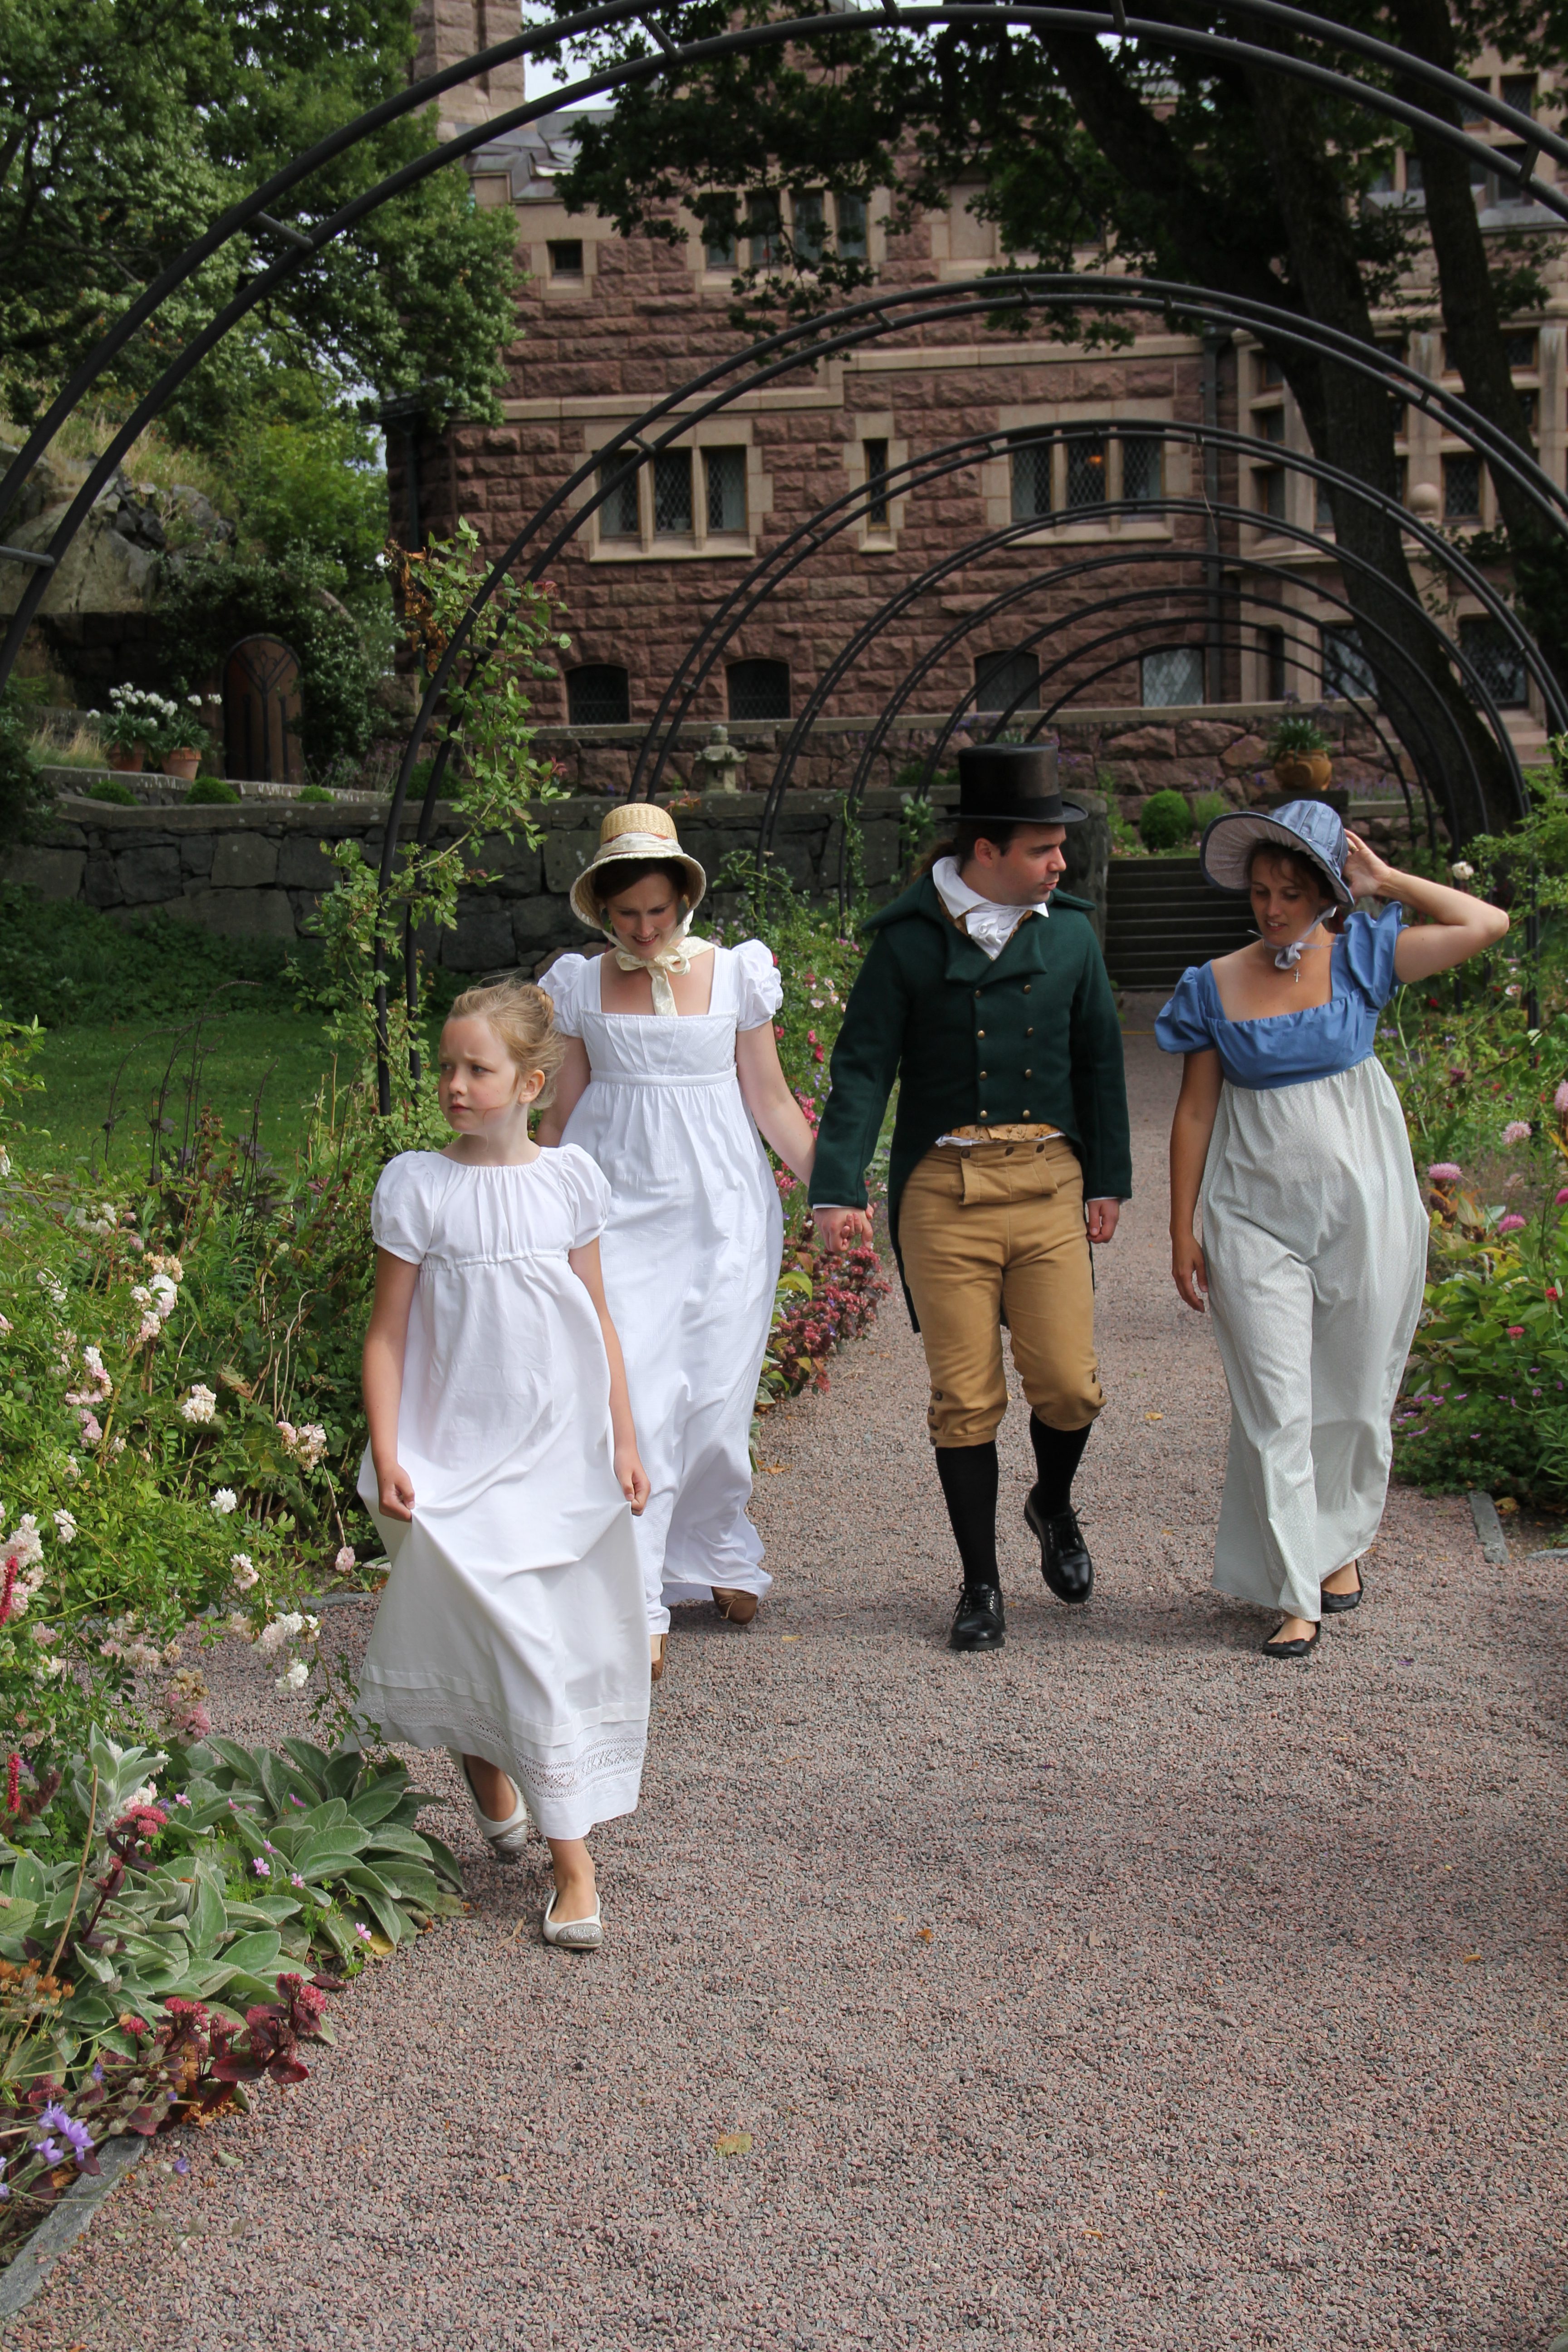
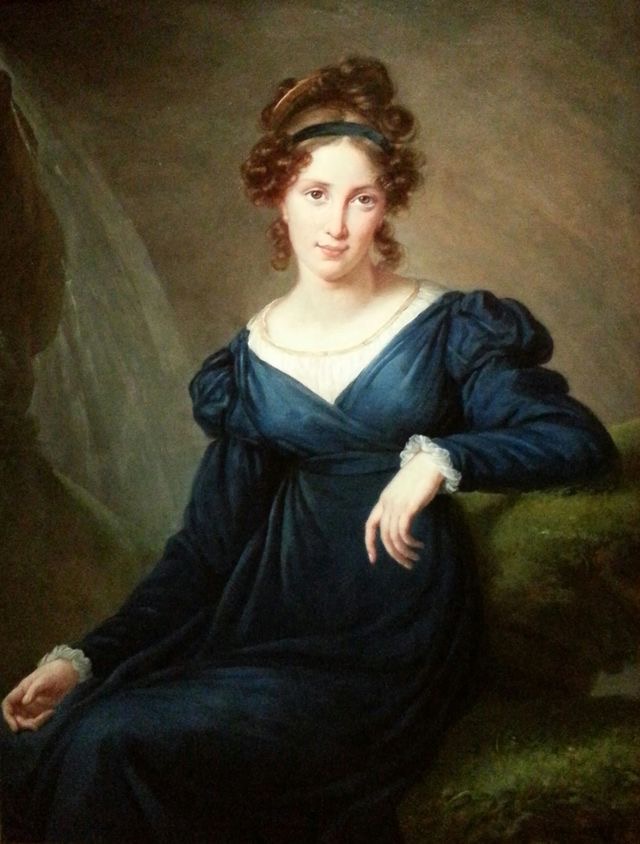
We were so horribly tired, my husband and I, when it was time for photographing the whole look, so the dress does not fit as well as it should. But you have seen the earlier photos, where it is perfect, haven’t you?

Jag och min man var fasansfullt trötta när vi skulle fotografera dräkten, så tyvärr sitter den inte så bra som den borde. Men du har väl sett de tidigare bilderna, där den sitter perfekt, eller hus?

Another look-alike // Ännu ett försök till look-alike-bild

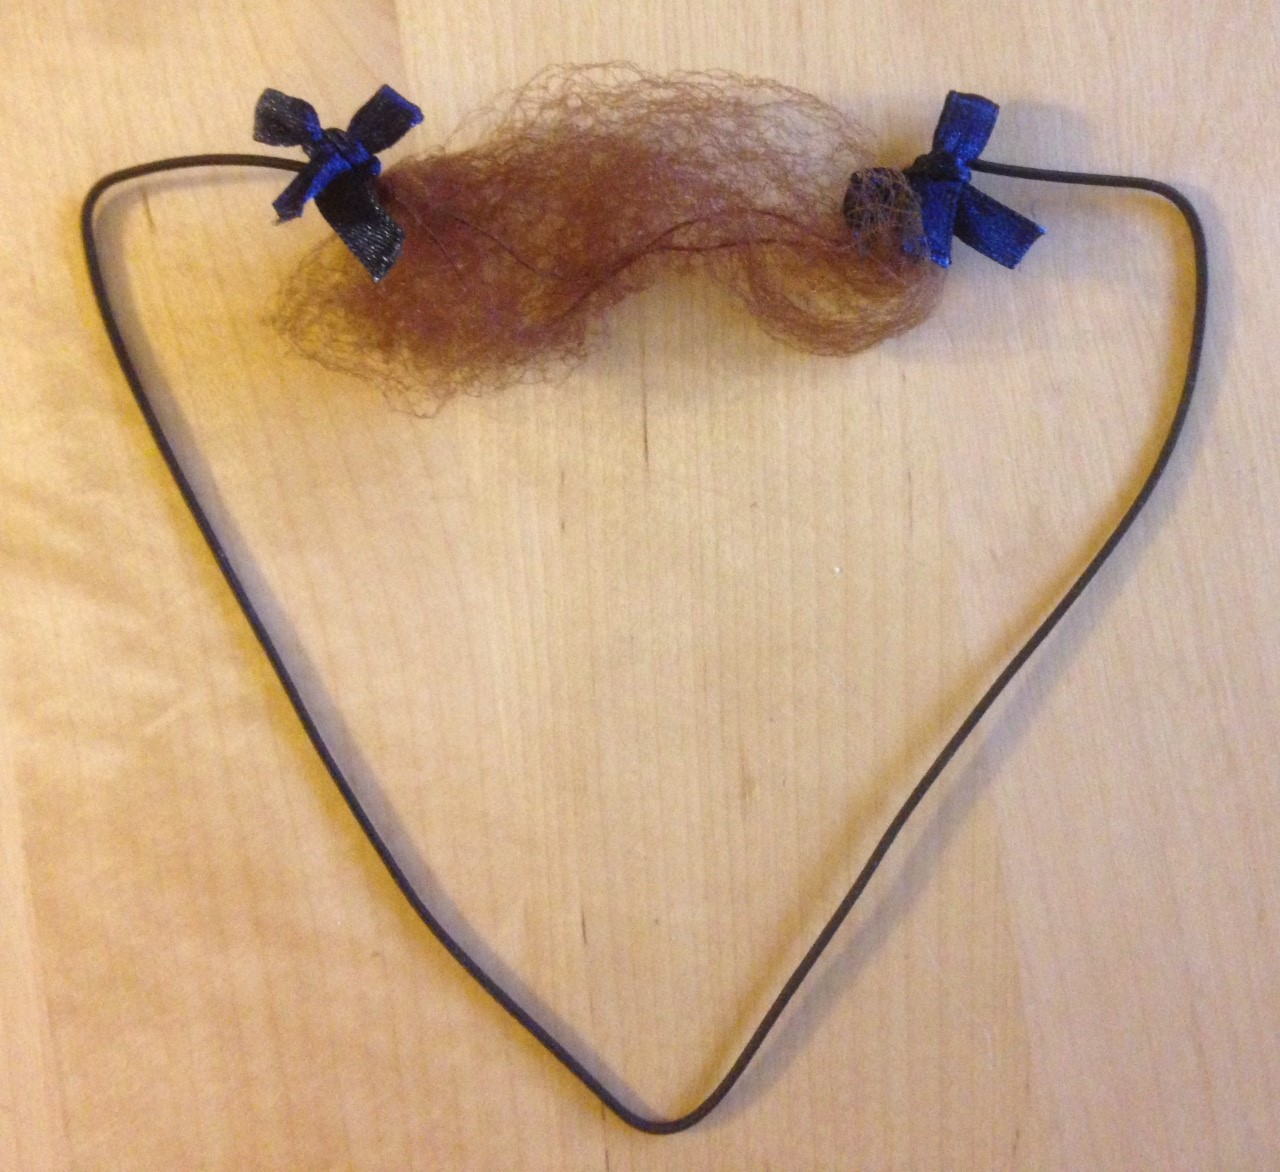
My brother has grown an impressive moustache. It needs some special care. I made a mustache net for his birthday. Therefor I took one of my hair nets and attached an elastic ribbon. I hid the knots underneath some manly bows.

Min bror har fått en präktig mustasch. Den behöver lite extra omvårdnad. Därför gjorde jag ett mustaschnät åt honom i födelsedagspresent. Jag använde ett hårnät och knöt fast ett svart resårband. Knutarna dålde jag under manliga rosetter.

Moustach net // Mustasch-nät

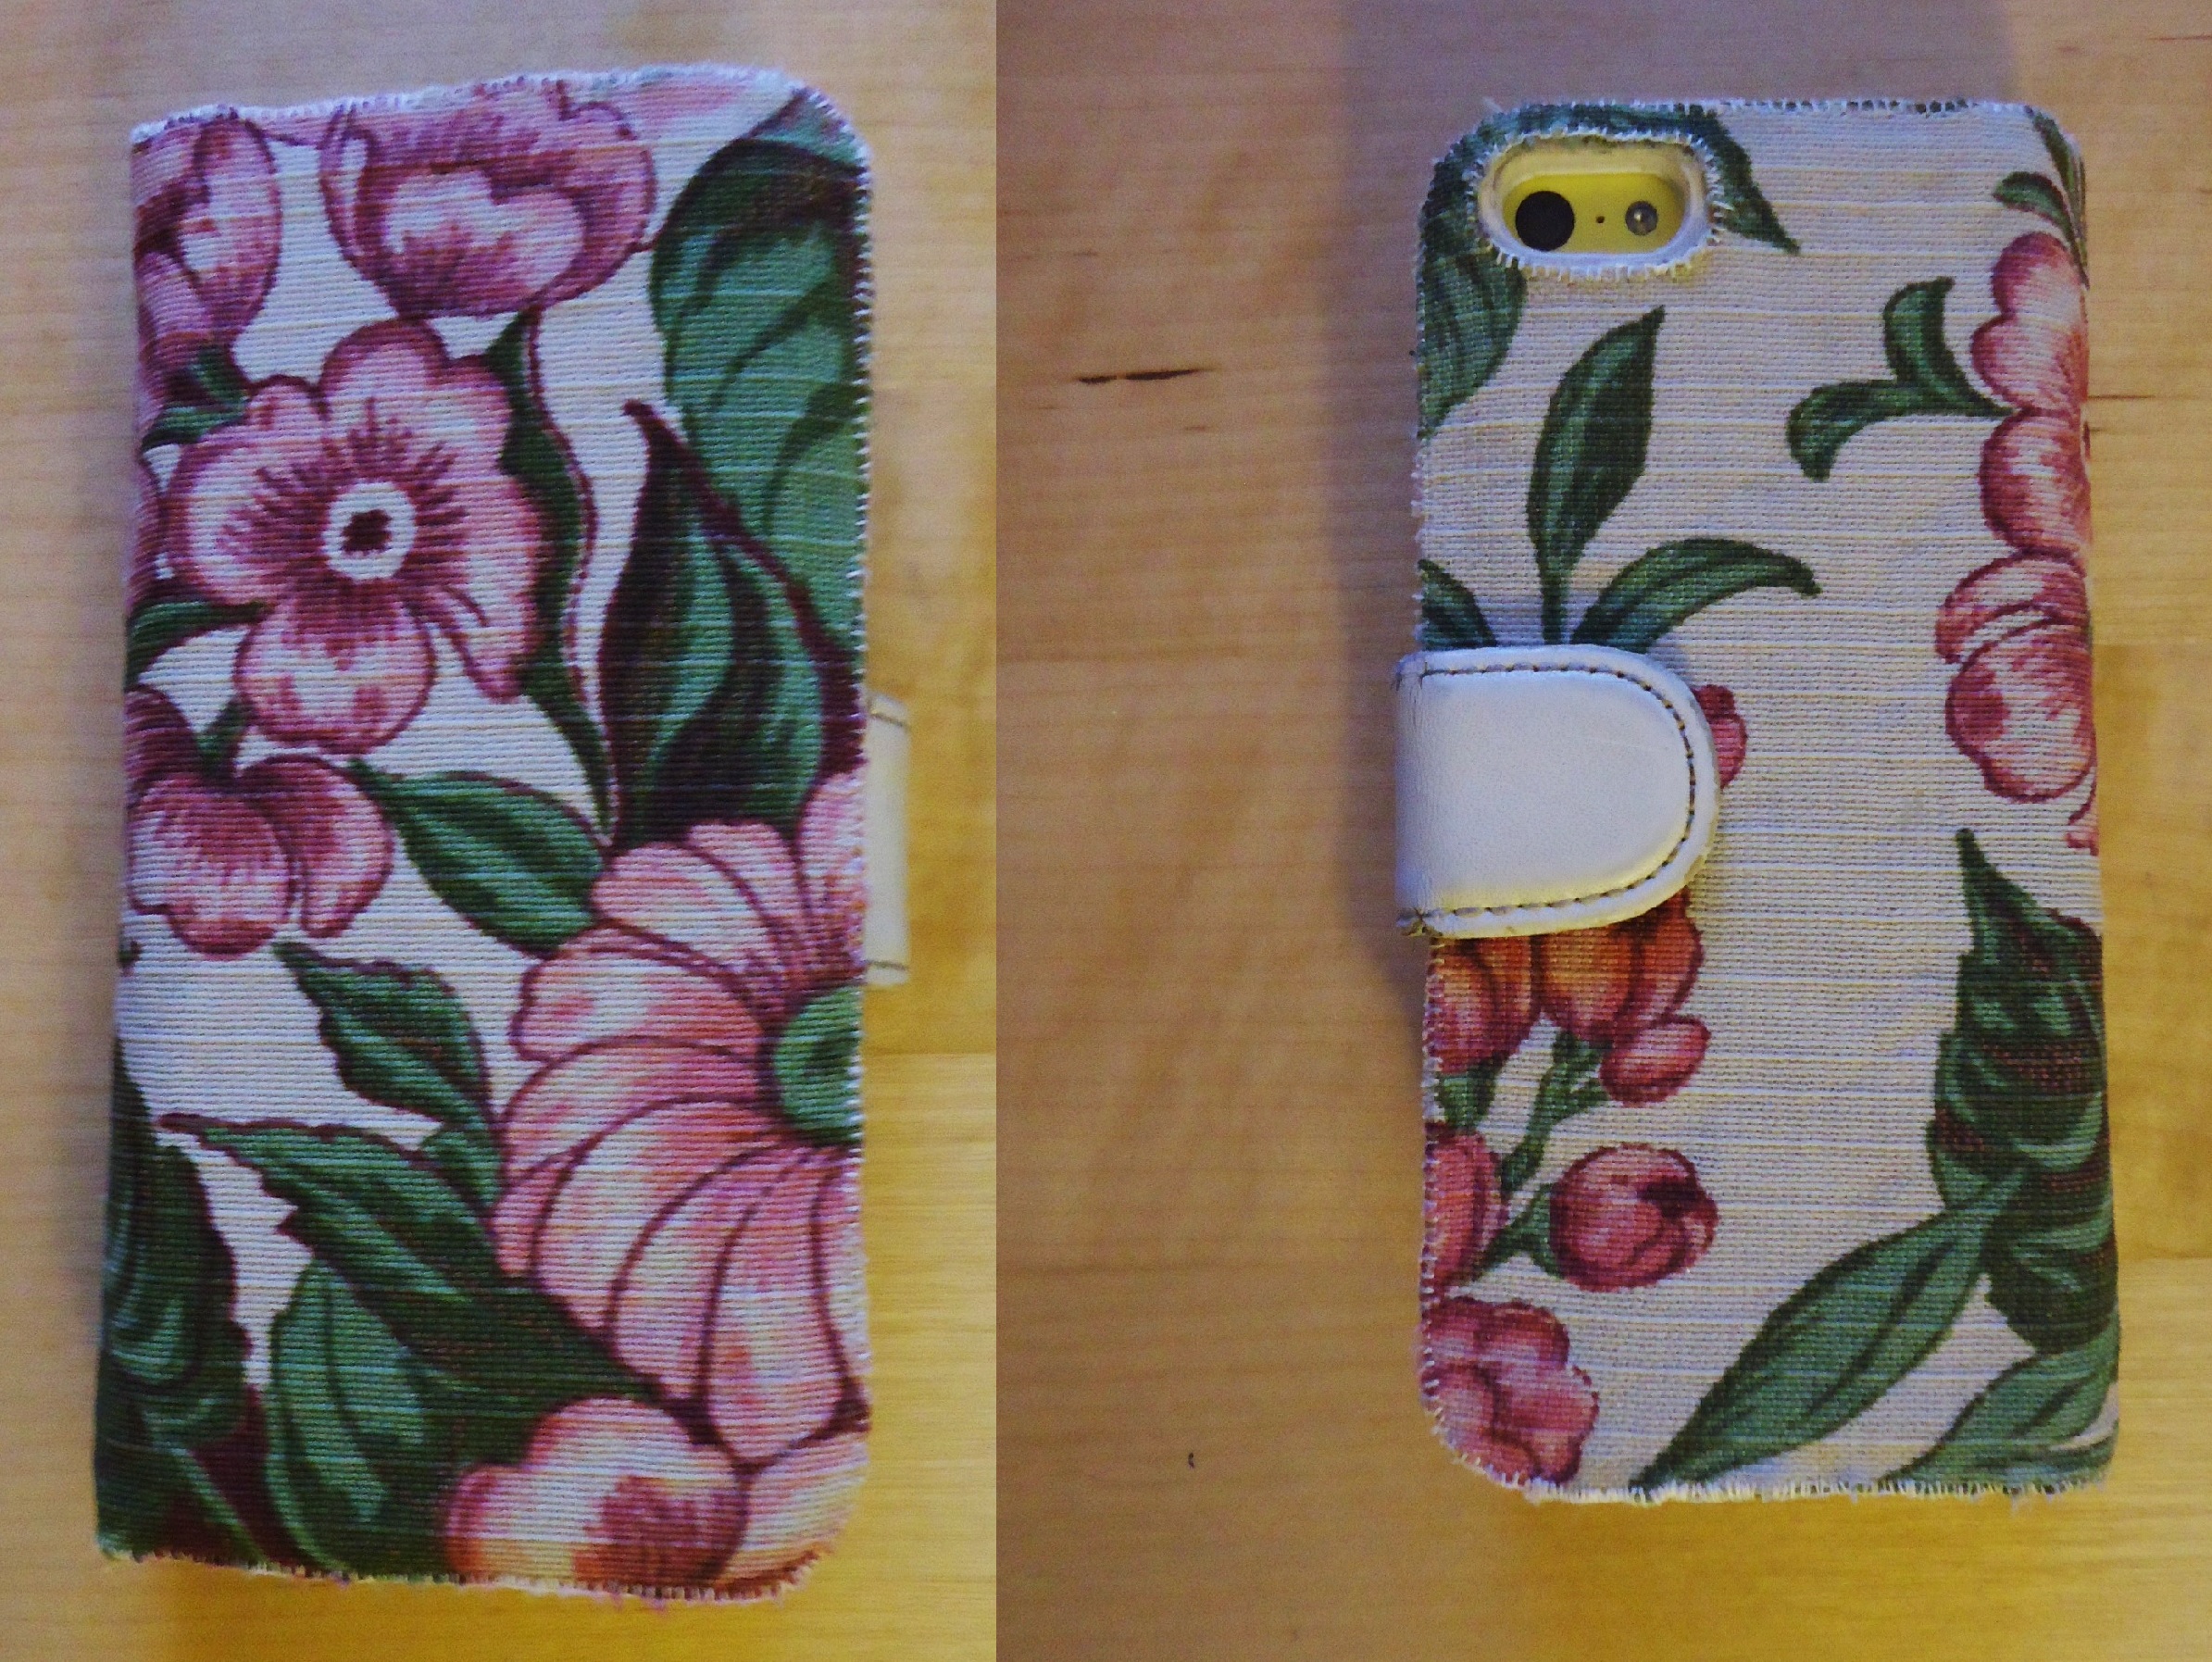
The case for my cell phone was in a horrible state when I should go to my last exam. Because we had the opportunity to use the Internet, while interviewing and examining our patient, I felt that it would be directly disrespectful to use filthy, unhygienic case more. So I used an old scrap fabric (from the lampshade) to dress it up a bit. Sweet. Then I discovered that there was absolutely no time for checking stuff on the internet anyway, but I’m glad I now don’t have to feel gross when I want to use my cell phone.

Mitt mobilfodral såg förfärligt ut när det drog ihop sig för min sista tenta. Vi skulle ha möjlighet att använda internet under journalskrivningen och detta kunde jag bara komma åt via min mobil. Därför kände jag att det skulle vara näst intill respektlöst mot patienten om jag använde detta äckliga fodral. Jag klädde om fodralet med en gammal stuvbit, från när jag klädde om en lampskärm. Det blev ganska fint. Sedan blev det absolut ingen tid över för att använda internet ändå, men det är skönt att slippa känna sig äcklig när man använder sin telefon.

Case for the cell phone // Mobilfodral

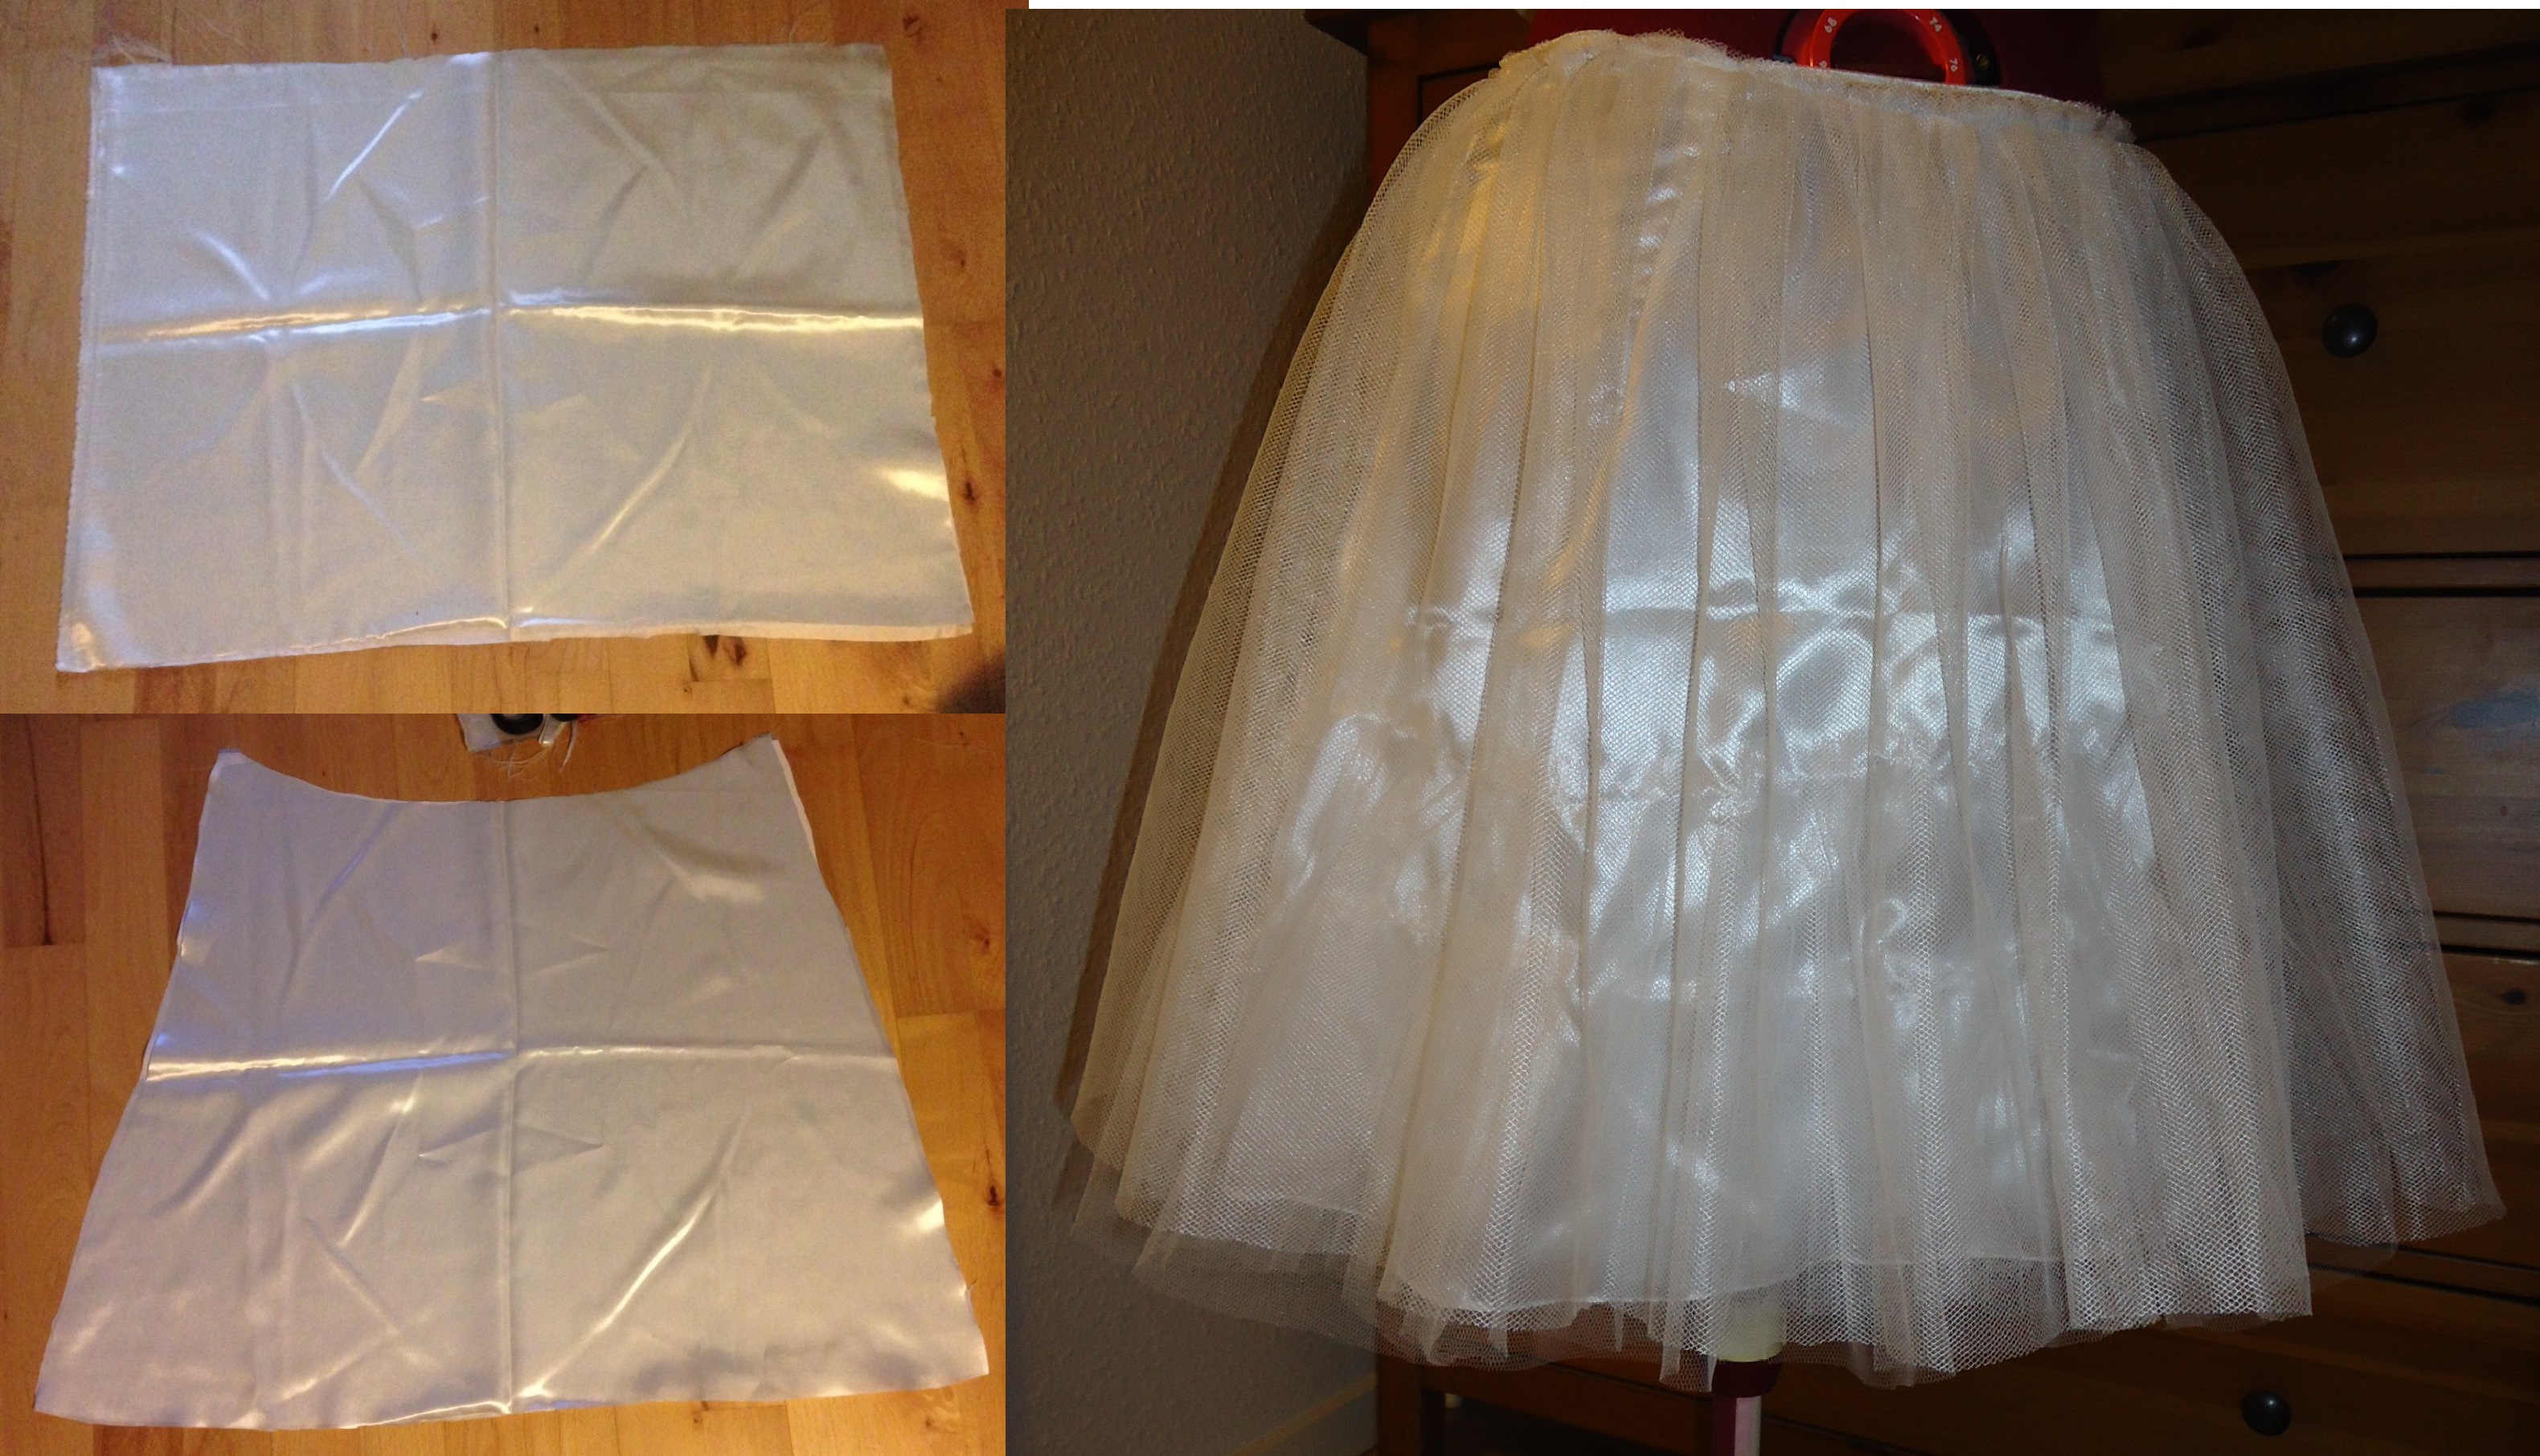
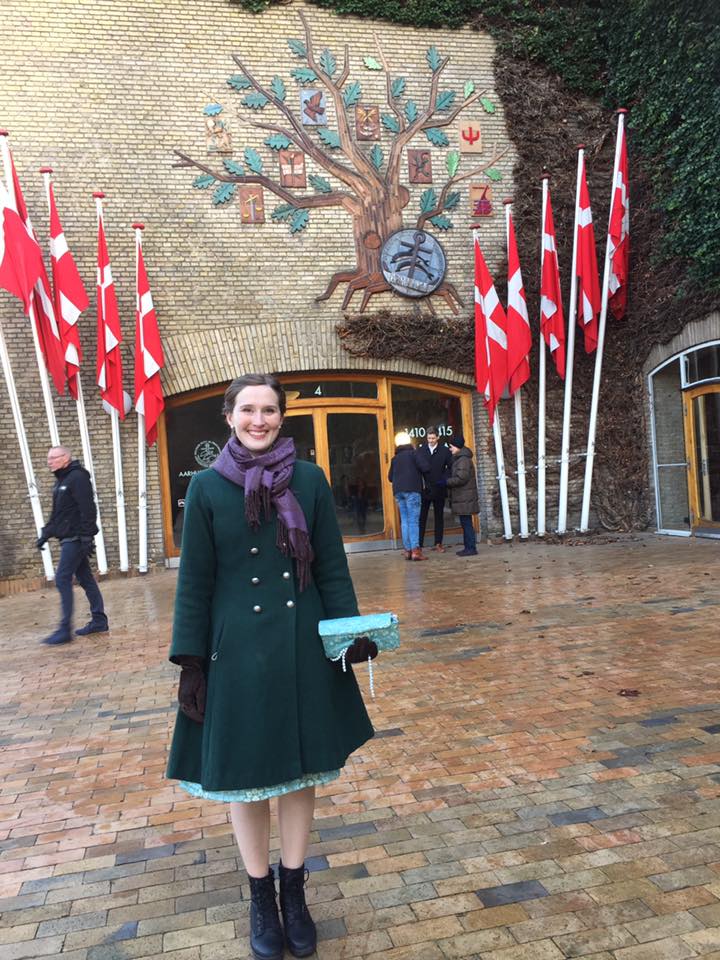
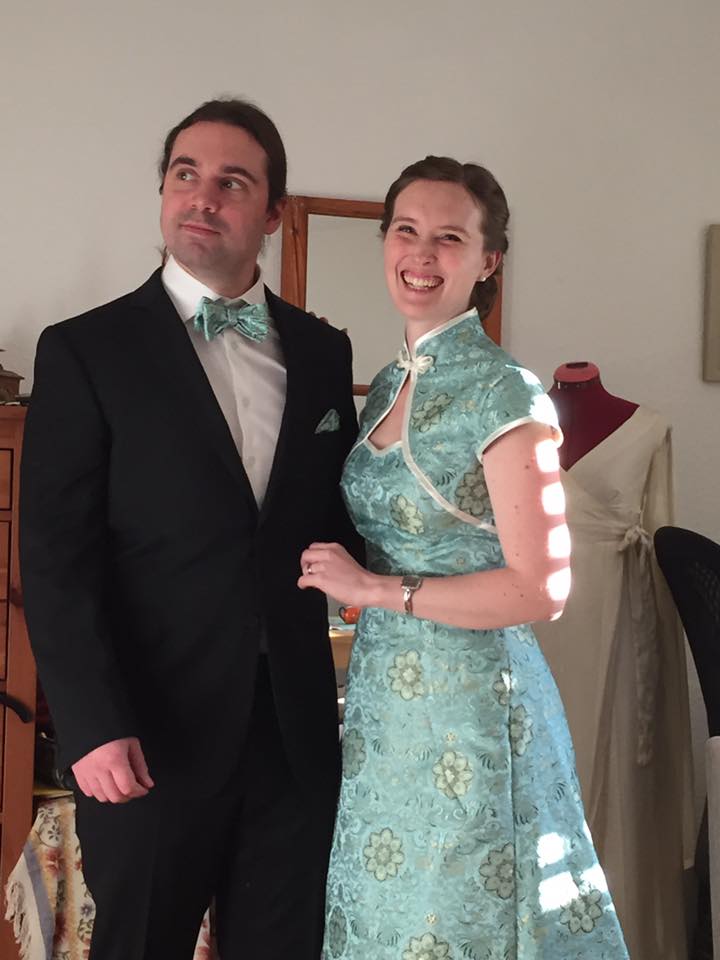
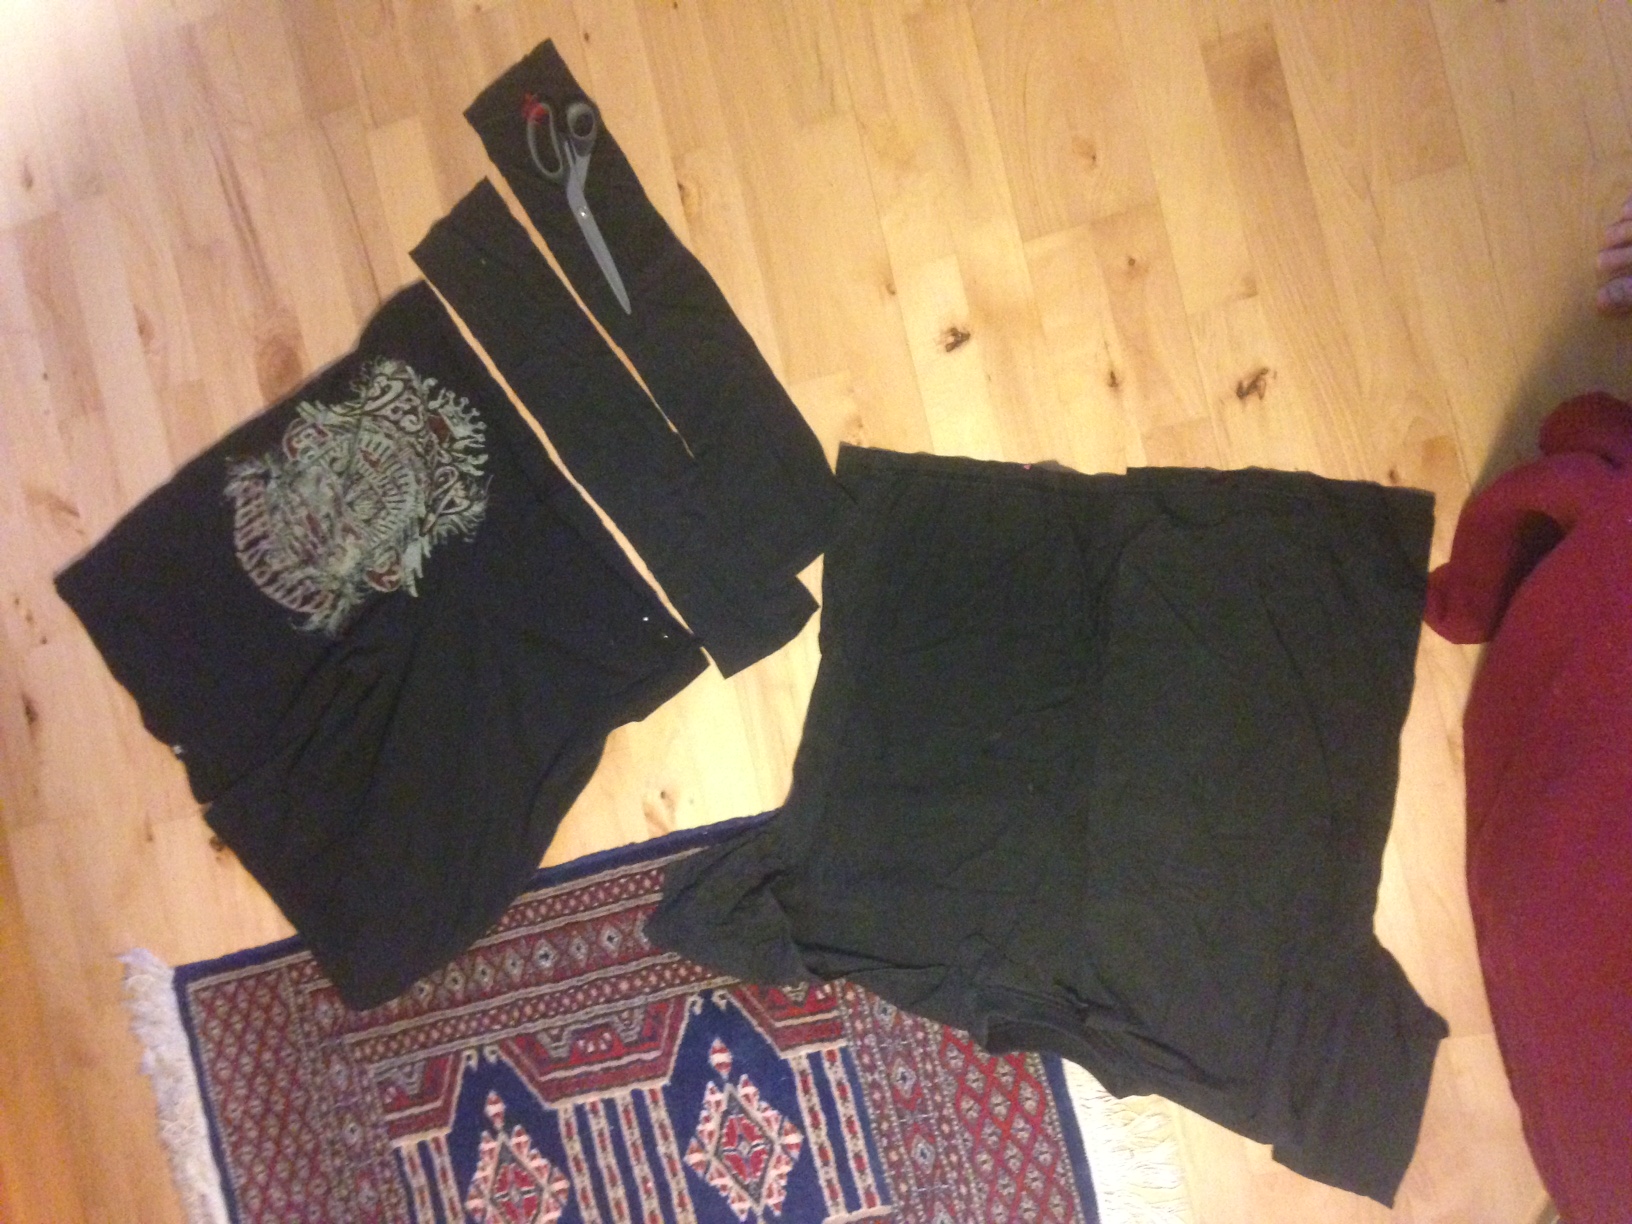
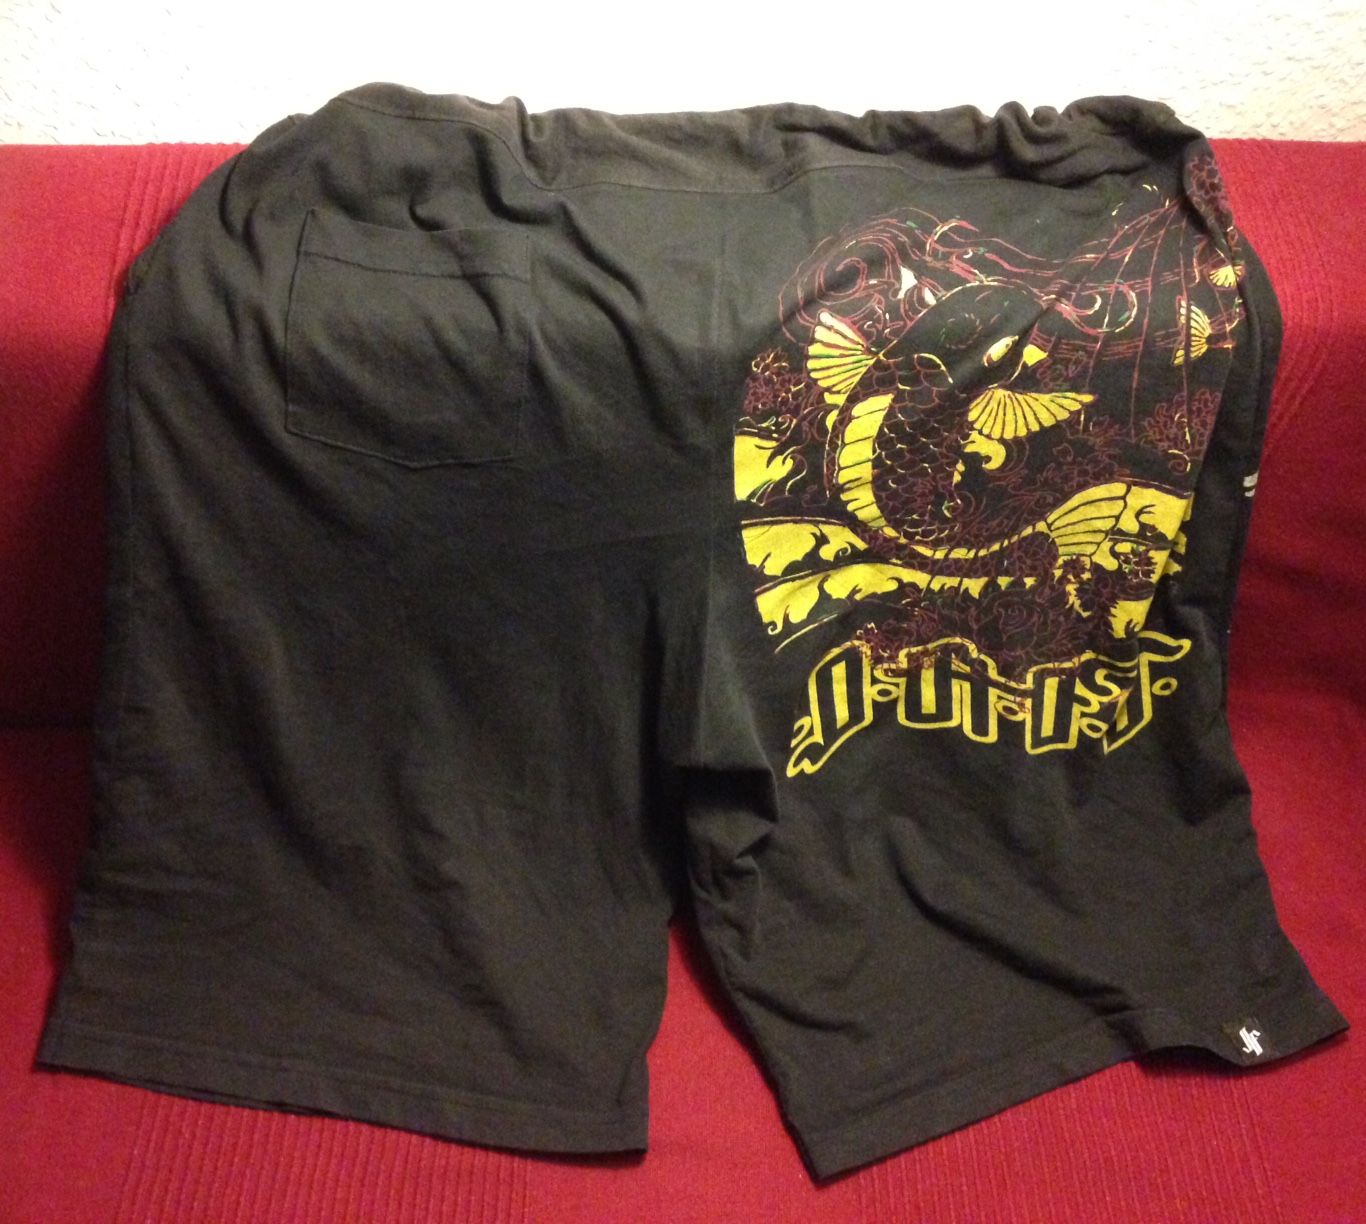
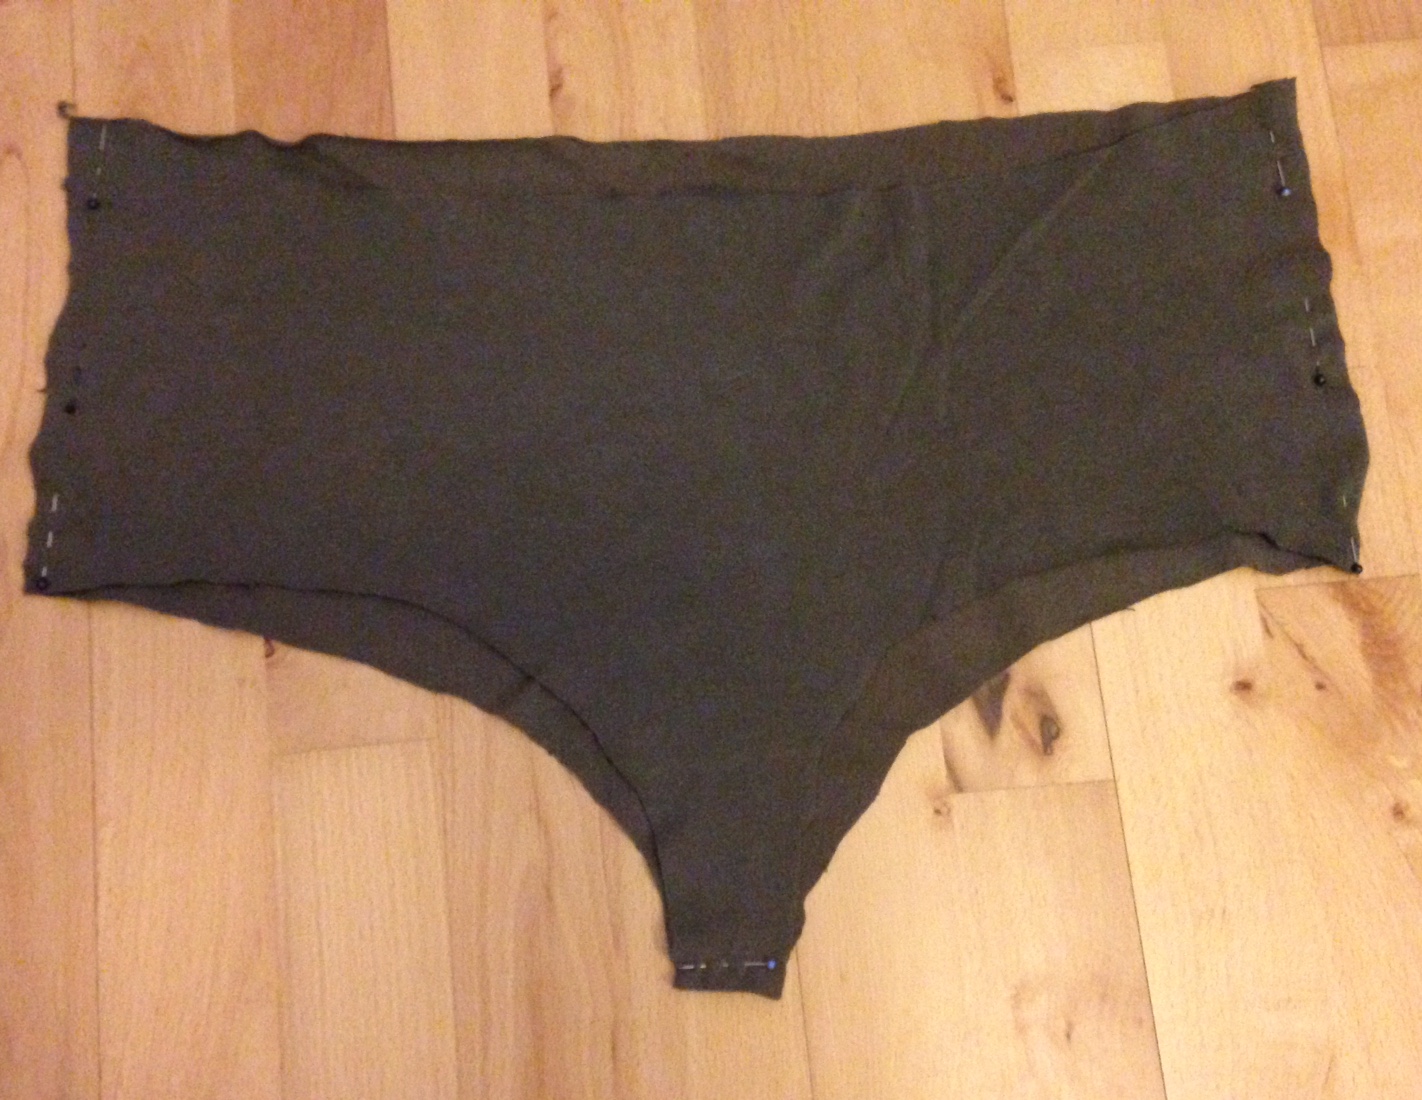
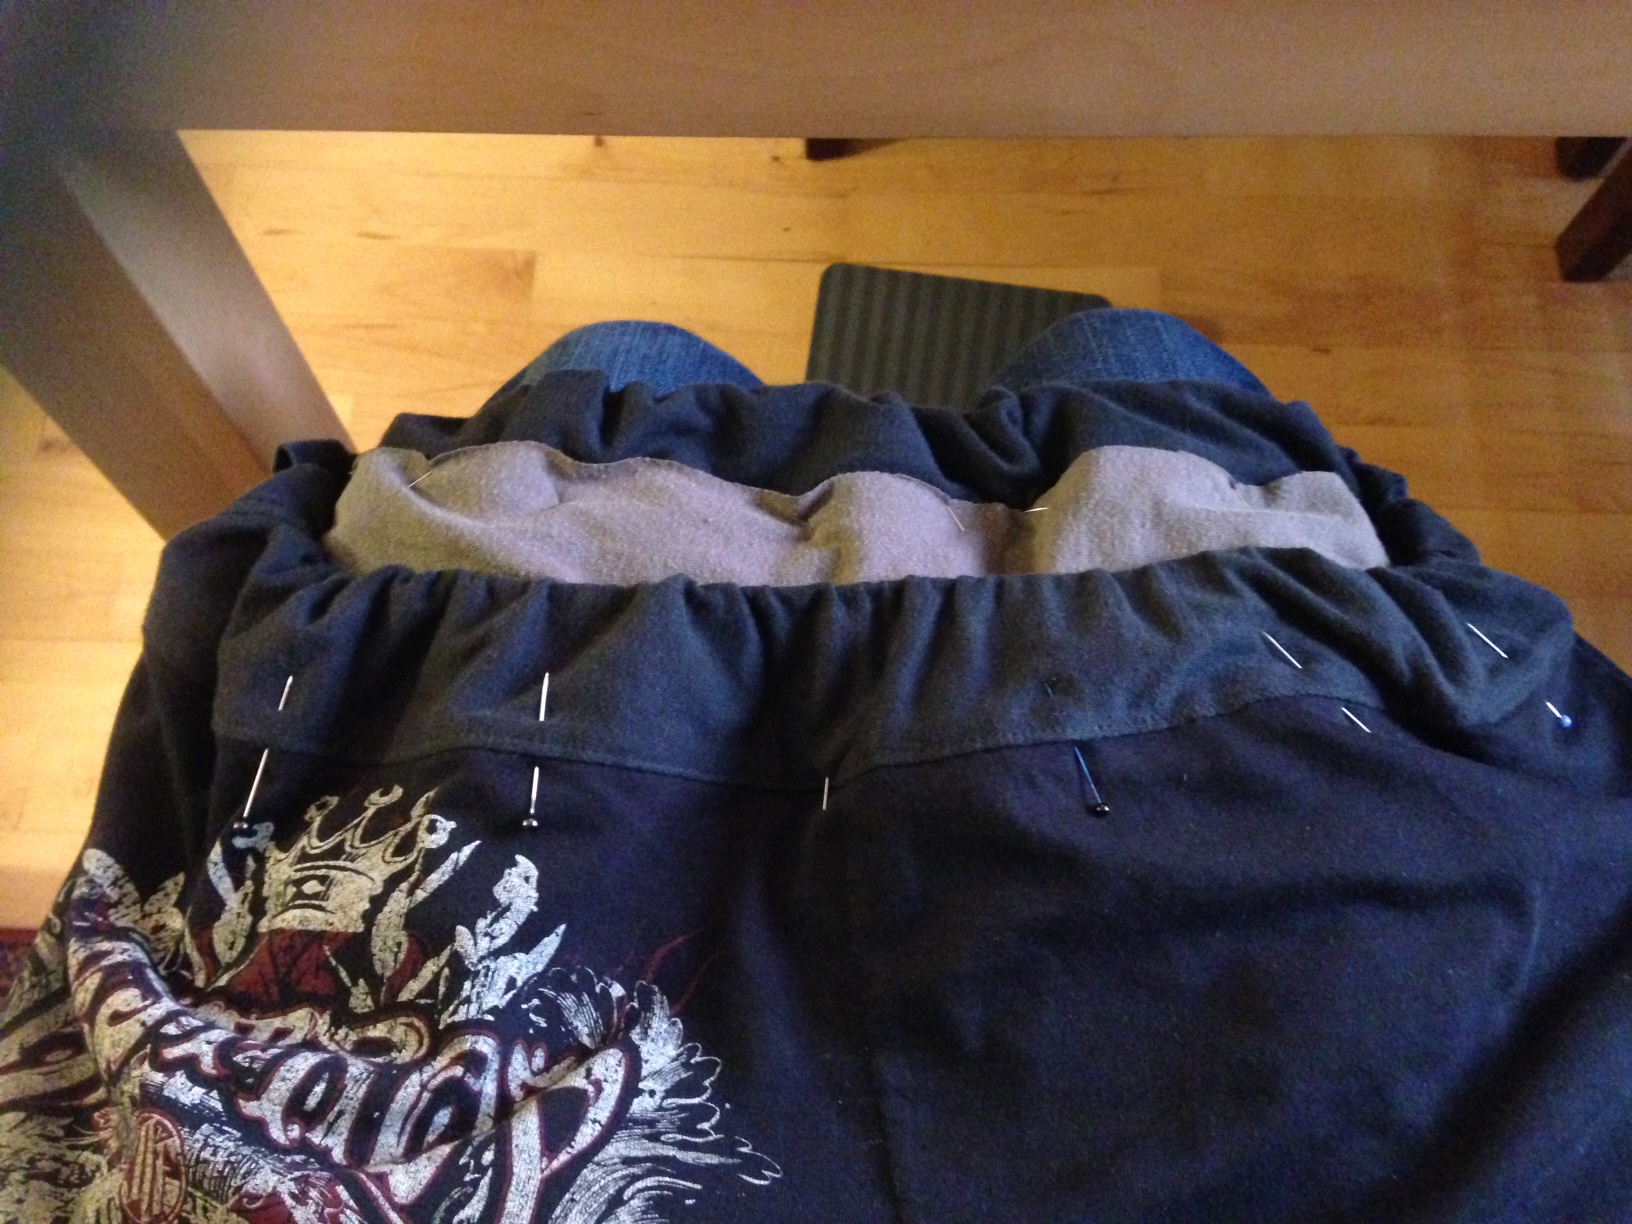
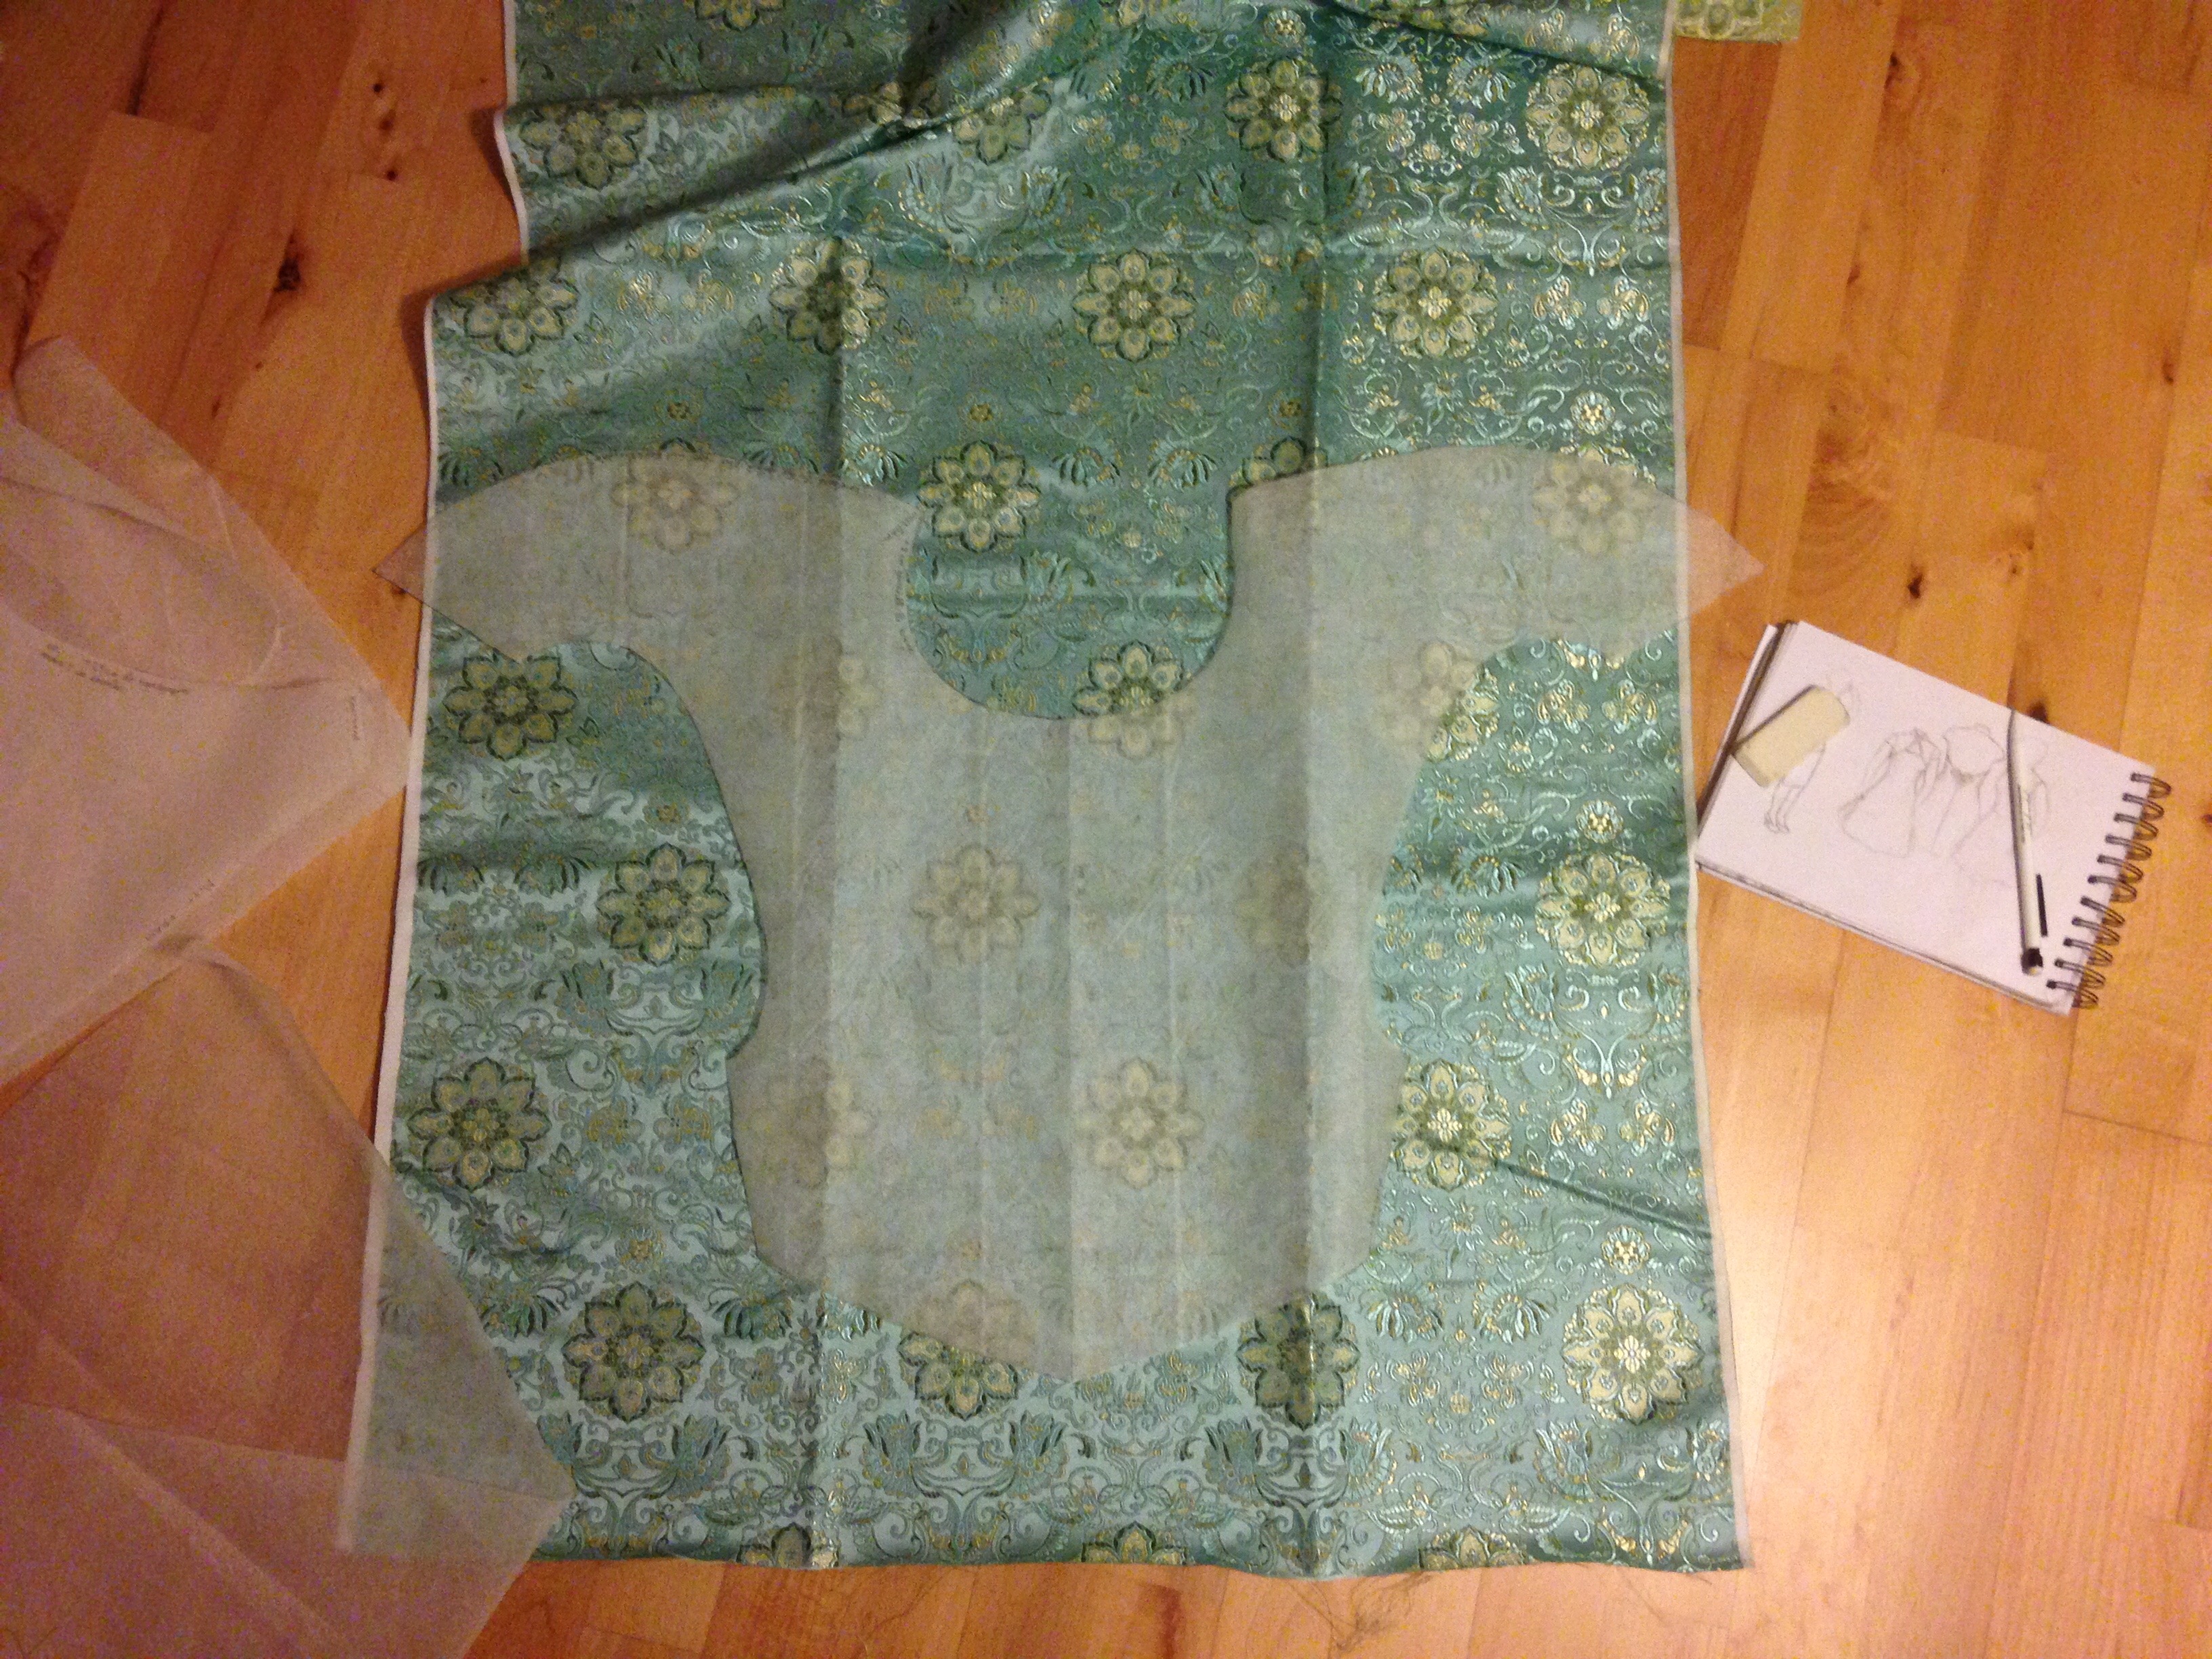
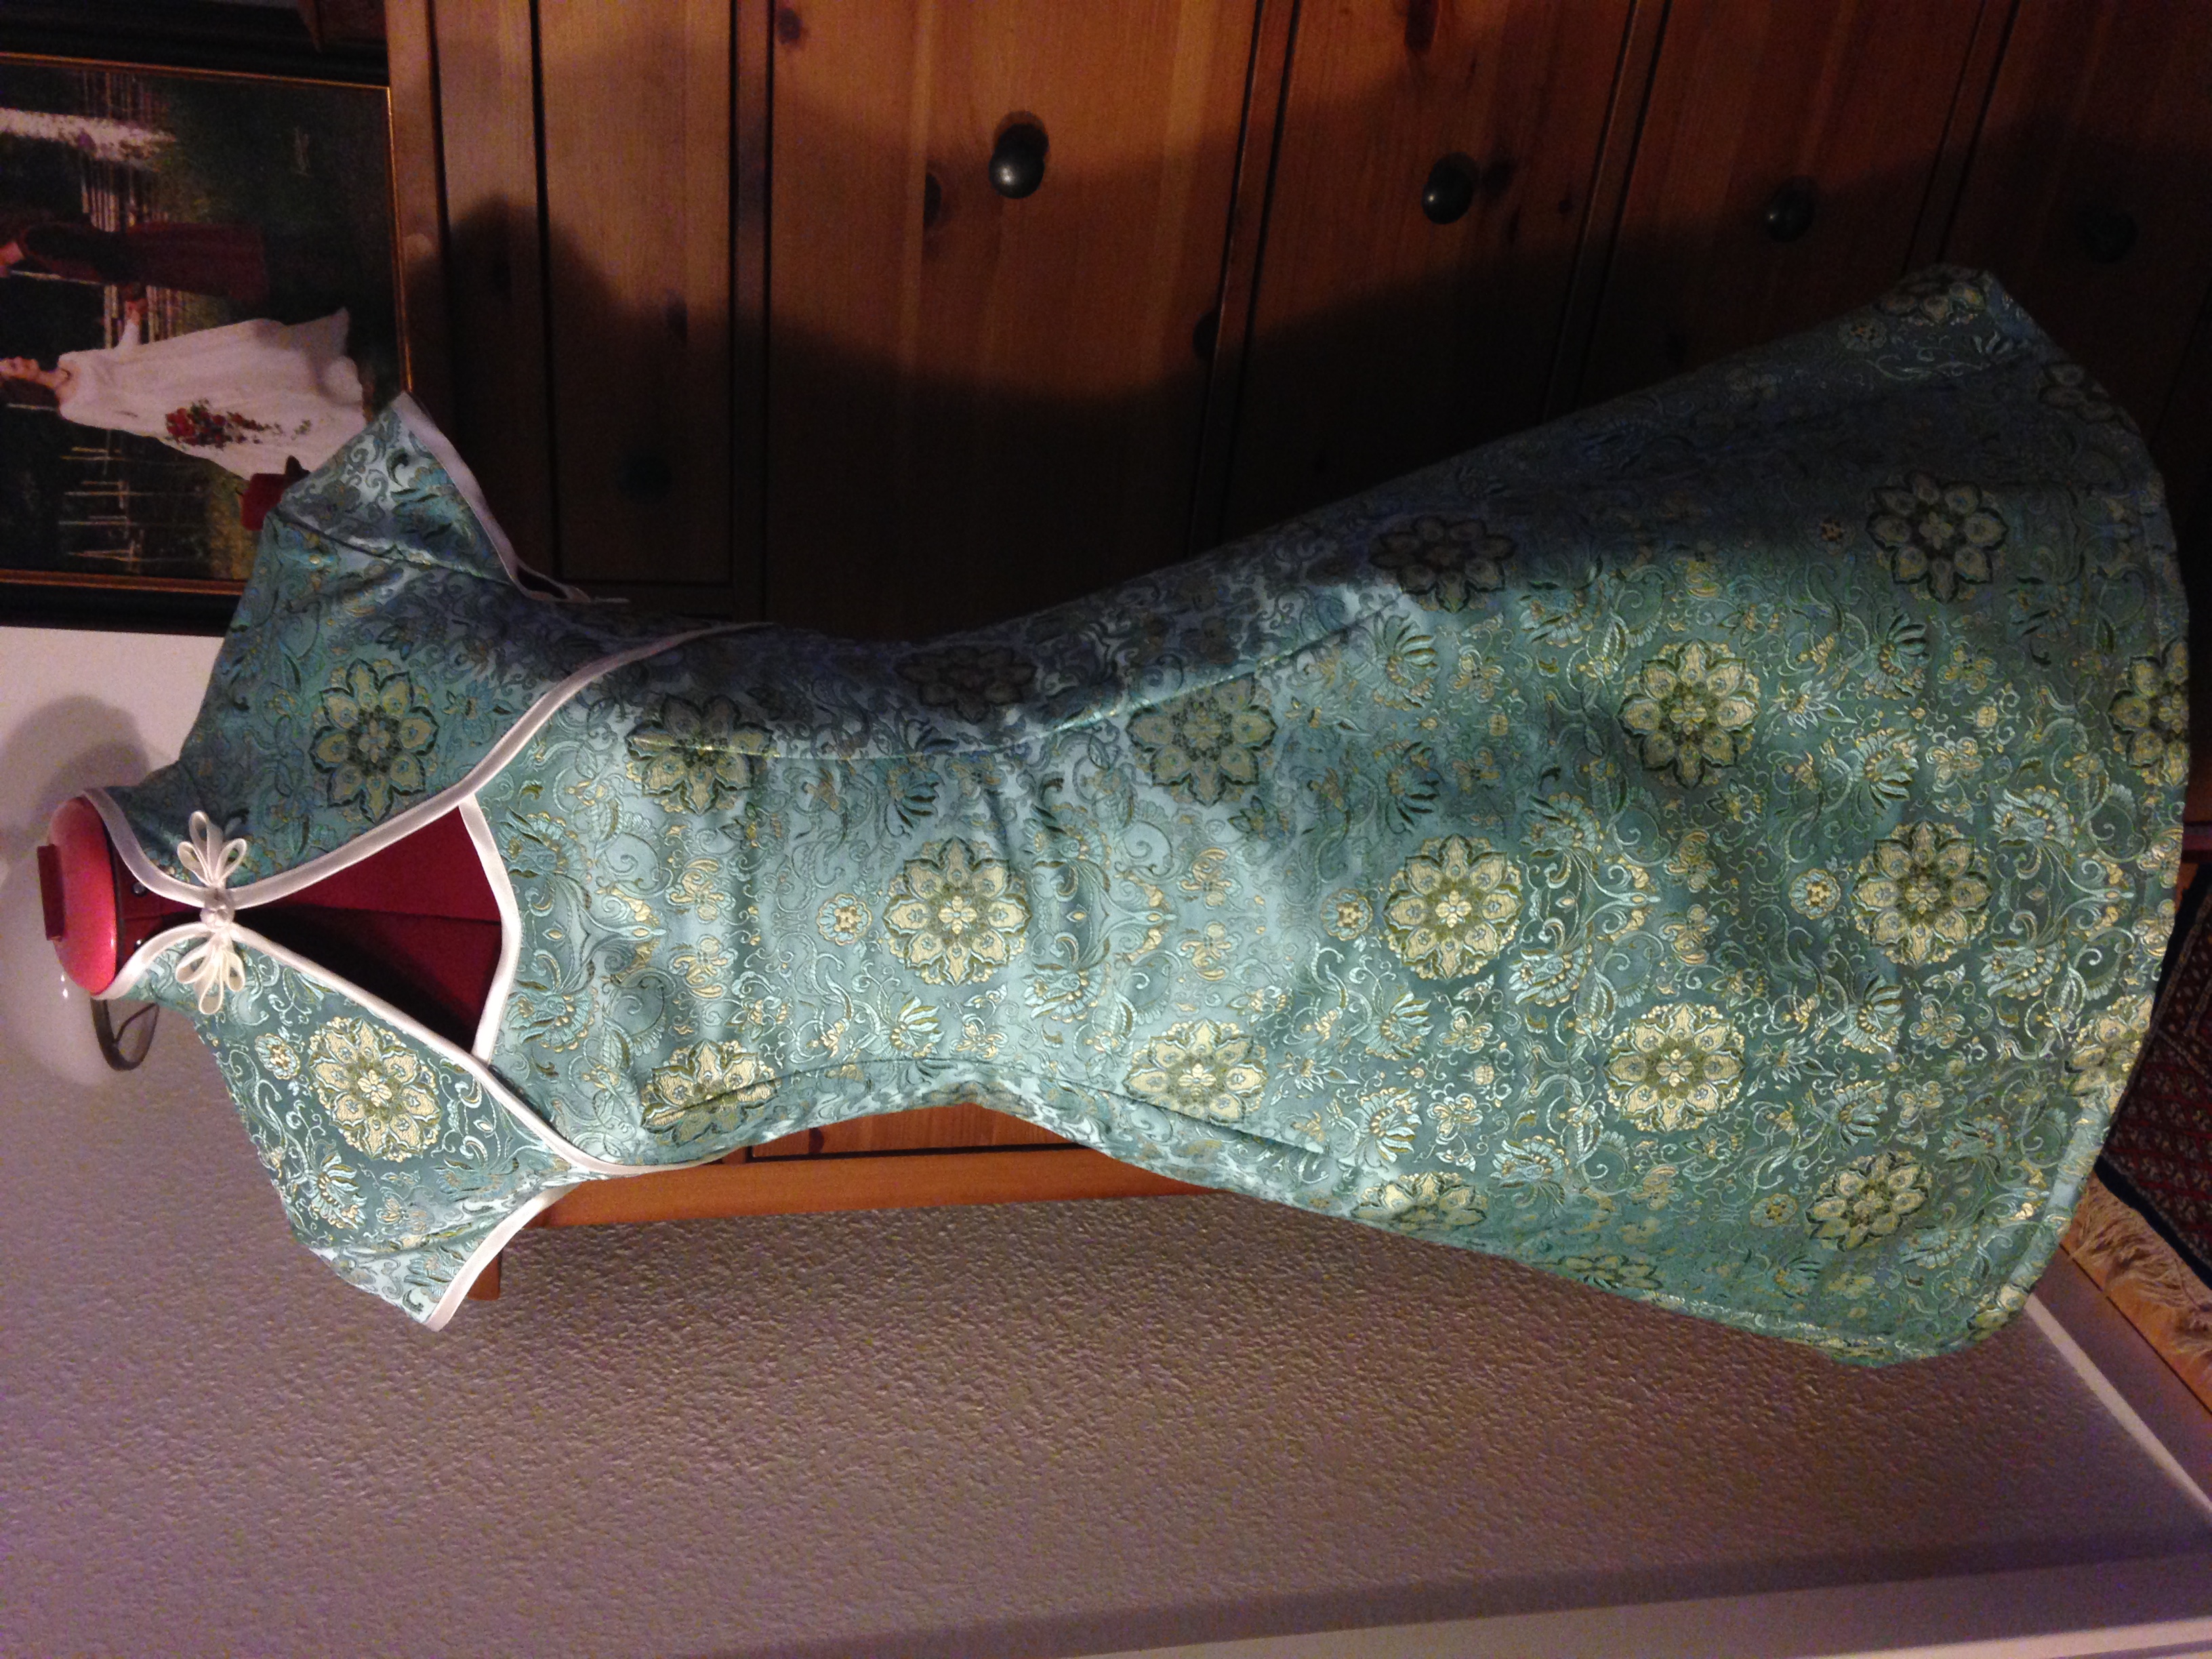
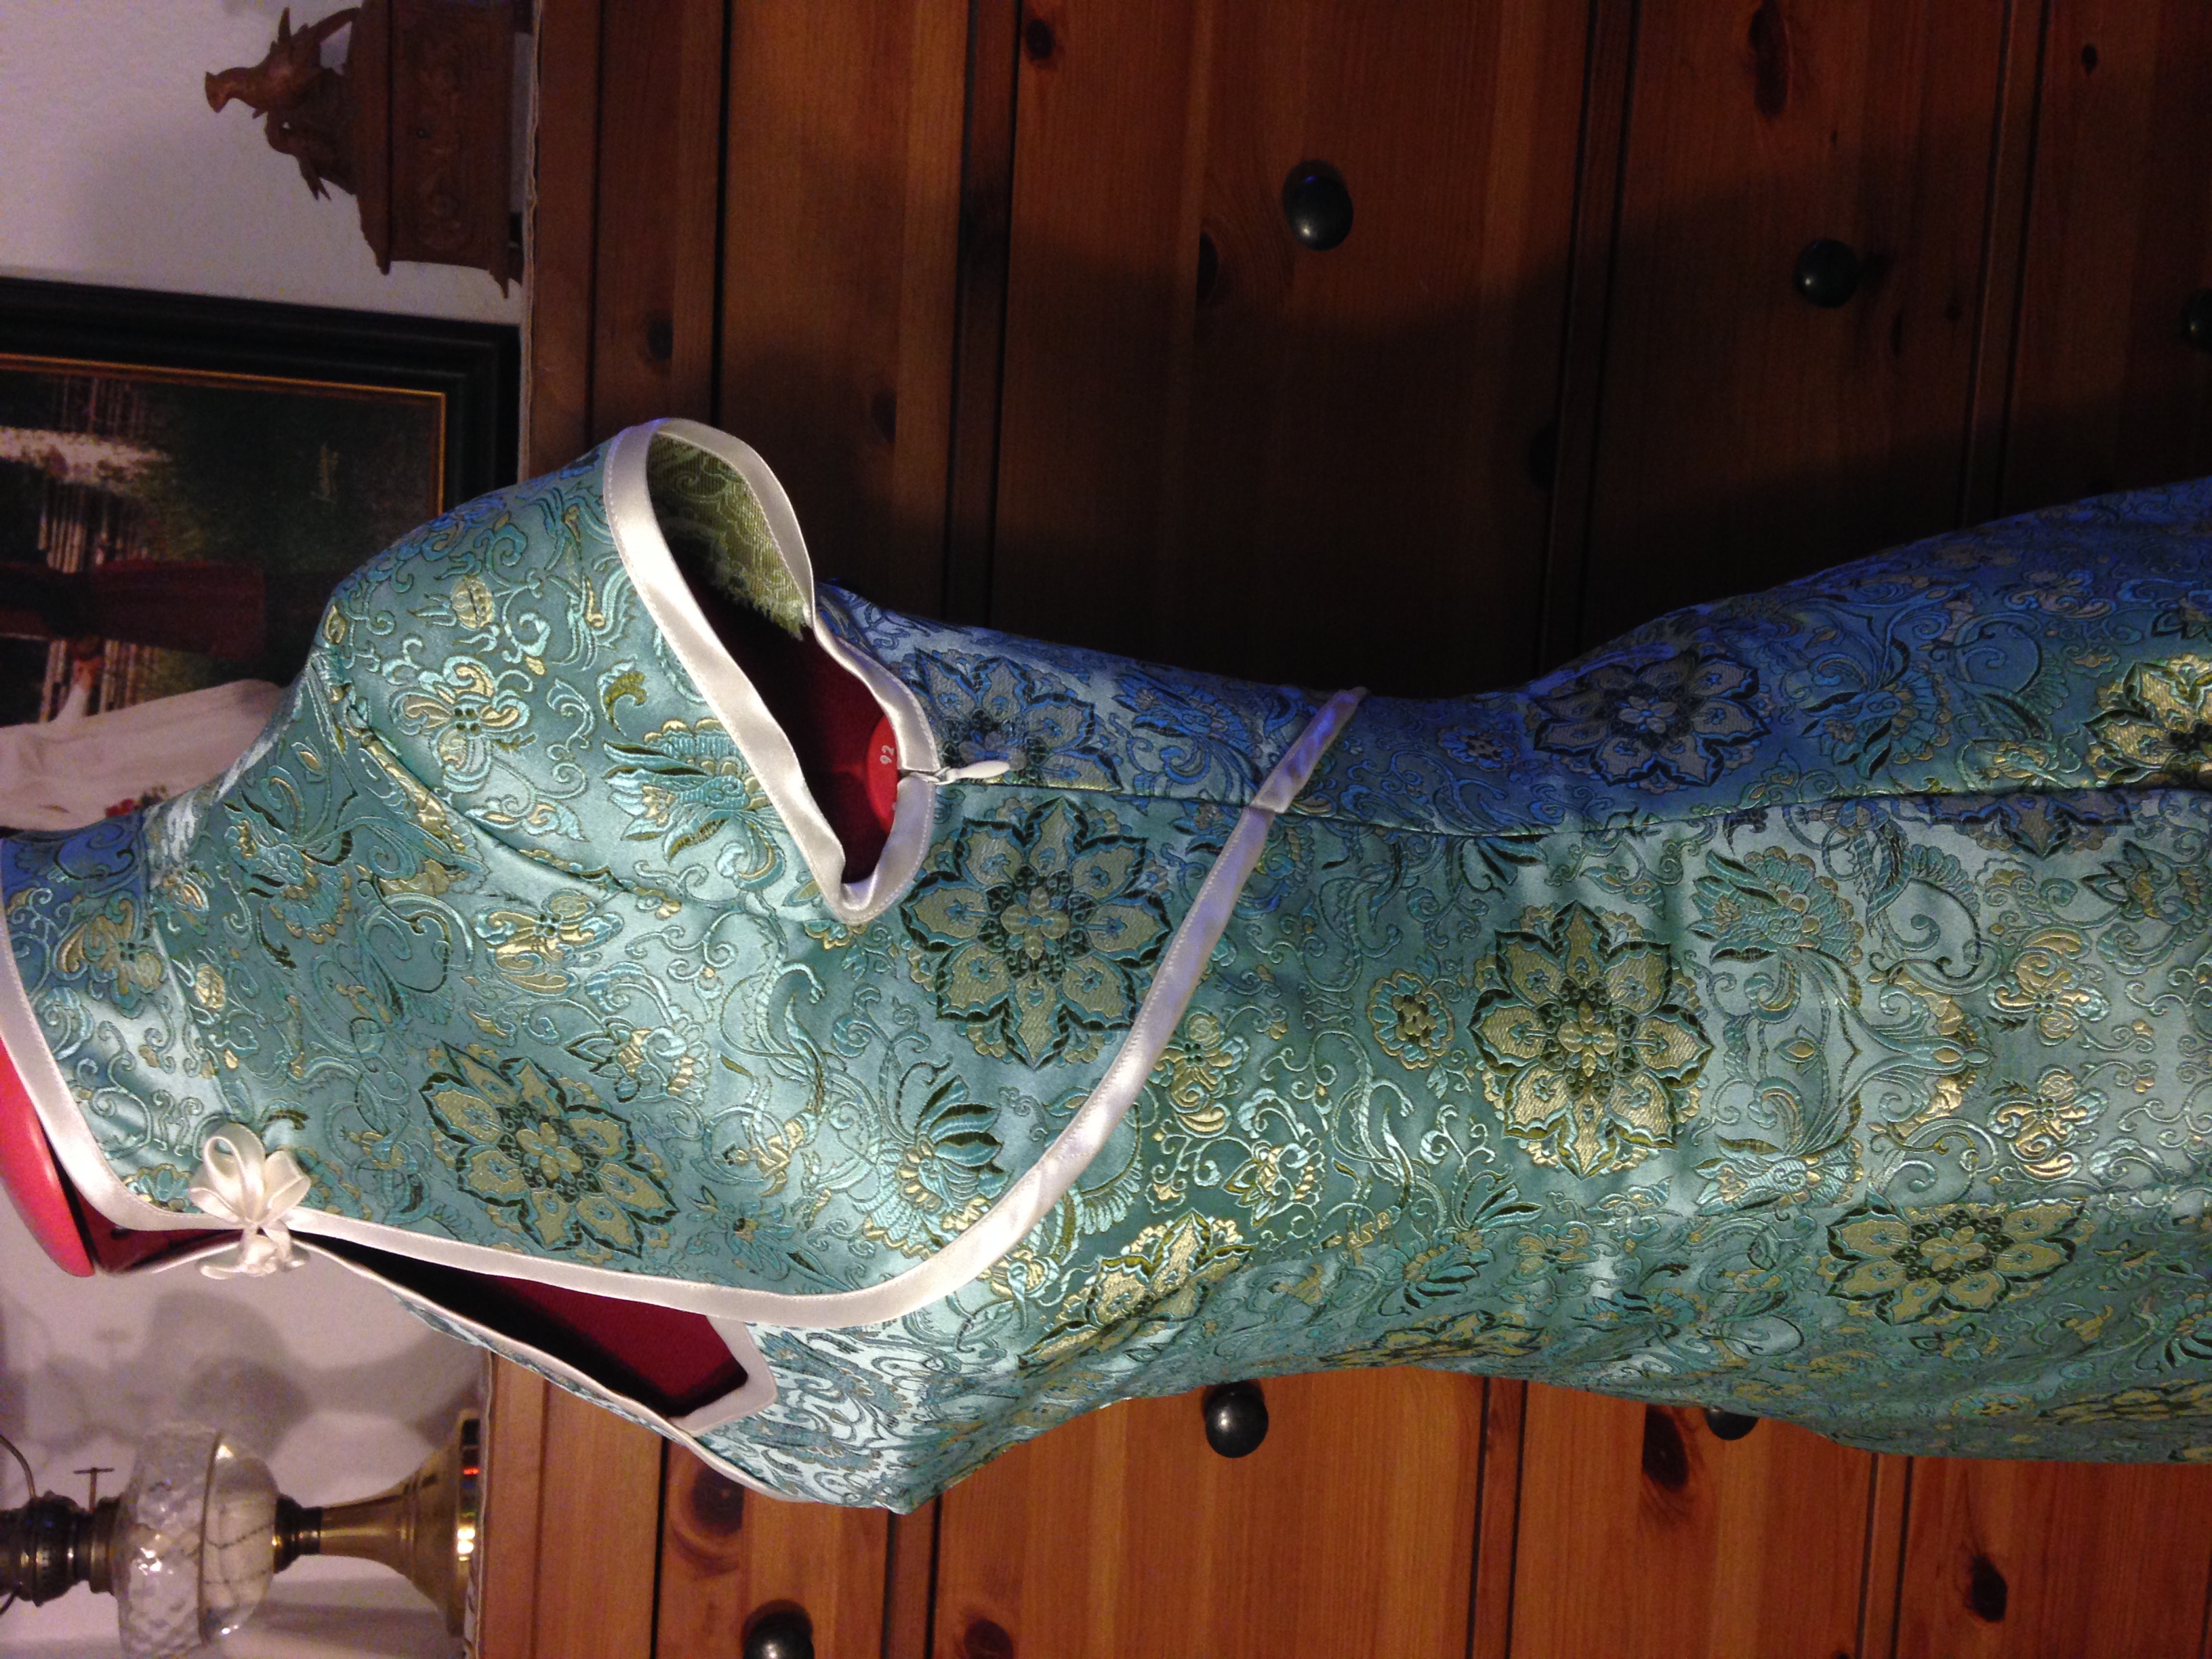
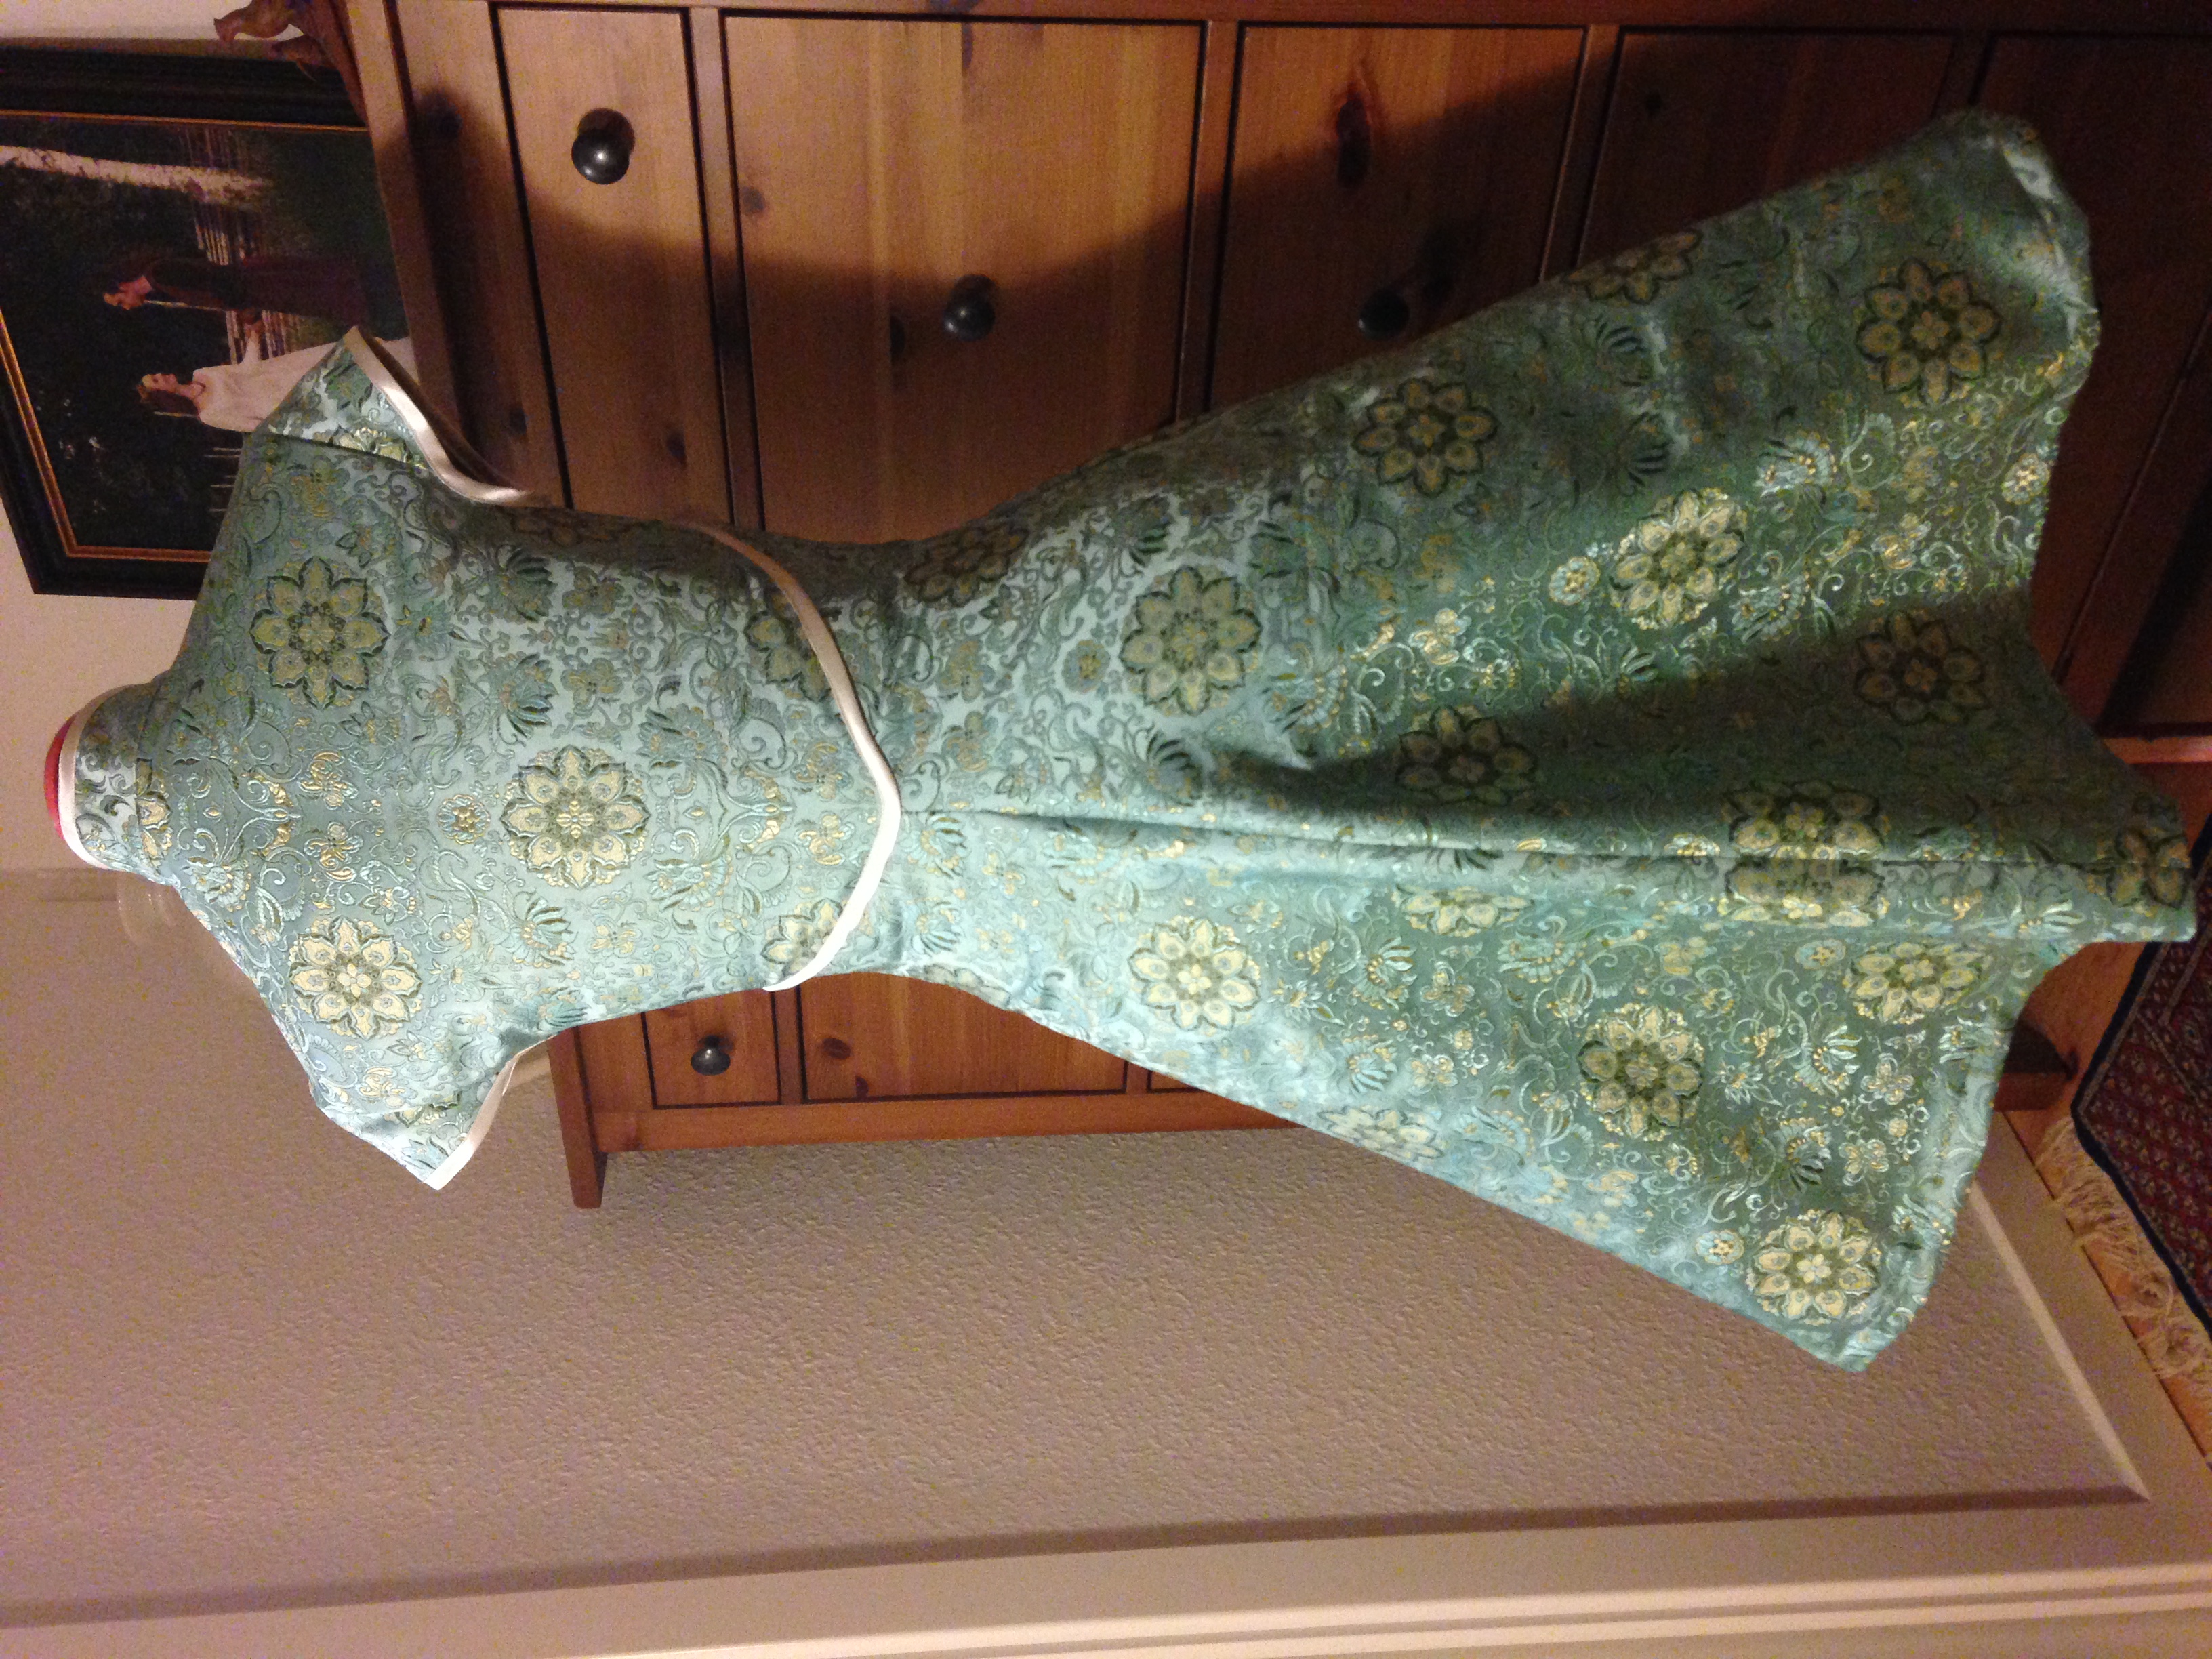
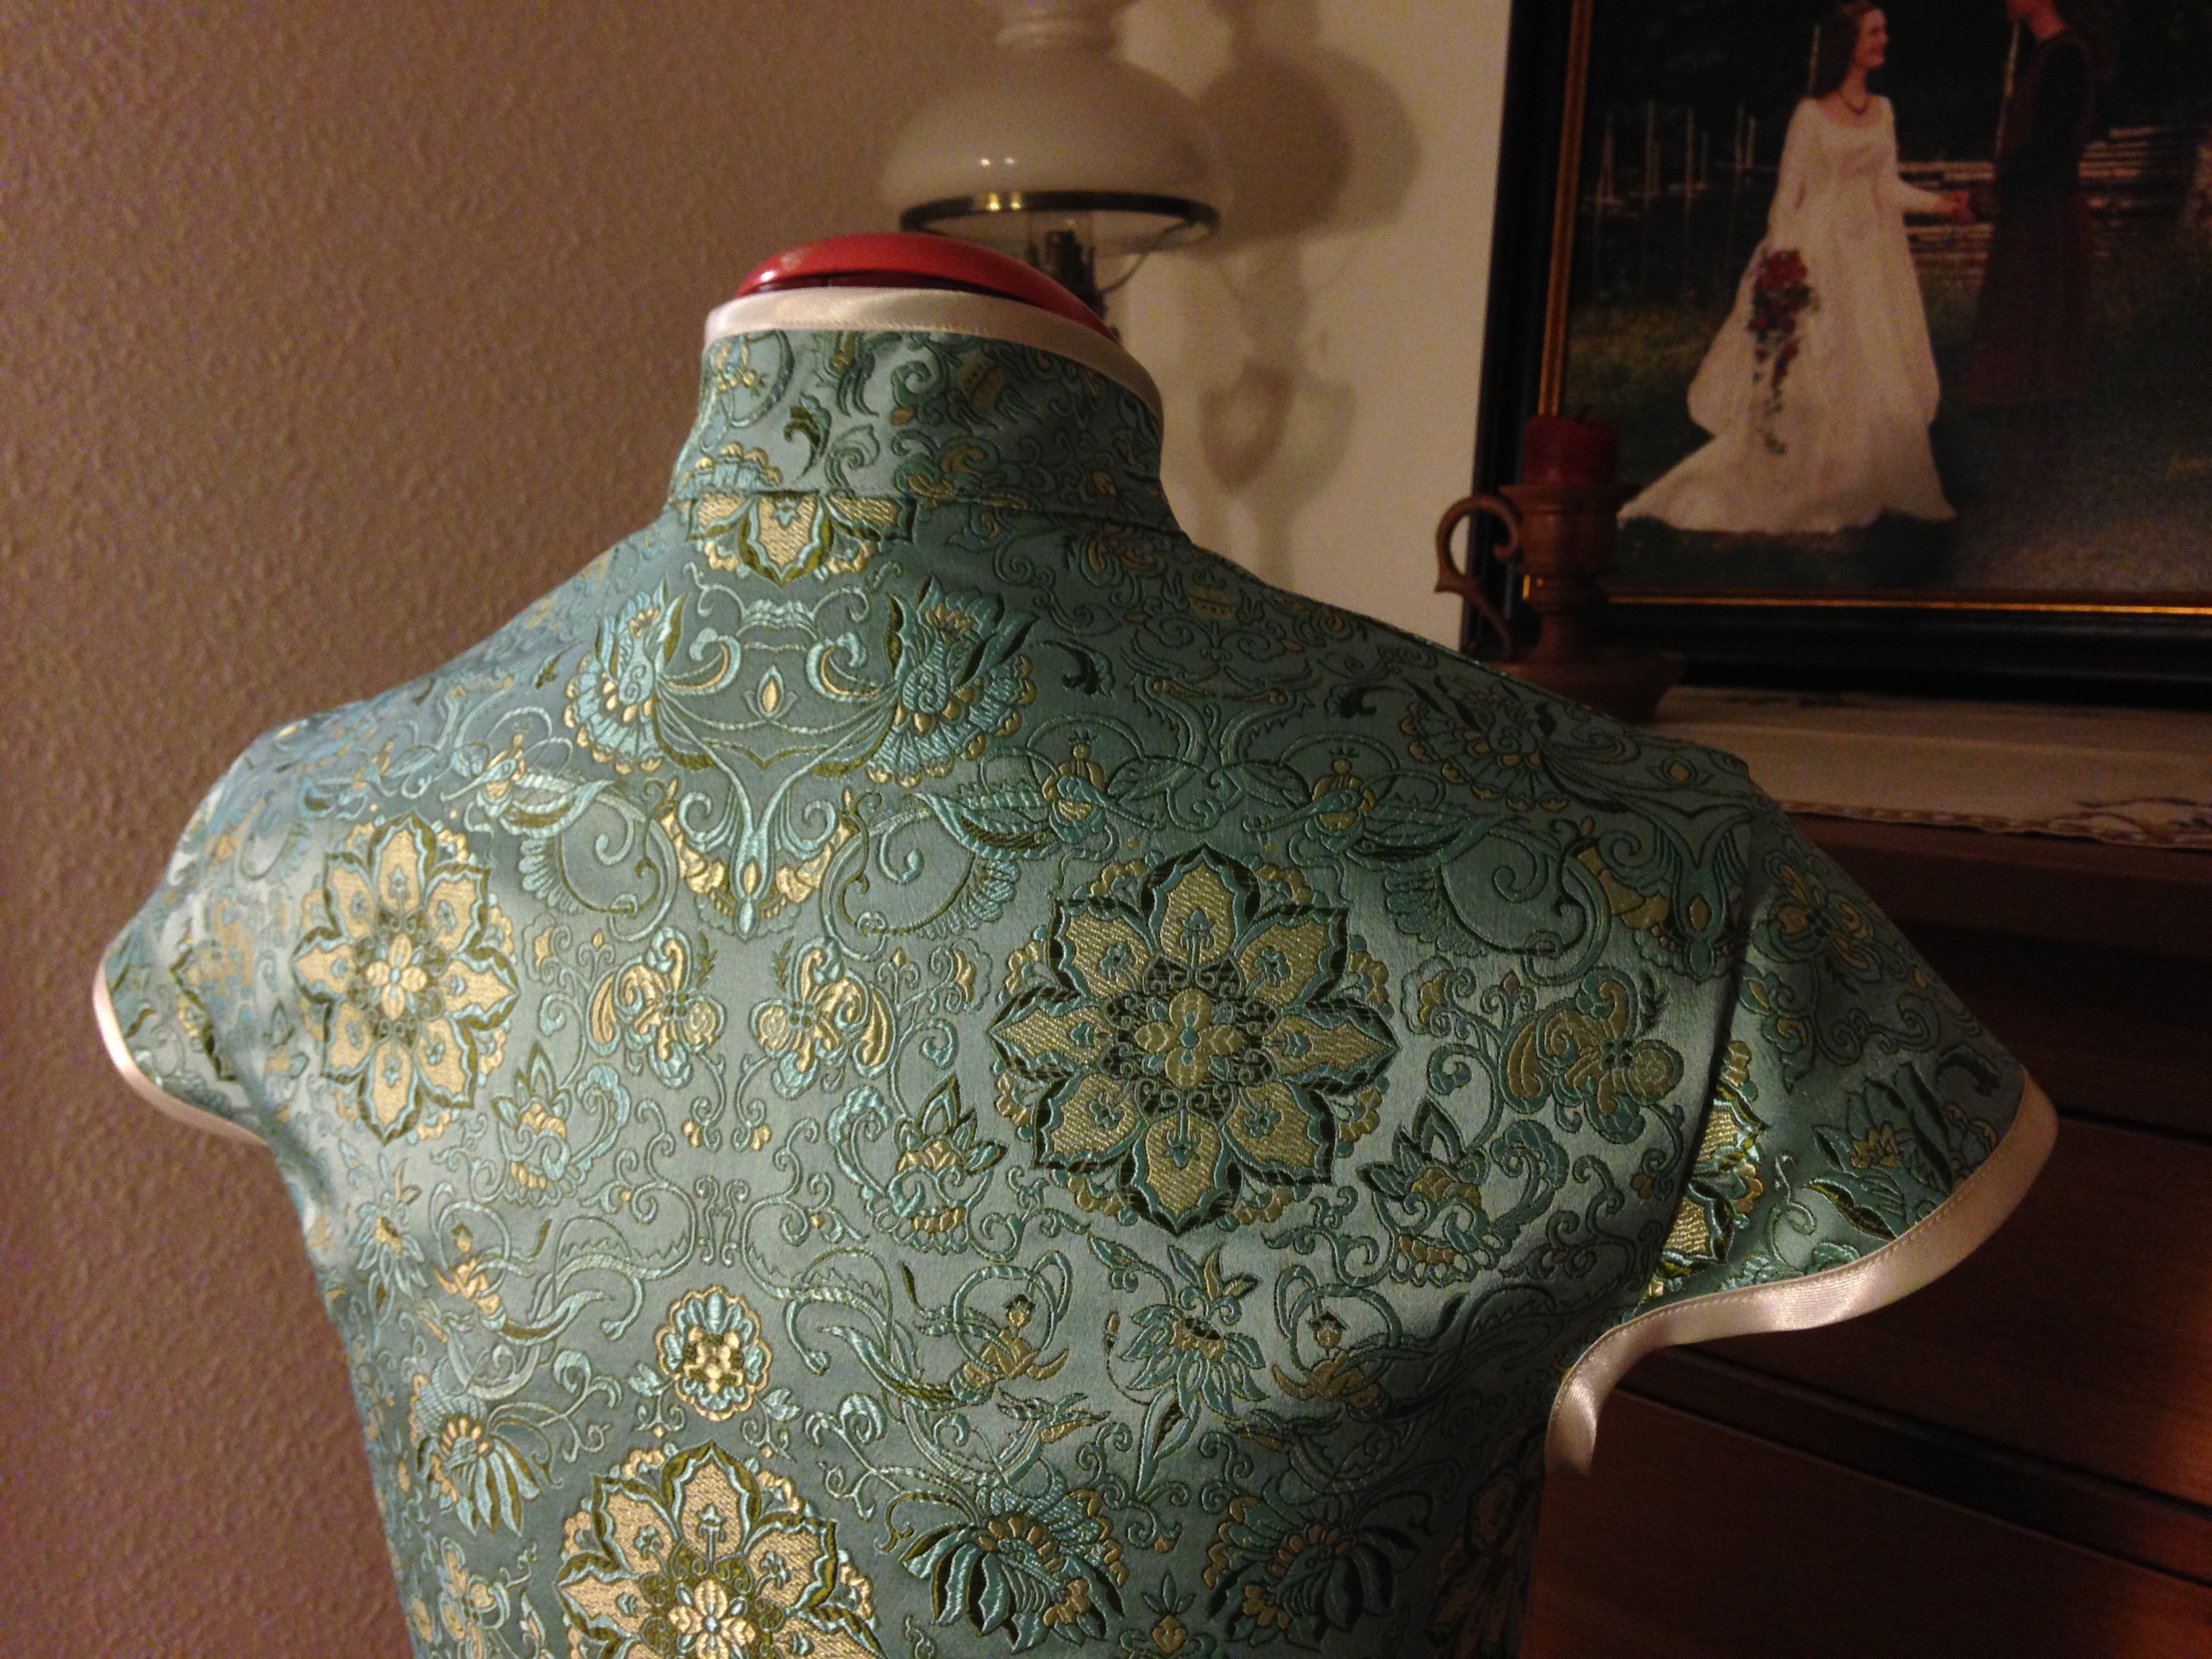
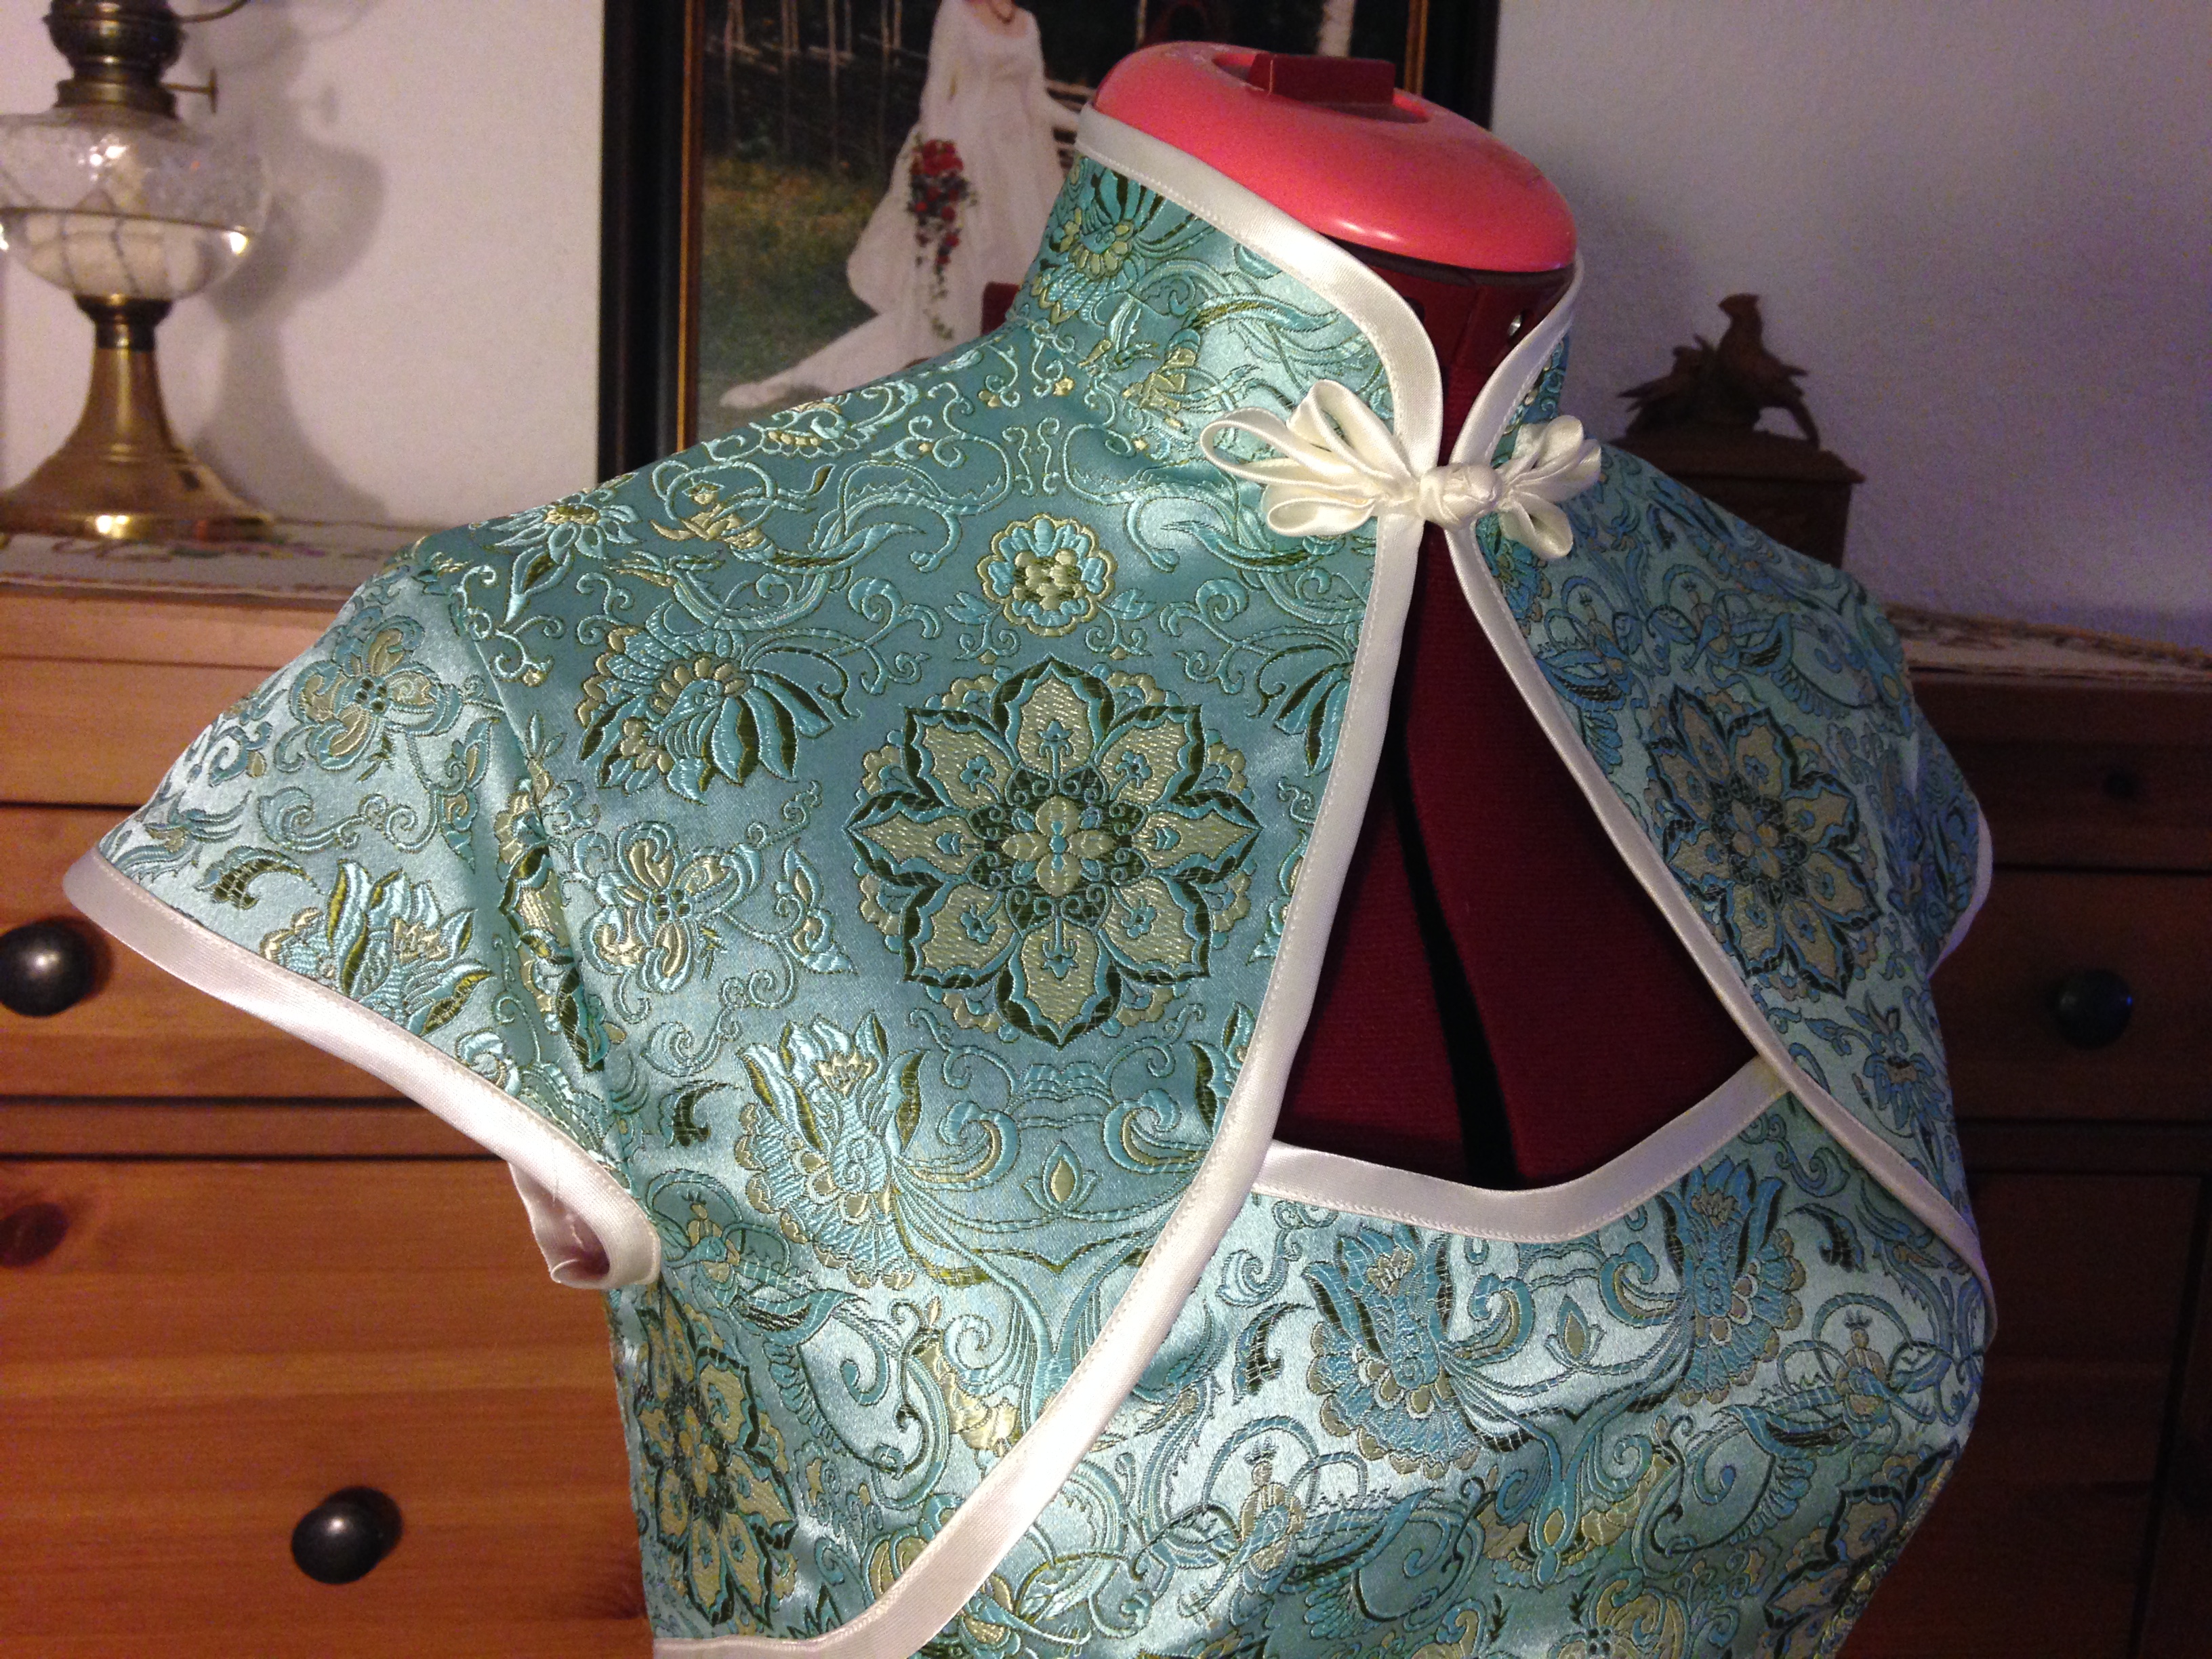
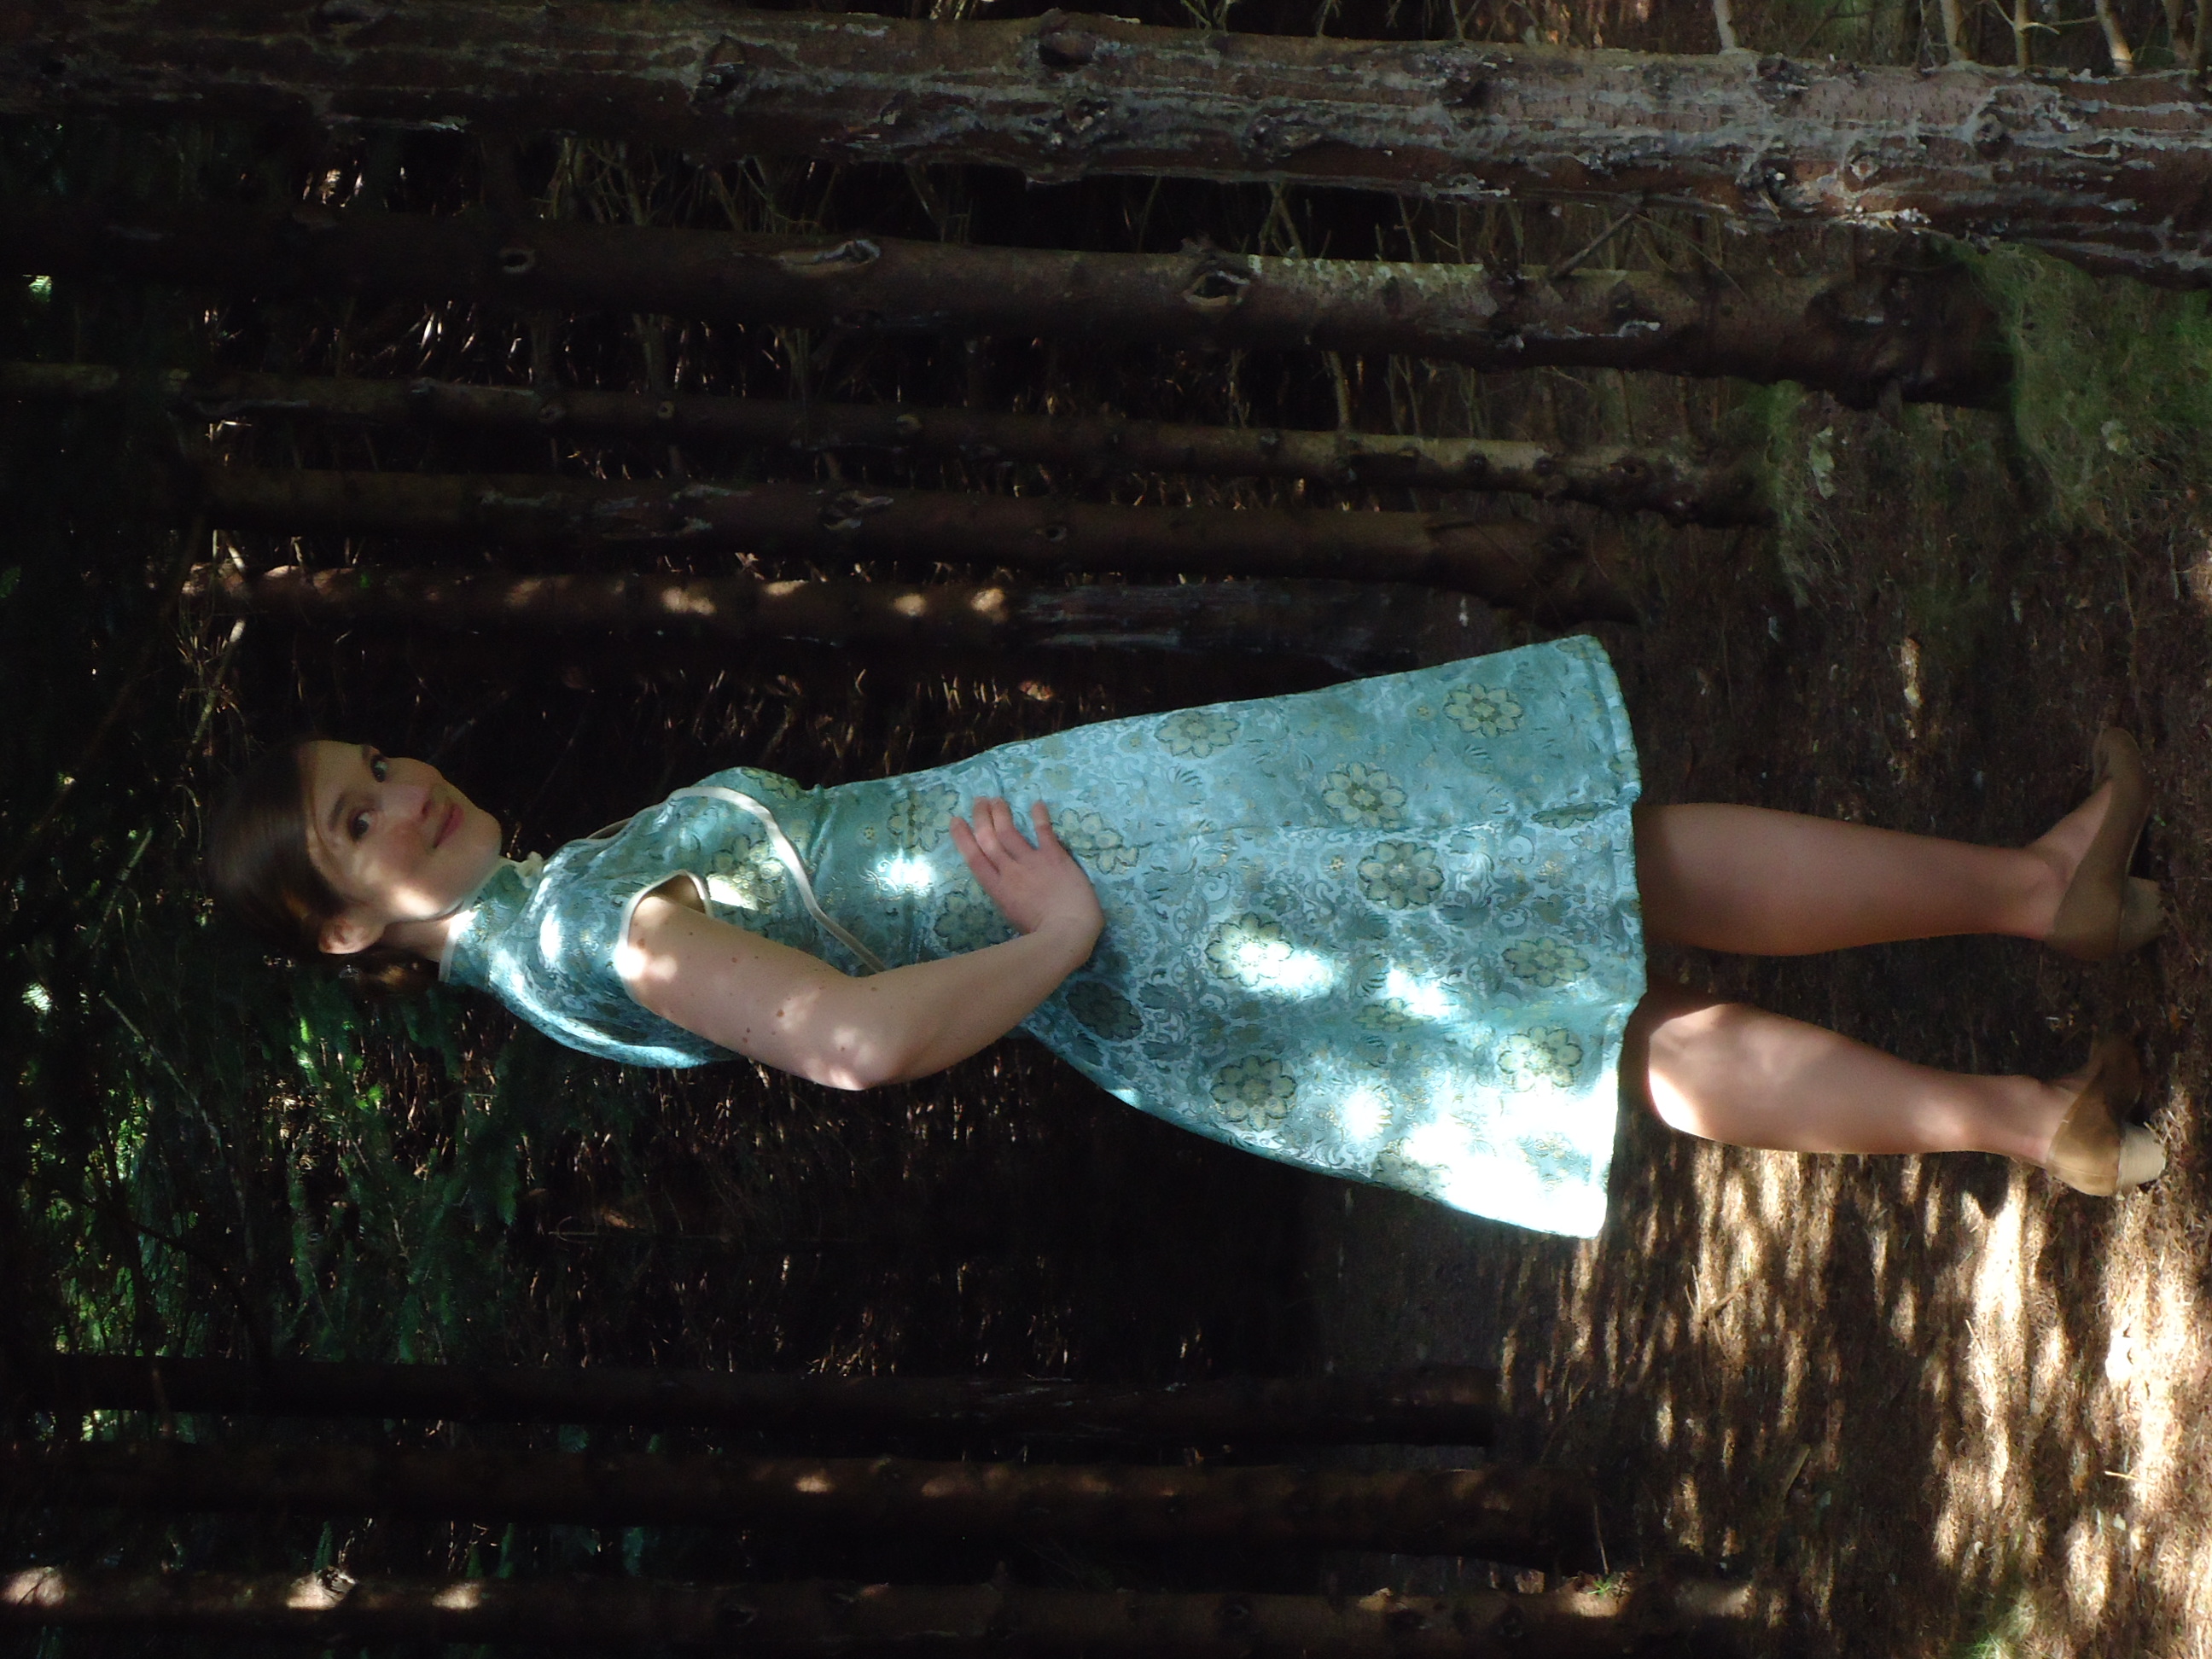
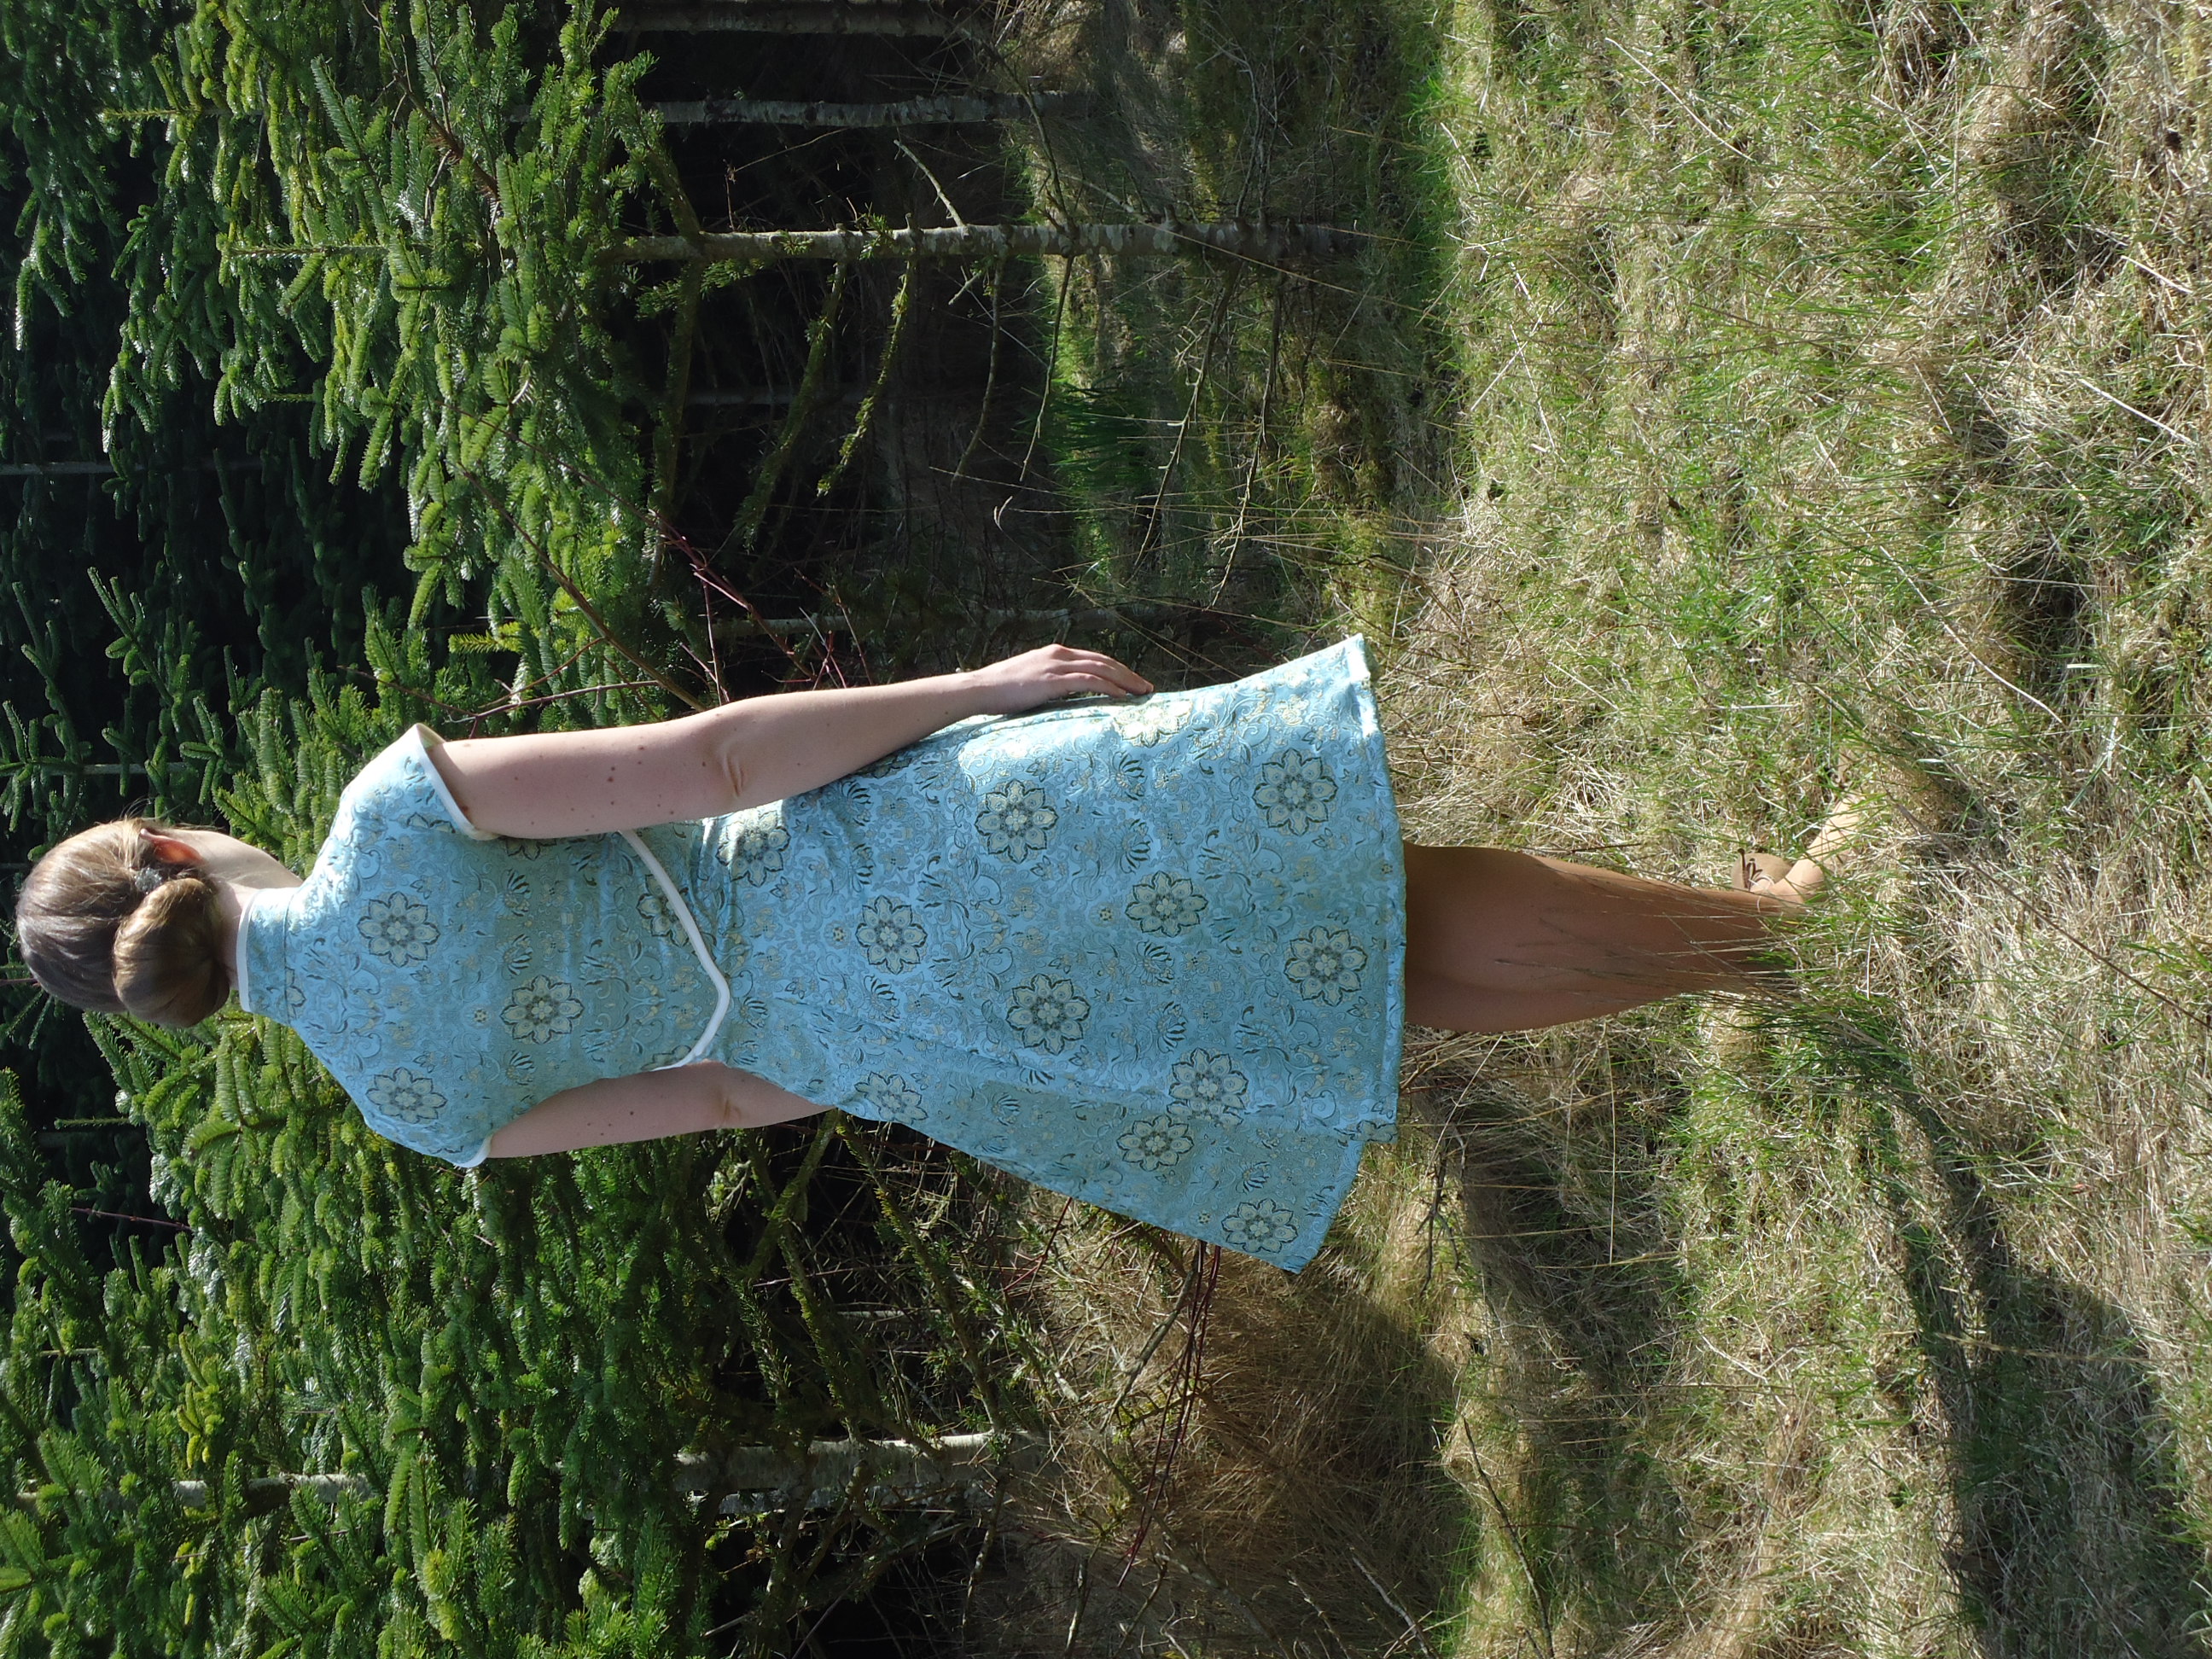
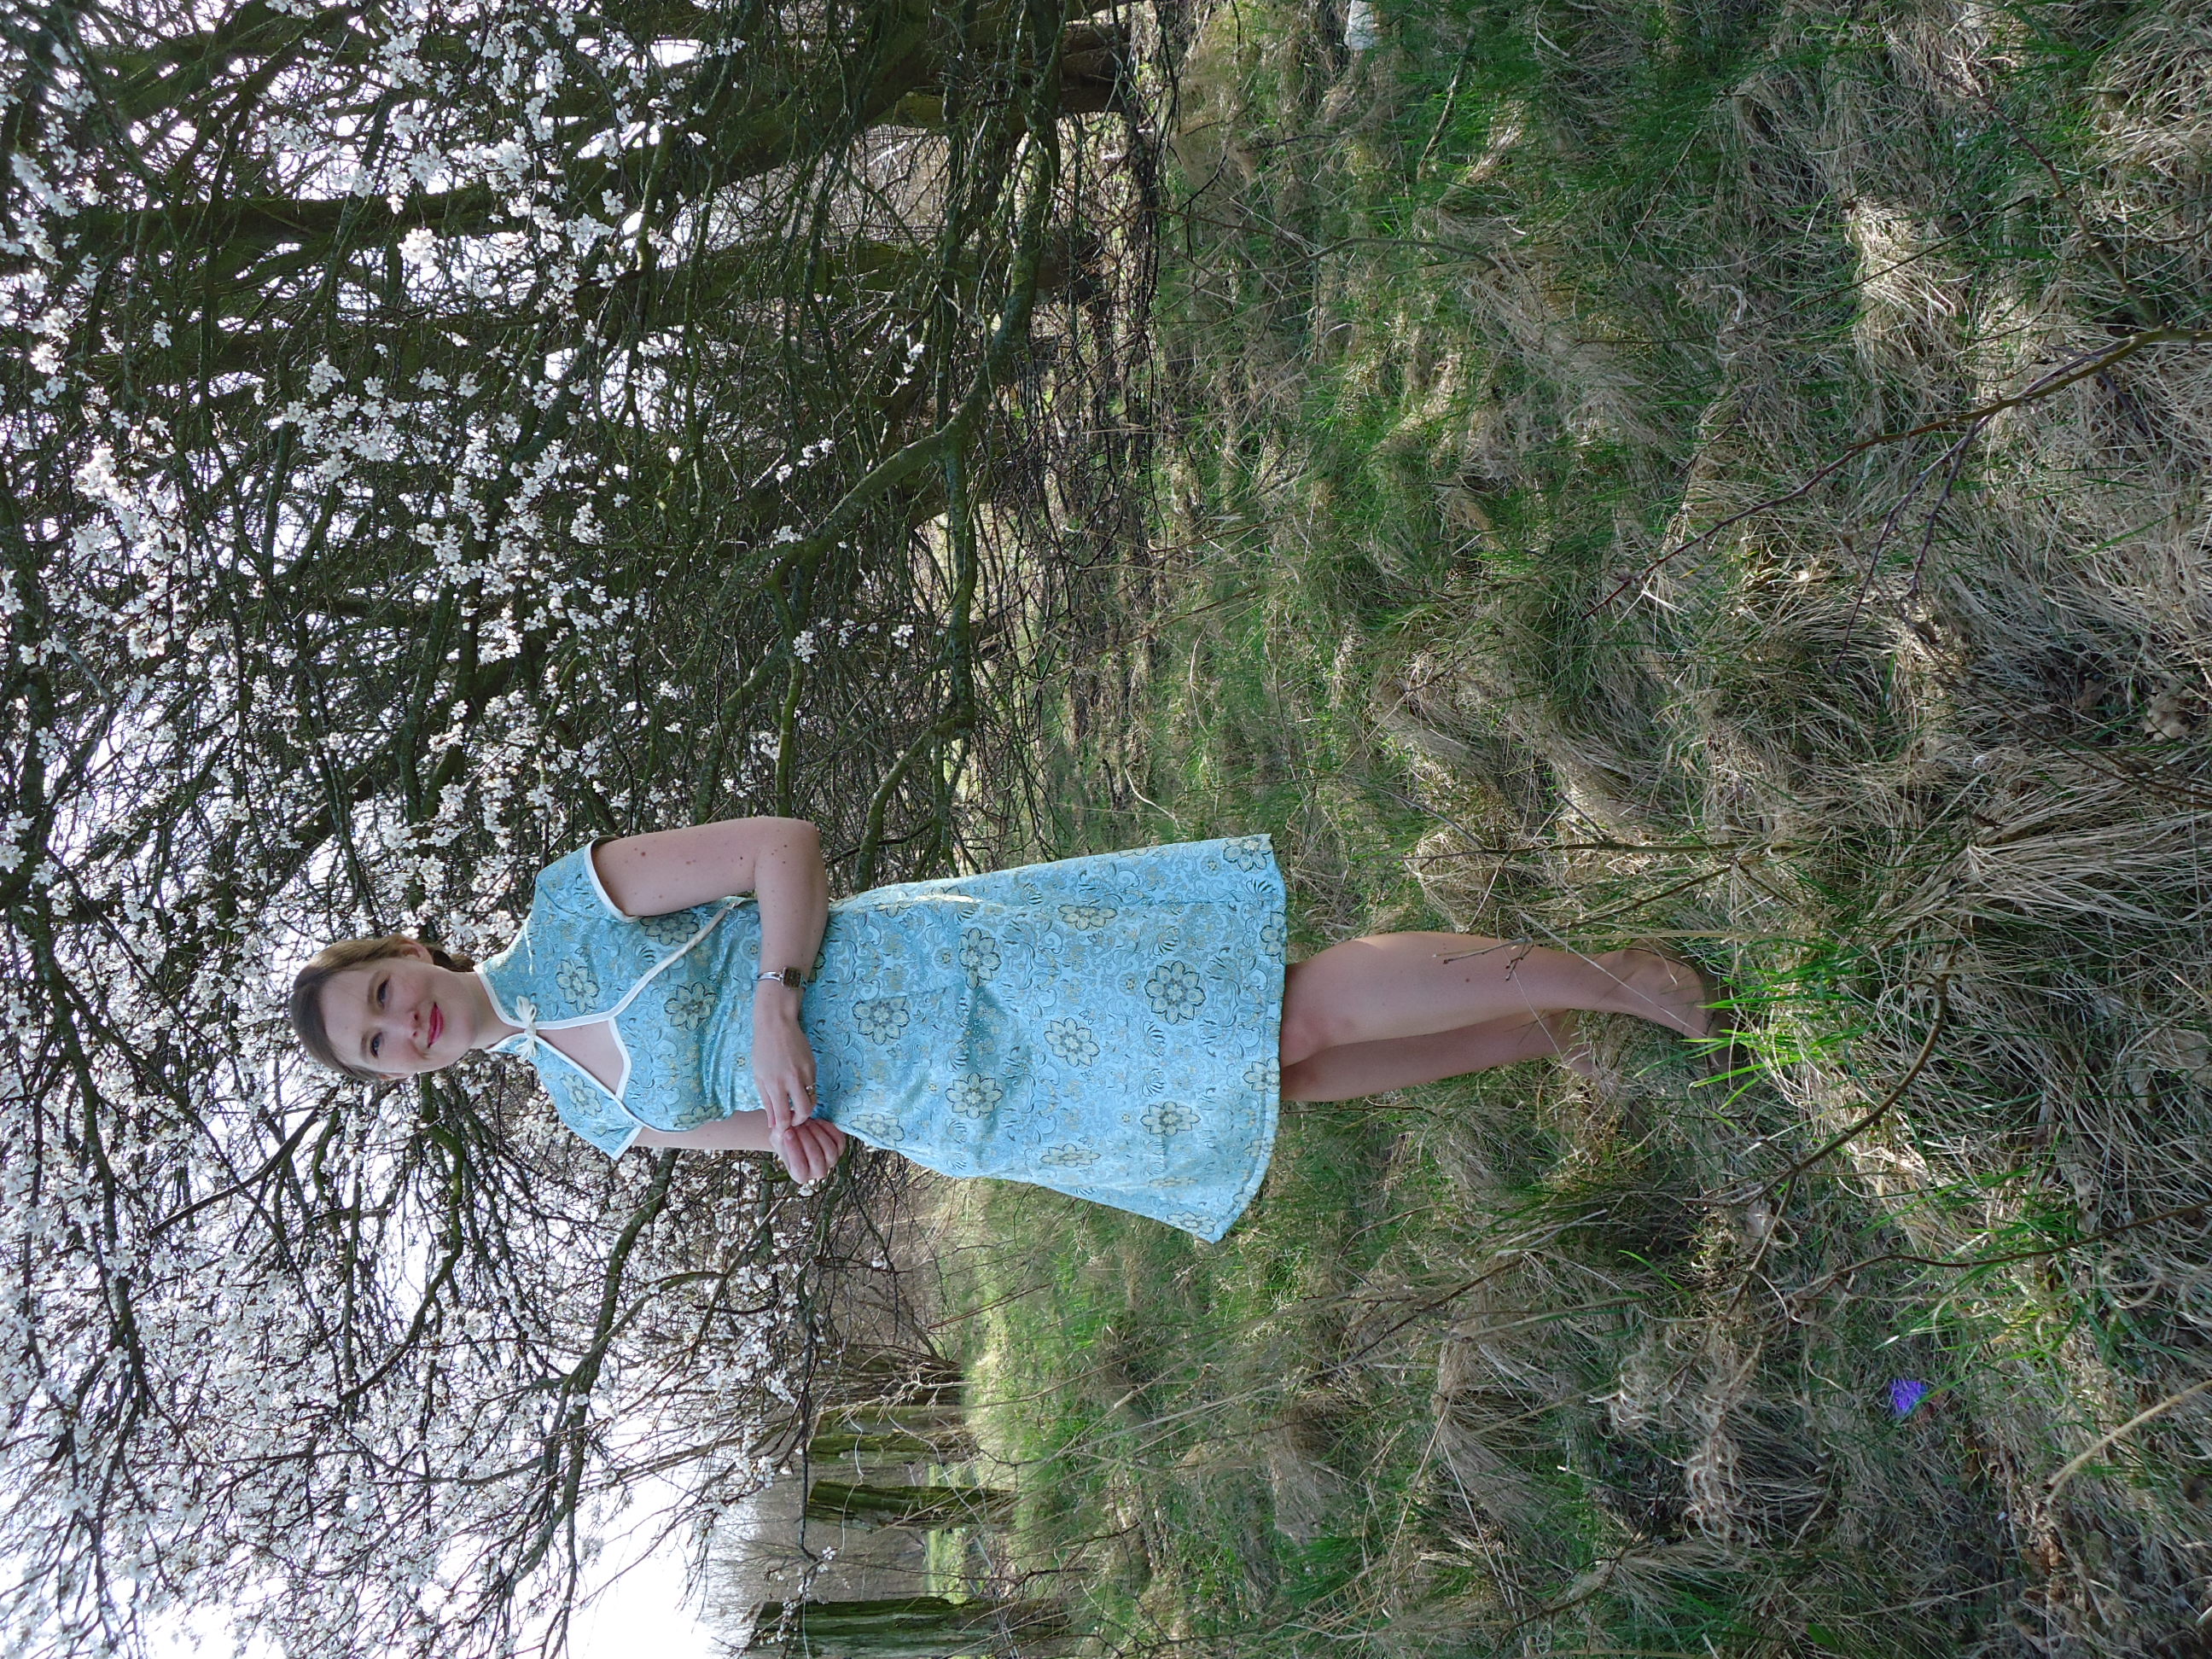
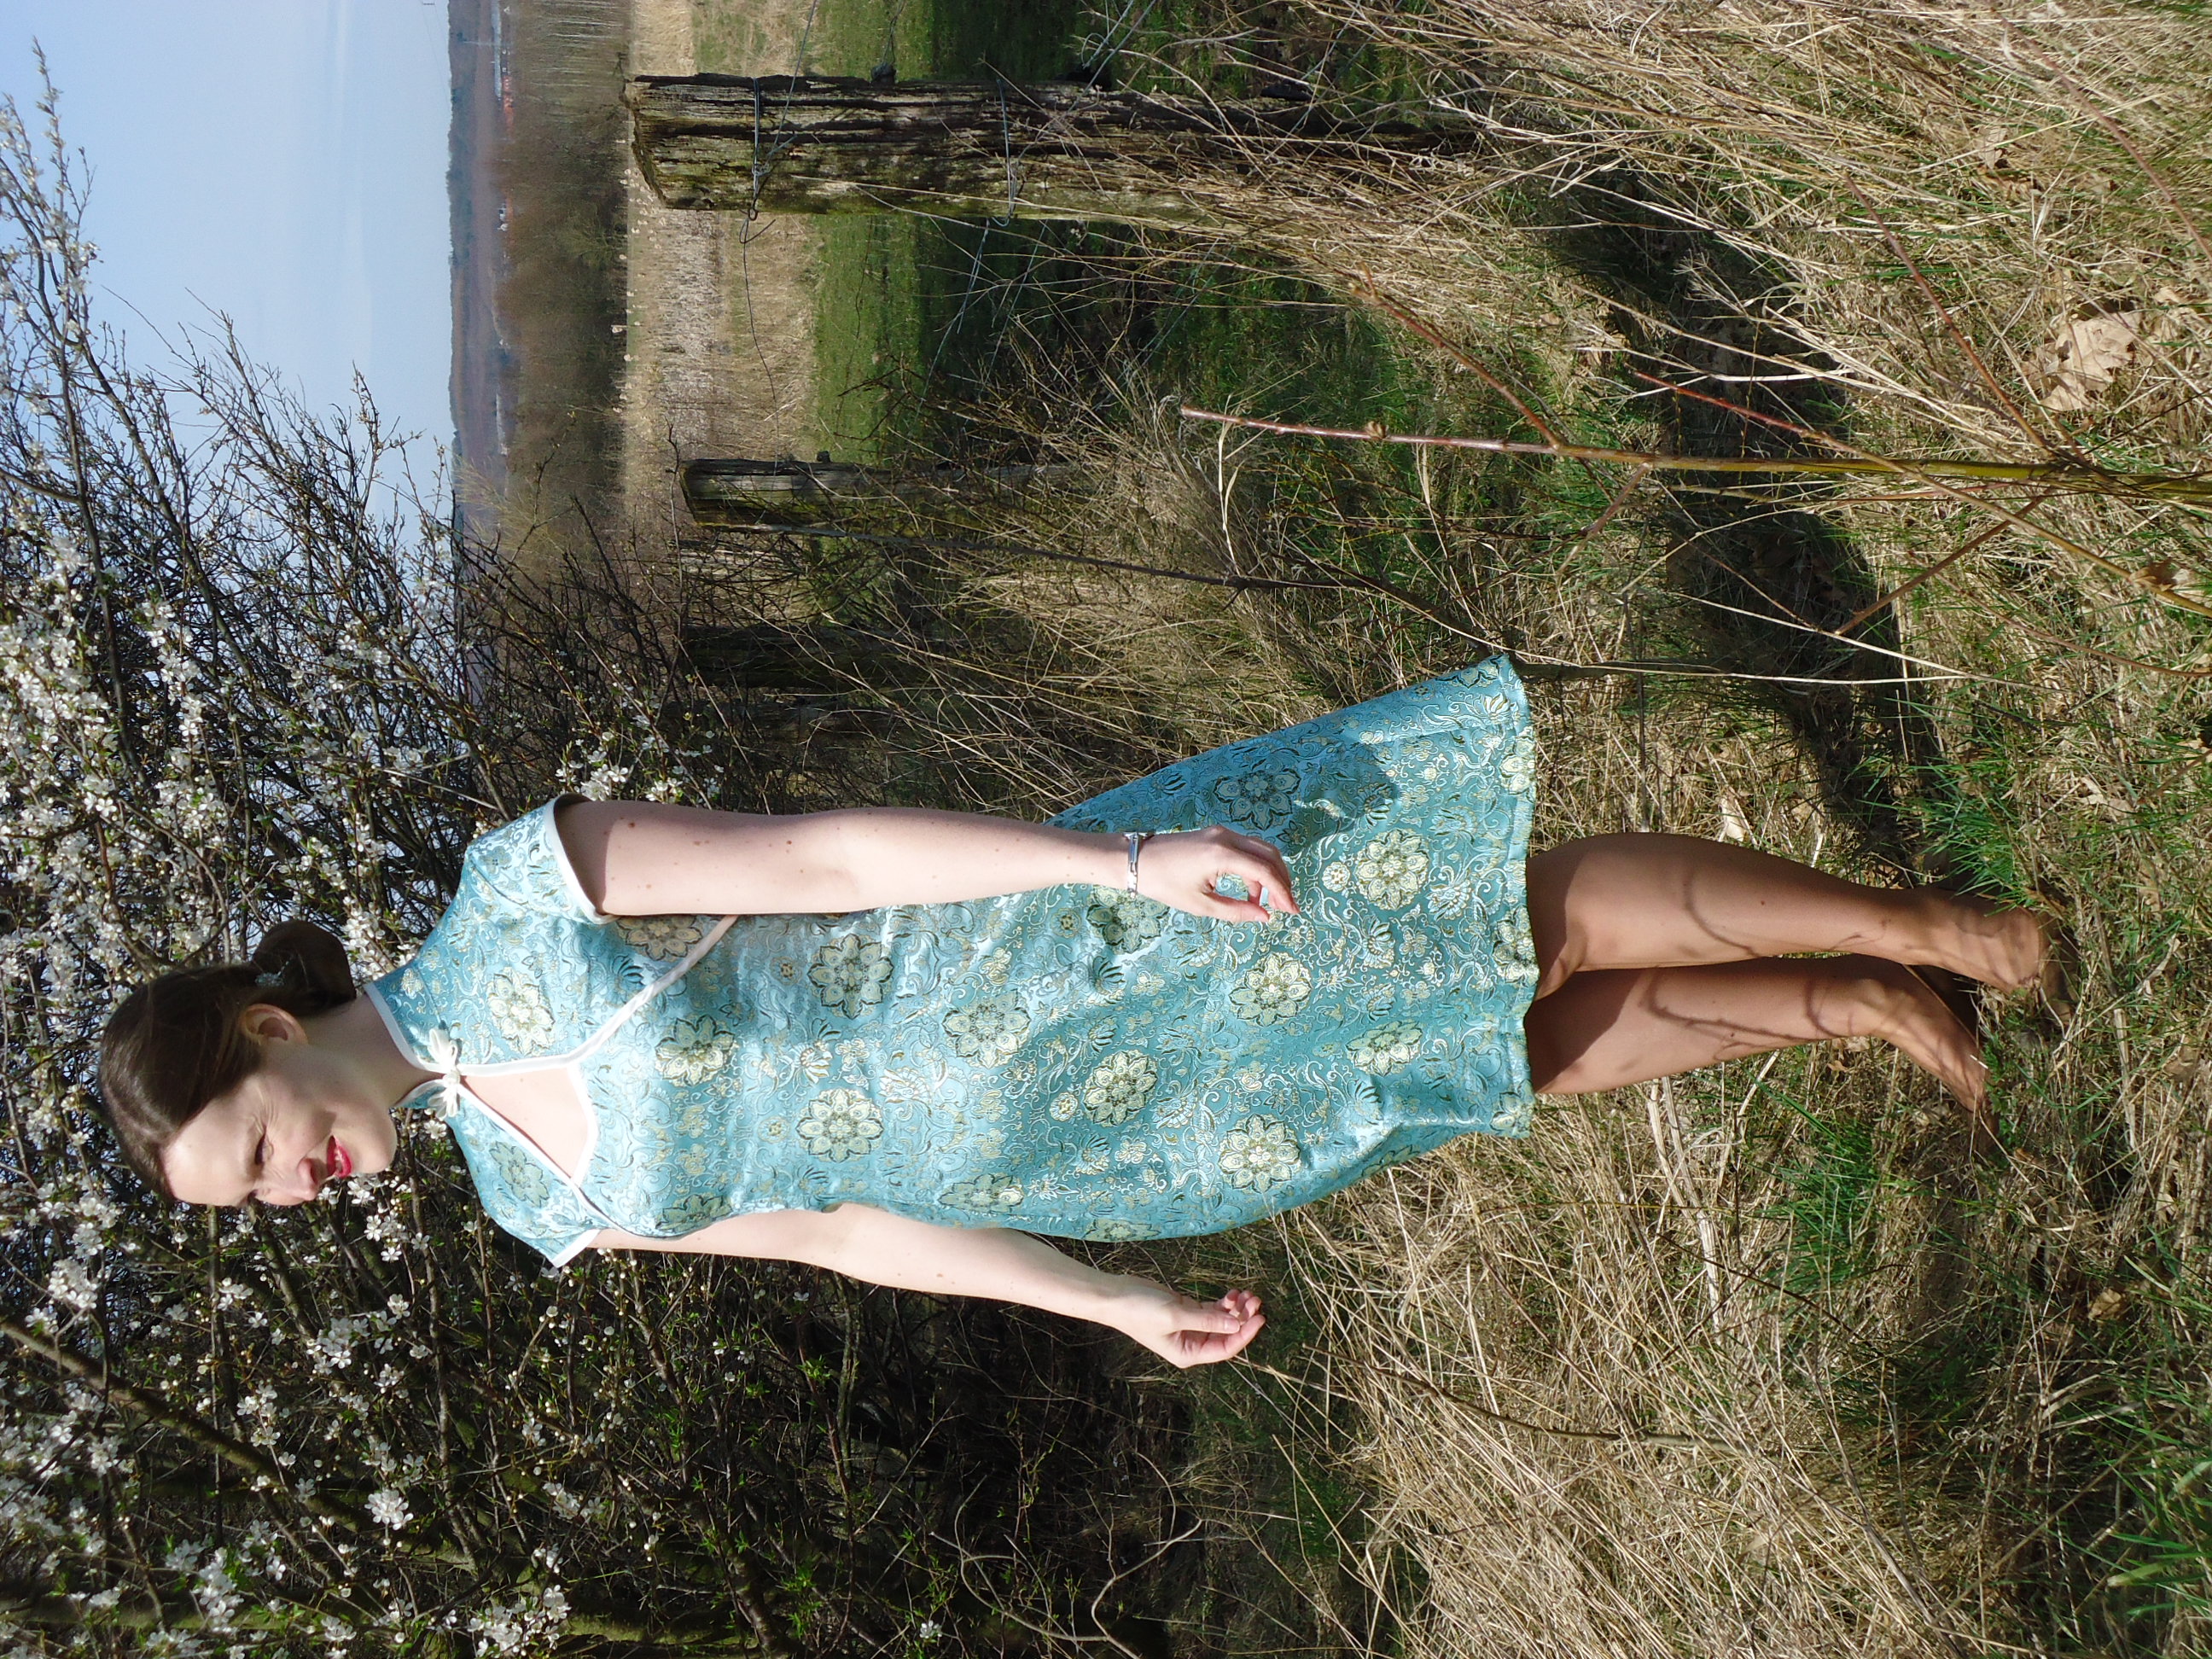
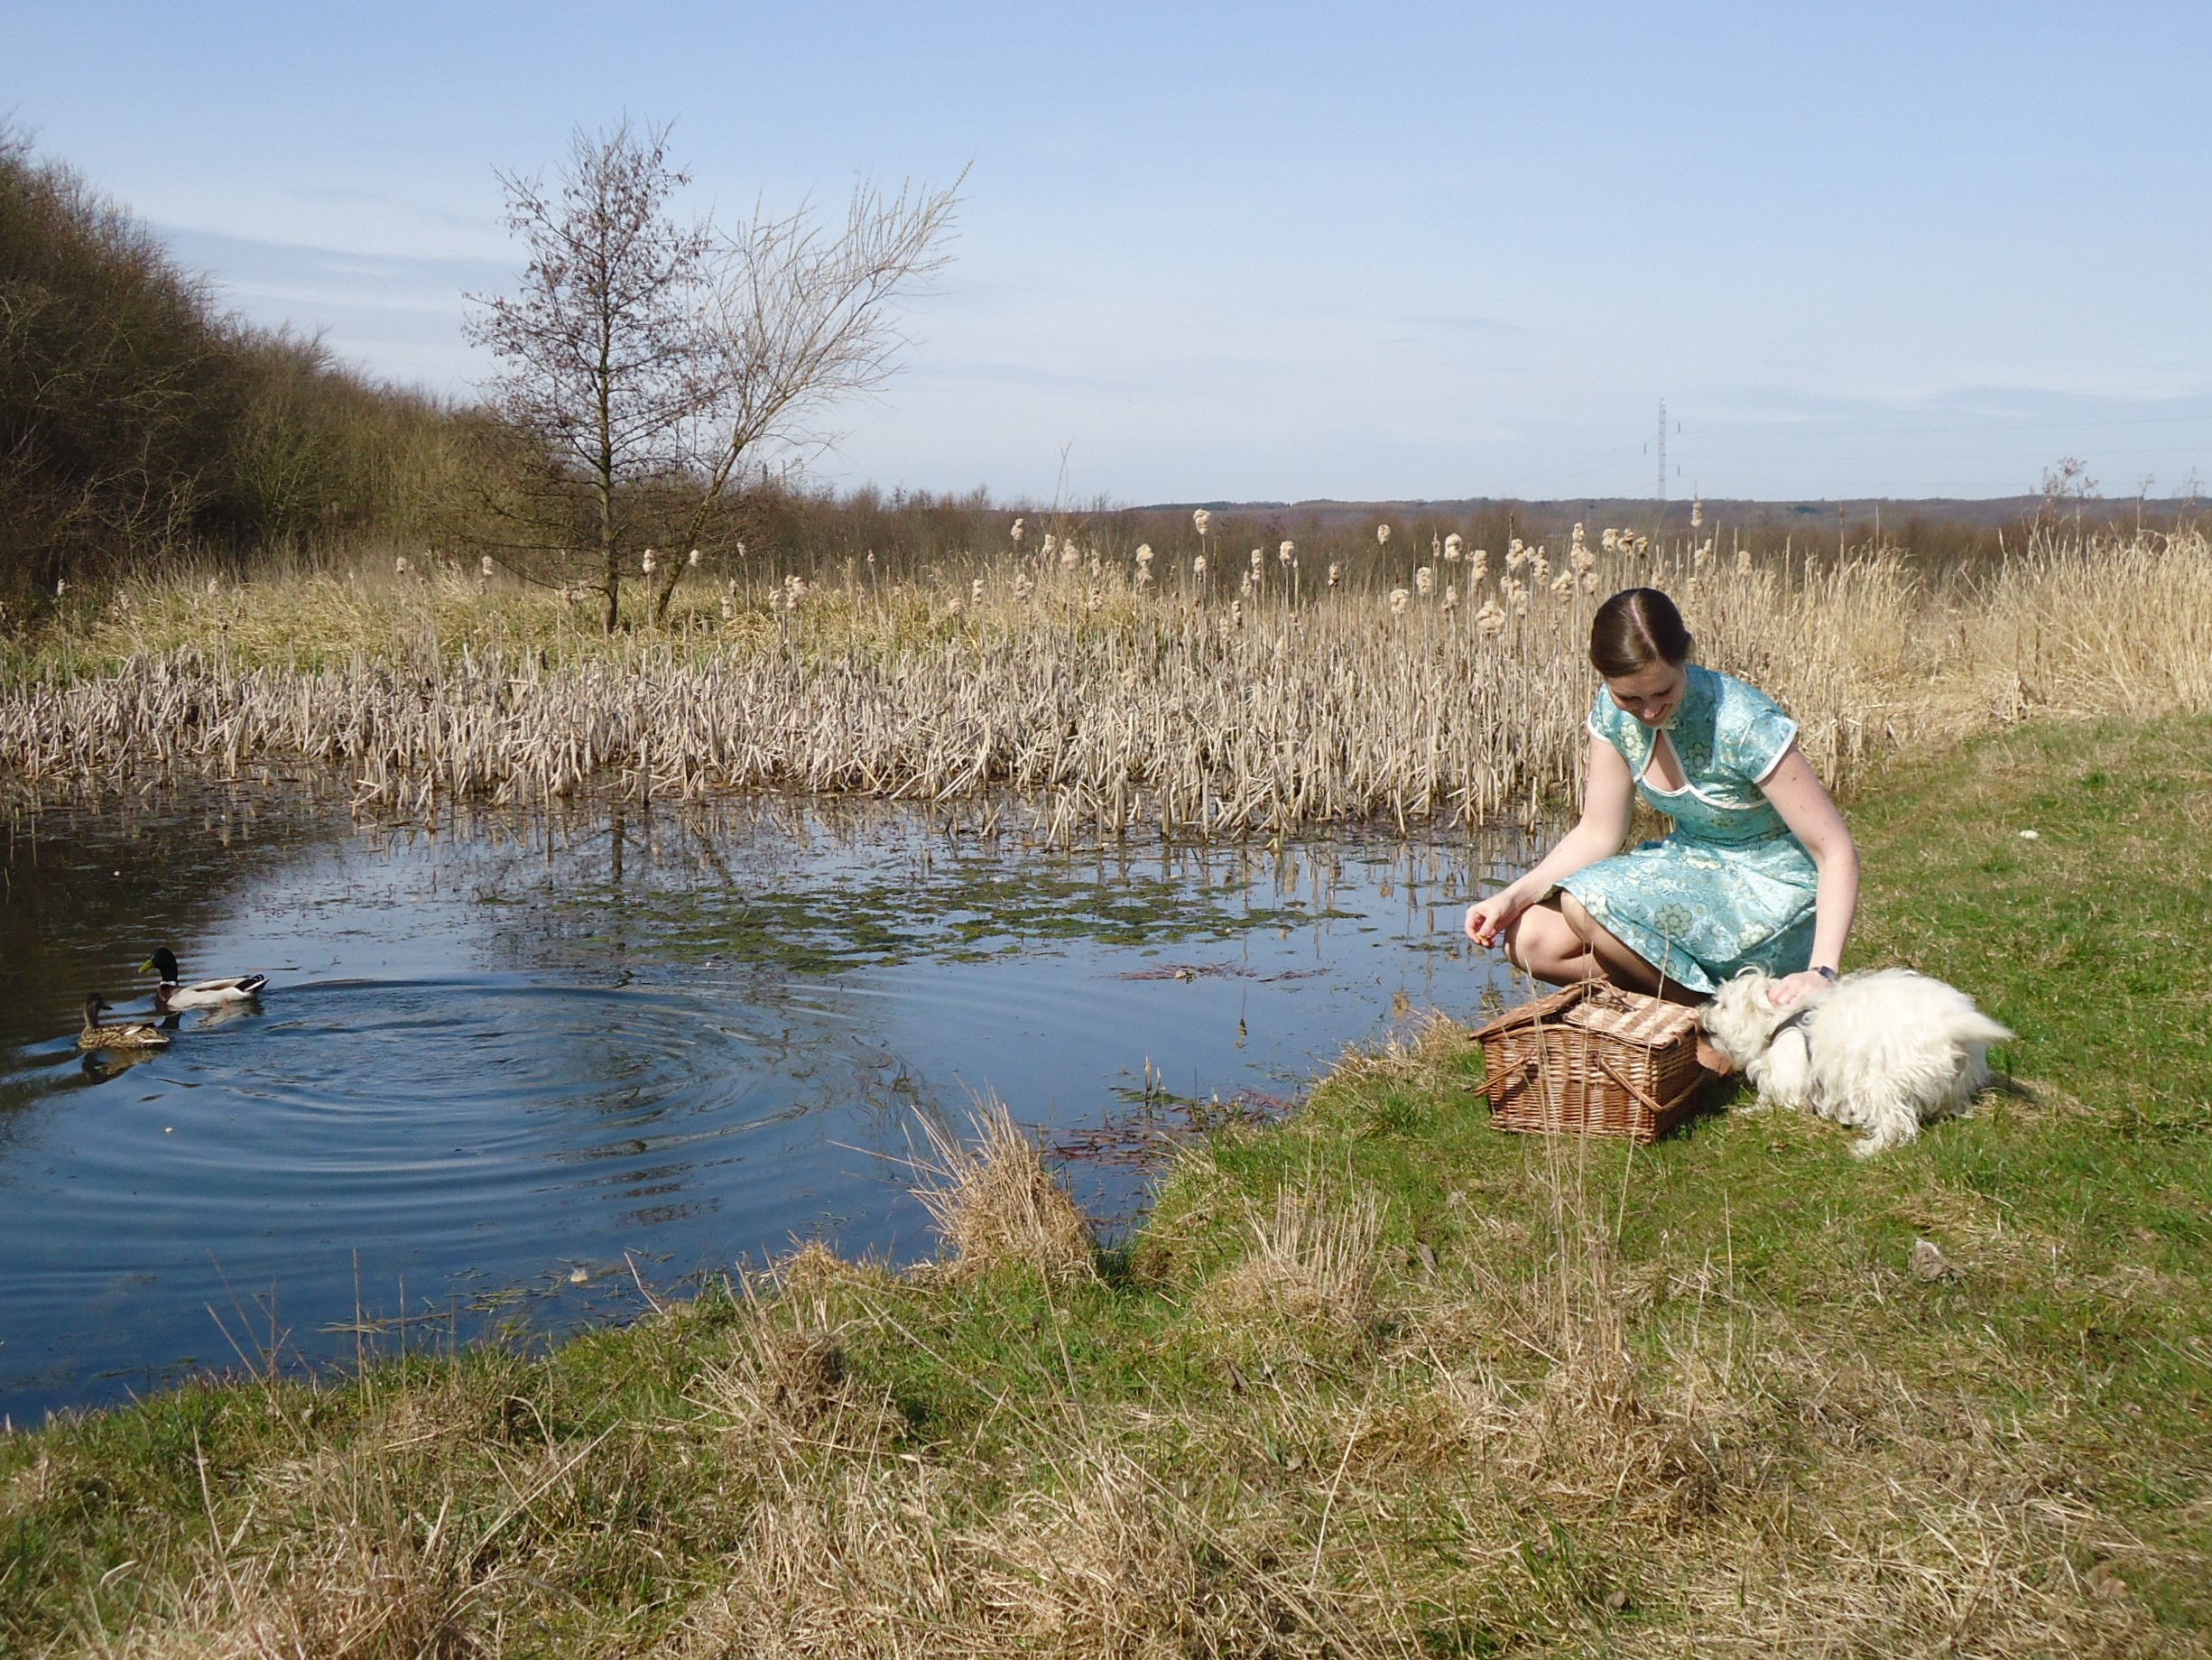
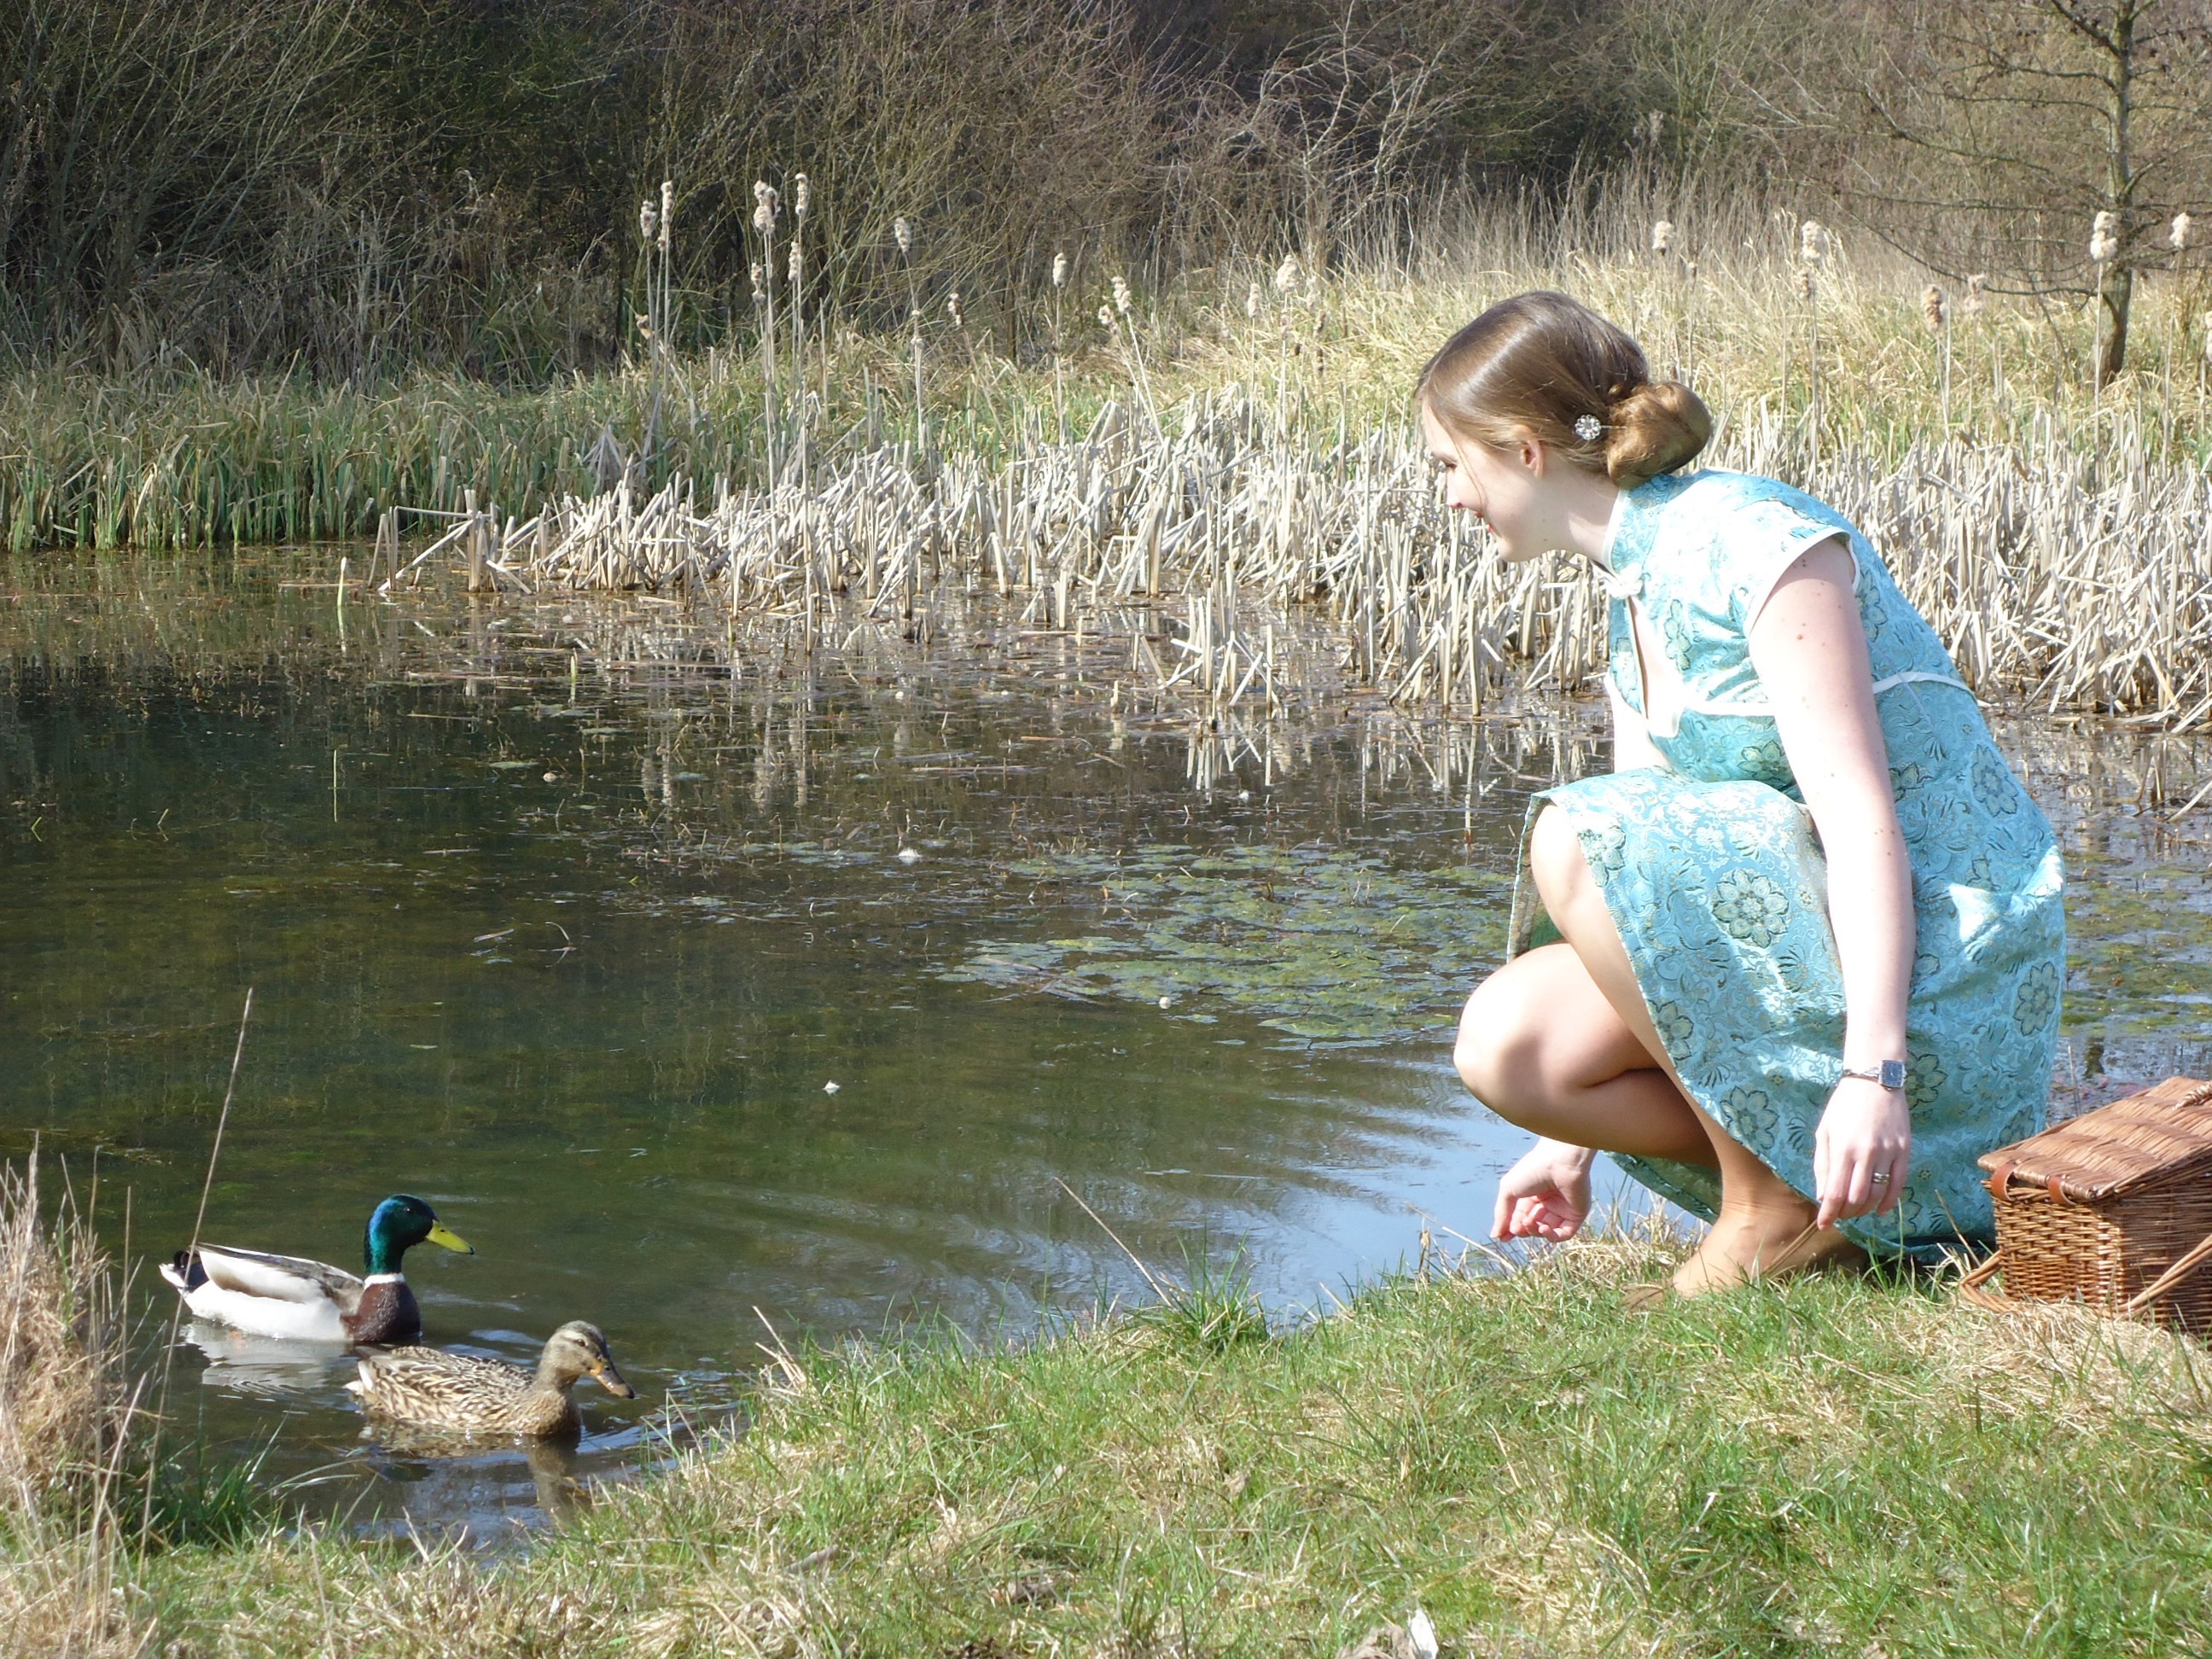
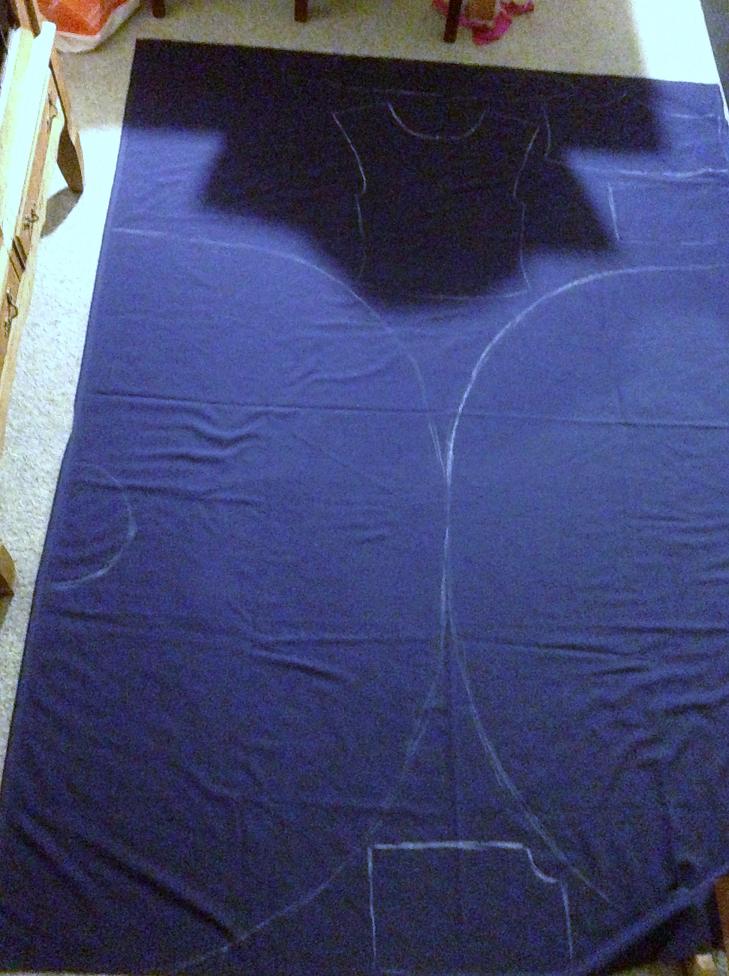
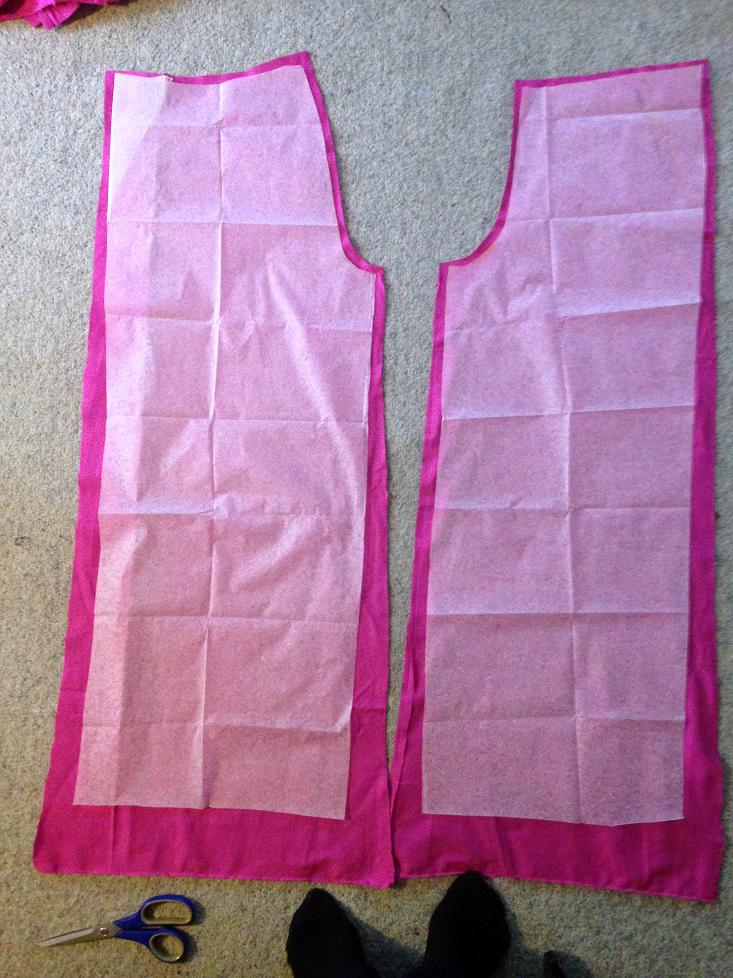
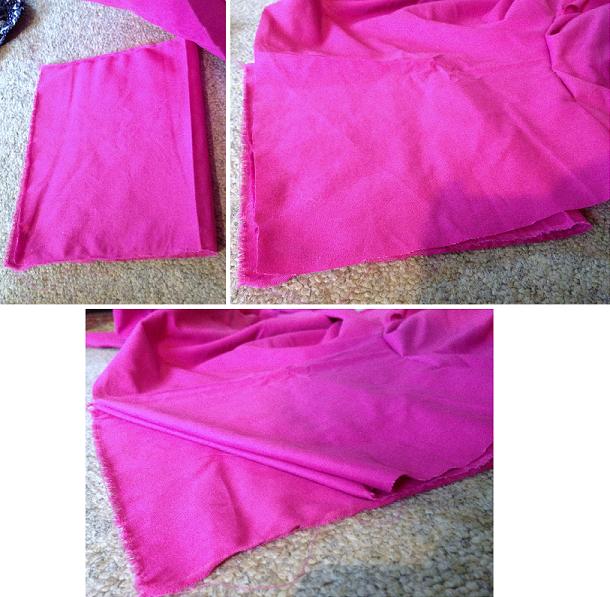
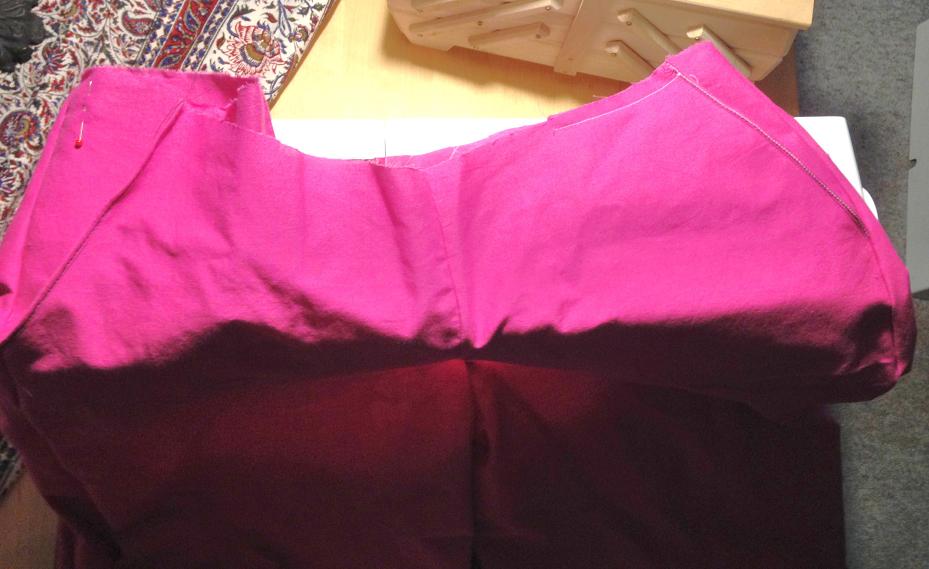
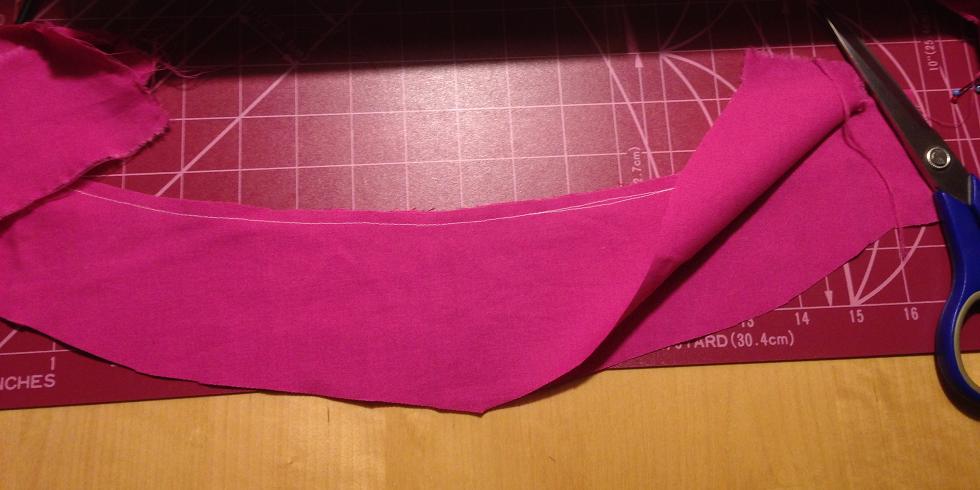
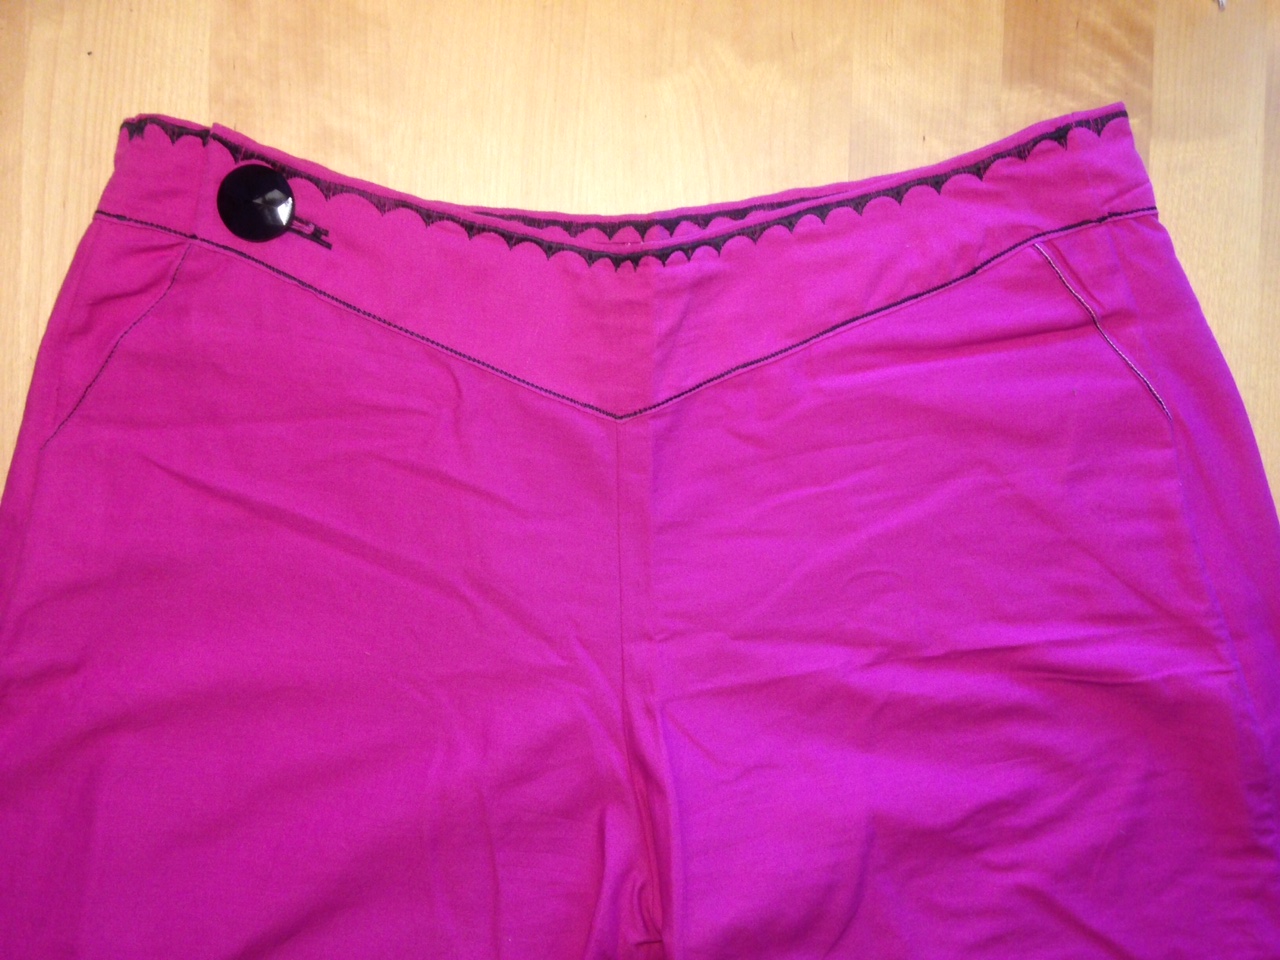
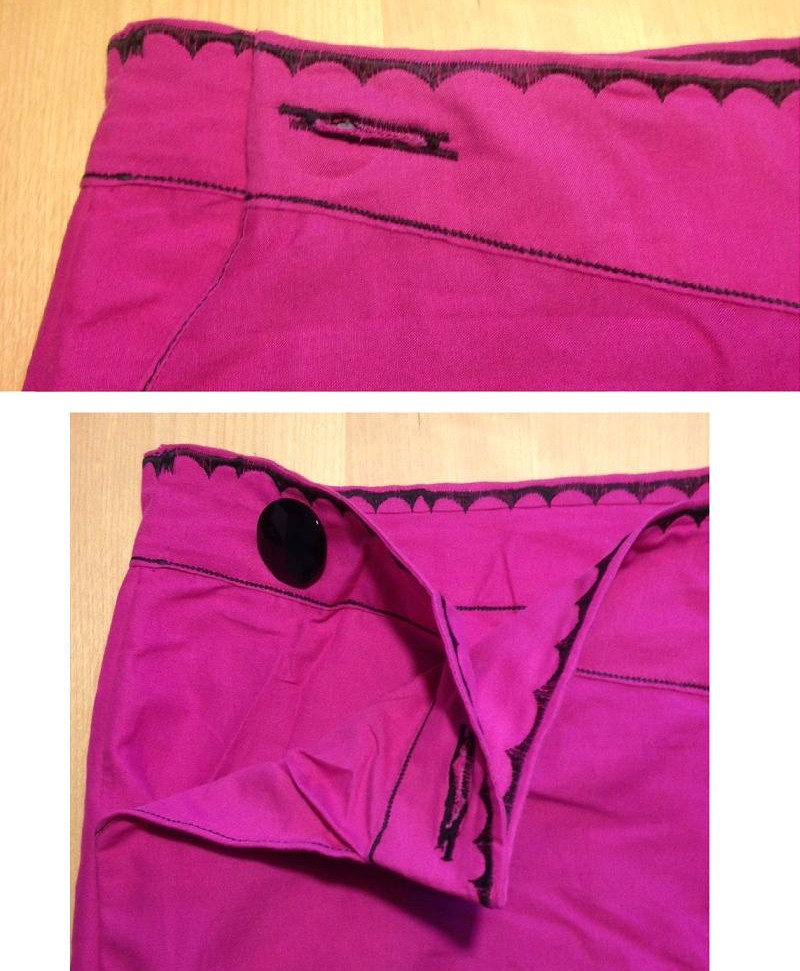
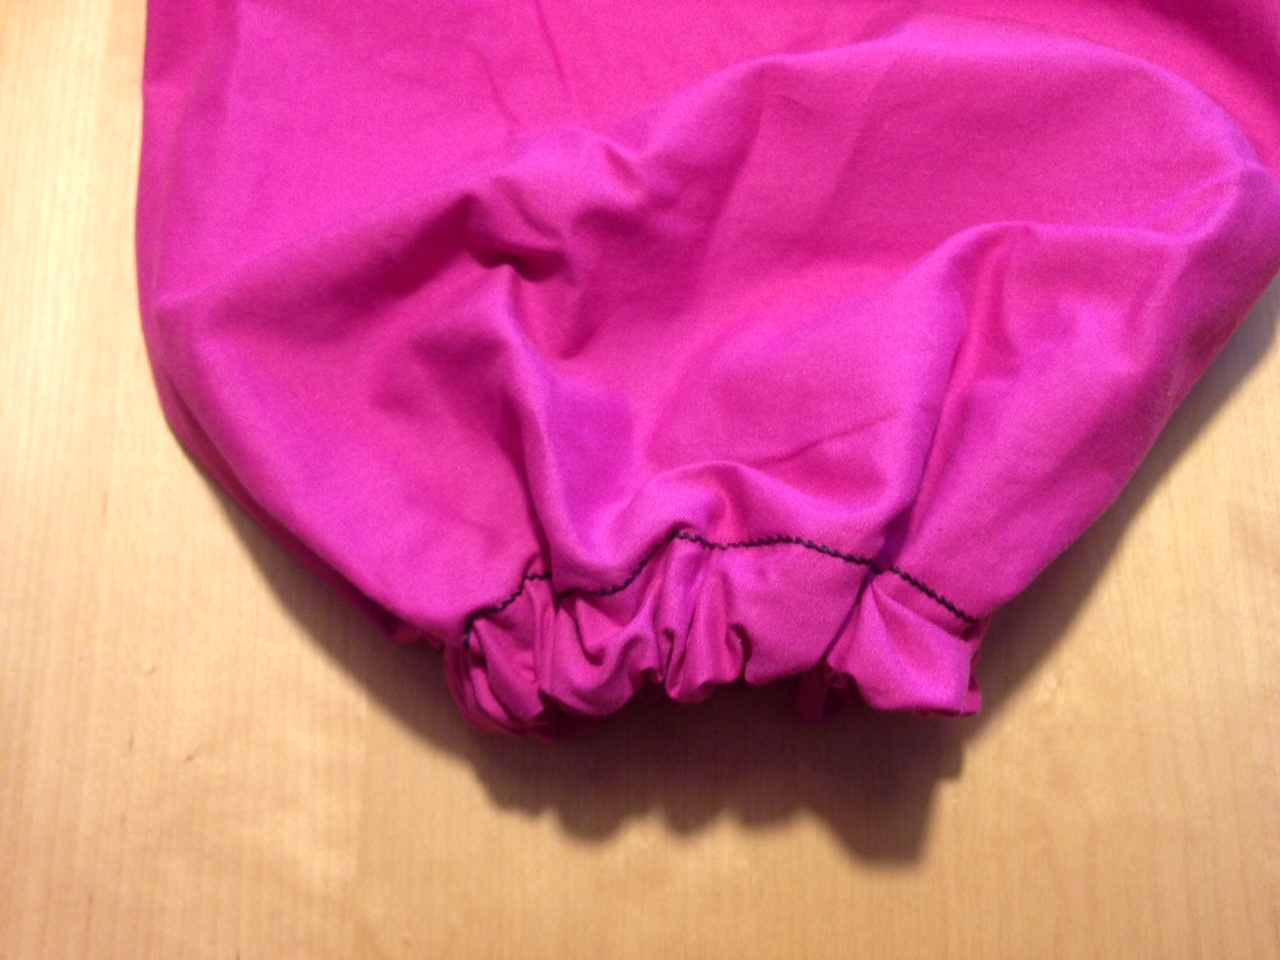
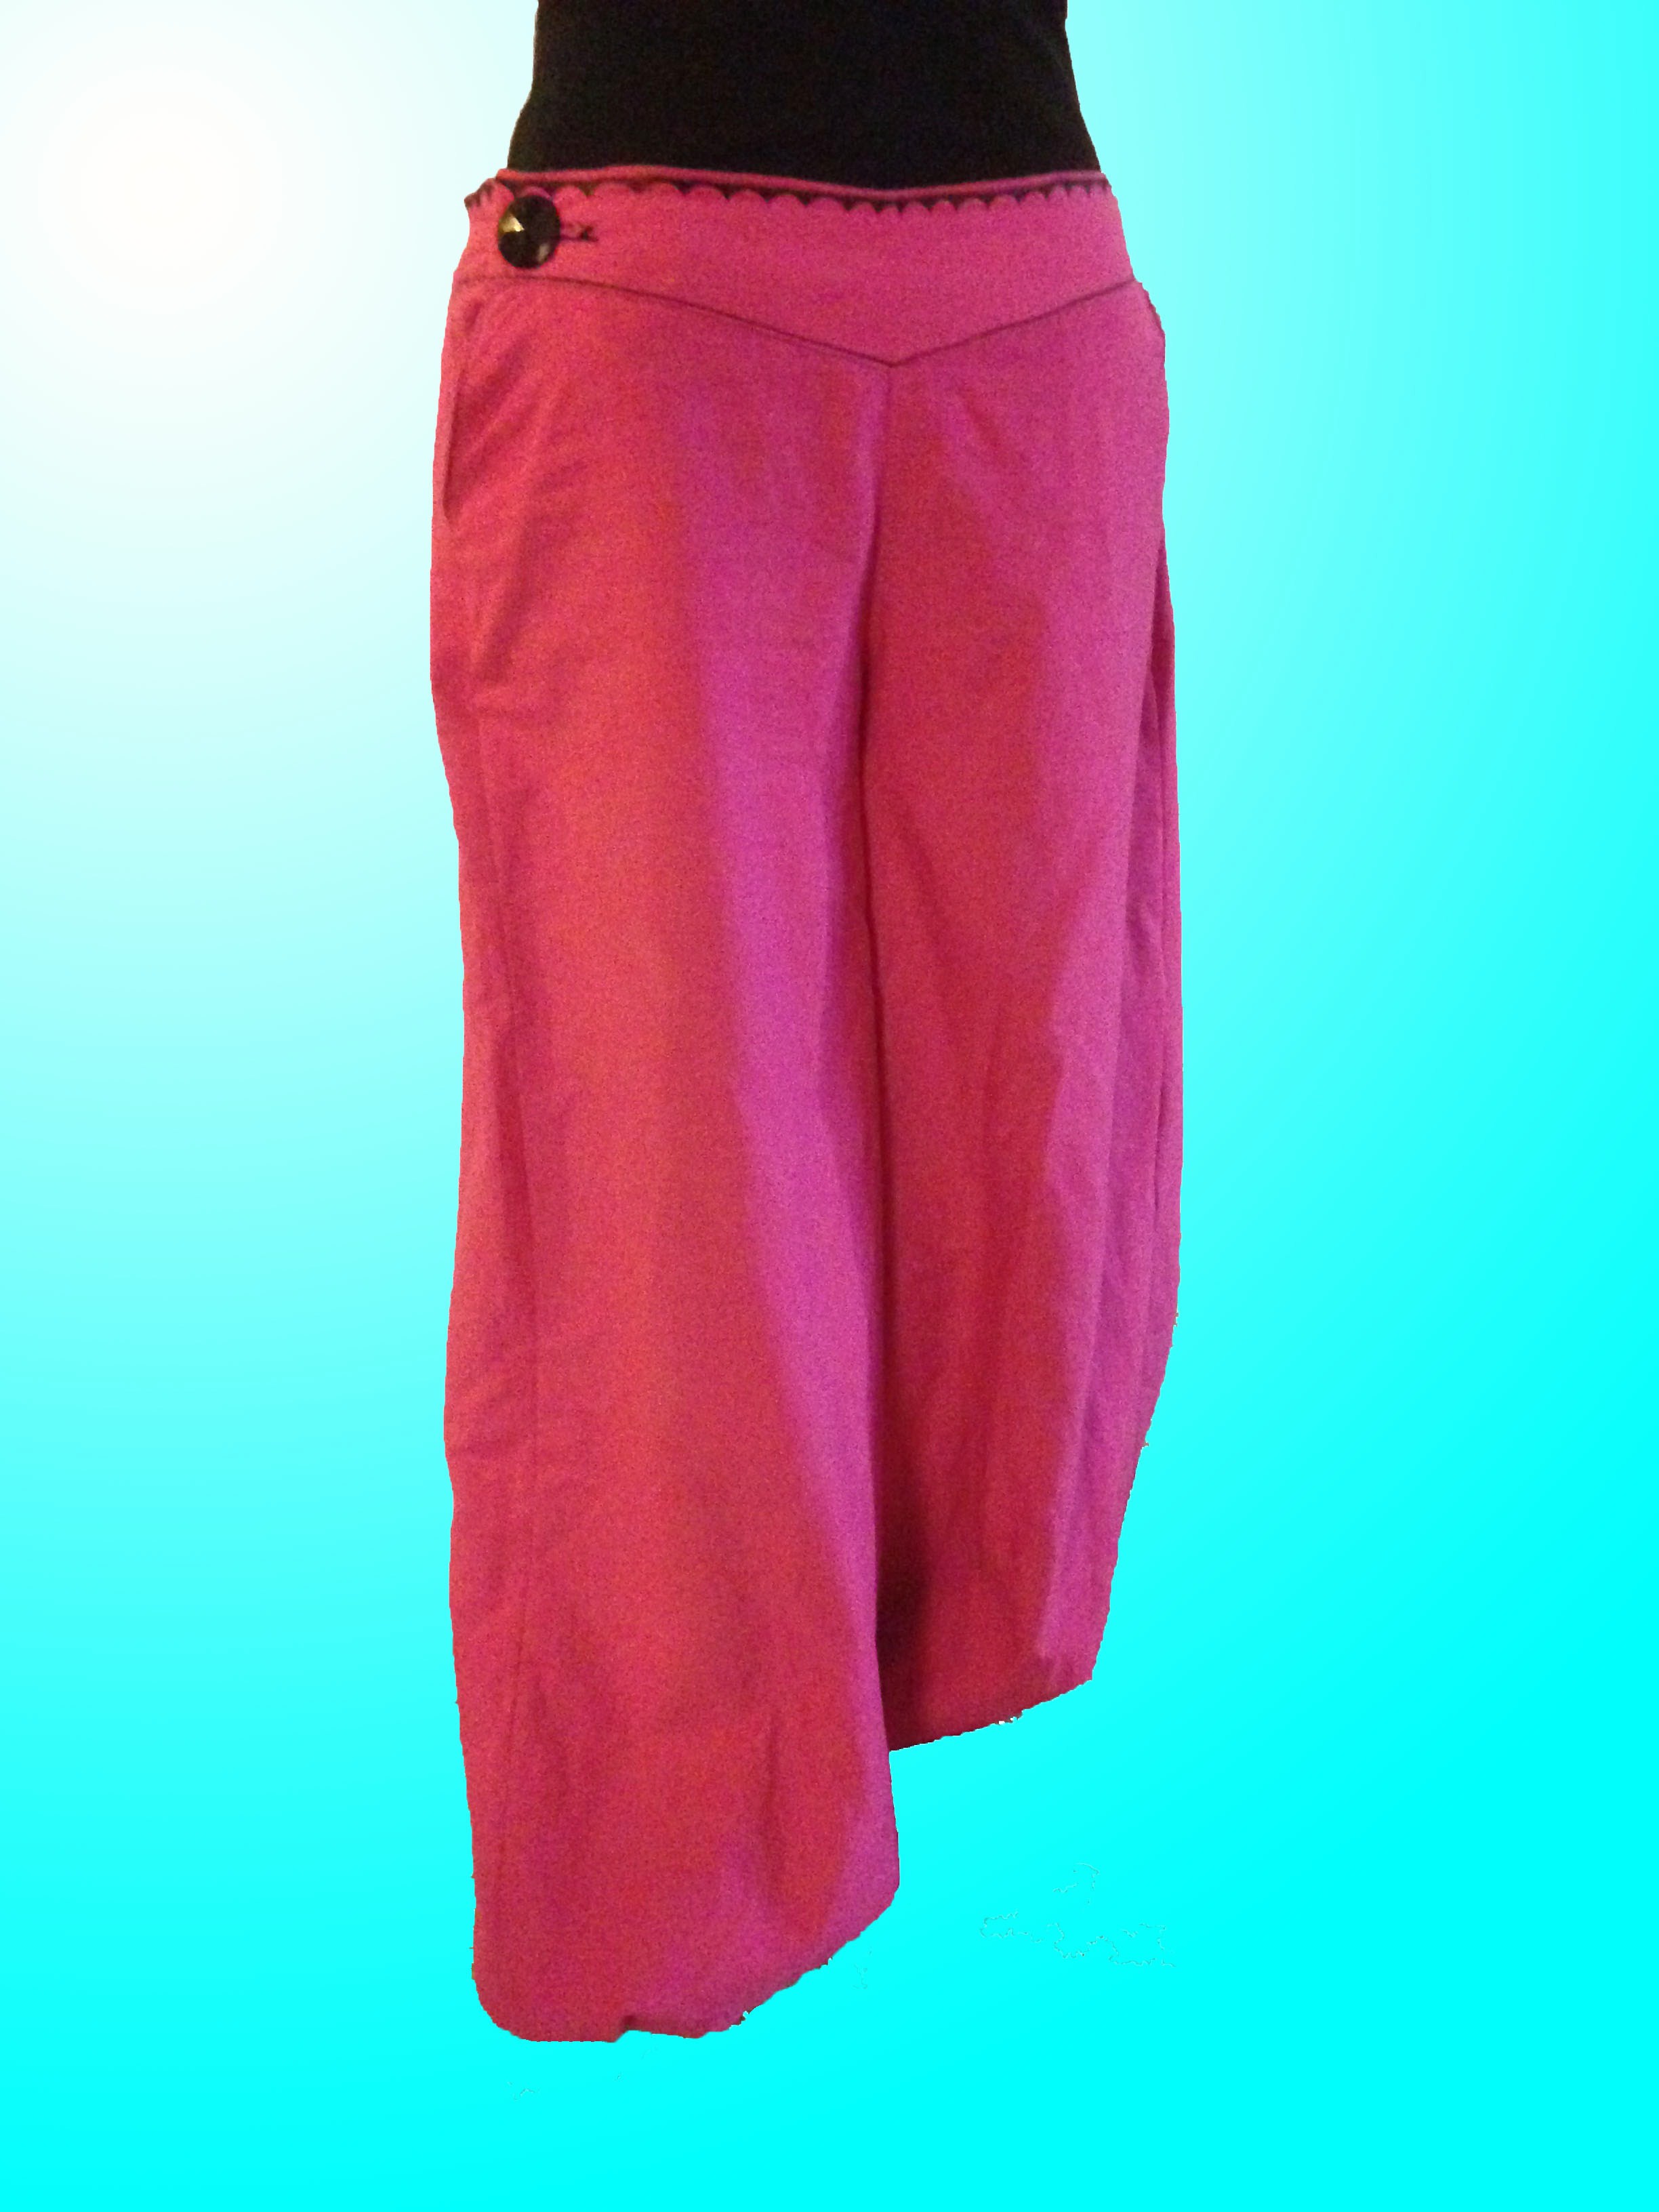
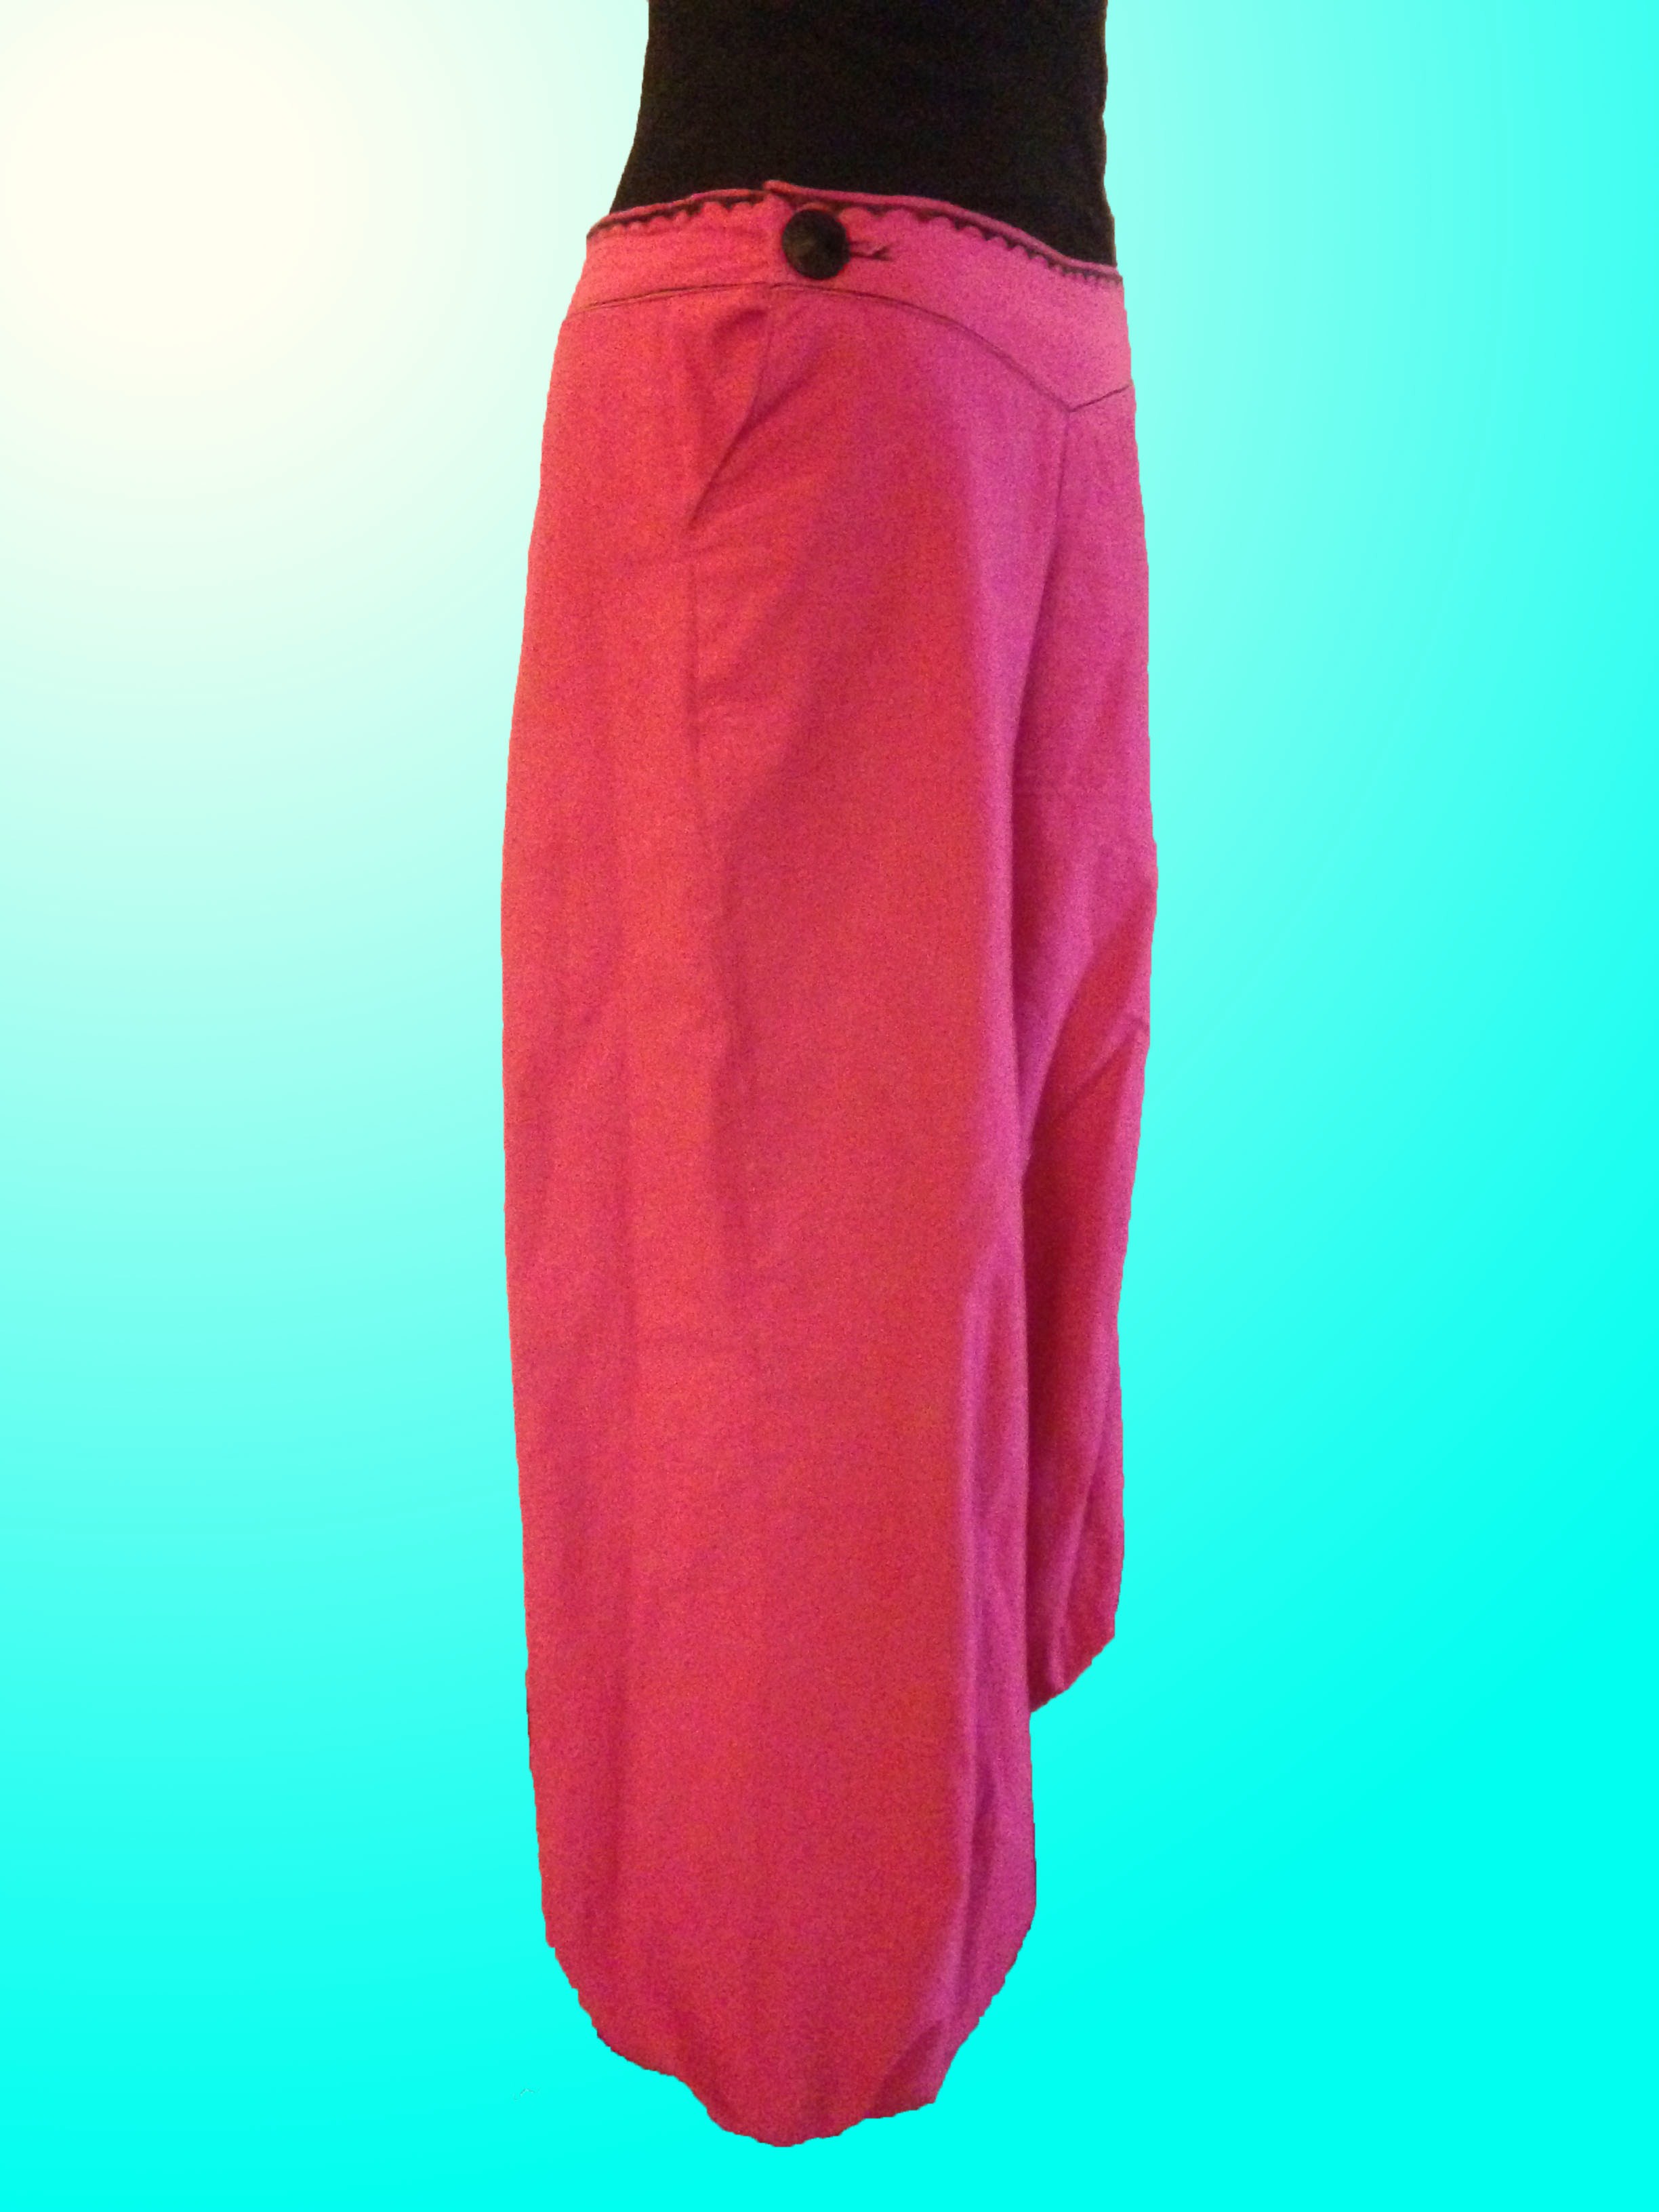
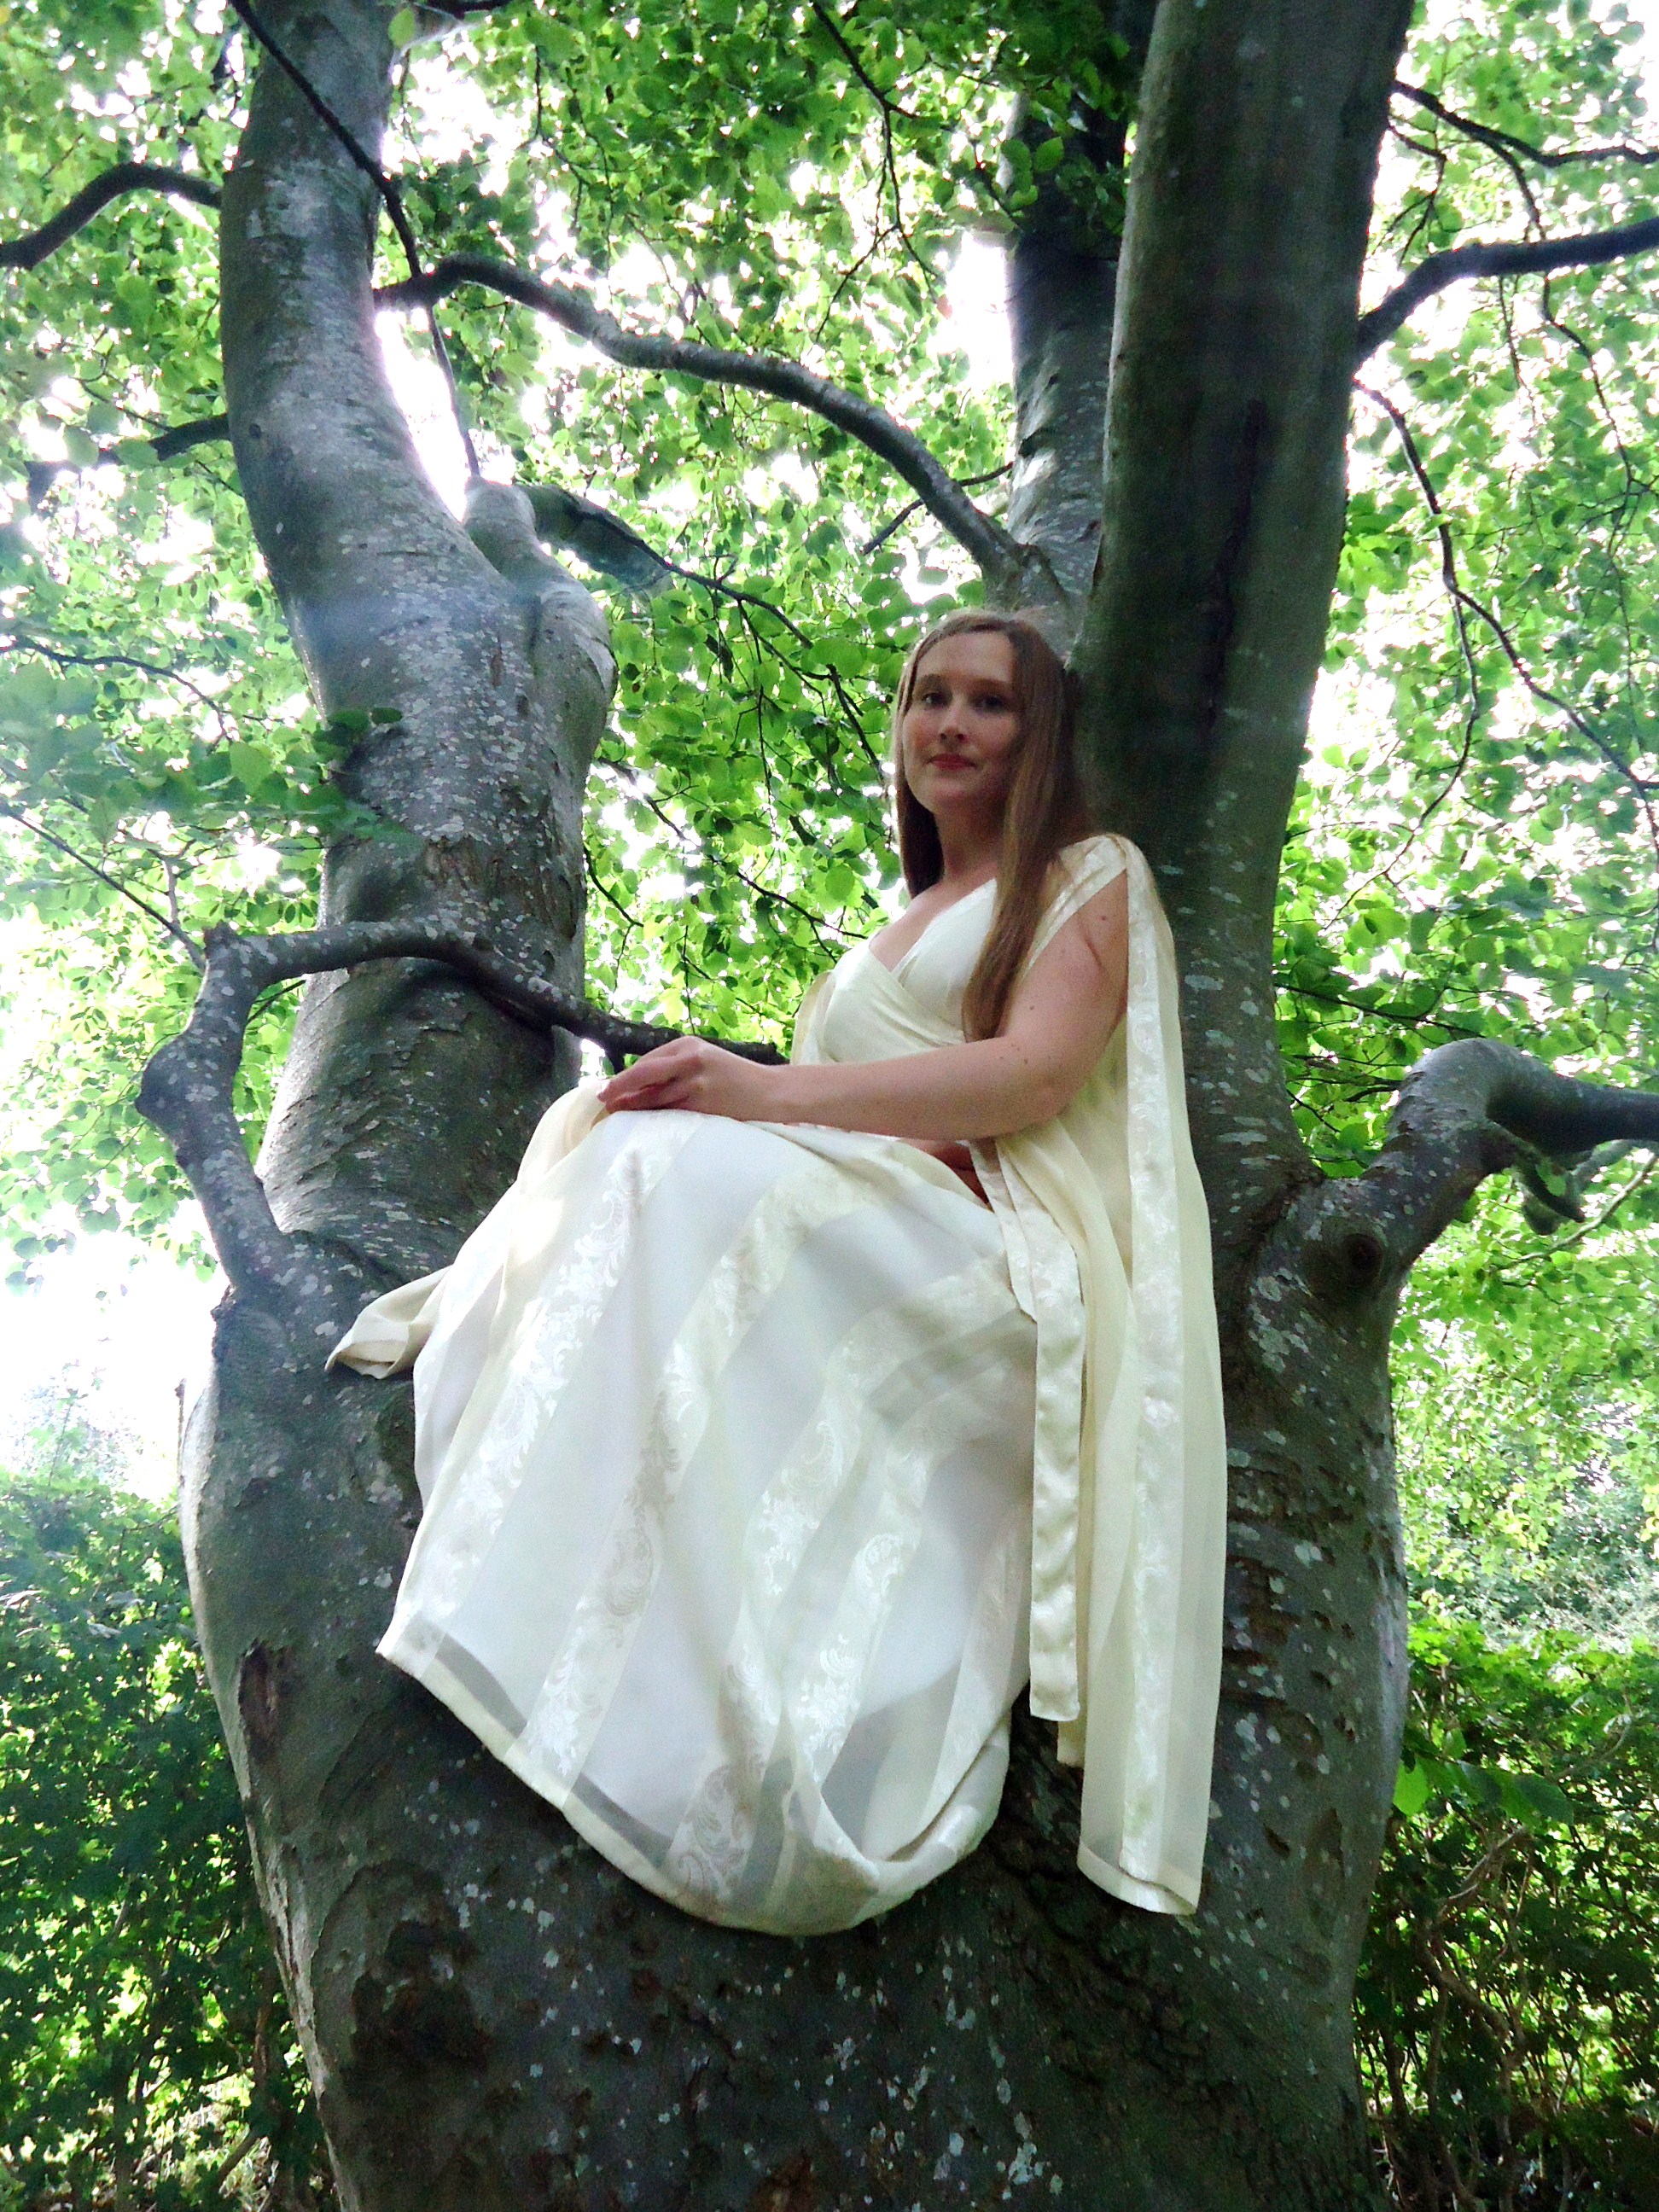
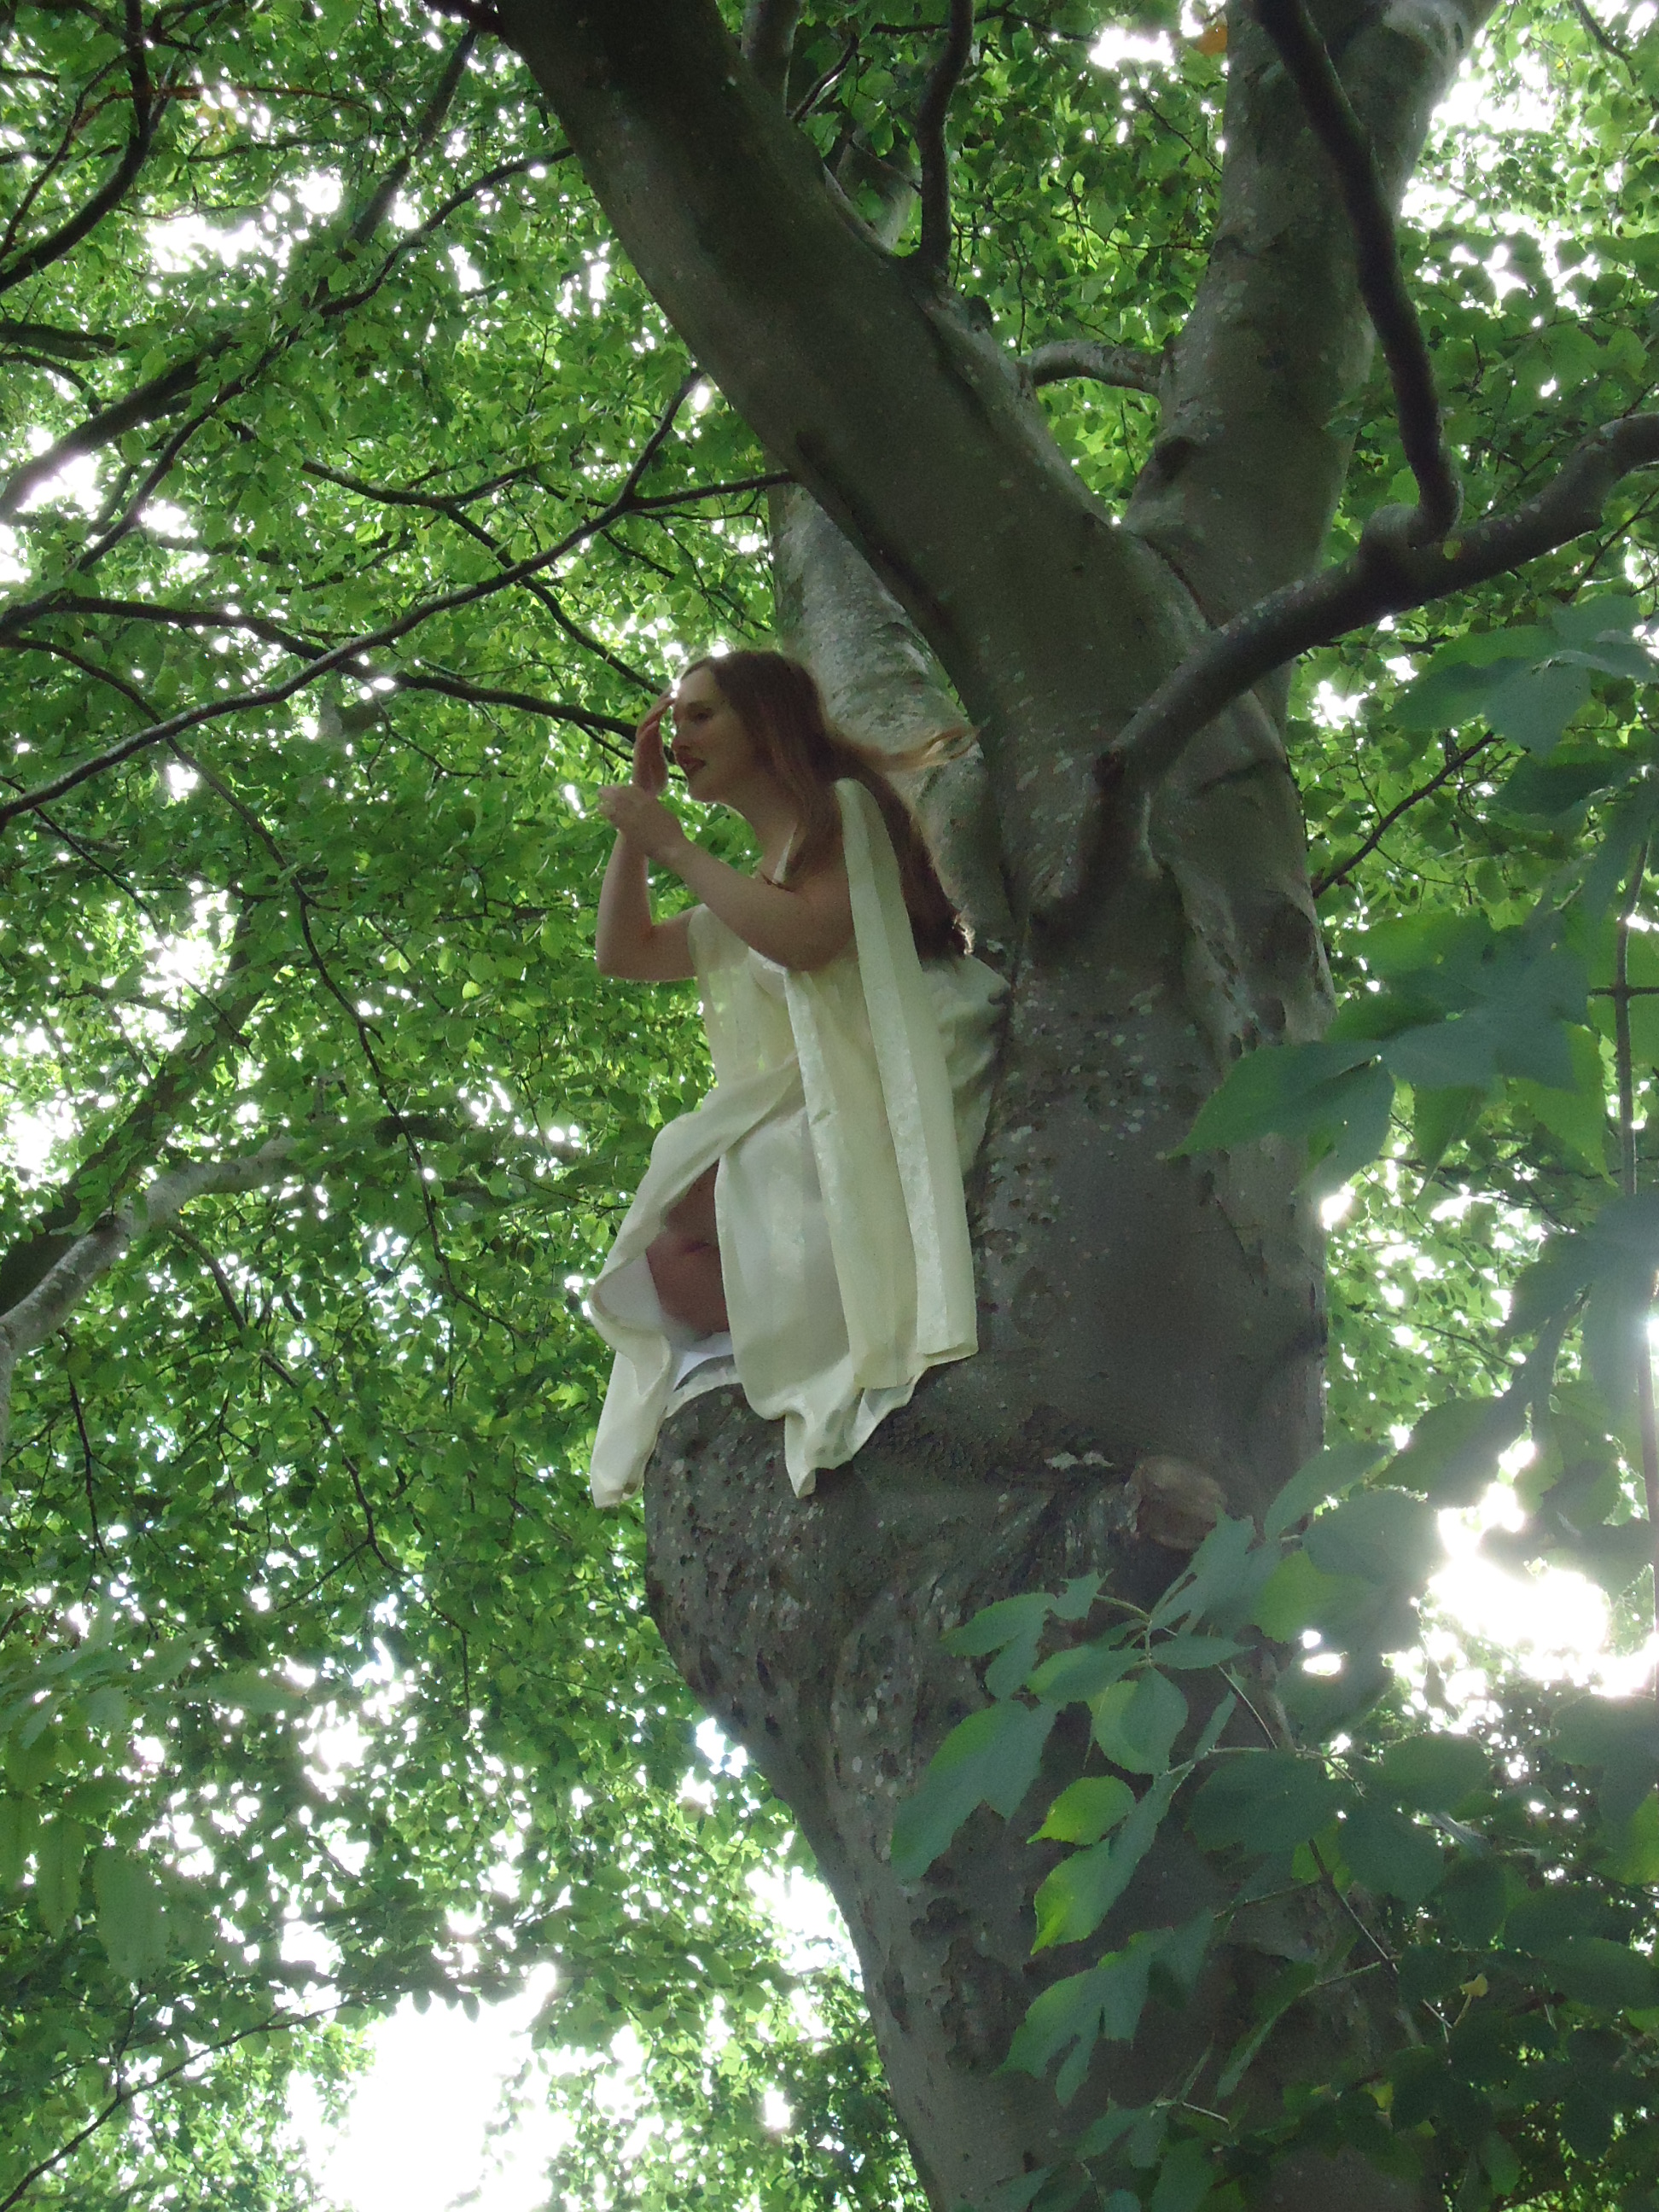
After having made my Chinese silk dress, I found out that I maybe should have a fluffy petticoat underneath. I had some fabric at home, so I threw this together.

Efter att jag hade sytt min kinesiska sidenklänning, insåg jag att den kanske skulle sitta bättre med en fluffig underkjol under. Jag hade lite tyg hemma, så jag slängde ihop denna.

Fluffy petticoat // Fluffig underkjol

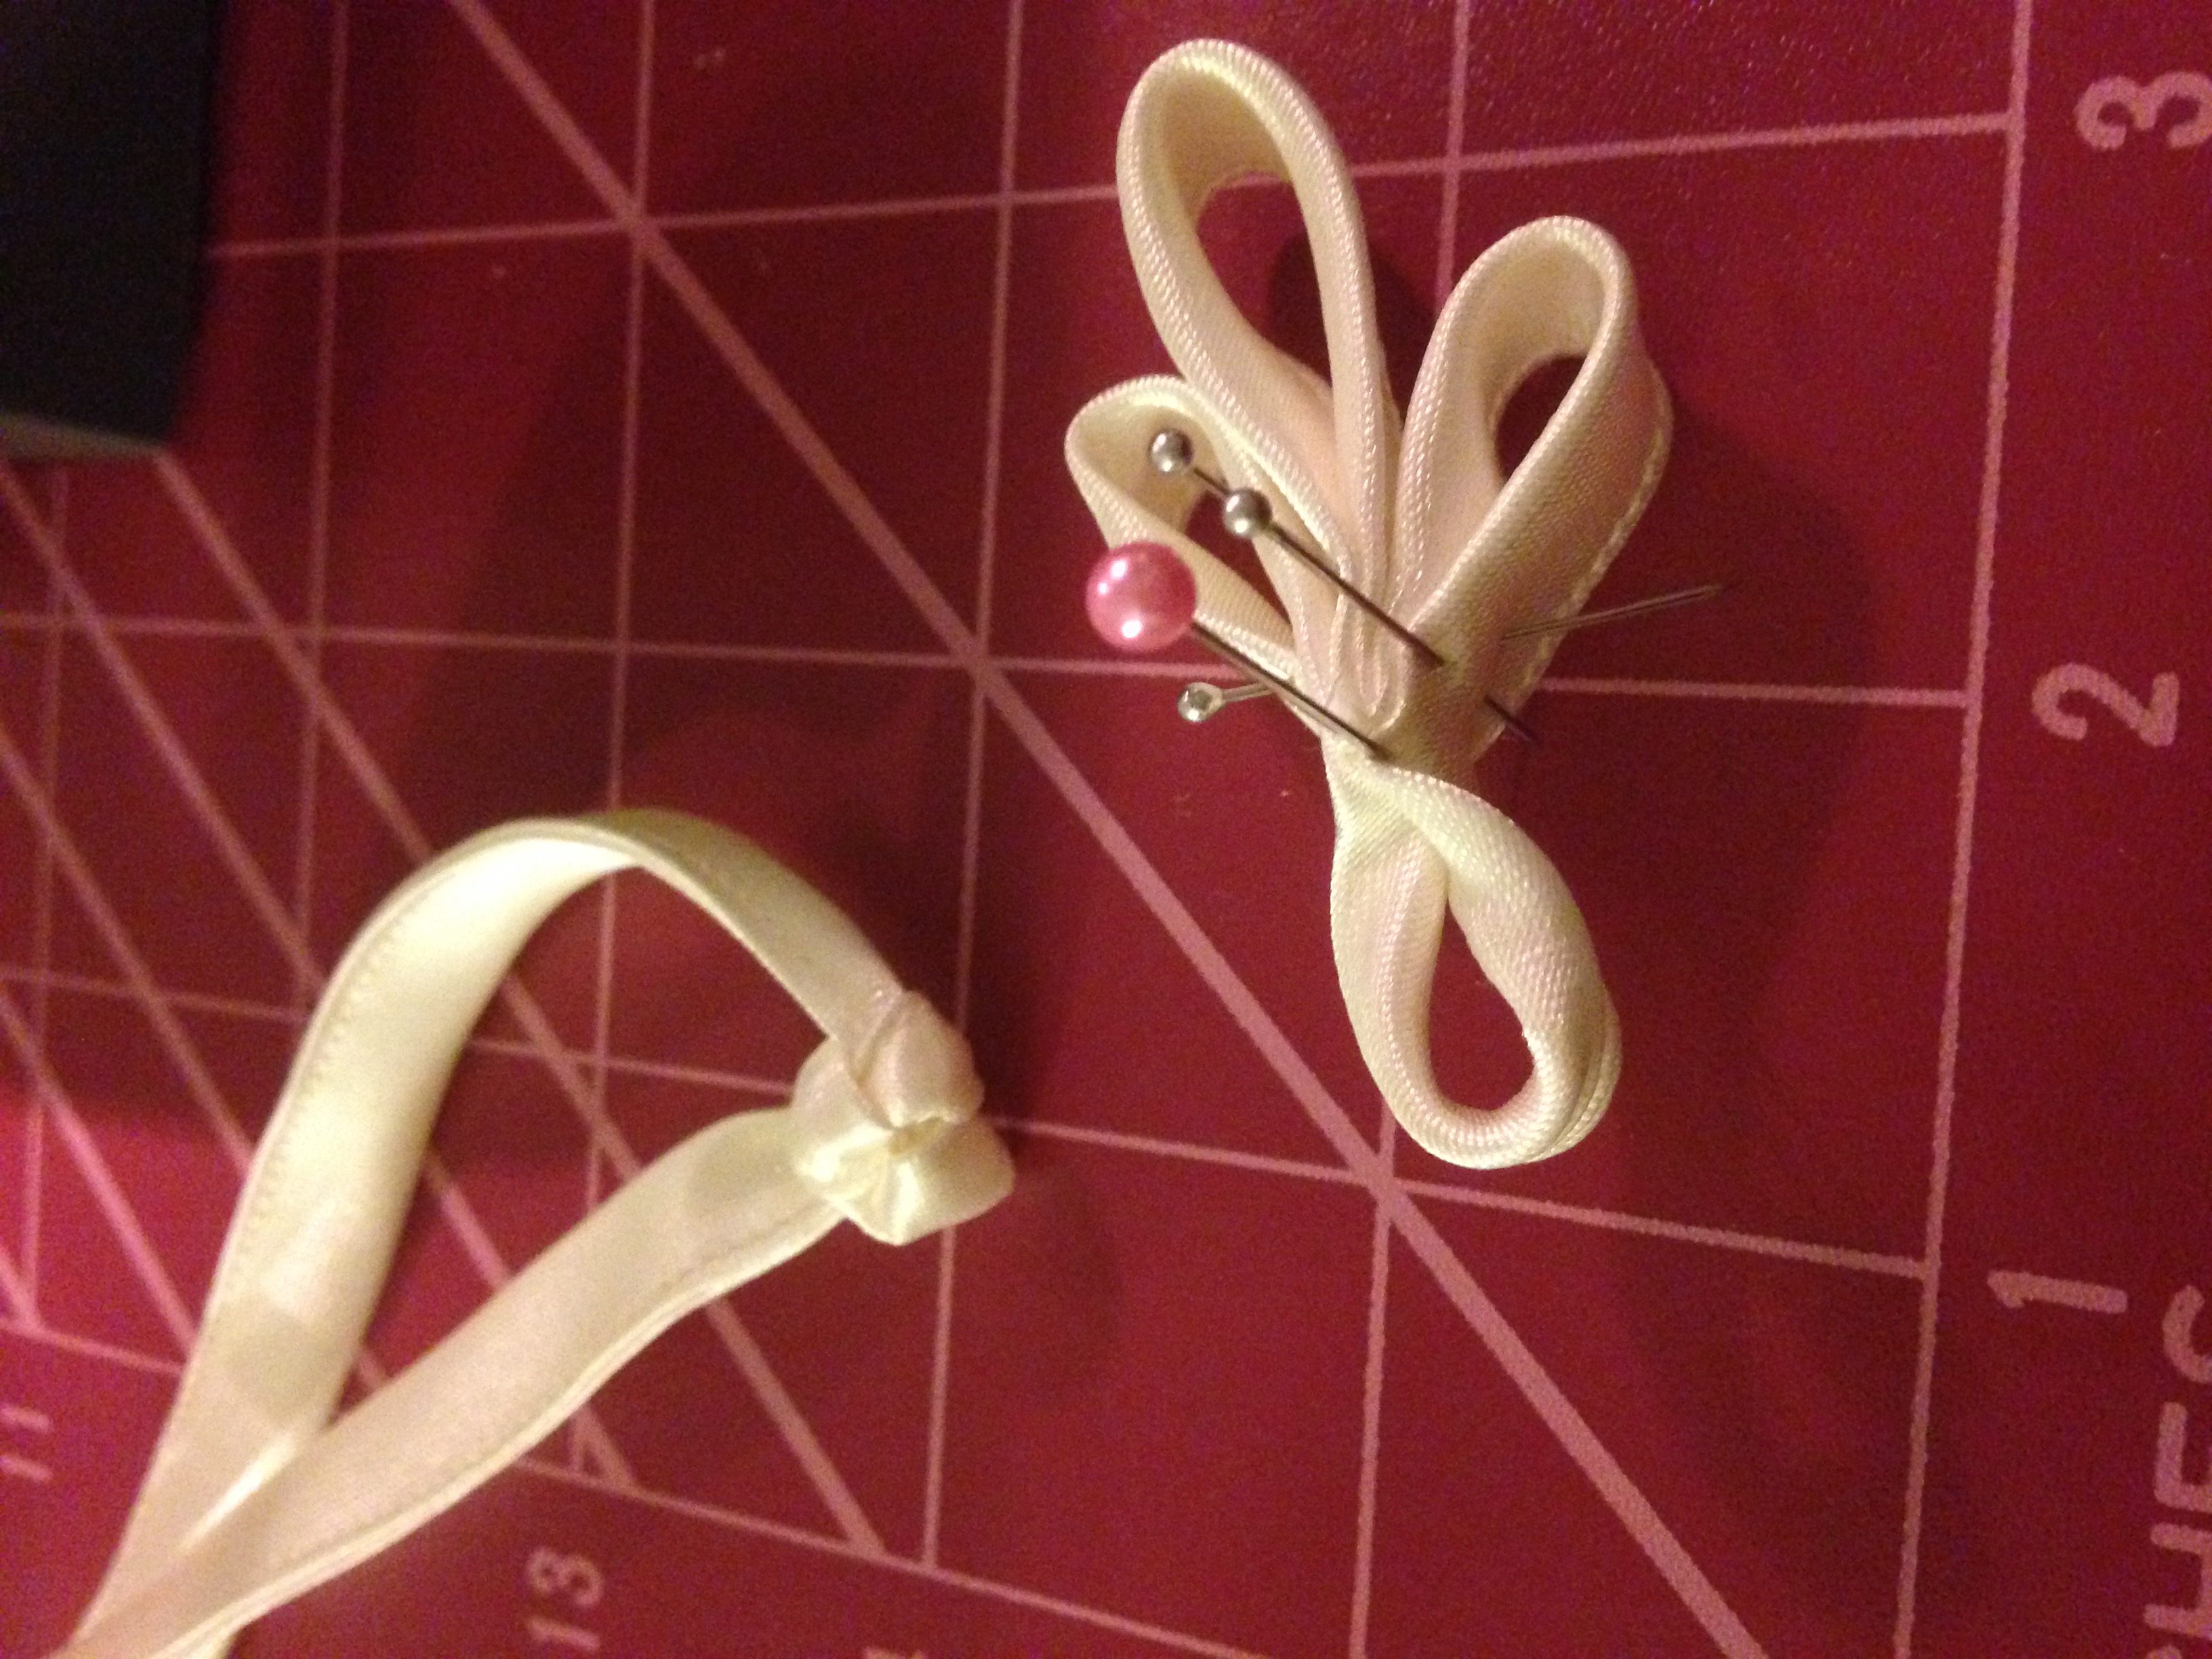
Today, I also made a bow tie for my husband, in the same fabric as the dress. We’ll see if he can wear it without suffocating.

Idag sydde jag en matchande fluga åt min man. Vi får se om han dessutom kan använda den utan att kvävas.

Bow tie // Fluga

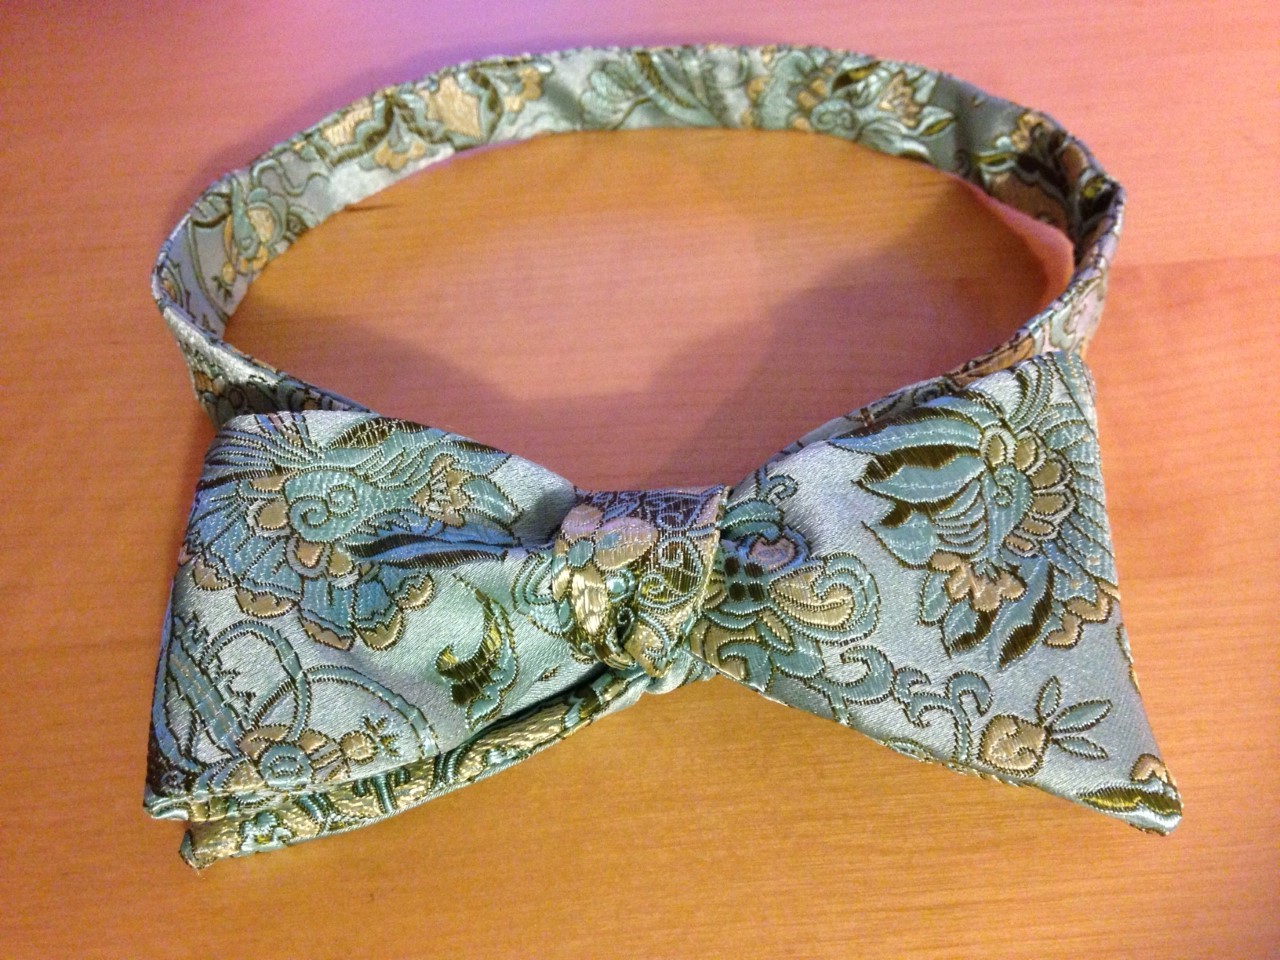
Here is a good tutorial for making bow ties, with a pattern. I had no idea how to tie it, so I found a tutorial for that too.

Här är det en bra instruktion för hur man syr flugor, med tillhörande mönster. Jag hade ingen aning om hur man knyter flugor, så jag hittade en instruktionsvideo för det också.

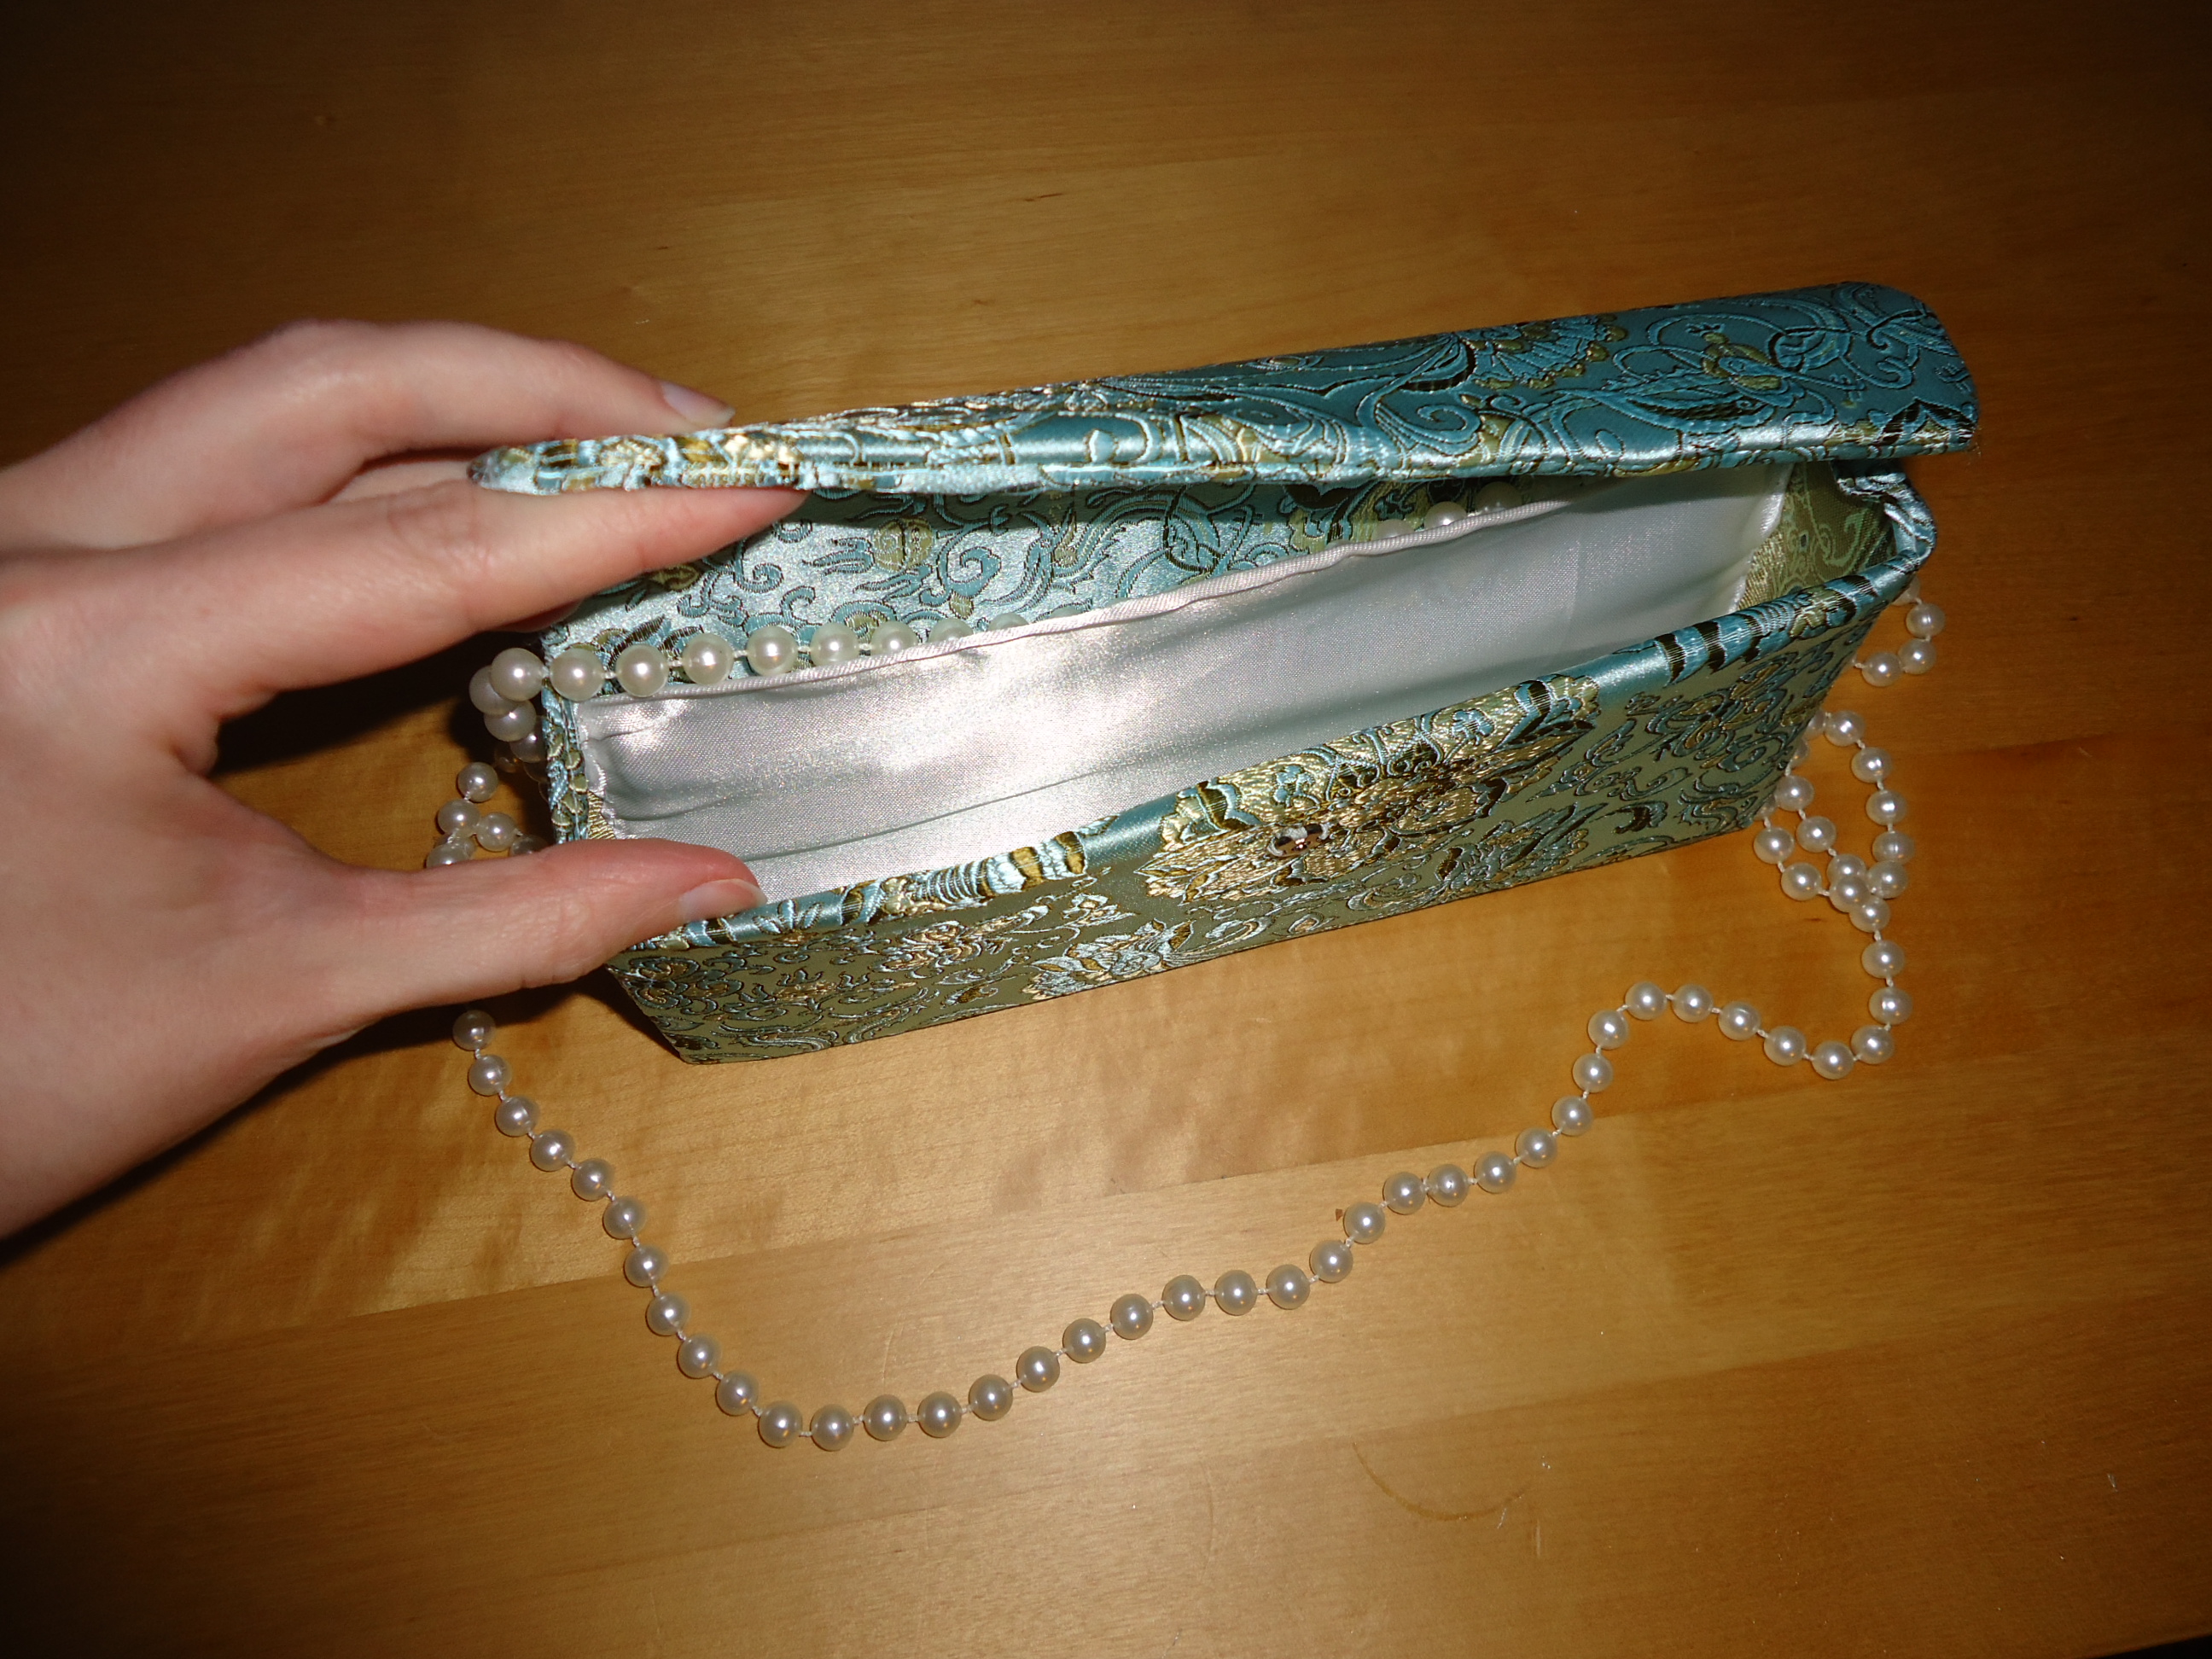
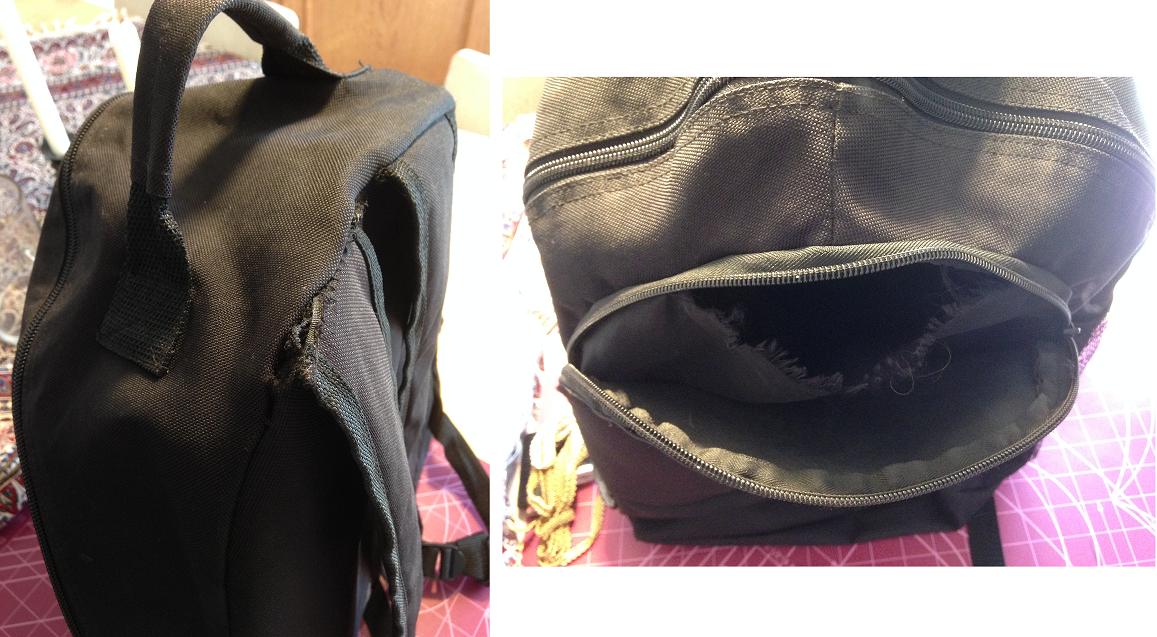
I also wanted a matching purse, so I took the few scraps left of the silk and cut an old plastic portfolio to pieces. The plastic stabilizes the front, back and lid. There was not enough fabric to match the patterns. The lining is from the same fabric as the petticoat. I was able to make a little pocket at the back of the purse, by overlapping the lining and the main fabric.  For shoulder strap, I used a plastic necklace bought at a Second Hand store many years ago. I was in a real hurry, so I cut the fabric and threw the purse altogether by instinct. In spite of this carelessness, I think the purse looks really nice.

Jag ville ha en matchande liten handväska, så jag tog de sista små stuvbitarna och klippte itu en av mina gamla plastmappar som jag använt under utbildningen. Mappen ger stadga fram, bak och i locket. Fodret kommer från samma tyg som underkjolen. Genom att överlappa fodret och sidentyget, fick jag till en ficka på bakre väggen. Till axelband använde jag ett gammalt plasthalsband från Second Hand. Jag hade väldigt bråttom, så jag klippte till tygbitarna och sydde samman handväskan på ren instinkt.  Trots denna vårdslöshet, tycker jag att den blev riktigt fin.

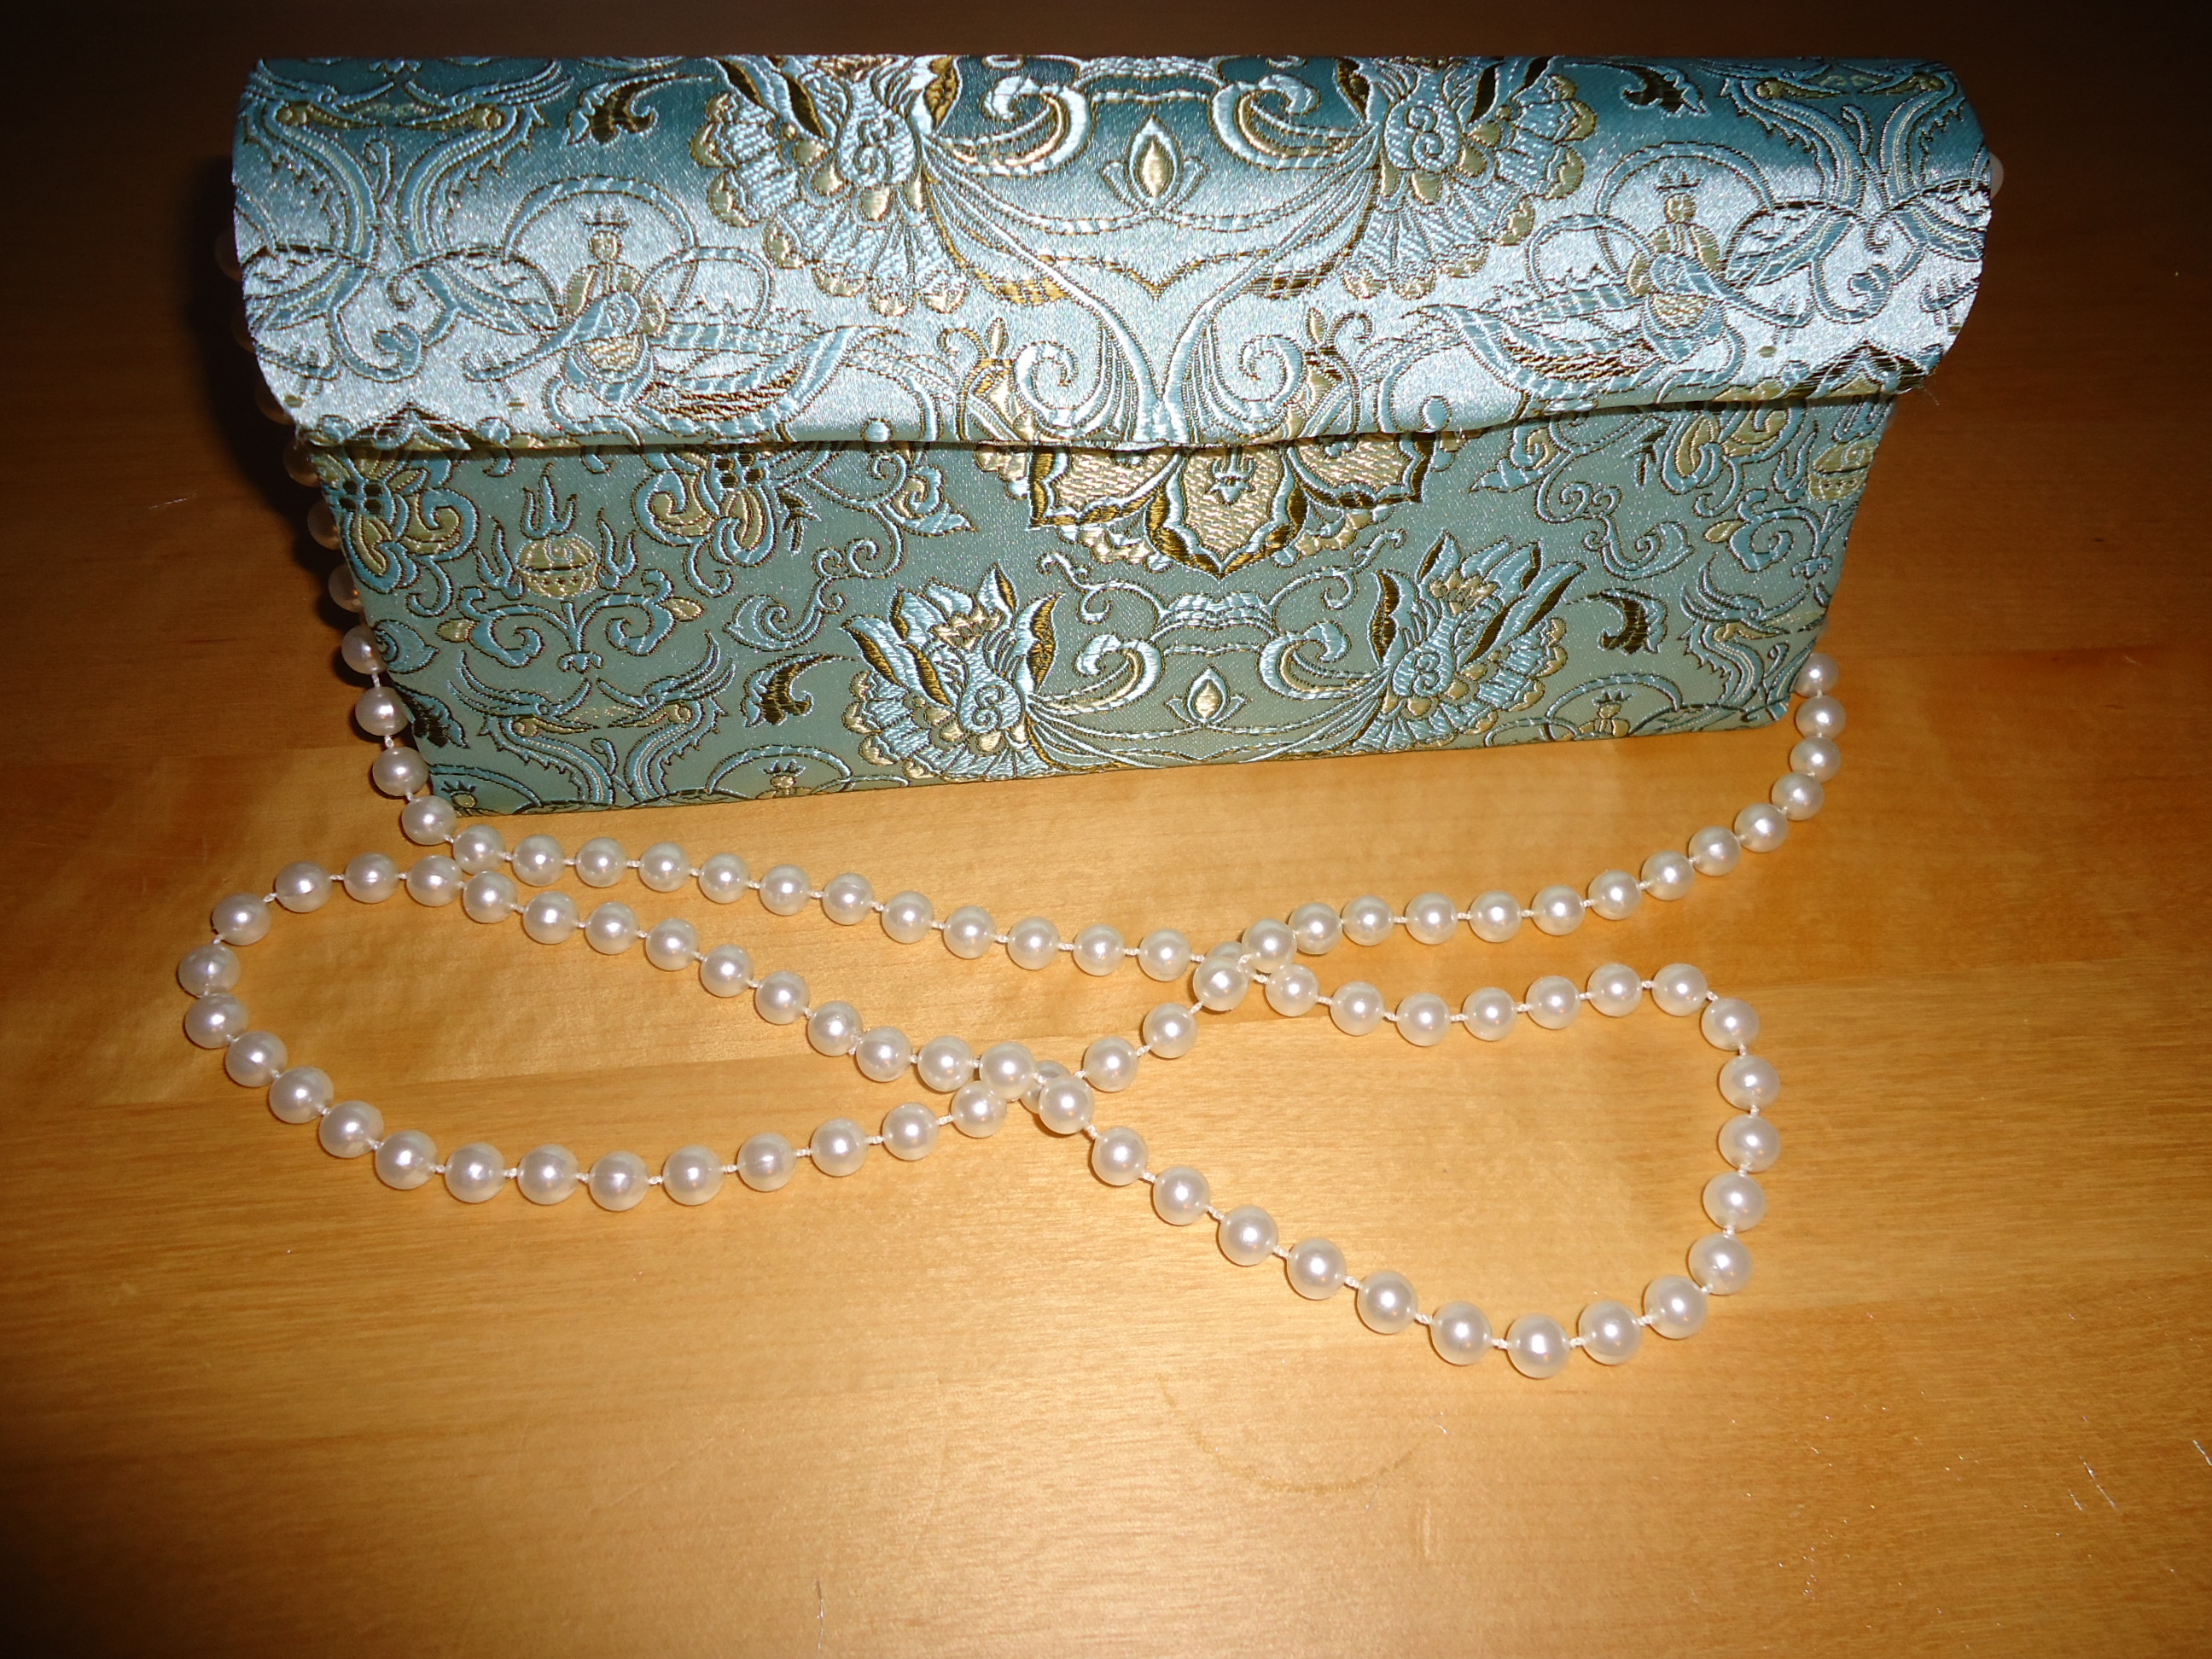
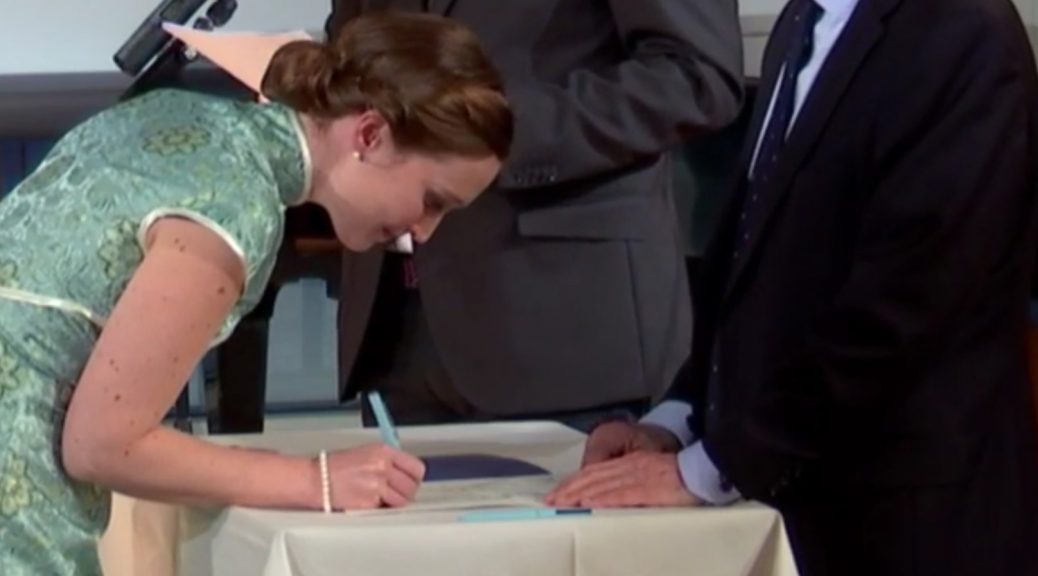
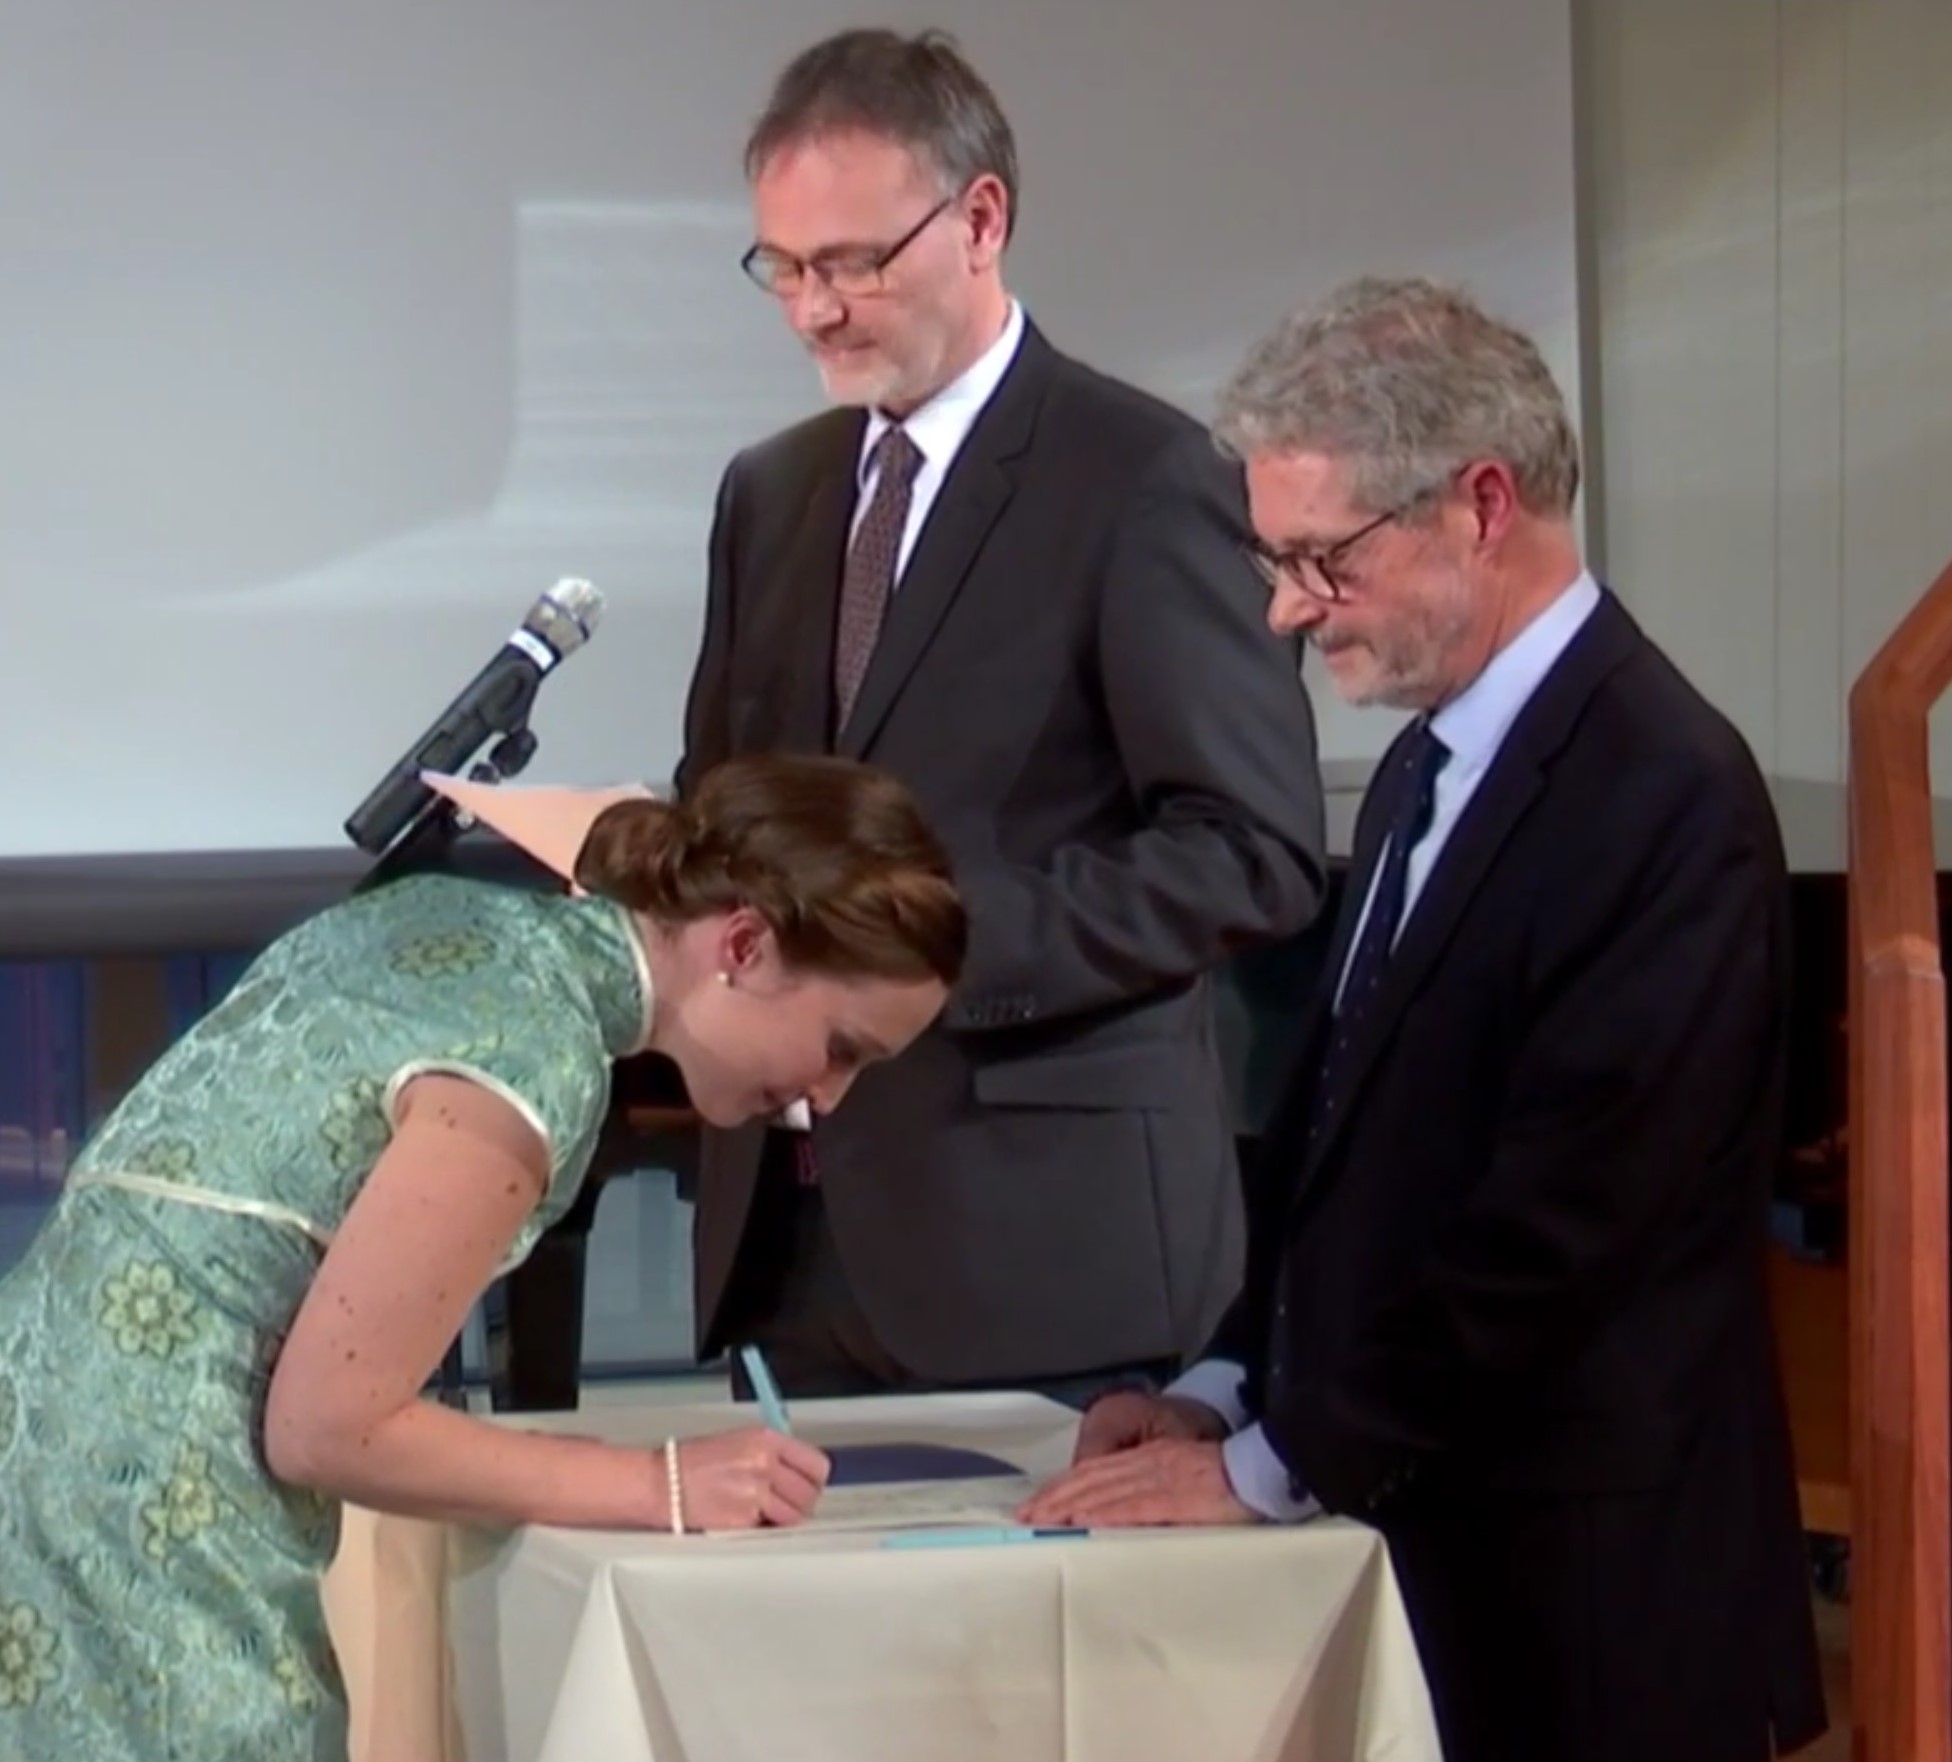
Inauguration/Hippocratic Oath, the 27th of January

Yesterday was the Inauguration/Hippocratic Oath. Today I am exhausted and so inexplicably happy! It is a big thing to swear to always serve others, always do your best and to never make any difference between patients. But its a good thing.

Igår var Läkarlöftet. Idag är jag helt utpumpad och så extremt glad! Det är en väldigt stor grej att lova att alltid tjäna andra, alltid göra sitt allra bästa och aldrig göra skillnad mellan sina patienter. Men det är en väldigt bra grej!

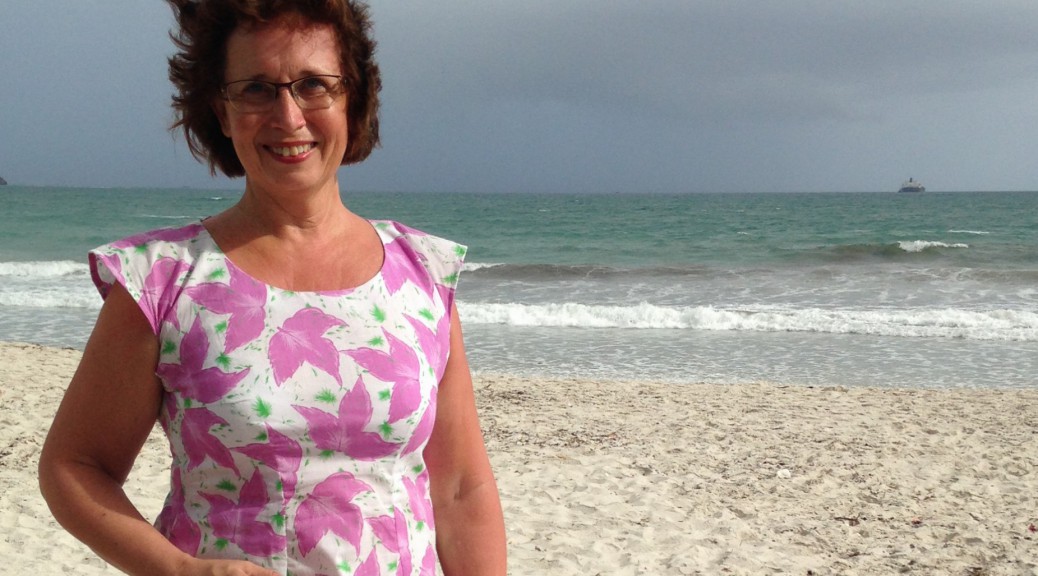
I was very happy that my parents were able to come and celebrate with me! They have been a huge support to me during this education.

Jag var väldigt glad för att mina föräldrar hade möjlighet att komma och fira med mig! De har varit ett stort stöd för mig under den här långa utbildningen.

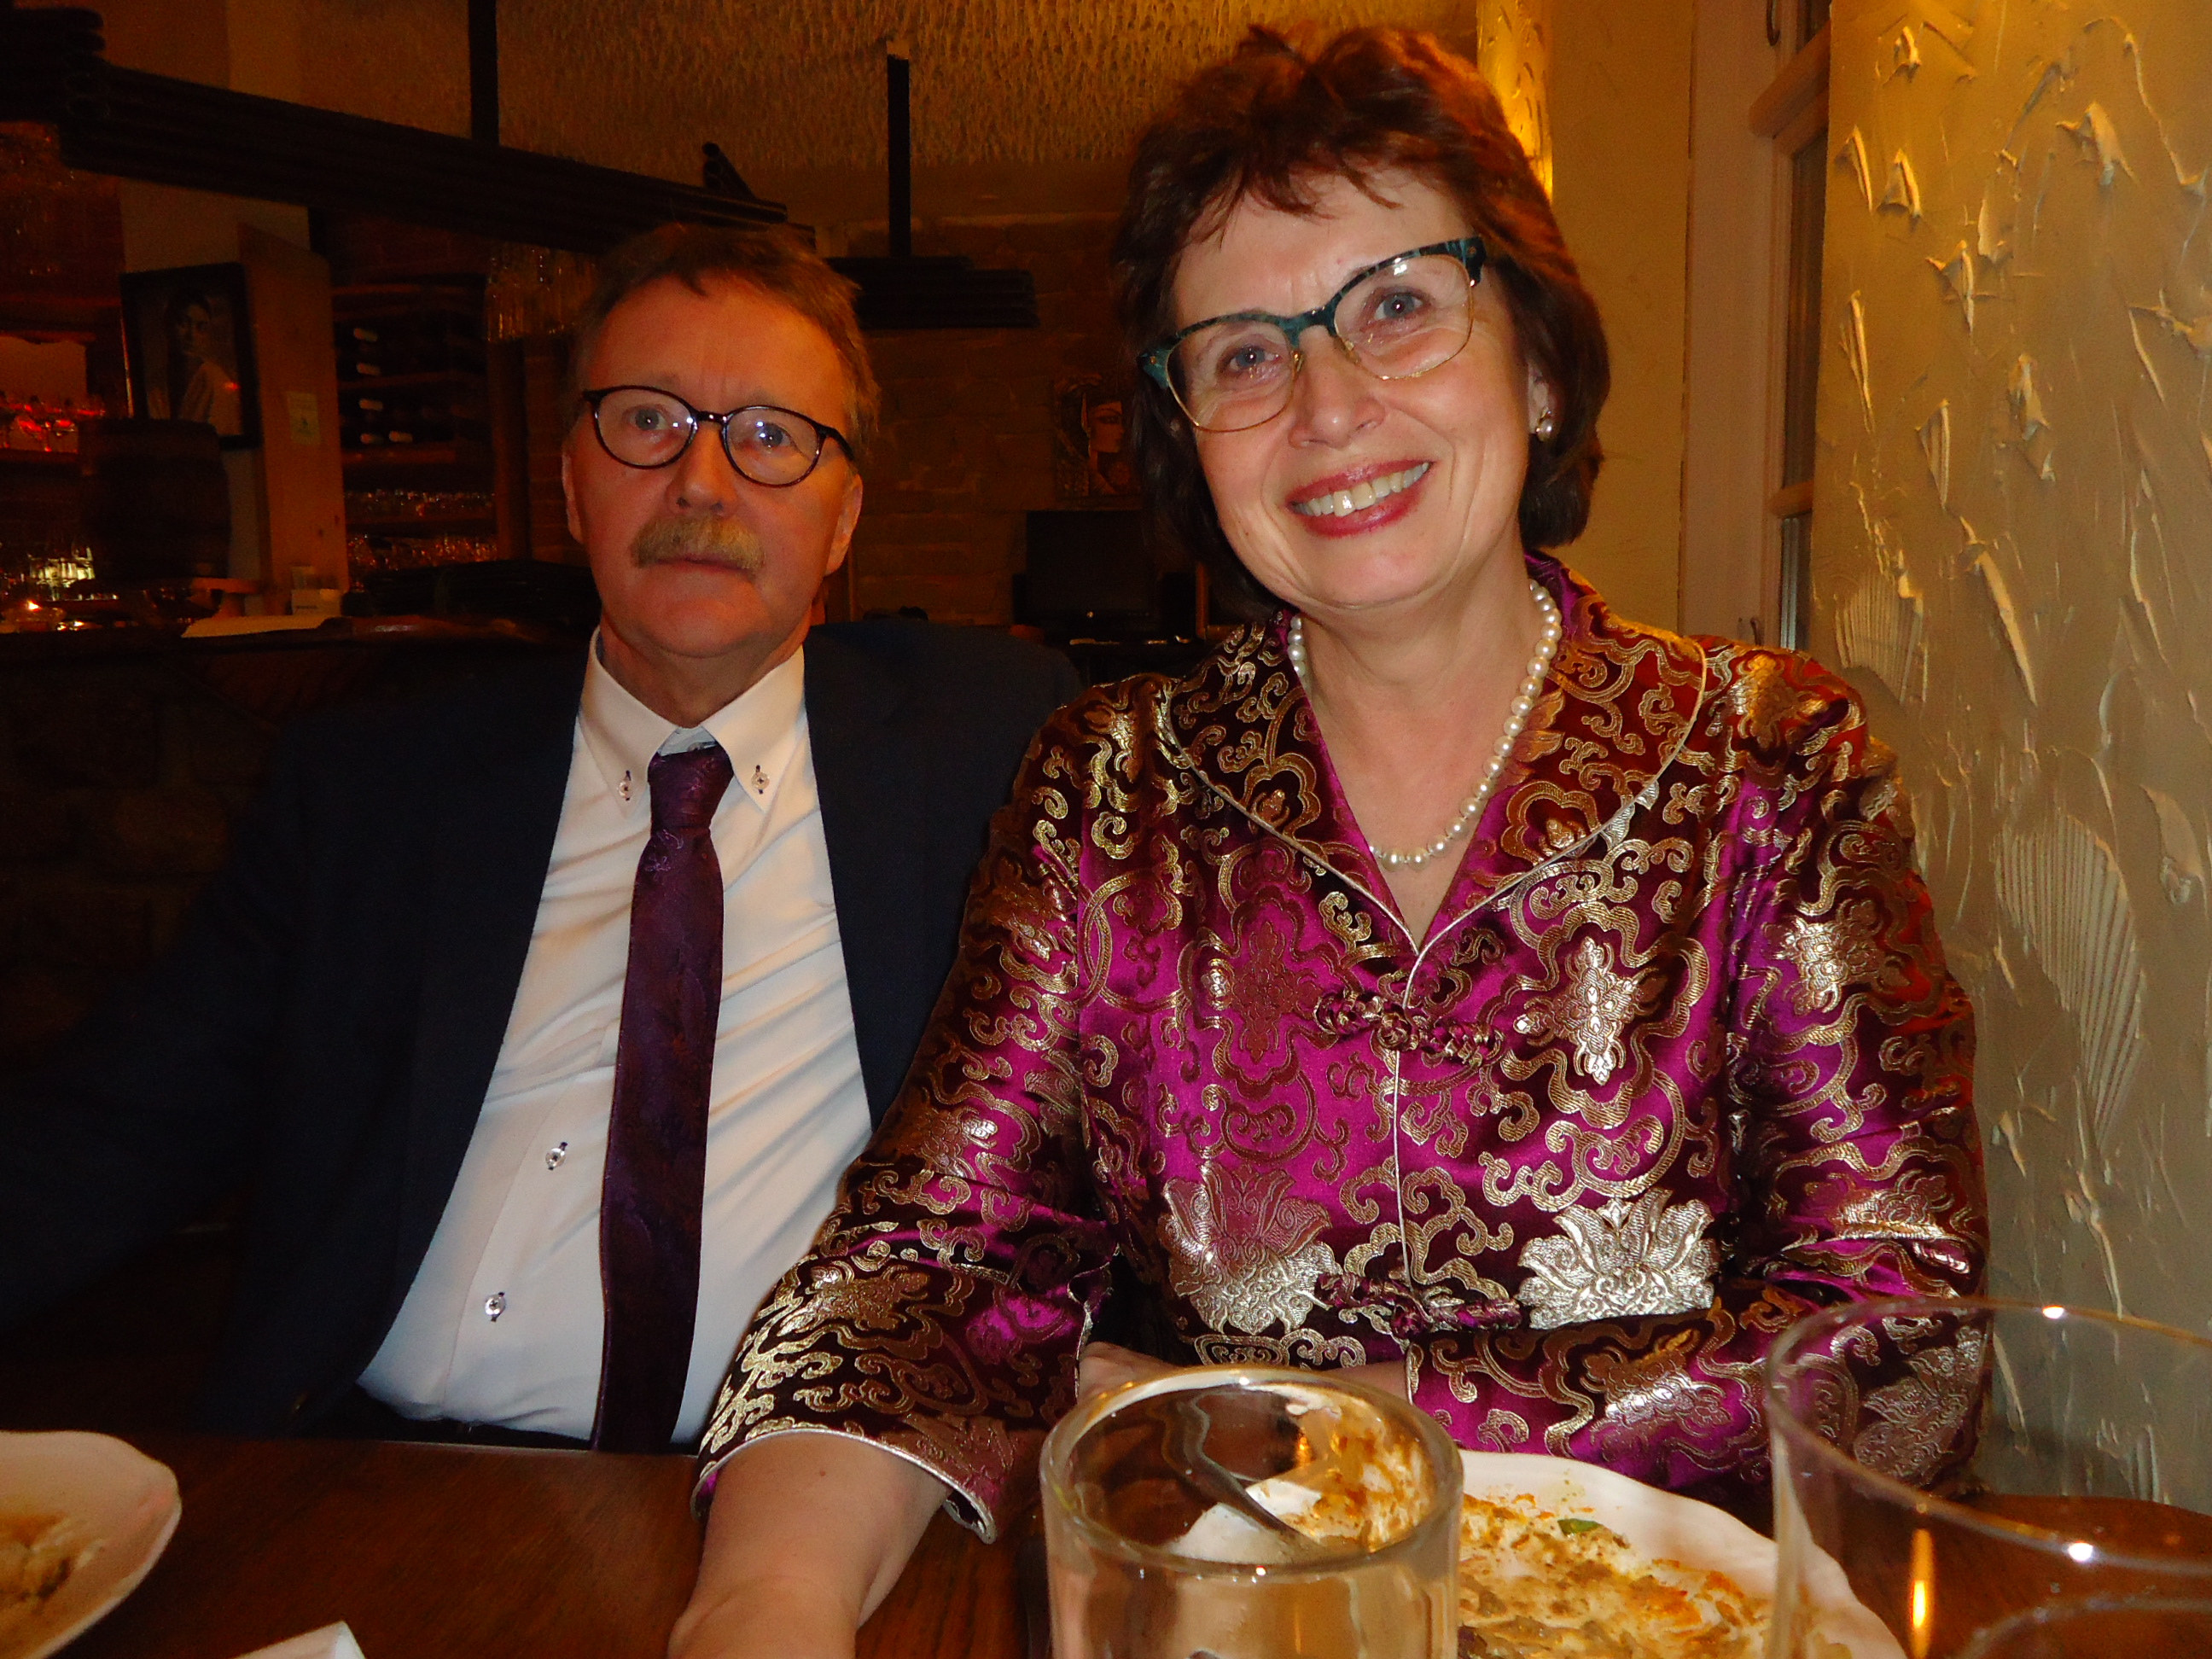
My greatest support, though, has been my everpatient and loving husband. Thank you so much!

Mitt allra största stöd har dock varit min alltid tålmodige och älskande man. Tack så otroligt mycket!

Off course there have been many heroes involved during these six years! Among them, I have to mention the rest of my family, the family of my husband and my dear Århus-friends Svea, Ingeborg, Camilla, Frida, Hildegunn, Paulina, Abi and Christina and all other lovely people spread out in over Sweden and the rest of the world. Thank you so much for not giving up on me, when I’m in anguish after many sleepless nights and when I reject fun things because of studies. Thank you for all nice distractions that have made surviving possible. I love you and am so thankful for having got to know you! Hope that we will see each other again.

Det har så klart varit många hjältar inblandade under dessa sex år! Bland dem, måste jag nämna resten av min familj, min mans familj och mina kära Århus-vänner Svea, Ingeborg, Camilla, Frida, Hildegunn, Paulina, Abi, Christina och alla andra underbara människor i Vimmerby och resten av världen. Tack så mycket för att ni har stått ut med mig när jag har haft ångest efter många sömnlösa nätter och när jag har avstått från roliga påhitt på grund av studierna. Tack också för alla trevliga avledande förströelser. Jag älskar er och är så tacksam för att ha fått lära känna er! Hoppas att vi får ses igen.
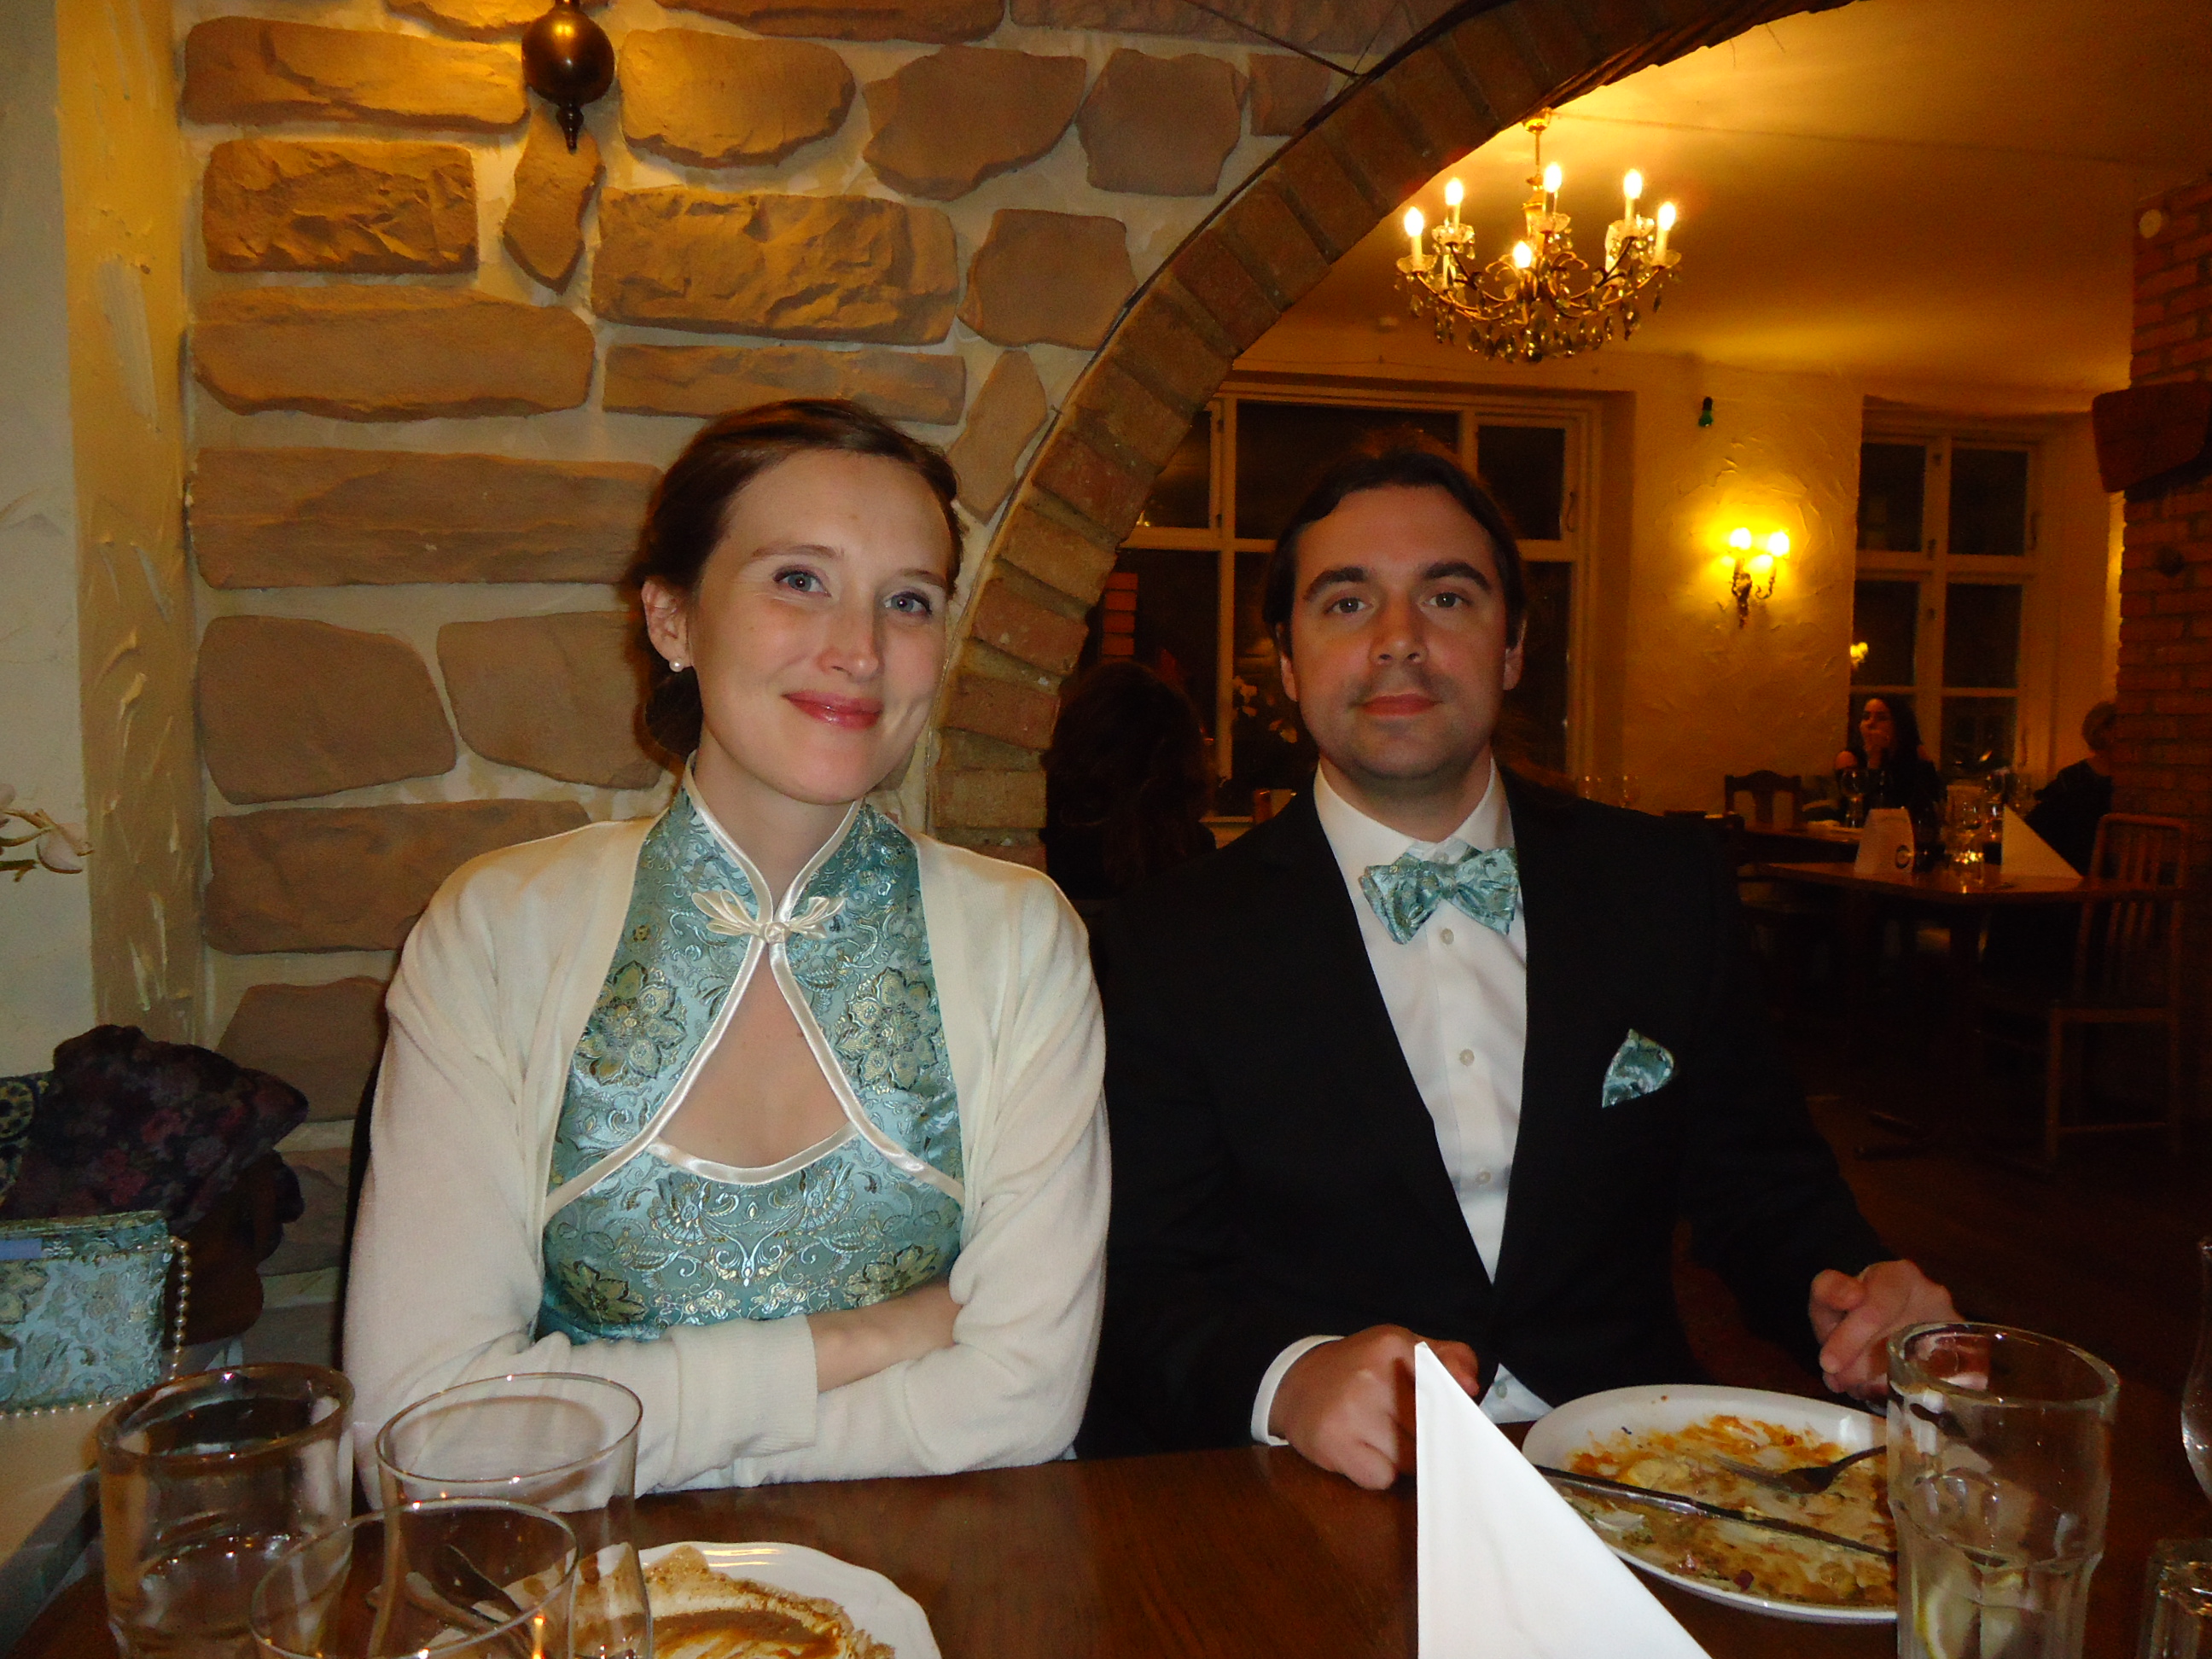
This post ended up being more cheesy than I could have ever imagined. Perhaps it’s because of the cheesy music in the background or just because of that I really have so much to be thankful for.

Have a good day!

Detta blogginlägg blev visst väldigt mycket mer tårdrypande än jag hade tänkt mig. Kanske beror det på den sliskiga musiken jag har i bakgrunden, eller bara på att jag har så otroligt mycket att vara tacksam för.

Ha det fint!

Share

Short Summary of the Summer

This summer was intense! After the marathon of exams and preparations for selling our old apartment, I came home to Sweden, where I started with two weeks work as a doctor’s assistant, abruptly finished with singing at a funeral at my last lunch break. After the “real work” I had my own concert, in Vimmerby kyrka, together with Olle Långström:

Den här sommaren var fullspäckad! Efter galna veckor med lägenhetsförsäljning och tentor, kom jag hem till Sverige och arbetade två veckor som läkarassistent, abrupt avslutat med begravningssång på min sista lunchrast. Tre dagar efter att mitt “riktiga sommarjobb” var avslutat hade jag min egen konsert i Vimmerby kyrka, med Olle Långström.

Next, I had to sew a few things for the castle adventure and the next concert.

Sedan behövde jag sy några plagg inför vår slottsutflykt och nästa konsert.
IMG_9973

I designed and sew the girl’s dress and remade the blue dress. I also made the petticoat shown in the last post.

Jag designade och sydde flickans klänning och sydde om den blå klänningen. Dessutom sydde jag underkjolen, som jag visade i förra inlägget.

IMG_9146

I had such grand plans for this gown. Alas, I could never fulfill my dreams. The black satin dress underneath would be wearable on its own, but I could not make the darts at the bust without wrinkling and bulking. As I had feared, it also proved to be impossible to drape a chiffon dress without mannequin. This is the best picture, where you cannot see all of the horrible bulk.

Jag hade så storslagna planer för denna klänning. Men ack, mina drömmar gick inte i uppfyllelse. Den svarta satinklänningen, under, skulle gå att använda för sig, men jag kunde inte få till de eländes inprovningarna vid bysten. Dessutom visade det sig, som jag fruktat, vara omöjligt att drapera chiffongtyget utan provdockan. Klänningen såg slutligen ut som en billig, illa sydd tärnklänning. Detta är den bästa bilden, man ser inte alla fel.

DSC05270
A lovely pick nick with a long lost friend and my husband.

Then there were some more funerals, weddings and our annual  concert at Kröngården. Oh, what fun it was! =D

The video is terrible, but you get a glimps of what it was like:

Sedan sjöng jag på några fler begravningar, bröllop och vår årliga konsert med Martin Carlsson, Hanna Karlsson och Henry Trejos Muños på Kröngården. Åh, så roligt det var!

Videon har inte särskilt hög kvalitet, men du får åtminstone ett hum om hur det lät.

http://www.dagensvimmerby.se/nyheter/kultur/e/6878/uppskattad-konsert-vid-krongarden/

The last two weeks, where I had nothing yet planned, I had decided to start working with my last year project, about pregnancy diabetes. I lasted one day. Then I felt how terribly tired I was! I just had to take a real break before returning to my studies. That was my excuse for making the regency gown instead.

Under de sista veckorna, som var helt oplanerade, hade jag tänkt börja med mitt specialarbete, om graviditetsdiabetes. Jag höll ut en hel dag. Sedan kände jag hur offantligt trött jag verkligen var! Jag var helt enkelt tvungen att ta ledigt innan jag återvände till studierna. Det var min ursäkt för att sy en empirklänning istället.
DSC05446

All together, it has been a wonderful, hectic summer, full of friends, fun projects, music and family. Tomorrow the reality starts – hopefully my last semester at the University of Århus.

Sammantaget, har det varit en underbar, hektisk sommar, full av vänner, roliga projekt, musik och familj. Imorgon tar verkligheten vid – förhoppningsvis min sista termin på läkarutbildningen vid Århus Universitet.

Share

Girls’ quick regency dress

Som några av er vet, har jag och mina vänner länge planerat att besöka Tjolöholms slott i augusti, för att se deras utställning med dräkter från Jane Austen-filmer. Vi har tänkt passa på att själva klä upp oss i empirdräkter, men för att de ska räcka till oss alla fyra, måste jag sy ytterligare en klänning. När min syster fick höra om utställningen blev hon också väldigt sugen. Därför bestämde vi oss för att göra samma utflykt med dem också. Då uppstod problemet att flera barn inte hade lämpliga kläder.

En natt fick jag en snilleblixt. Jag skulle sy en barnklänning i en modell som tillät åtminstone ett års växt innan den skulle vara urvuxen.

As some of you are well aware, I have planned for a visit to a Swedish castle with my friends, in August. In order to have enough gowns for us all, I had planned to create a new gown for myself. As it happened, my sister became as excited as myself, to see the exhibition of Jane Austen film costumes. Therefore my husband and I decided to go there with them too. Then there was the new problem that my nieces didn’t have any appropriate dresses.

One night, I had an epiphany. I would sew a childs’ dress in a model that would allow for at least one years growth.

FullSizeRender (1)

Nästa gång jag träffade barnet i fråga (den mest entusiastiska Jane Austen-nörden), klippte jag till delarna för klänningen med henne som provdocka.

Next time I saw the eldest of my nieces (and also the most enthusiastic Jane Austen fan), I cut the dress on her skin.

FullSizeRender

Till klänningen använde jag ett vackert gammalt lakan från Second Hand, med infälld spets:

  1. Livet: Jag gjorde två bitar, två dm större än hennes verkliga mått, för överdelen. Efter att ha klippt hål för huvud och armar, nålade jag samman fram- och bakstycke på henne. Framstycket gjordes 2 dm bredare upptill än nedtill, där det matchade hennes verkliga bröstvidd (för att få till de fina vecken från halslinningen). Bakstycket var 2 dm bredare både upptill och nedtill, eftersom klänningsvidden regleras både i hals- och liv-linningen. Jag satte in en dragsko i halslinningen.
  2. Kjol: Jag rev av en lagom lång del av lakanet för kjolen, och använde delen med spetsen nedtil. Allt var ju redan fållat och klart, så jag behövde bara sy samman långsidorna och nåla fast kjolen i livet. Jag började med att nåla fast sömmen mot en av sidorna på linningen och nålade sedan kjolen mot framsidan, helt slätt. Sedan samlade jag allt överflödigt material baktill i jämnt fördelade veck baktill. Sedan sydde jag ihop kjolen och livet.
  3. Puffärmar: Jag  klippte till två tygbitar, 2 dm bredare än överarmen på min lilla kund. Sedan klippte jag till den som på bilden.  Jag sydde “veck-sömmar” för hand längs övre och nedre kanten. Sedan sydde jag ihop sidorna. Jag samlade tyget i veck, på mitten av nedre delen och sydde sedan in kanten i ett kantband. Efter att ha nålat fast ärmet mot lägsta punkten på armhålet, samlade jag det mesta av det överflödiga tyget i veck högst upp på armkullen, men också jämnt fördelat framtill och baktill. Sedan sydde jag.
  4. Sedan var klänningen klar!

I made the dress from one old bed sheet with fine inserted lace, like this:

  1. Bodice: I made two pieces, two decimeters bigger than the wanted measures for the dresses upper part.  I pinned them to each other at her shoulders and then cut holes for arms and neck and pinned the front and back piece together. The front piece was made 2 dm wider at the top than her real shoulder measure, while the bottom measure correlated with her real measure (in order to create the right pleats).  The back was 2 dm wider both at the top and bottom, because this is where the real fullness of the dress is regulated. Then the front and back were sewn together and I put a drawstring in the neckline.
  2. Skirt: I used the part of the sheet, where the lace was inserted, with the lace at the bottom. Then I sew the long sides together and pinned the part with the seam to one of the sides of the bodice. I pinned the skirt flat to the front. In the back I gathered all the excessive fabric in pleats, pointing to the middle. The skirt was sewn to the bodice.
  3. Puffed arms: I cut two pieces of fabric, 2 dm wider than the overarm of my little customer, then I cut it as in the picture. I sew “gathering seams” by hand along the upper and lower side. Then I sew the sides together. I gathered the fabric to the middle of the arm, at the bottom, then attached a tape. After having pinned the arm to the bottom om the armhole on the bodice, I gathered the fabric mostly to the top of the arm, but also evenly in front and back. Then I sew.
  4. And then, the dress was finished!

IMG_4383[1]
“Gathering seams” along the top and bottom of the arms
IMG_4384[1]

IMG_4385[1]

IMG_4387[1]
The ribbons attached to the bottom of the poofed arms.
IMG_4389[1]
Front of the dress.
IMG_4396[1]
Back of the dress, with gathering drawstring in the neckline and at the bottom of the bodice.
Klänningen klipptes till och syddes på 4-6 timmar.

När vi strövade omkring i Tjolöholms slottsträdgård stannade många gäster upp och beundrade oss. Bland annat hörde vi flera kommentera om “prinsessorna”, “de som ska spela teater här” och en  kvinna som desperat försökte få sin väninna att vända sig om och fota oss genom att väsa: “Skynda, skynda!”. När vi åkte därifrån tror vi att bortåt hundra personer hade fotat oss. Det känns ju som en underbar bekräftelse på att jag lyckats med våra kläder.

The whole dress was completed in about 6 hours.

We were much admired when we walked through the castle gardens and I believe that at least hundred different people took pictures of us. This is a very good compliment to my efforts with our costumes.

_MG_9689
The happy family, preparing for the outing.
IMG_9704
My eldest niece with her beloved new gown and my youngest niece in my chemise with a ribbon around her high regency waist.
IMG_9907
I pimped up my sister’s dress before our adventure. I made the hat several years ago.
IMG_9827
Picknick in the castle garden
IMG_0186
Walking down the castle stairs.
Share

The gown

As I am already the proud owner of two bib front dresses, I want to make a V-line this time. I had no idea of how to construct such a piece, but roamed Pinterest for answes and found this gown (with several pictures here):

Eftersom mina två andra empirklänningar är sydda efter modellen med nedfällbar framdel och därmed har fyrkantig urringning, vill jag nu sy en klänning med V-ringning. Jag misstänkte att sådana exempel i BBC:s Stolthet och fördom, med knäppning i ryggen, inte var särskilt representativa. Därför letade jag konstruktions-information på Pinterest och Google och fann slutligen detta representativa exemplar (som det dessutom finns mängder av bra bilder på här):
image

Since the summer of my wedding, I have a blue silk like (probably polyester) fabric in my stash. I have always wanted to sew a regency dress out of this, so now I just  wanted to see if there really existed blue V-line gowns at the time. When I looked at fashion plates, museum pieces and portraits, I found out that the V-line was not by far as common as the square neckline and that blue was not a very common colour neither. At last I found this lovely portrait of Tatyana Borisovna Potemkina from 1820 (by Vigée Le Brun) though:

Ända sedan sommaren jag gifte mig, har jag haft ett blått “sidentyg” (antagligen polyester) liggande.  Jag har hela tiden velat, men inte kommit mig för att sy en V-ringad empirklänning av denna, så nu ville jag bara försäkra mig om att det verkligen existerade blå klänningar av denna modell. När jag såg på museiexemplar, modebilder och porträtt insåg jag dels att V-ringningar verkar ha varit relativt ovanligt och dels att blått siden var i extrem minoritet (det finns fler porträtt med blå sammetsklänningar).  Till slut hittade jag i alla fall detta underbara porträtt av Tatyana Borisovna Potemkina, målat av Vigée Le Brun 1820:
image

It isn’t only dark blue, it also seems to have the same construction as the dress above!

Den väna damen behagar inte bara att vara klädd i blått, men verkar dessutom ha en klänning med precis den konstruktion jag bestämt mig för! 

Tackar och bockar.

image

Thus, I will use this construction. Yey!

Share

Shorts out of T-shirts

Shorts For Bouldering /Klättershorts

IMG_3728My dear husband’s birthday was last week. For some time now I have thought about making elastic shorts for his climbing and now I finally pulled myself together and made them. As I wanted to surprise him, I put them together while he was away climbing for three hours. Therefore I was not able to adjust the fit, so the result was as messy as can be expected. Because of the incredible comfort, he loved them from the beginning, even though they made him look twice as heavy.  After some adjustments they are actually both practical, comfortable and look okay.

Min dyre make behagade att fylla år i veckan. Jag bestämde mig för att slänga ihop ett par klättershorts åt honom, av gamla T-shirts. Eftersom jag ville göra det i hemlighet, fick jag hålla mig till de tre timmar han var iväg för att klättra. Det syntes, men han var väldigt nöjd med dem och efter lite justeringar i efterhand är de faktiskt både praktiska, sköna och ser helt OK ut.

FullSizeRender 7First, I cut four almost identical panels out of two old T-shirts, from my own poofy-pants-pattern. Then I sewed them together in the front and the back.

Först klippte jag till fyra snarlika delar ur två gamla T-shirts, med mitt pösbyx-mönster. Sedan sydde jag ihop delarna framtill och baktill.

FullSizeRender 5

I inserted a pocket in one of the sides. For this I used a T-shirt arm. I tucked the pocket edge in under the hem and stitched these together. Then I sewed both sides of the shorts together.

Jag satte in en ficka (gjord av en ärm) i ena sidan, genom att fästa fickans framsida under fållen och använda baksidan som en del av byxans söm upptill.

IMG_3707

I also put a pocket at the back of the patternfree part. I used the original hem of the bottom of the T-shirt for the pocket opening.

Jag sydde även fast en ficka på baksidan av shortsen och använde mig av den befintliga fållen från T-shirtens nederdel.

IMG_3714

At last, I cut out two more pieces, from another T-shirt and used this for the hemline of the trousers. Inside of this, I put an elastic.

Sist klippte jag ut ett par våder från en trejde T-shirt och använde som linning. Däri la jag en elastisk dragsko.FullSizeRender 2

This is what they looked like in the front… / Så här såg de ut framifrån… FullSizeRender 3

… and this is how the back looked. /… och så här såg de ut bakifrån.

The shorts looked horrible on the recipient of the gift. The two major problembs were that they were far too wide (because I would rather adjust this afterwards, than having to scrap them if they were too small) and they were quite indecent in front… Suddenly I understood why designers usually don’t use jersey for  male trousers.

Shortsen såg dock förfärliga ut på födelsedagsbarnet. Det var två stora fel – dels var de alldeles för vida (en medveten överdrift, eftersom jag hellre ville göra veck i efterhand, än att behöva slänga dem om de var för trånga) och dels var de närmast oanständiga framifrån. Jag förstod plötsligt varför det inte görs manliga shorts i jersey.

FullSizeRender 4

Therefore I cut another ancient T-shirt and made a kind of underpants out of it.

Därför klippte jag sönder ännu en uråldrig T-shirt och sydde en slags inre kalsongdel av tyget.IMG_3768

I also made two folds in the back of the shorts, to enhance the fit. Then I placed the underpants on the inside and took a shortcut – I just made a straight seem, without even folding the raw edge. We’ll see how long this lazy work lasts.

Jag sydde även två veck på baksidan för att få till en bättre passform. Sedan nålade jag fast kalsongdelen på insidan och gjorde sedan en väldigt lat lösning – jag sydde fast delen med raksöm, utan att ens vika in den ofållade kanten. Det blir spännande att se hur länge det håller.

DSC04976
The shorts are already covered with chalk. I’m so pleased. =)
DSC04978
On the stairway to heaven.
DSC04987
Fortunately, the shorts seem to endure many stange positions. Both the seamstress and the climber are as happy as can be!

Minor art projects/Små konstprojekt

IMG_3763

I have wanted a frame for my fantasy metal musician for ten years,  but have been too greedy to let a real frame maker make one for me. When I was at IKEA, I found black plastic frames for 40 SEK and thought that it at least was worth to give it a try.

I painted the rounded part of the frame with gold colour and the white passpartou with yellow water colour. I am quite happy with the result.

I tio år har jag suktat efter en lämplig ram till min fantasy-hårdrockare, men har varit för snål för att lägga pengar på en specialbeställd ram. När jag var på IKEA sist, hittade jag en ful, svart plastram för 40 kr och tänkte att det var värt att åtminstone göra ett försök att pimpa ramen.

Jag målade den rundade delen med guldfärg och den vita passpartoun med gul akvarellfärg. Jag är faktiskt ganska nöjd med resultatet.

Jag tänker hugga från höften

Last autumn, I made this picture for my father, illustrating his famous quote: “I’ll strike from the hip”. It was much appreciated.

I höstas målade jag denna bild till min pappa. Den illustrerar hans underbara citat: “Jag tänker hugga från höften”, en sammansättning av att hugga till med något” och “att höfta…”.

Happy Easter! / Glad påsk!

Share

Chinese Inpired Silk Dress

Maybe you’re beginning to get sick of hearing about all the wonderful fabrics my mother gives to me? Sorry, but here’s yet another such post. This Chinese silk she purchased on my behalf, on a trip to that Eastern fabric wonderland. The pattern is lovely, with many different motives, like happy dragons, sea folk and floral patterns. I think it is quite like a fairytale.

image imageimage

My greatest challenge was to use the 3 metres long and 72 cm wide fabric wisely. Because of the motives, the fabric could only be used in one direction, so I couldn’t get as much fabric from it as if I could have used it in both directions. Therefore I sketched and scrapped several ideas before I started the pattern making.

Making the mockup

image
As usual, I layed the fabric out on the mannequin and pinned it down and cut away superfluous fabric, in the way that made the fewest wrinkles.
image
The vest-like top of the dress, cut in one piece, with the only two seams in the sides.
image
The skirt part, where I tried to get as great a circumference as possible out of the narrow fabric. I ended up with three panels – one in the front and two in the back. As you can see, I had not yet decided whether to make the vest and skirt as separate pieces, only sewn together in the back and closed with push buttons in front, or sewn together the whole way around. Because of limited amounts of fabric and lack of persistence, I ended with the latter.

After having made the mockup and transferred it to pattern paper, I was ready to cut the precious fabric. To my horror, I found out that I had made the fancy “one-piece-vest-part” too wide for the fabric. I had to divide this part in three, by making seams at the usual place, at the shoulders.

image
The unfortunate disproportion of the pattern (with “breast-fronts” in one part with the back)
image
A wiser dressmaker would have folded the pattern at the shoulder, to match the side seams, and the have cut it at the fold. I didn’t, but it turned out alright anyway.

Then, I was finally ready for cutting the fabric and sewing the dress!

image
I made my own Chinese fabric buttons. There are great instructions on Google.

The finished dress

image image image image image

imageActually I haven’t tried the dress on since it was finished. I posted a photo of it on Facebook the same night, though, and received so many lovely comments, that I am highly motivated to make a proper photo shoot soon!  Unfortunately there’s freezing wind roaming outside, so I will wait some days, until spring find its way back to Denmark.

Spring Photoshoot!DSC04893

I remember well how we laughed at our Swedish friend, when we visited her in England and she proudly took us to a pond, which was called the “lake”. After five years in Denmark, my husband and I experience something similar, but concerning the “woods”. We are so happy to have found a Christmas tree plantage. This our piece of wood. <3DSC04897

We  are also very happy to have discovered a park, surrounding parts of preserved countryside. Here are some beautiful cherry trees, that are now covered with blossoms!DSC04923 DSC04925 DSC04934 DSC04941 DSC04948

I made  a new aquintance today. While trying to attract some pleasant ducks with bits of pizza, there came a white furry ball crashing through the bushes, towards me.  This dog was super happy to get some cuddling from a new friend, but his owner was a bit embarrased for him.DSC04962

Share

Summery Dress in One Day

Min främsta mecenat, tillika min hulda moder, har under något år hintat om att hon skulle kunna tänka sig att ha en Susanna Art-klänning. Tyvärr har det varit alltför uppbokade scheman när vi två har befunnit oss i samma land, så det har inte blivit av.

I julas kom jag direkt från en psykiatritenta och skulle börja plugga till nästa tenta så snart som möjligt. Hela hösten har dock varit förfärlig och nu var jag helt utpumpad. Förutom tentaplugget, hade jag under julhelgen planerat in åtta sångtillfällen (så här lät det vid ett av tillfällena: https://www.youtube.com/watch?v=V9oaLkCUV9A ). Jag bara längtade efter en ursäkt att slippa plugga. Därför kunde jag inte motstå frestelsen när mamma frågade om jag inte ville sy en sval klänning åt henne, inför en resa till Tanzania, av tyget hon fått av en av sina bästa väninnor där för  flera år sedan.

My greatest benefactor, and also my dear mother, has hinted for some years at the possibility of owning a Susanna Art dress. Unfortunately both our calendars have been too crowded during the short times we’ve been in the same country, so hear humble wishes haven’t been fulfilled.

This Christmas I visited my Swedish home, coming directly from an exam in Psychiatry anc had planned to start studying for the next exam as soon as possible. I’ve had a really bad time through all this semester, though, so now I was totally exhausted. Except for the studies, I was booked for singing at eight different events during the Christmas holidays (this is what it sounded like at one of them: https://www.youtube.com/watch?v=V9oaLkCUV9A). I just begged for an excuse for not studying. You might understand that I couldn’t resist the temptation when mum asked me to sew a cool dress for her trip to Tanzania. She had been given the fabric by one of her best friends there, many years ago. Now it would finally be used.

Syinstruktion

  • Det första jag gjorde, var att lägga ut en av hennes välsittande, figursydda klänningar på tyget. Sedan klippte jag till tyget med 1 dm marginal på alla sidor, för att ge utrymme för insnitt och felberäkningar.
  • Sedan nålade jag längs sidorna och upptill (markerat med rött på bilden). Detta tält fick hon dra över huvudet och sedan kunde jag justera den befintliga nålningen, för att ta bort veck.
  • Därefter nålade jag insnitt vid bystens sidor (blått på bilden), så att tyget nedanför insnitten föll trådrakt ned mot golvet.
  • Nästa steg var att nåla två  insnitt med start utför bysten till ca 1 dm under midjan, samt i ryggen (grönt på bilden).
  • När klänningen satt perfekt och den även kunde dras av min kära kund, sydde jag längs alla nålningar (först byst-insnitten, sedan sidor och axlar och sist insnitten fram och bak).
  • Därefter fållades kjolen till passande längd.
  • Sist sydde jag infodring i ärmsprunden och halslinningen, med hjälp av kantband, gjort av samma tyg.

Så här fin blev hon!Gudrun Tanzania

  • First, I lay one of her well fitted dresses out on the quite narrow fabric. Then I cut the fabric with one decimetre margin at every side, in order to make space for fitting and wrong cuts.
  • Next, I pinned the sides and shoulders (marked with red in the picture). Then she had to crawl inte the saggy dress and j was able to adjust the primary pinning to smooth the puckering parts out.
  • Then I pinned darts at the sides of the bust (blue in the picture) so the fabric below fell on the grain towards the floor.
  • The next step was to pin two darts starting by the bust and stopping about one decimetre below the waist, plus a pair of darts in the back too (green in the picture).
  • When the dress was both perfectly fitted and possible to get out of, I stitched together all the pinned seams (first the darts at the bust, then the side seams and shoulders, then the darts in the front and back).
  • Then I hemmed the skirt at a Islamic friendly length.
  • Last, I made a tape out of the same fabric and used it as interface (?) for the inside if the arms and neck line.

This is how great she looked in the dress!IMG_4121

IMG_4118 IMG_4133

Tack, underbara mamma, för denna förträffliga förströelse och de fina bilderna, samt alla fantastiska sömnadsgåvor som jag fått genom åren!

Thank you, dear mother, for this wonderful distraction and the beautiful pictures and for all the fantastic seamstressy gifts that you have bestowed on me the last ten years!

Share

40’s Inspired Dress

Sedan i våras har jag haft ett lila stretchtyg liggande, i väntan på inspiration. Förra helgen surfade jag runt på Pinterest och upptäckte denna snygga modell, som säljs på Rosegal. Jag insåg att det var denna jag ville ha till mitt tyg.

Since this spring, I have had a stretchy fabric laying waiting for my inspiration. Last weekend I was at Pinterest and discovered this awesome model, sold by Rosegal. I understood that this was what my fabric was made for.

Rosegal

Jag ville egentligen drapera fram klänningen direkt på provdockan, men jag hade bara tyg så att det precis skulle räcka till klänningen. Därför gjorde jag ett mönster av skräptyg.

I wanted to drape the dress directly on the mannequin, but I only had just enough fabric for the dress and no room for mistakes. Therefor I made a pattern out of a scrap fabric.

IMG_2656

Först gjorde jag i ordning bakstycket, som går fram över axlarna. Sedan nålade fast “bystpartiet” med veck. Därefter gjorde jag i ordning livet framtill och nålade fasti bystpartiet. Sist fixade jag en krage.

First, I made the back, that falls forward, over the shoulders. Then I pinned the bust part with tucks. Then I made the waist part in front and pinned it to the bust part. Last, I made a collar.

IMG_2707Jag ville ha en helcirkelkjol och därmed blev det stor tygåtgång. Jag fick pussla ett tag, men lyckades passa in alla mönsterbitar.  Det tomma fältet uppe i vänster hörn, reserverade jag för ärmar, som jag ännu inte gjort något mönster till. Sedan sydde jag…

I wanted a whole circle skirt and thus, a great amount of fabric. I had to work a while with the pattern on the fabric, but at last I managed to fit it all on the fabric. The empty piece up in the left corner was saved for arms, which did not have any pattern yet. Then I started sewing…

DSC04645Ni kan nog ana ett återkommande tema – jag var så less, att jag inte orkade prova klänningen tillräckligt många gånger för att få den perfekt. Jag ville bara bli klar, så att vi kunde äta mat på vårt kombinerade middags- och sybord. Därmed blev klänningen inte så festlig som jag hoppats på, men å andra sidan kommer jag med gott samvete kunna slita på den till vardags.

You might have noticed a consistent theme – I was so bored, that I did not have the patience to try the dress on enough times to make it perfect. I just wanted it finished, so that we could eat food at our dinner table (and also my creative space). Therefor my dress did not end up being as festive as I had hoped for, but on the other hand, I will be able to use it for every day wear with a good conscience.

DSC04649

En av klänningens brister, är att sömmarna i livet hänger ner framtill och baktill, vilket är ganska osmickrande för figuren. Detta syns inte så väl när man håller händerna i sidorna. Dessutom orkade jag inte experimentera tillräckligt med vecken över bysten, så där är nu för många veck i olika riktningar. Men “pyt med det”, som de säger, här i Danmark!

One of the faults with this dress is that the seams at the waist droop in the front and in the back, which is not too flattering for the figure. This is effectively masked by putting your hands in the sides, though. Moreover, I did not have the patience to experiment enough with the pleats over the bust, so those pleats go in several different, awkward directions. Well, never mind.

DSC04656

Slokande baksöm och halvfin krage. Jag bekämpar nu tappert mina perfektionistiska drag och försöker glädjas åt att klänningen är otroligt skön och att de flesta som ser den, antagligen inte alls kommer tänka på mina små störningsmoment.

Drooping seam in the back and an imperfect collar. I courageously fight my perfectionistic traits of my personality and try to be happy for this dress being so comfortable and that most who see it won’t notice these peculiarities.

DSC04673Nu ska jag vara nöjd och fröjdas över min sköna, nya studieklänning!

Now I will be content and rejoice in my comfortable study-dress!

Share

Trousers for Climbing

Det har öppnats en underbar klätterhall i närheten av vårt hem, så jag ville gärna ha nya klätterbyxor. Jag använde mitt egna mönster till pösbyxor och ett gammal underlakan i en färg som gör ont i ögonen, precis som sig bör när det gäller sport.

A great, lovely climbing hall has opened, close to our home, so I wanted a new pair of trousers for climbing. I used my own pattern for poofy trousers and an old bed sheet in a colour that hurts the eyes, just as it should when in this sport.

IMG_2570
Eftersom det blir härligare ju mer vidd pösbyxorna har, la jag till några cm nedtill. Inte så smidigt dock, när man ska se små tågrepp på väggen… // Because I like it the bigger the trousers are, I added some extra centimeters at the bottom. Afterwards I have realized that it is less practical though...
IMG_2572
1) Efter att ha sytt ihop framstyckena och bakstyckena, rev jag ut tygstycken till fickorna. Fickorna är dubbelvikta rektanglar 2) Dessa la jag in upptill, under hörnen på byxornas framstycke. 3) Sedan vek jag in kanterna, så att fickans främre del är triangulär och bakstycket är rektangulärt och därmed ingår byxans övre sidsöm. // 1) After having sewn the front pieces and back pieces together, I tore fabric parts for the pockets, which are folded rectangles 2) These were put in, up behind the corners of the front part. 3) Then I folded the seam allowance, so that the front layer of the pocket became triangular and the back layer rectangular and thus formed a part of the upper side seam.

Det som skiljer dessa pösbyxor från mina tidigare, är att dessa har fickor och öppnas med en knapp i ena fickan.

What set these poofy trousers apart from my earlier is that these have nice pockets and open with a button that goes through one of the pockets.

IMG_2586
Här är fickorna insydda i byxorna och sidsömmarna är klara. En knäppning ska gå genom höger ficka, som är öppen upptill. // Here the pockets are sewn into the trousers and the side seams are ready. A buttonhole will be put in the front part of the pocket, which is left open in the top.
IMG_2587
Upptill ville jag ha en linning, liknande den på mina tidigare pösbyxor. Jag sydde ihop linningen upptill och formade kanten nedtill när jag hade fäst linningen på själva byxorna. // At the waist, I wanted a border, similar to my earlier pair of poofy trousers. I made the border and formed the bottom part last.

Eftersom byxorna redan hade en hysterisk färg, löpte jag linan ut och dekorerade med tonårsaktigt kontrasterande svart tråd och en bling-blingig knapp som jag hittade bland mitt handarbetes-arvegods.

Because the trousers already had a crazy colour, I followed through and decorated with a teenagerish contrasting black seam and a bling-bling button which I found among inherited sewing stuff.

IMG_2635
Upptill fäste jag linningen i byxorna med dekorationssöm. // On the top, I fastened the boarder of the trousers with a decoration seam.
IMG_2636
Jag glömde att koppla in knapphålsinsatsen i symaskinen, så knapphålet blev inte som jag tänkt, men lite skojigt. När byxorna knäpps upp, öppnar man alltså fickan och vidgar på så vis deras övre omkrets. // I forgot to use the buttonhole-advice for the sewing machine, så the button hole did not end up as I had planned, but I looks nice in some kind of way. When the trousers are opened, the pocket is opened and in this way increase the waist circumference.
IMG_2639
Nedtill fäste jag ett resårband. // I put an elastic band in the bottom seam.

Jag testade byxorna i klätterhallen förra veckan. De är jättesköna, men sömmen sprack faktiskt i skrevet! Som väl var hade jag sicksackat och den sömmen höll. När byxorna sitter där de ska har jag fri rörlighet, men sedan halkar de ned några cm (pga. det jättebreda knapphålet) och då blir det plötsligt knepigt att spreta med benen. Därför satte jag idag en säkerhetsnål utanför knäppningen, så att knappen stannar i sin inre position och alltså håller byxorna så tighta upptill, som jag ursprungligen gjorde dem. Det funkar bra och nu ska byxorna inte spricka igen. Jag har dock förstått varför man vanligtvis syr byxor med dragkedjor.

I tested the trousers in the climbing hall last week. They are so comfortable, but I’m ashamed to admit that the seam actually ripped open in the crotch! Luckily, I had zigzagged and that seam was ok. When the trousers are at the right height, I can move fully, but then they slide down some centimeters and then it suddenly is very difficult to stretch out ones legs. Therefor I put a safety pin at the button hole, so that the button stays in its inner position and keep the trousers tight, as I intended. This works fine and hopefully they won’t rip open again. I have understood why all trousers have zippers, though.

Byxorna på provdocka och klättervägg

Klätterbyxor framifrån
De färgglada byxorna framifrån
Klätterbyxor från sidan
… och från knappsidan.
DSC04614
I sitt rätta element.
DSC04617
Galet trött klättrare med vild blick.

Klätterryggsäck lagas och pimpas

När vi klättrade sist påmindes jag om att ryggsäcken som vi brukar ha skor, tejp, kalk mm. i, sjöng på sista versen. Därför lagade jag den och passade på att pimpa den lite, med stuvbitar från tidigare projekt.

When we climbed last time, I was reminded our backpack for shoes, tape, chalk etc., was gasping for its last breath. I repaired it and pimped it up with some scrap fabric from earlier projects.

IMG_2553 IMG_2556 IMG_2561

Share

Dressing Gown

I vintras sydde jag en omlottklänning med empirskärning, av två ketängen (tanzanska skynken). Jag använde en gammal gardin som toille. Redan då tänkte jag att jag måste sy en morgonrock av detta härliga tyg. Nu fick jag äntligen tid.

This winter I made a wrap-around-dress(?) out of two ketenge (Tanzanian cloth pieces). I used an old curtain as toille. Already by then I thought that this pattern would be perfect for a dressing gown, made from my parents very first curtains. Now I had finally time to do it.

DSC04533

Jag använde mig alltså av samma mönster som till den tanzanska klänningen. Skillnaden är att jag har fordrat morgonrocken med ett vitt bomullstyg, eftersom den annars skulle vara helt genomskinlig og alldeles för sval för denna frusna varelse.

I used the same pattern as I made for the Tanzanian Dress. The difference is that I have lined the dressing gown with a white cotton, because it would otherwise be completely transparent and far too cool for this frozen creature.

DSC04534

Jag hade egentligen tänkt fotografera morgonrocken ute på en åker, eftersom det var sådan dramatisk blåst och läckra ovädersmoln. Jag var dock inte helt bekväm med att promenera genom samhället i denna stass och den förkylda fotografen blev väldigt tacksam när jag föreslog att vi skulle återanvända bokarna vid fotbollsplanen (som vi fotade min spencer vid).

I had planned for a photo shoot out on the fields, as there is now a superbly dramatic wind and glorious storm clouds. Yet, I was not fully comfortable with strolling around in town in this outfit and the photographer had a bad cold and was only too happy when I suggested that we reuse the beeches around the football field (which we used for my spencer).

DSC04543

Morgonrockens ärmar är “omvända”, och har den potentiella sömmen upptill. Jag överväger att sätta några stygn vid armvecket, så att de ger lite mer värme till överarmarna, nu när hösten blir kyligare.

The sleeves of the dressing gown are ”converted” and has the potential seam on the shoulder. I consider placing some stitches at the elbow, so that the arms give a bit more warmth above the elbows as the autumn now grows colder.

DSC04546

Jag veckade baktill och satte “brokad-linjerna” ytterst.

I pleated the back and placed the ”brocade lines” on the outside.

DSC04565

Ärmarna är långa, men behöver inte nödvändigtvis vara opraktiska, eftersom de bara hänger utefter sidorna. Om det skulle vara risk för att fastna i saker, kan ärmarna knytas bakom ryggen.

The sleeves are long, but not unpractical, because they just hang down along the sides. If there is any risk of getting stuck, the arms can actually be tied behind the back.

DSC04571

För att bevisa hur praktisk denna morgonrock är, klättrade jag för er skull upp i ett träd!

In order to prove for you how practical this dressing gown is, I climbed up this tree.

DSC04576

Nej, det var förstås för min egen skull som jag tog mig dit. Jag älskar att klättra i träd och skulle gärna ha levt som en trädalv, om jag hade levt i ett lite mindre krävande klimat och inte varit så besvärad av insekter.

No, off course it was for my own sake that I got up. I love climbing trees and would gladly have spent my life as a tree elf, if I had but lived in a more forgiving climate and had not been so afraid of insects.

DSC04589Kom ihåg att alltid hålla blicken riktad mot skyn, så kan du kanske få se skygga väsen visa sig.

Remember to always look to the sky, then you may see lucid creatures.

Share