Some weeks ago, I heard something that made my heart melt. A seven year old boy said that I am the best seamstress in the world. I tried to explain that this was not the case, but he insisted. Because
“You are even better at sewing than my own mother!”
This dear boy asked me if I could help him sew a robe that he could wear together with his Scream mask, or perhaps help him making his own gym bag? Because of my baby, I do not know how much time there will be for teaching him how to sew, so I decided to make the robe as a birthday gift.
För några veckor sedan fick jag höra något som fick mitt hjärta att smälta. En sjuåring sa att jag var bäst på att sy i hela världen. Jag försökte förklara att det nog inte var riktigt sant, men han höll fast vid sitt påstående, för
“Du är till och med bättre än min mamma på att sy!”
Denne fine pojke undrade om jag inte kunde hjälpa honom att sy en jättehäftig dräkt, som han kunde ha tillsammans med sin Scream-mask, eller om jag kanske en gympapåse? På grund av min bebis visste jag inte hur mycket tid det skulle bli över för att lära ut sömnad, så jag bestämde mig för att sy dräkten till hans födelsedag.
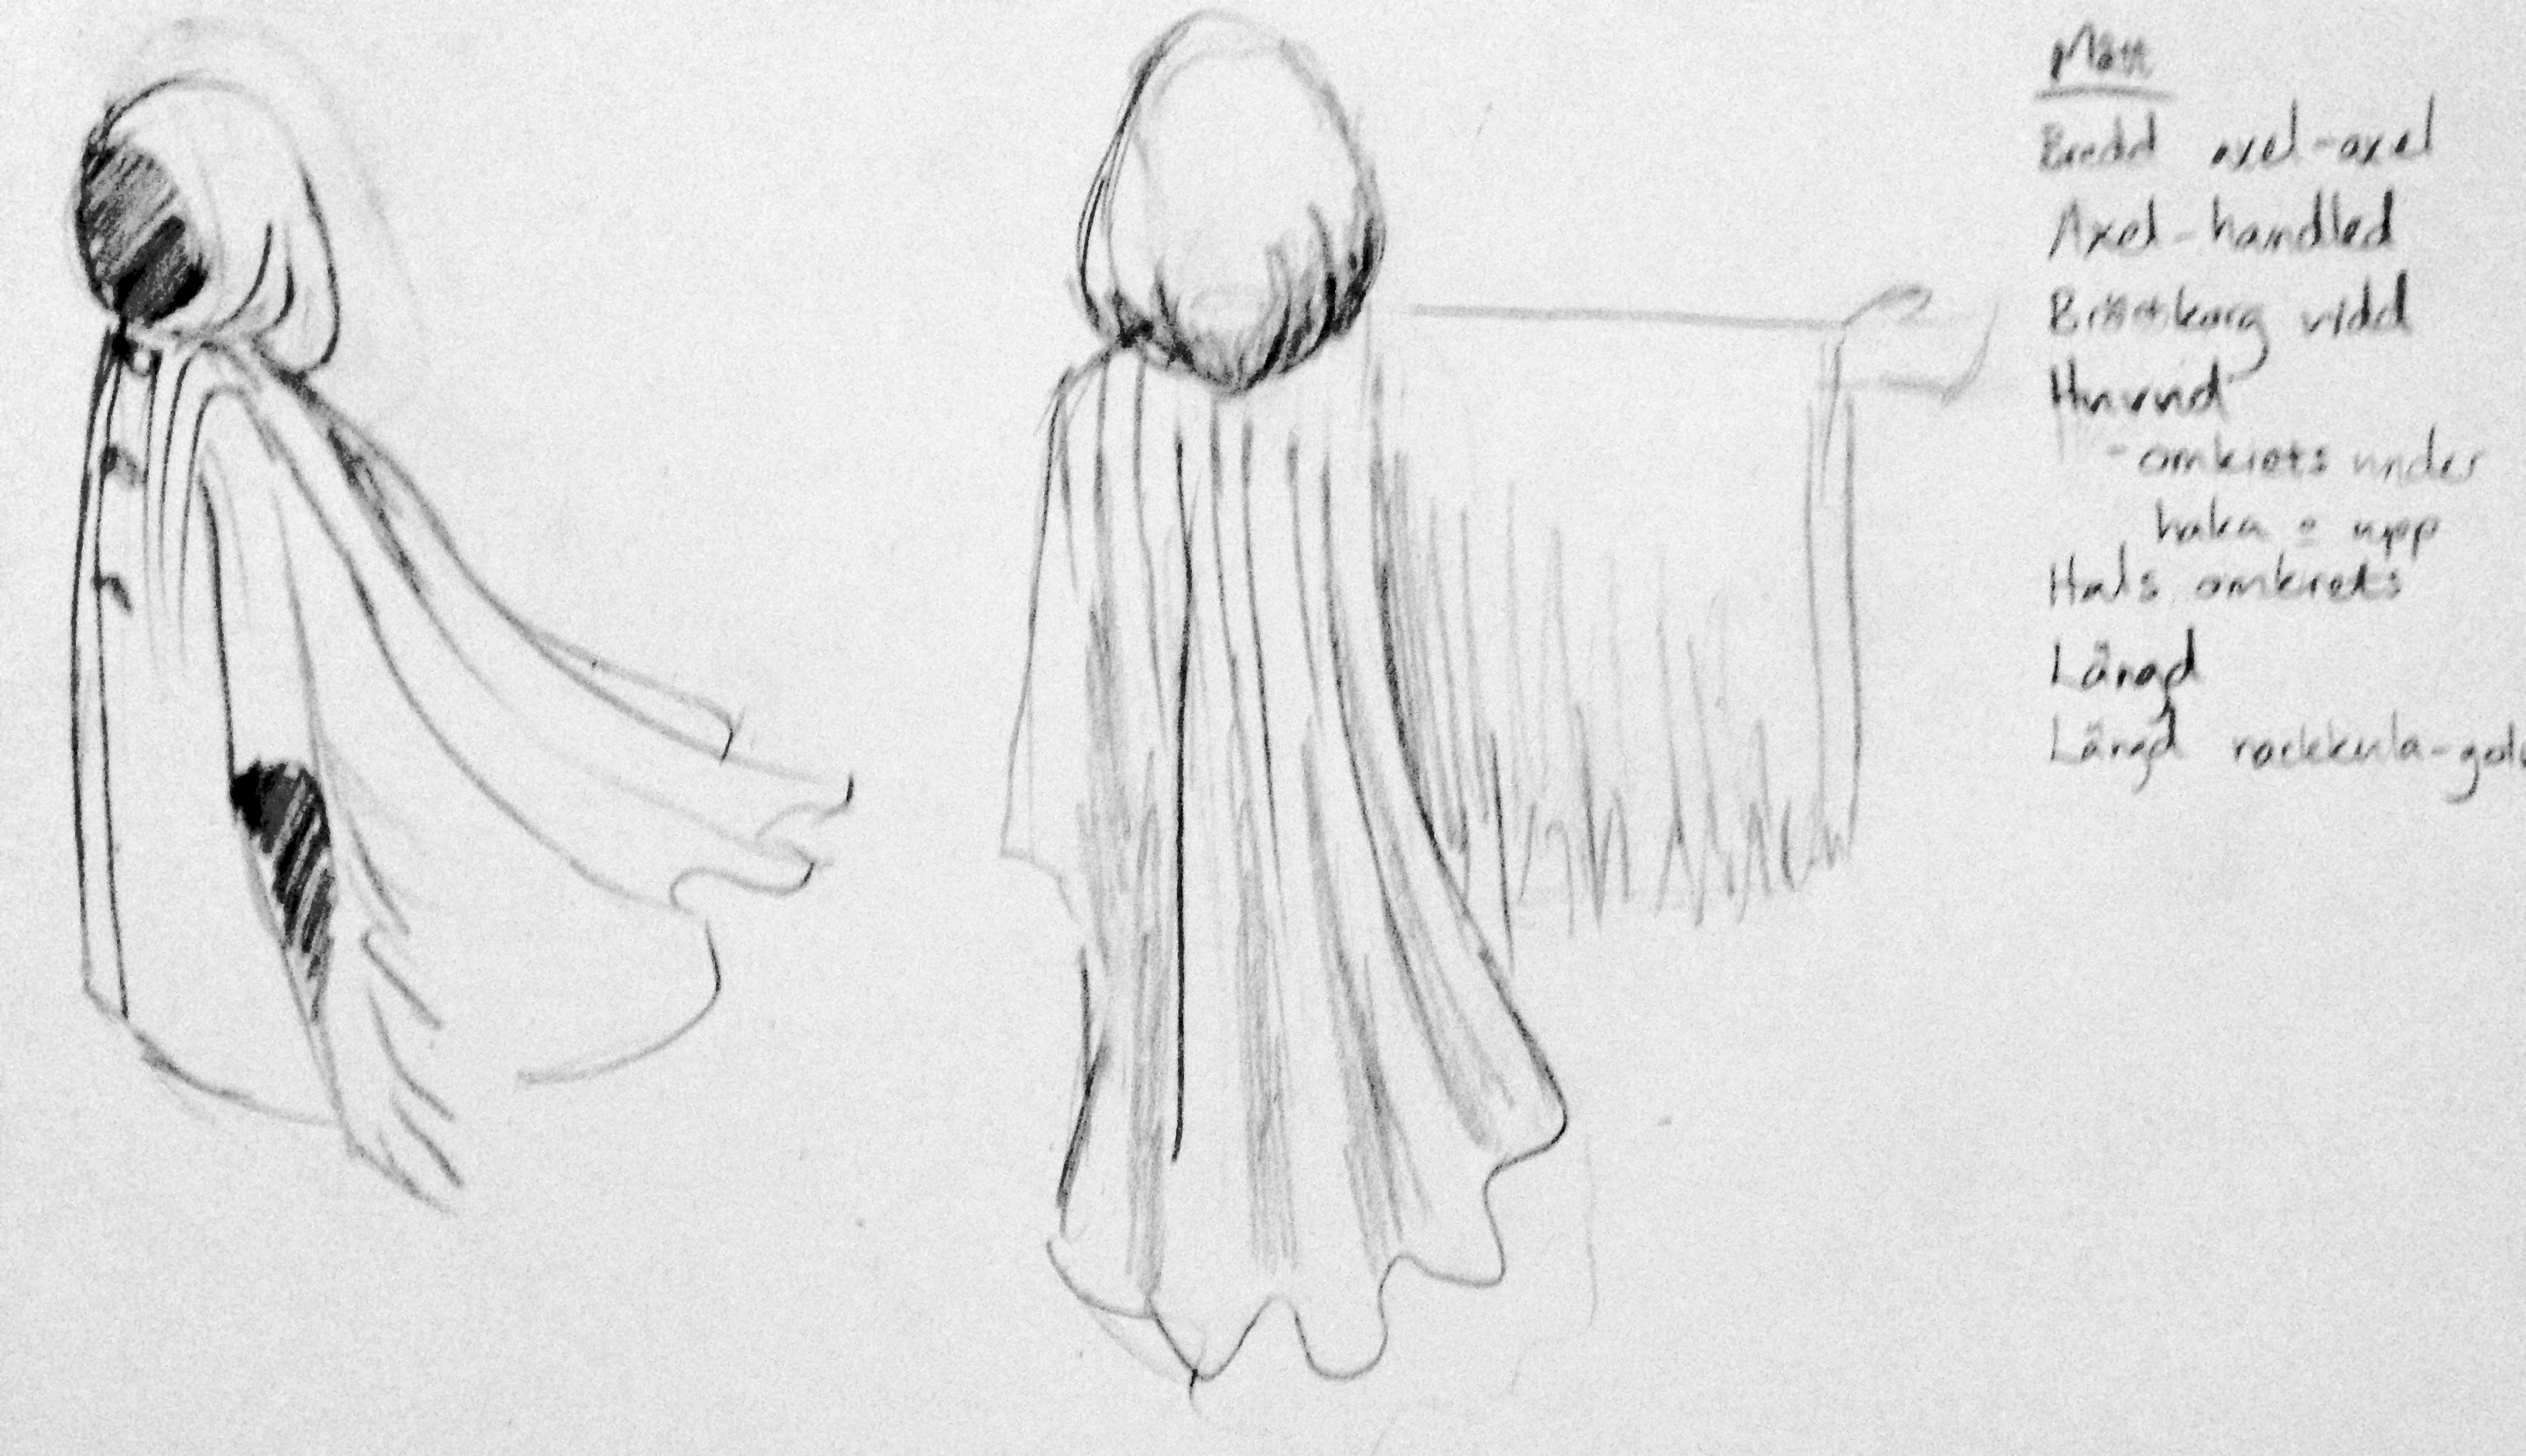
This is what I envisioned – a dramatic robe with a lot of fabric that would fly behind the boy as he ran around scaring everybody. I did not have any black fabric, but I had recently been given some colored cotton fabrics, that I thought were exactly the same kind, except for the green and blue color. I dyed the fabrics black, but discovered that only the blue fabric became fully black. The green took a darker shade, but was still very green. I could not use that piece, so I had to make do with much less fabric than I had intended to use.
Så här såg min vision ut – en dramatisk rock med massor av tyg, som skulle flyga bakom pojken när han sprang runt och skrämde folk. Jag hade inget svart tyg hemma, men hade nyligen fått färgade bomullstyger, som jag trodde var av samma sort. Jag färgade det blå och gröna tyget med svart textilfärg, men upptäckte att bara det blå tyget blev helt svart. Det gröna hade antagit en mörkare nyans, men var fortfarande väldigt grönt. Jag kunde inte använda det tyget, så jag fick försöka klara mig med mindre tyg än jag hade planerat för.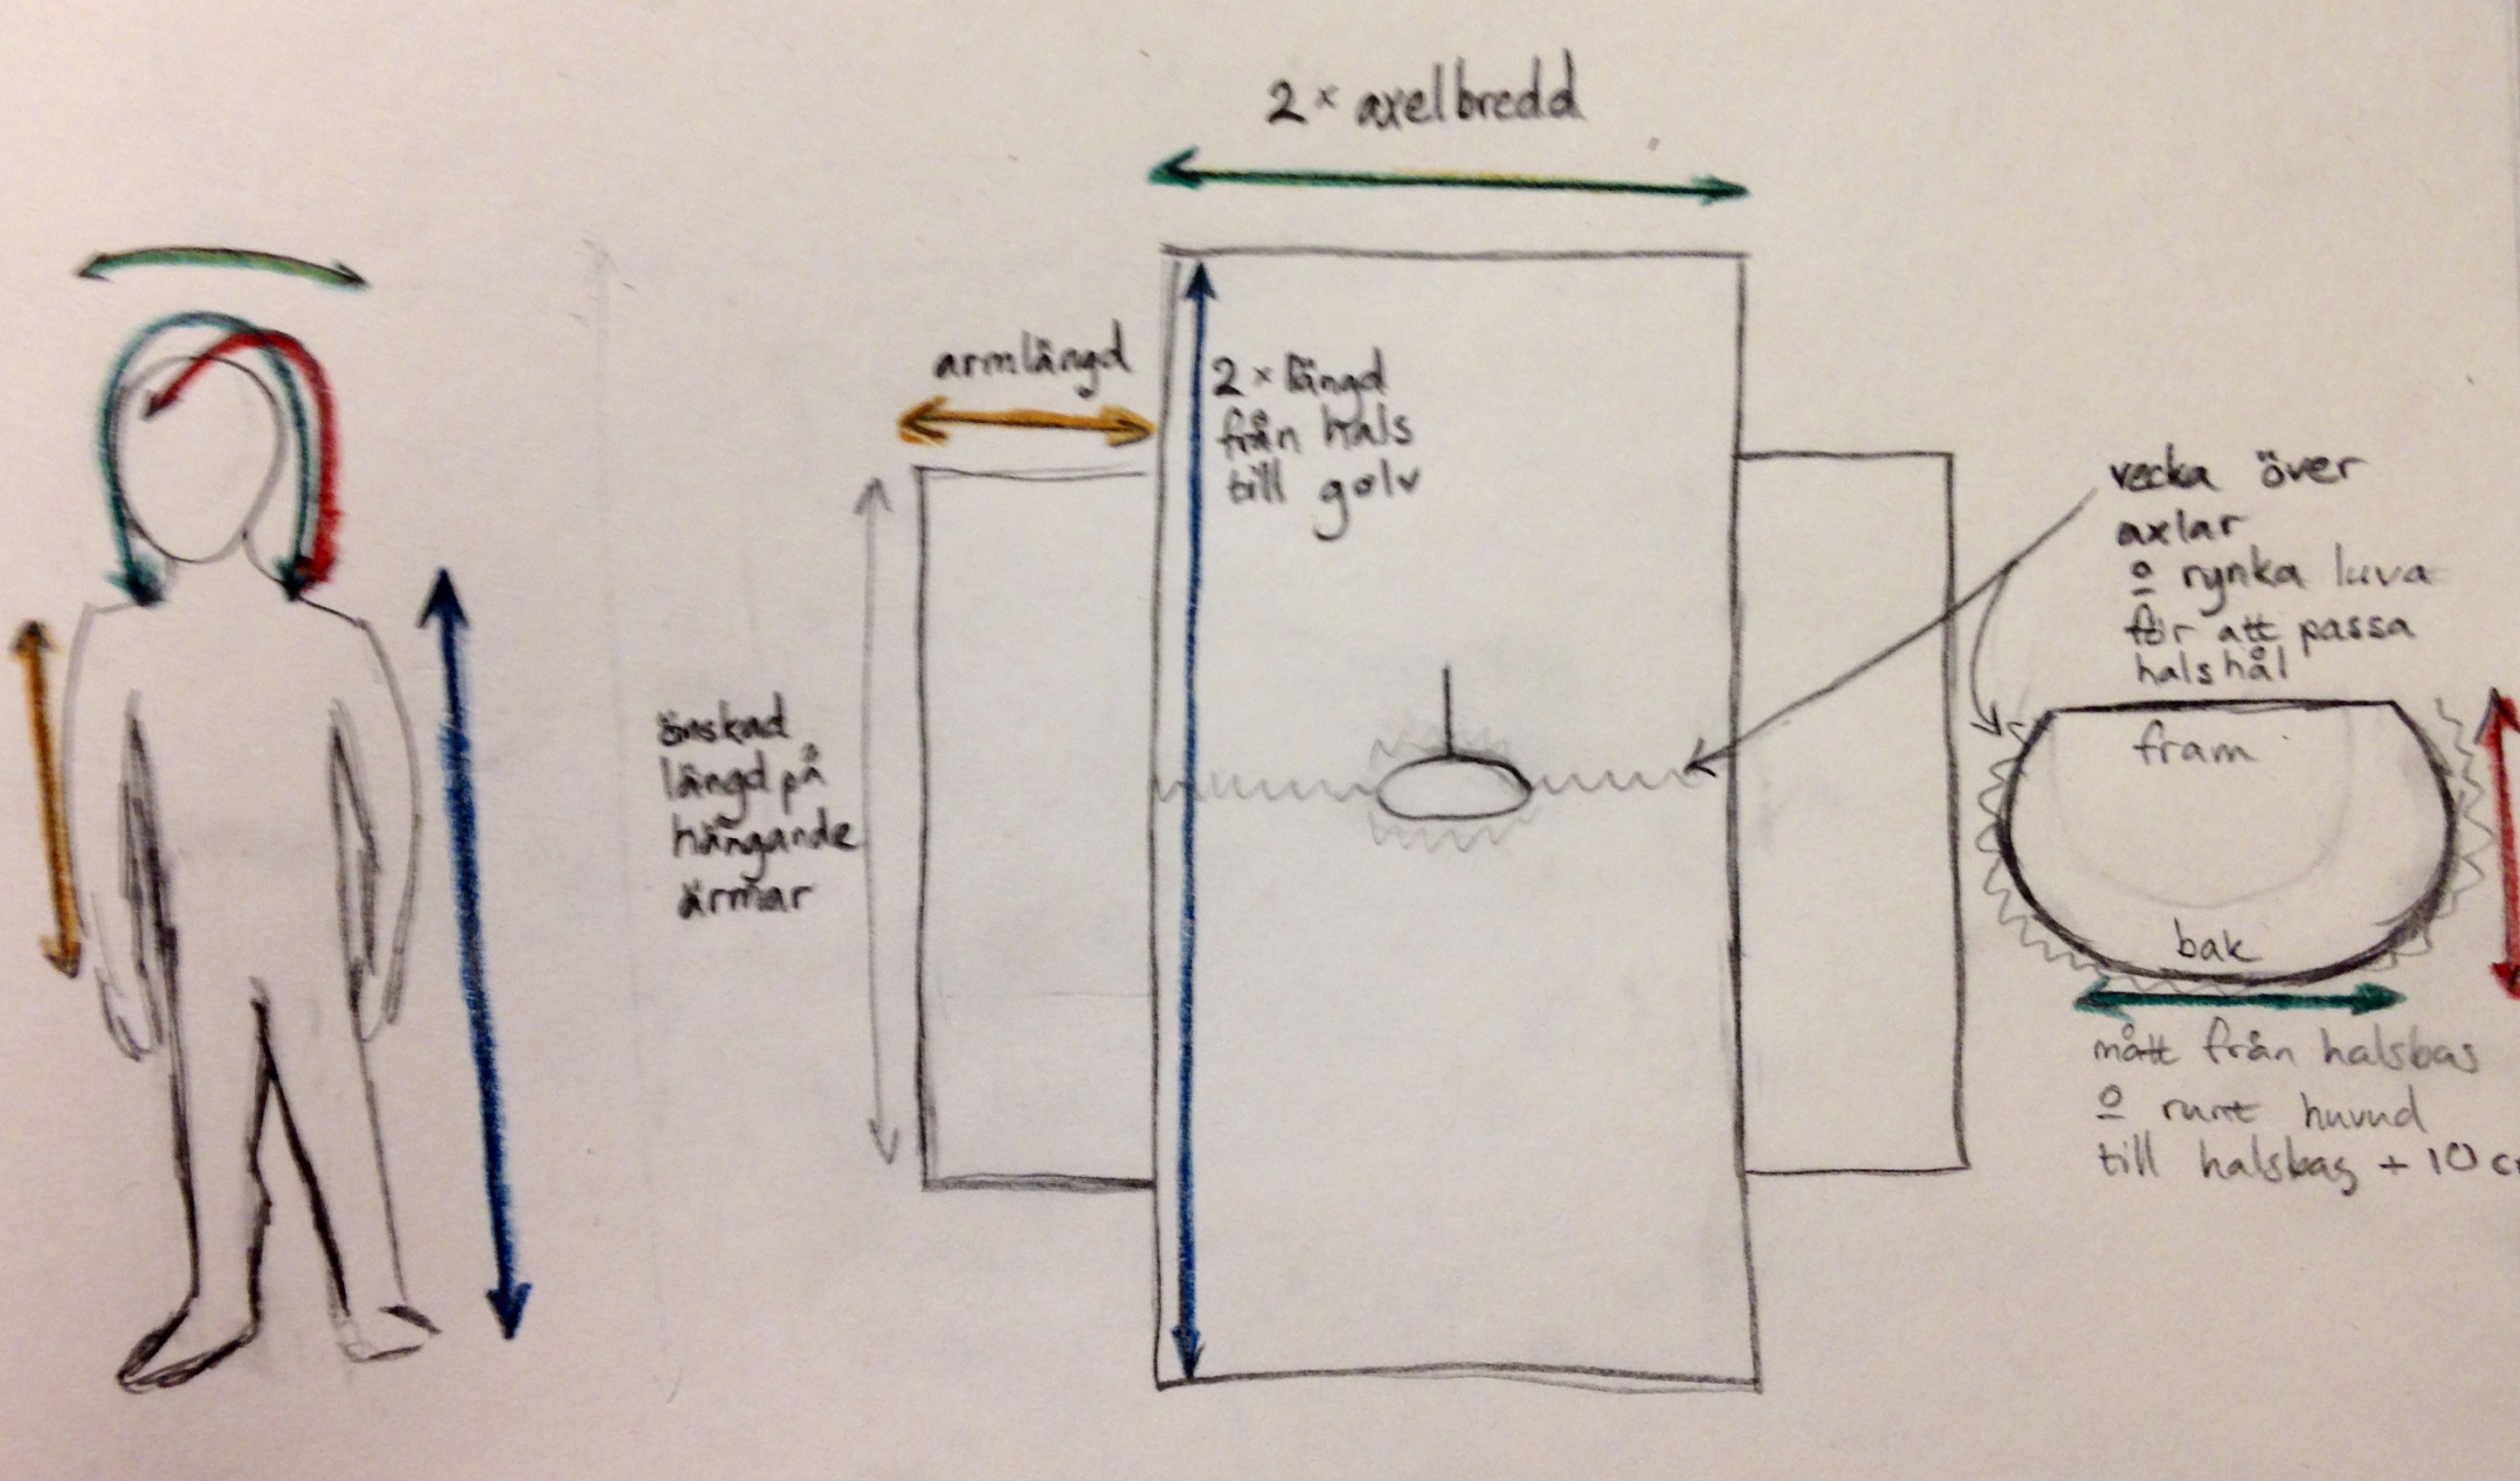 This is the very simple construction of the scary robe. I used the following measurements:
- height
- length from shoulders to floor
- arm length
- neck circumference
- length from base of the neck over the head to the other side
- length from forehead to backside of the base of the neck
All this with some extra cm, especially for the hood.
Detta är den extremt enkla konstruktionen av den läskiga rocken. Jag använde följande mått:
- längd
- längd från axlar till golv
- armlängd
- nackens omkrets
- längd från nackens bas över huvudet och ned på andra sidan
- längd från pannan till baksidan av nackens bas
Alla dessa mått med några centimeter extra, särskilt för luvan.
I gathered the double shoulder measurement in pleats and cut a hole for the neck and made a vent at the front. The vent kloses with a hook and eye.
Jag samlade det dubbla skuldermåttet i veck över axlarna och klippte ett hål för huvudet och ett sprund mitt fram. Sprundet stängs med en hyska och hake.
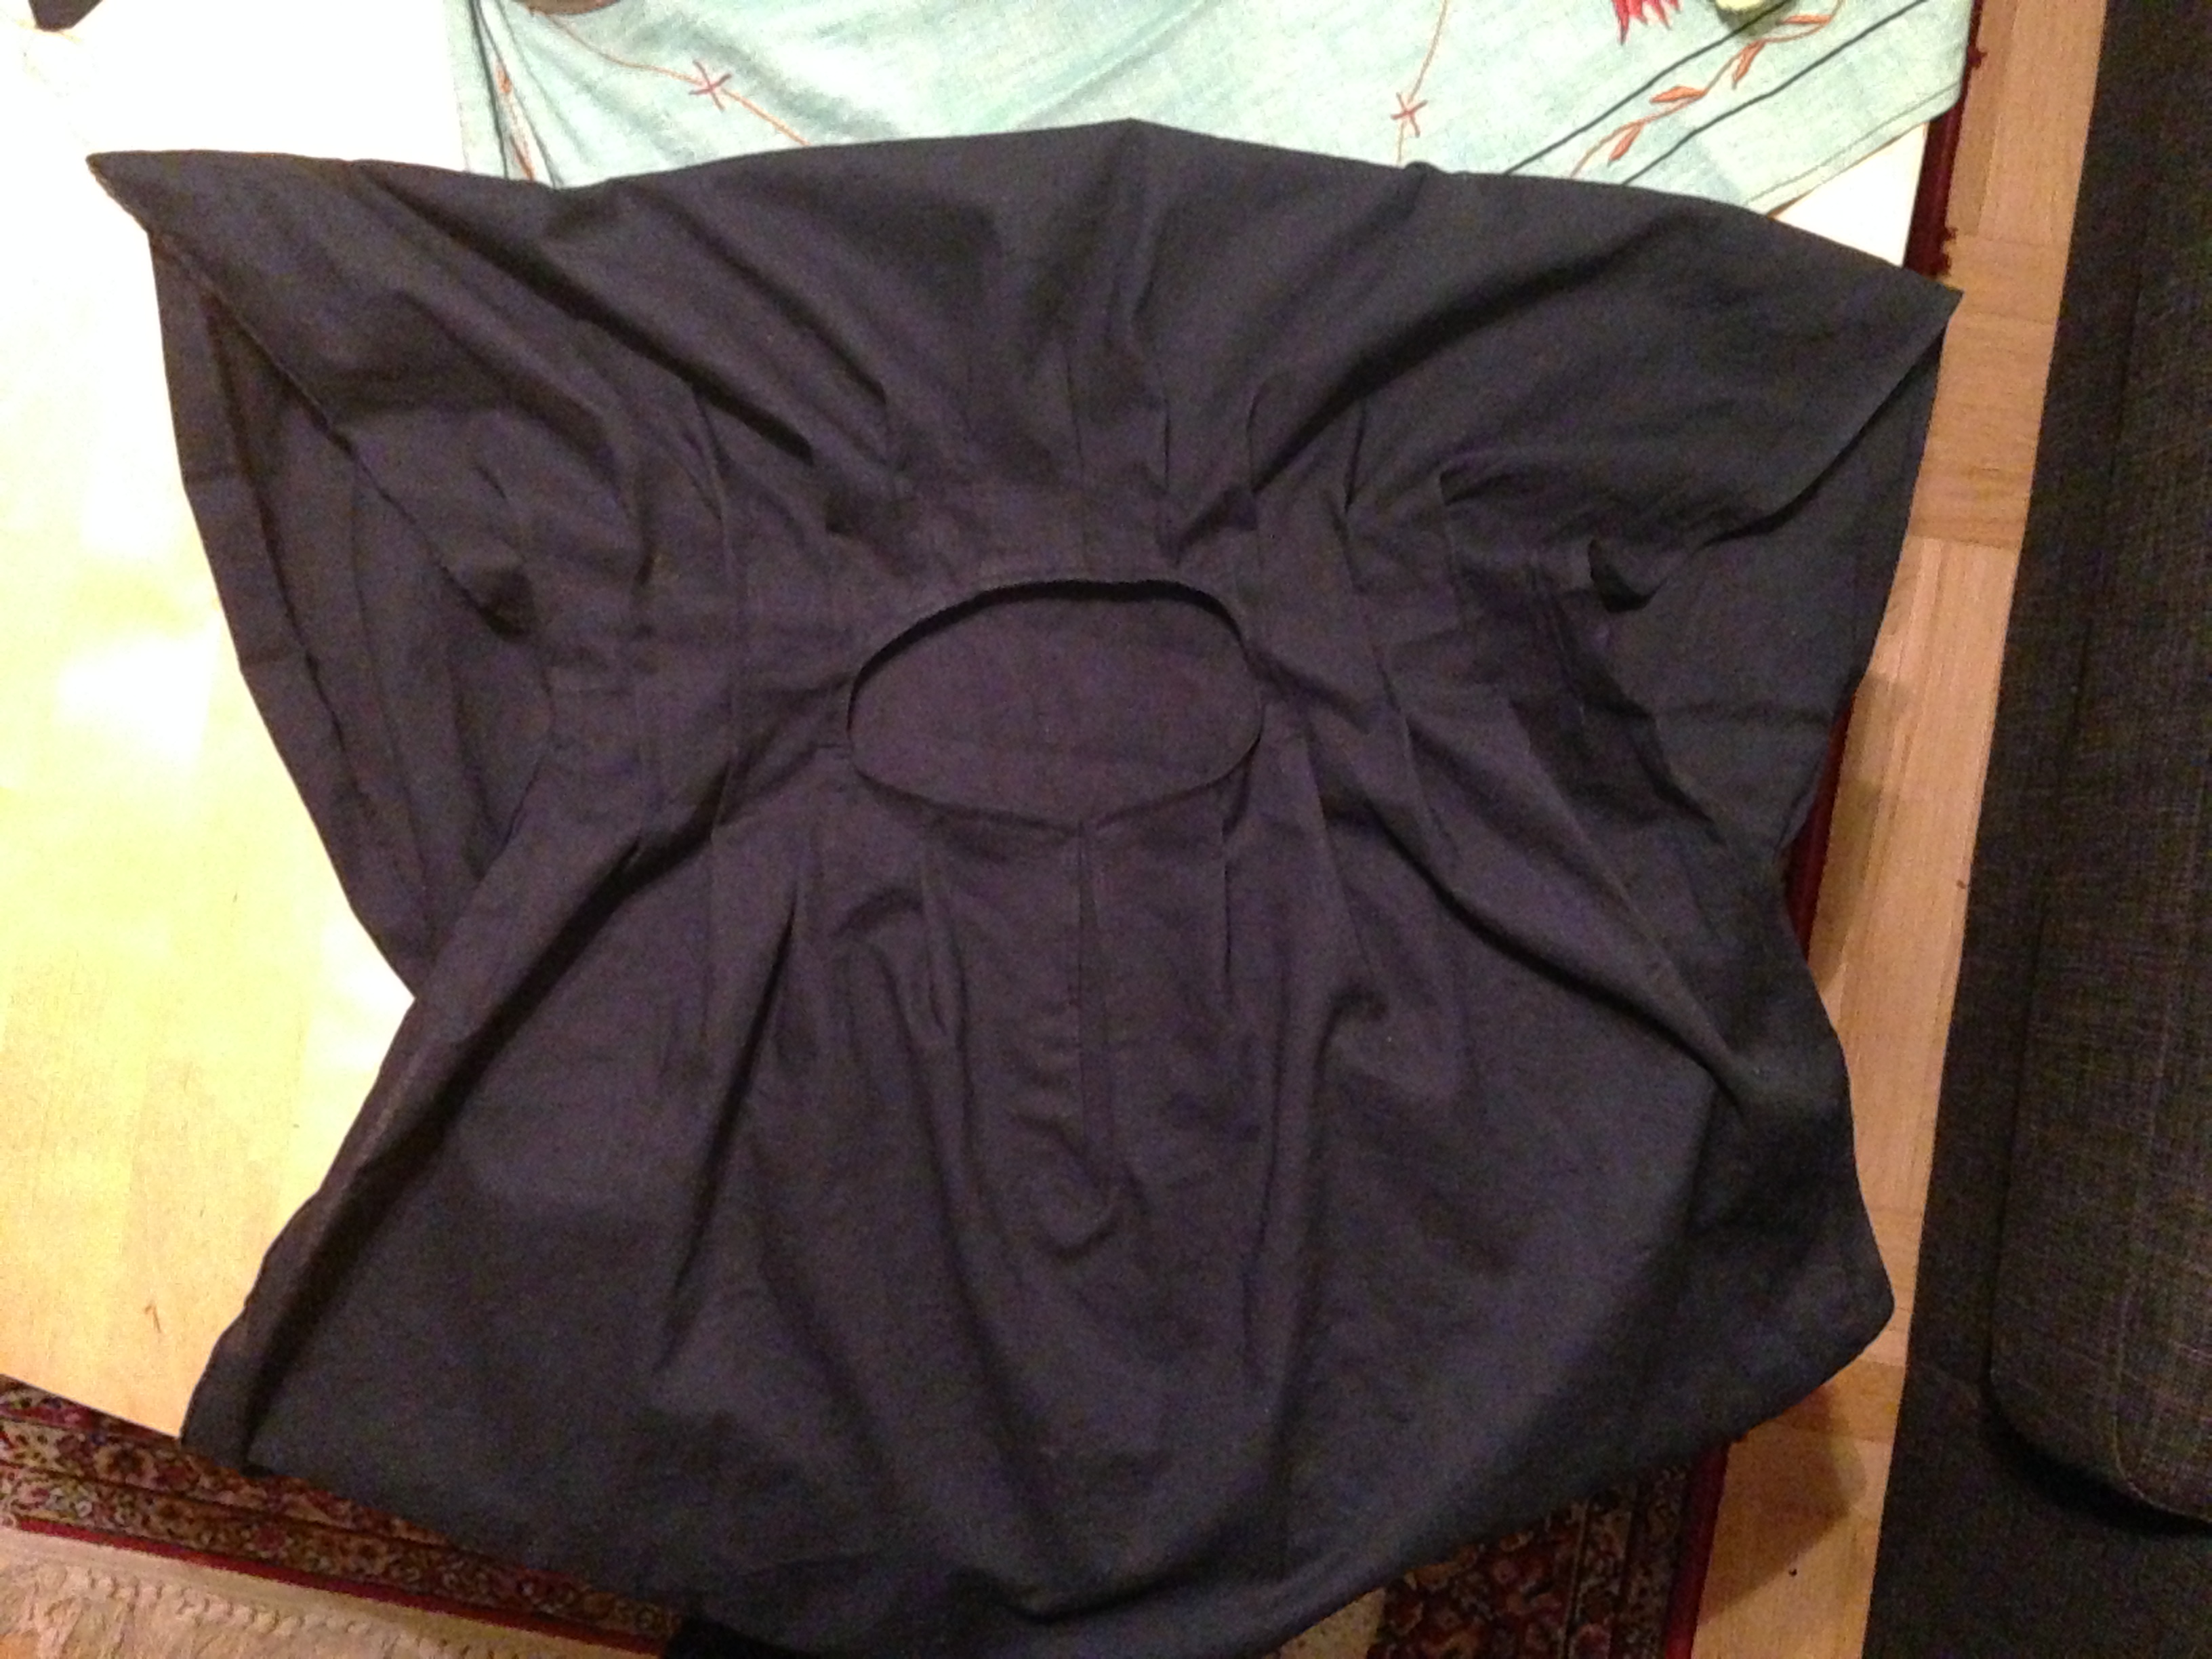
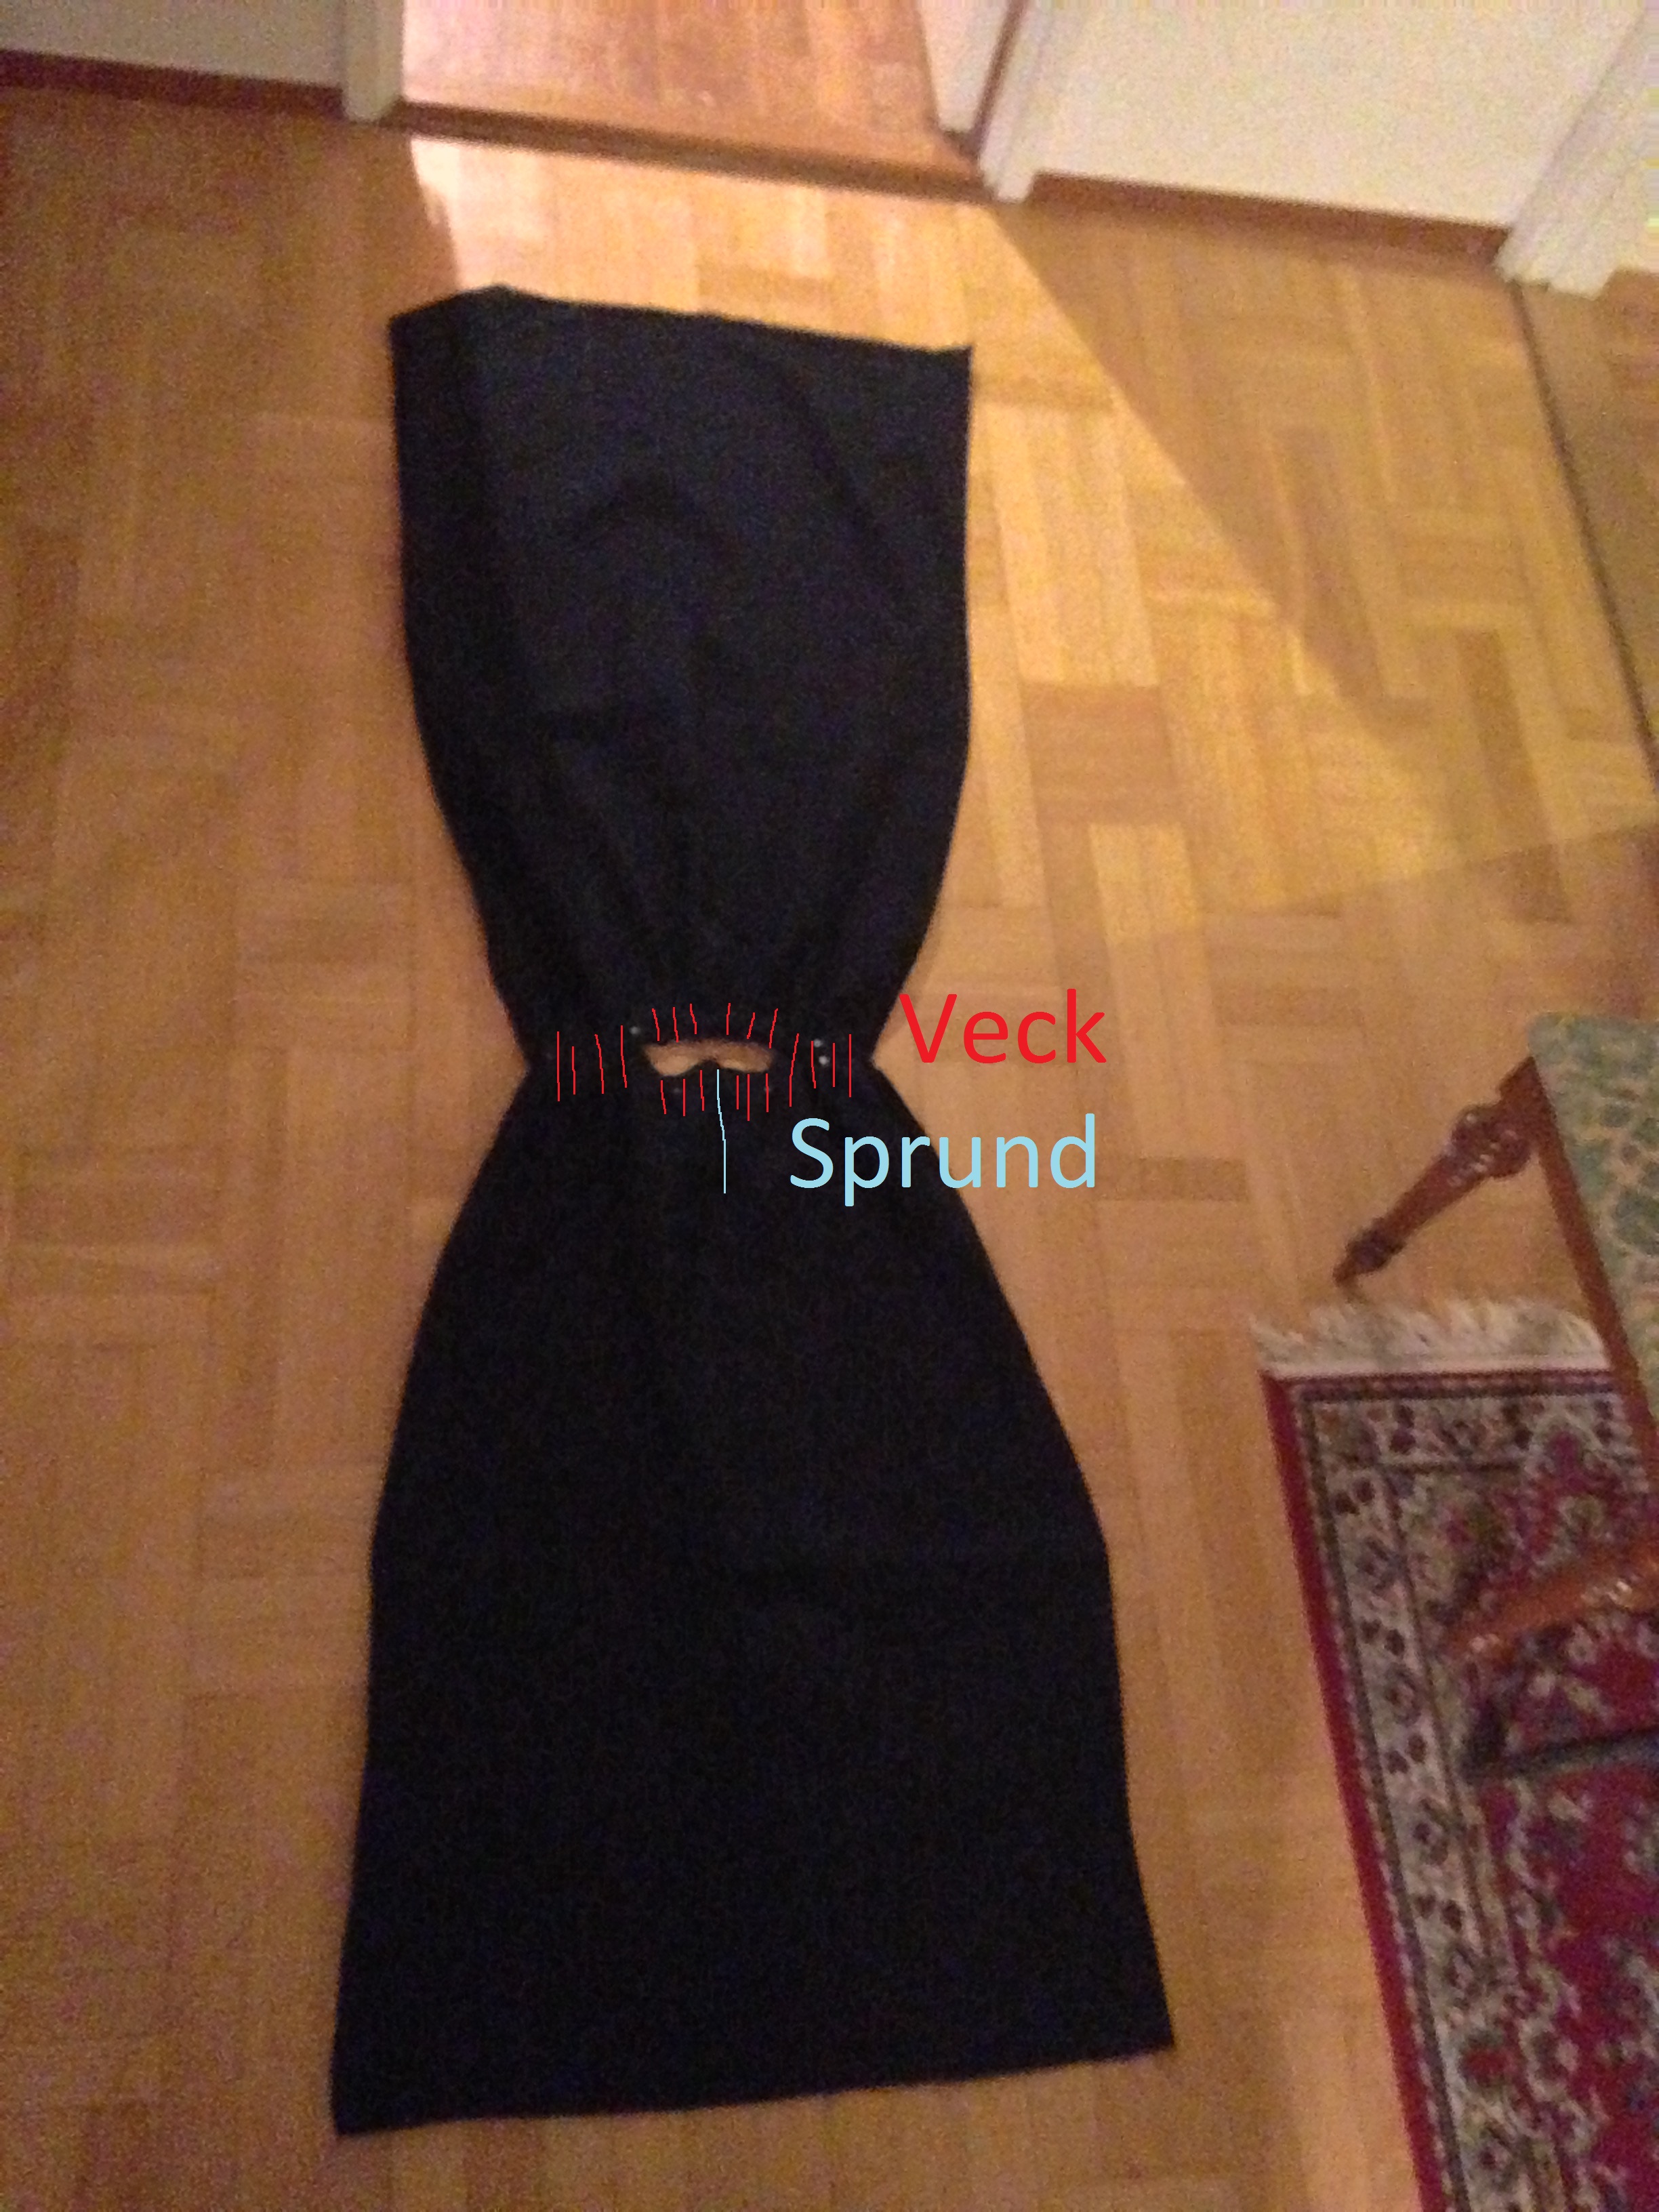
This is how it looked after making the hems. The pleats were secured with 5 centimeter machine stitches.
Så här såg det ut efter att jag fållat halslinningen. Vecken sydde jag fast med 5 cm långa maskinsömmar.
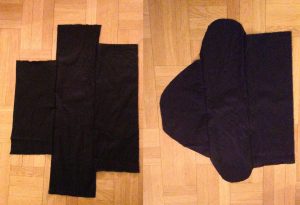
As I did not have enough fabric for following my own pattern, I used the fabric as is seen on the picture to the right. I had to join three pieces for the hood. I tore away threads lenghtwise, in order to give a rugged edge to the hood and arms. At the bottom of the arms, I also shreded the fabric at the bottom by hand. I stitched the front and back together with some few stitches just beneath the armpits.
Eftersom jag inte hade tillräckligt mycket tyg för att följa mitt eget mönster, använde jag tyget som ses på skissen här till höger. Jag skarvade ihop tre bitar till luvan. Jag rev bort trådar för att få kanterna på luvan och ärmarna att se slitna ut. Längst ned på ärmarna rev jag sönder tyget för hand. Jag sydde ihop fram- och bakstycket med några få stygn precis under armålorna.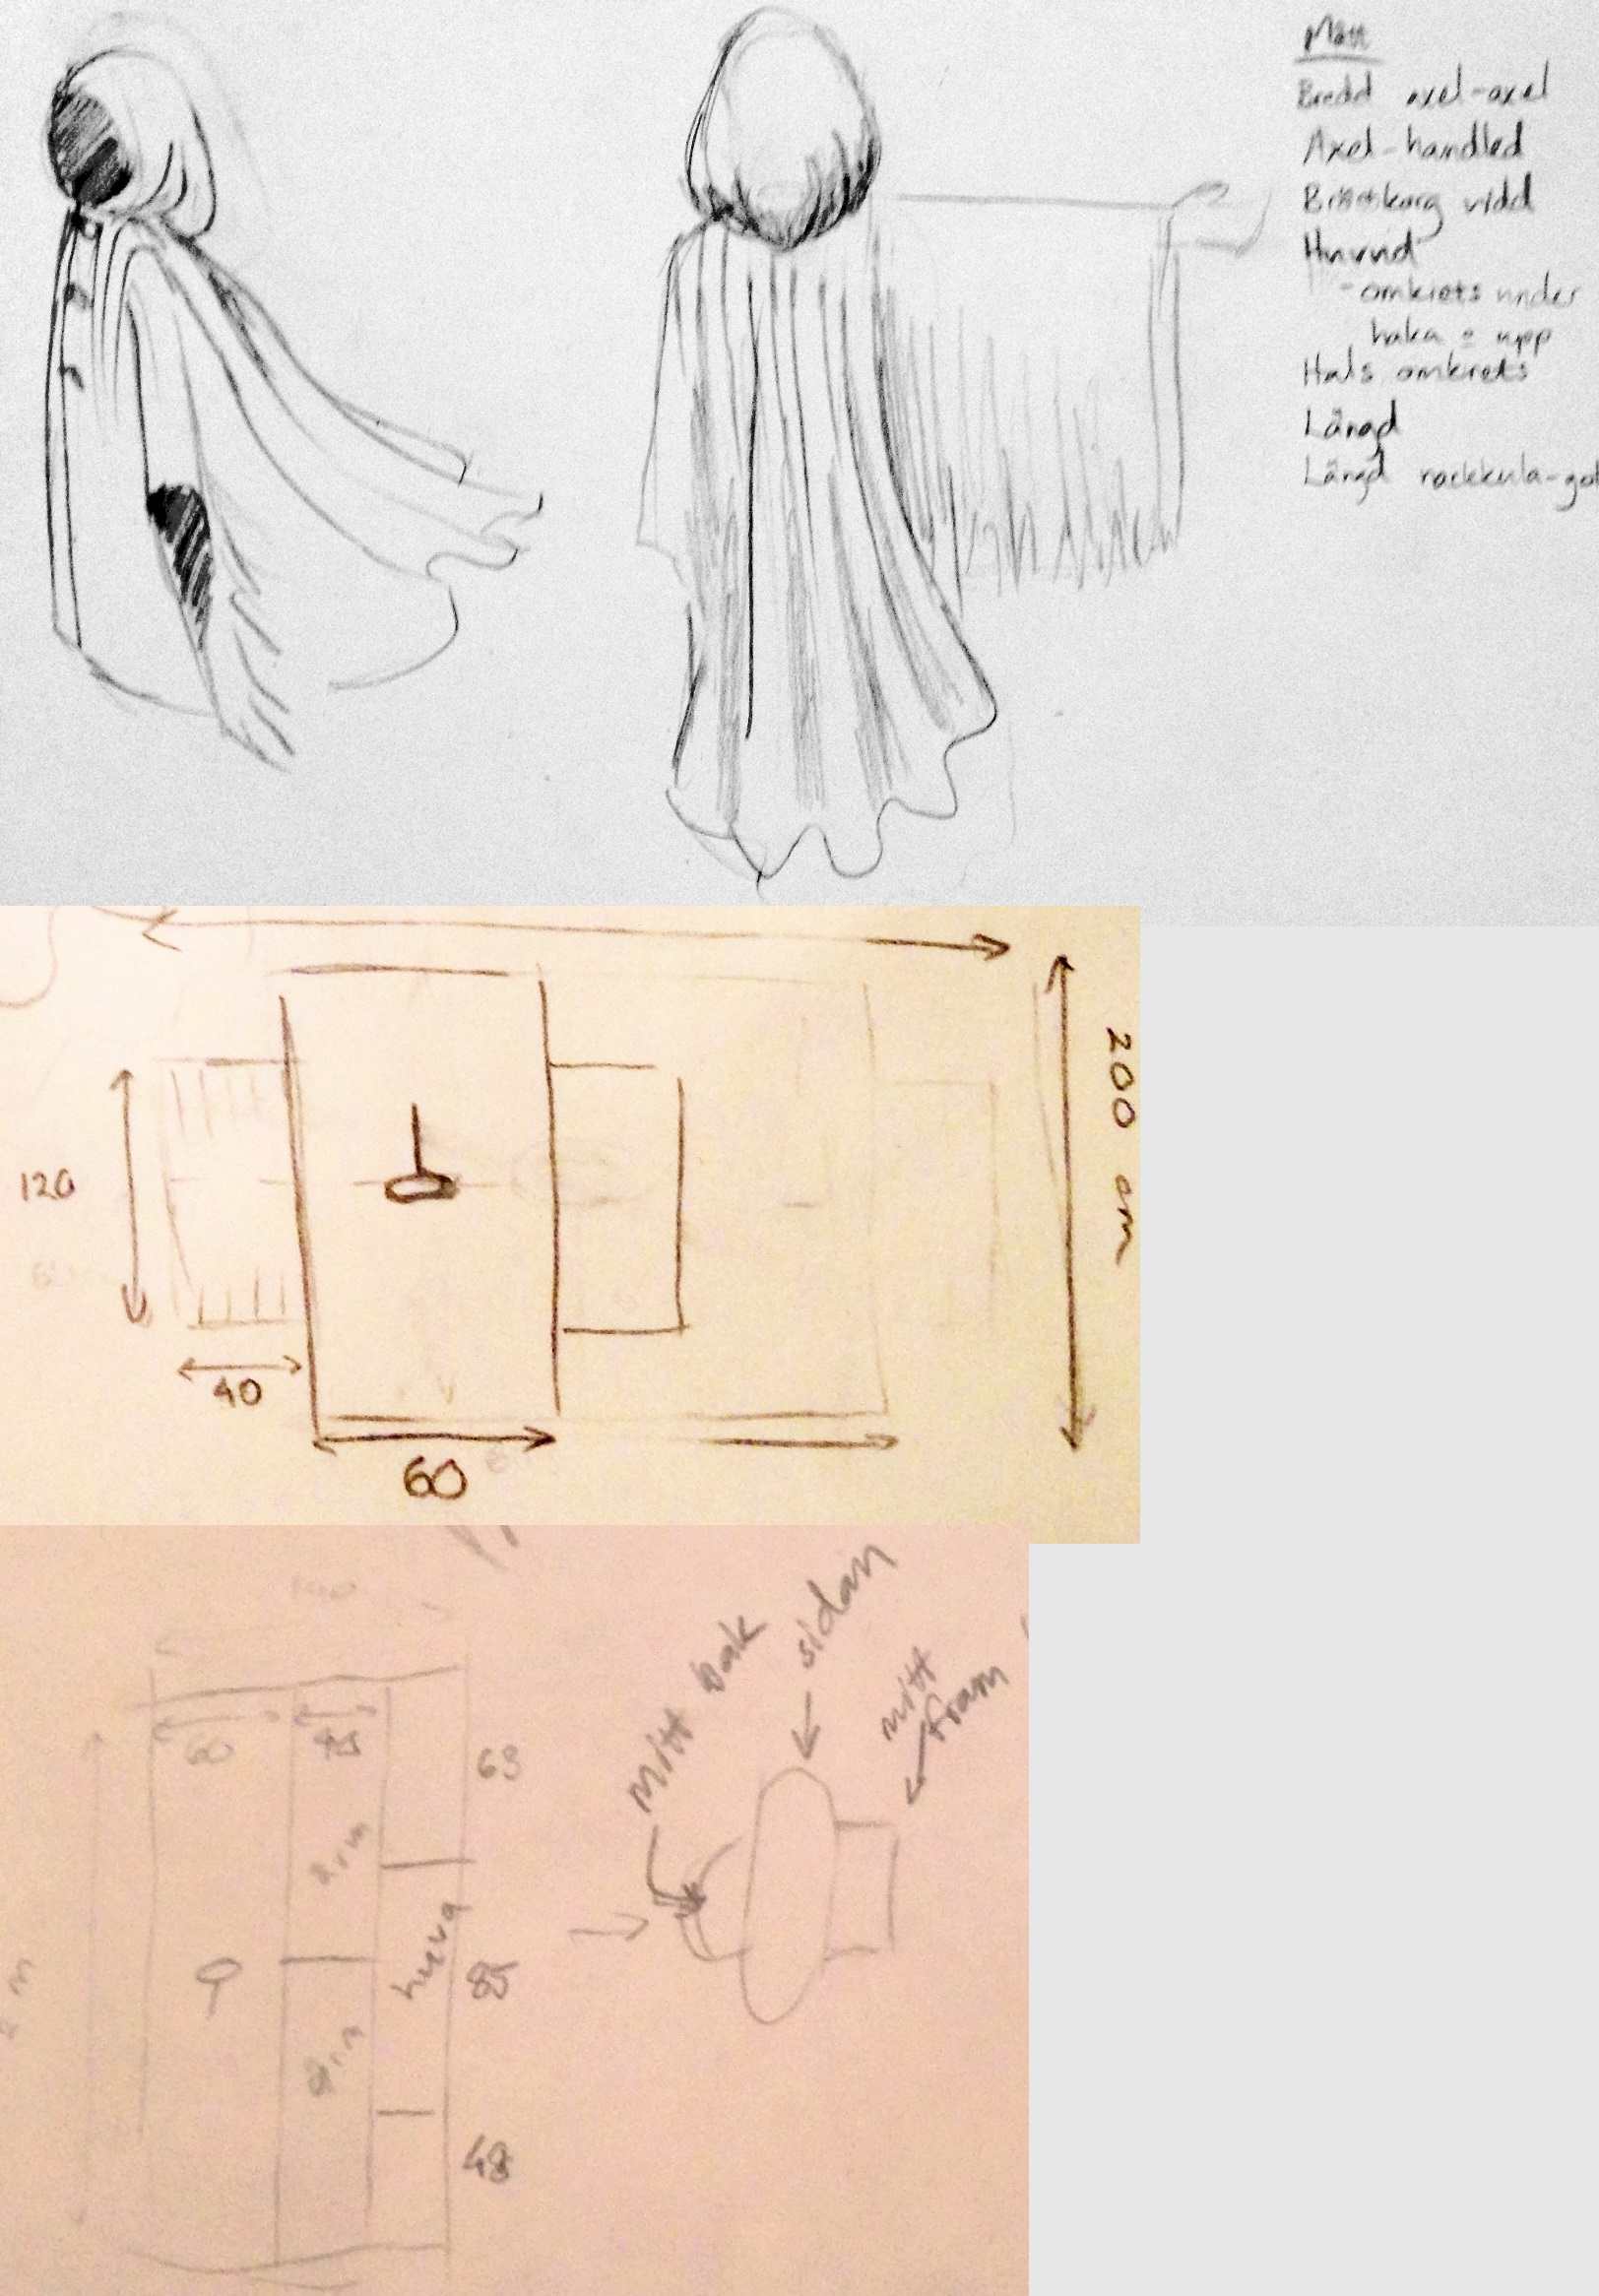
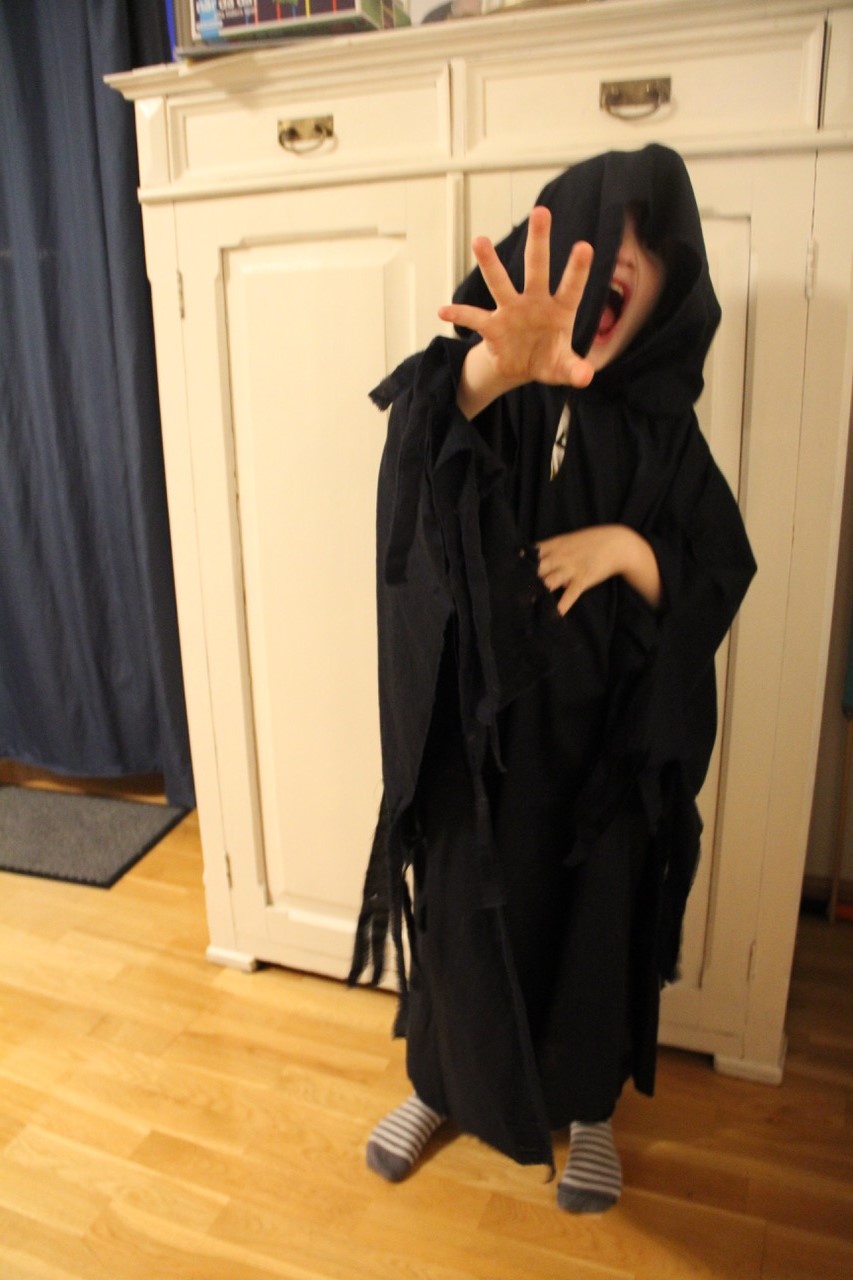
This is how it came out.
Så här såg det ut till slut.
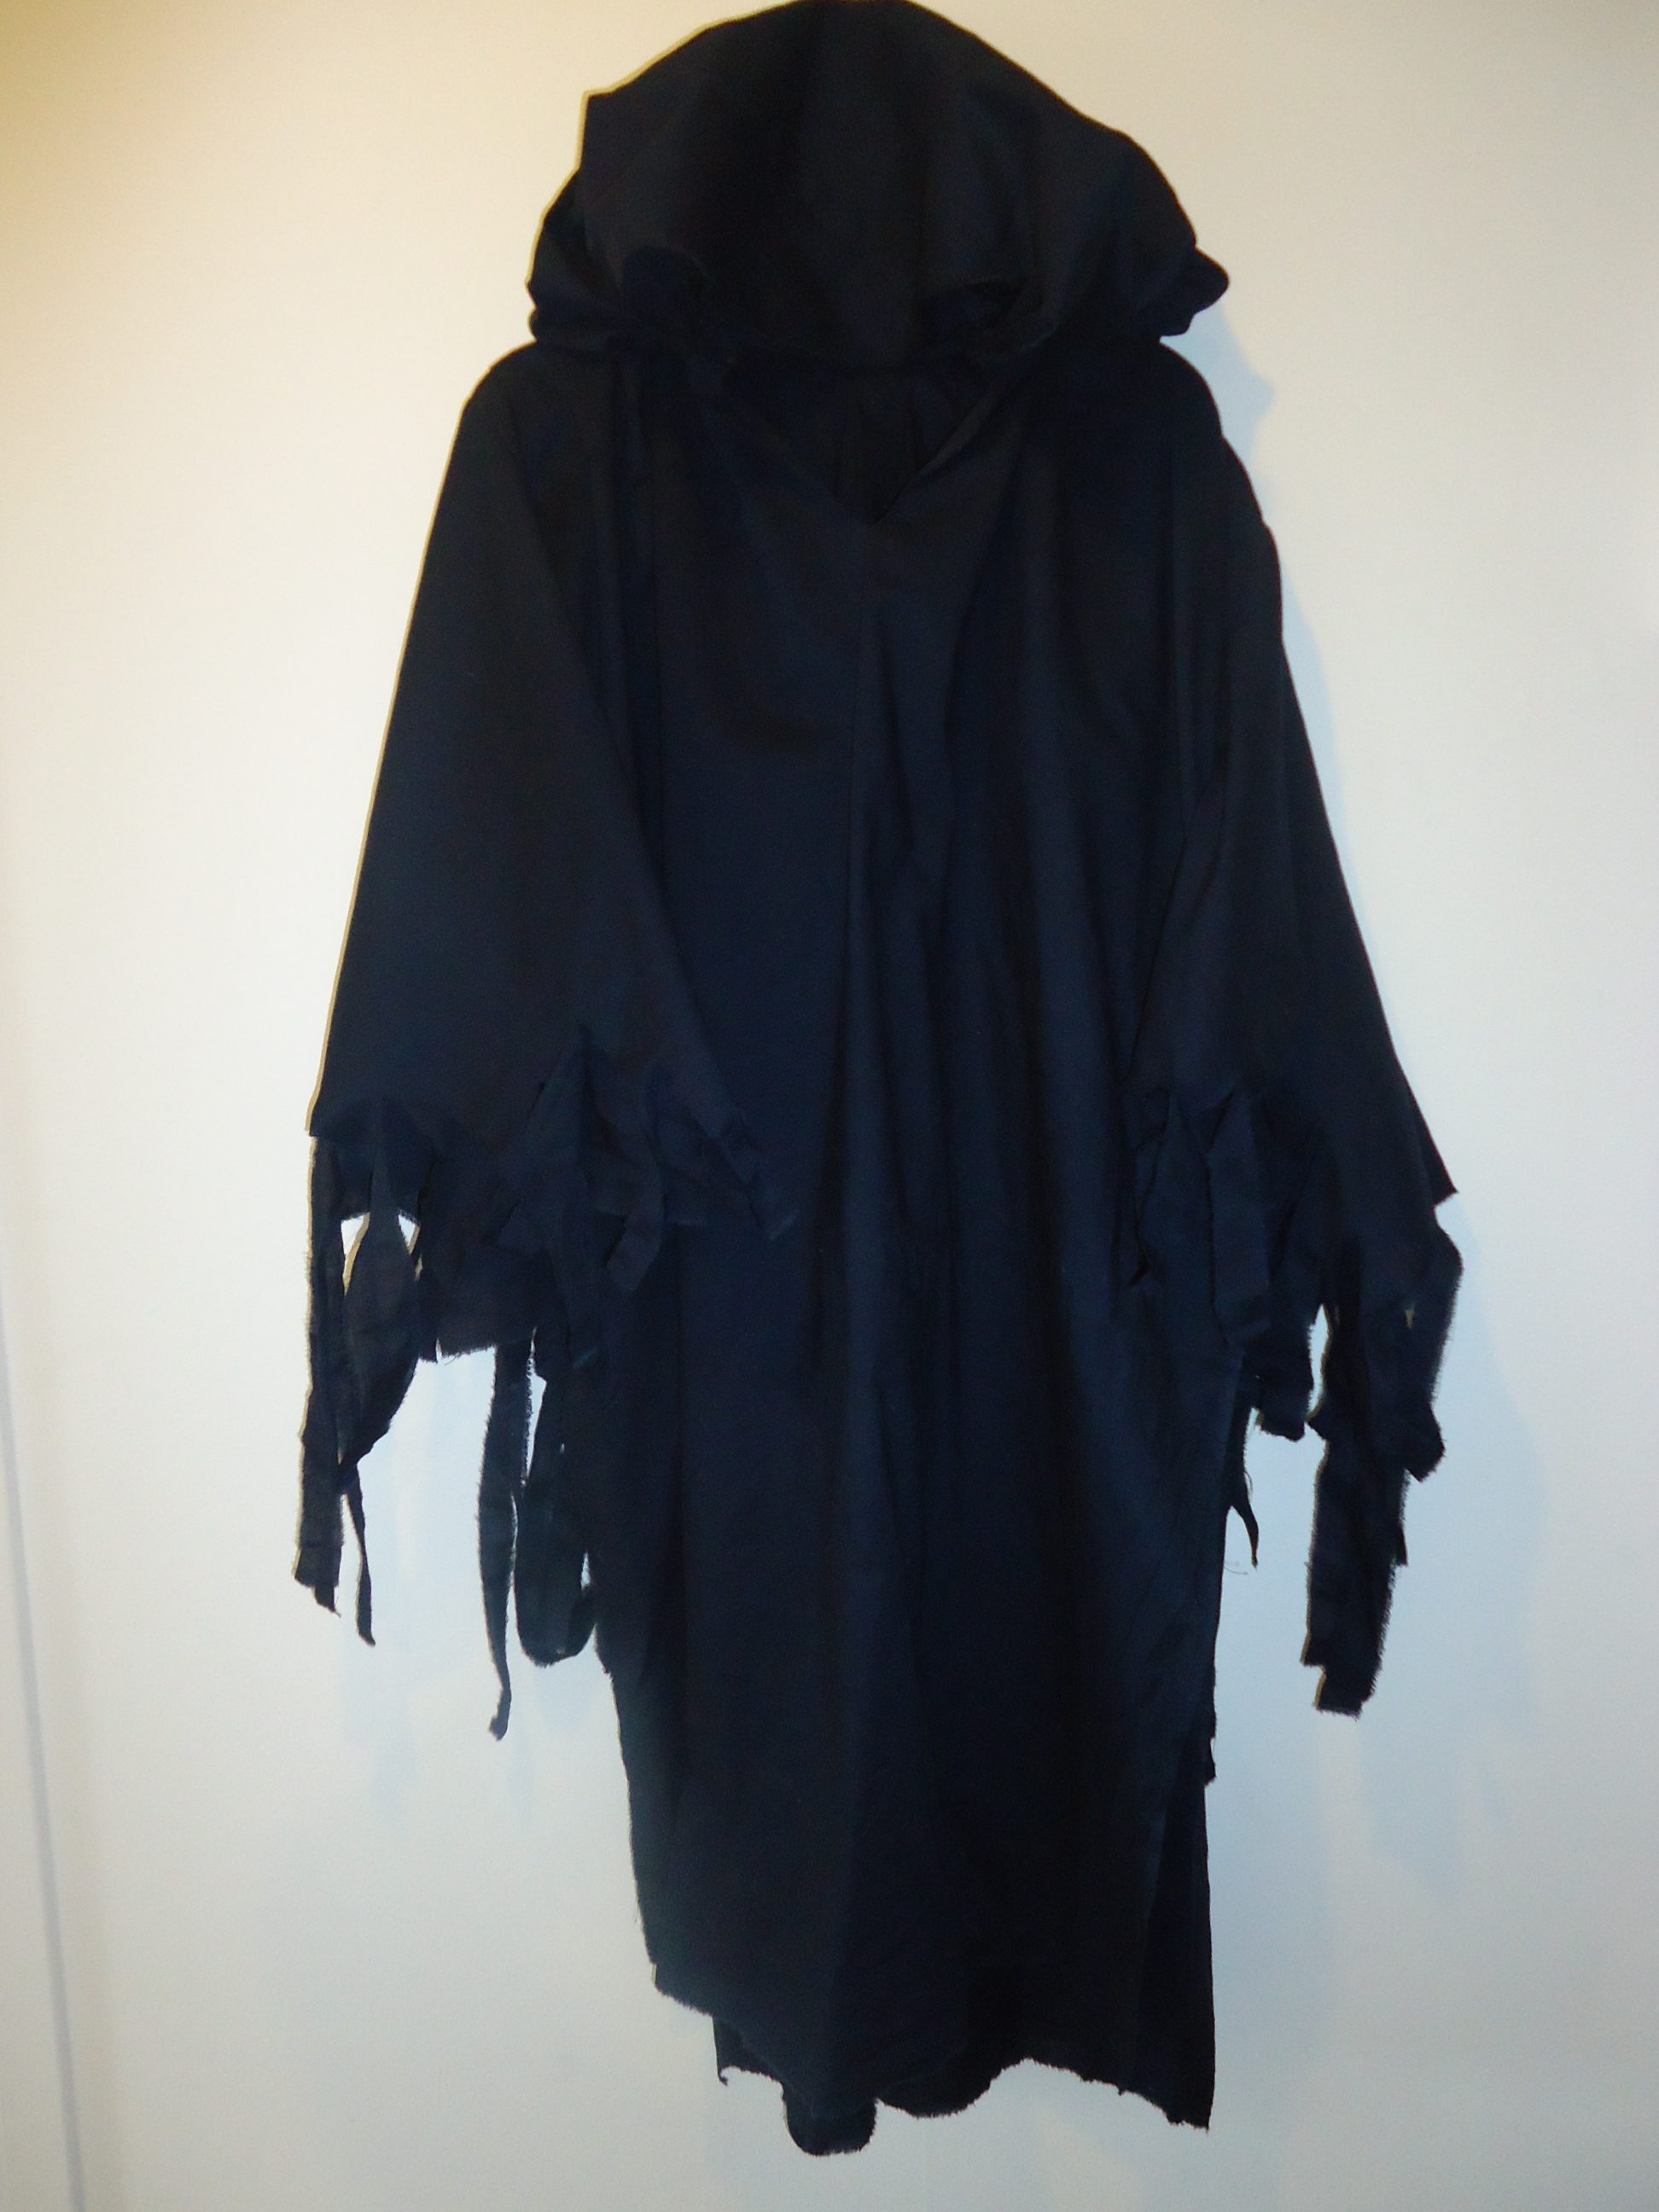
The boy was very pleased with his gift and I believe that I am still his seamstress idol.
Pojken var mycket nöjd med sin present och jag tror att jag fortfarande är hans sömmerske-idol.